I have been wanting to make one of these poster hangers for AGES but have put it off because I couldn’t find a proper tutorial that explained it well enough. Therefore, I had to do a bit of experimenting that ended up in me throwing pieces of wood across the room, yelling at Jules because he wouldn’t help me and spending all day getting it wrong only to finally find a solution at 6pm, hence the rather murky and rushed photos in this post. Ha!
Anyhoo, I have this wondrous Double Merrick print that was the colour inpsiration for my home office (see his AMAZING French home here; we visited him there a couple of years ago and I’m just waiting for my next invitation – hint, hint, Merrick). The print has been in a white frame that is a bit blah and I thought it would suit a poster hanger much more because a lot of Merrick’s prints are inspired by vintage French educational charts. So, here’s how I made it…

You will need:
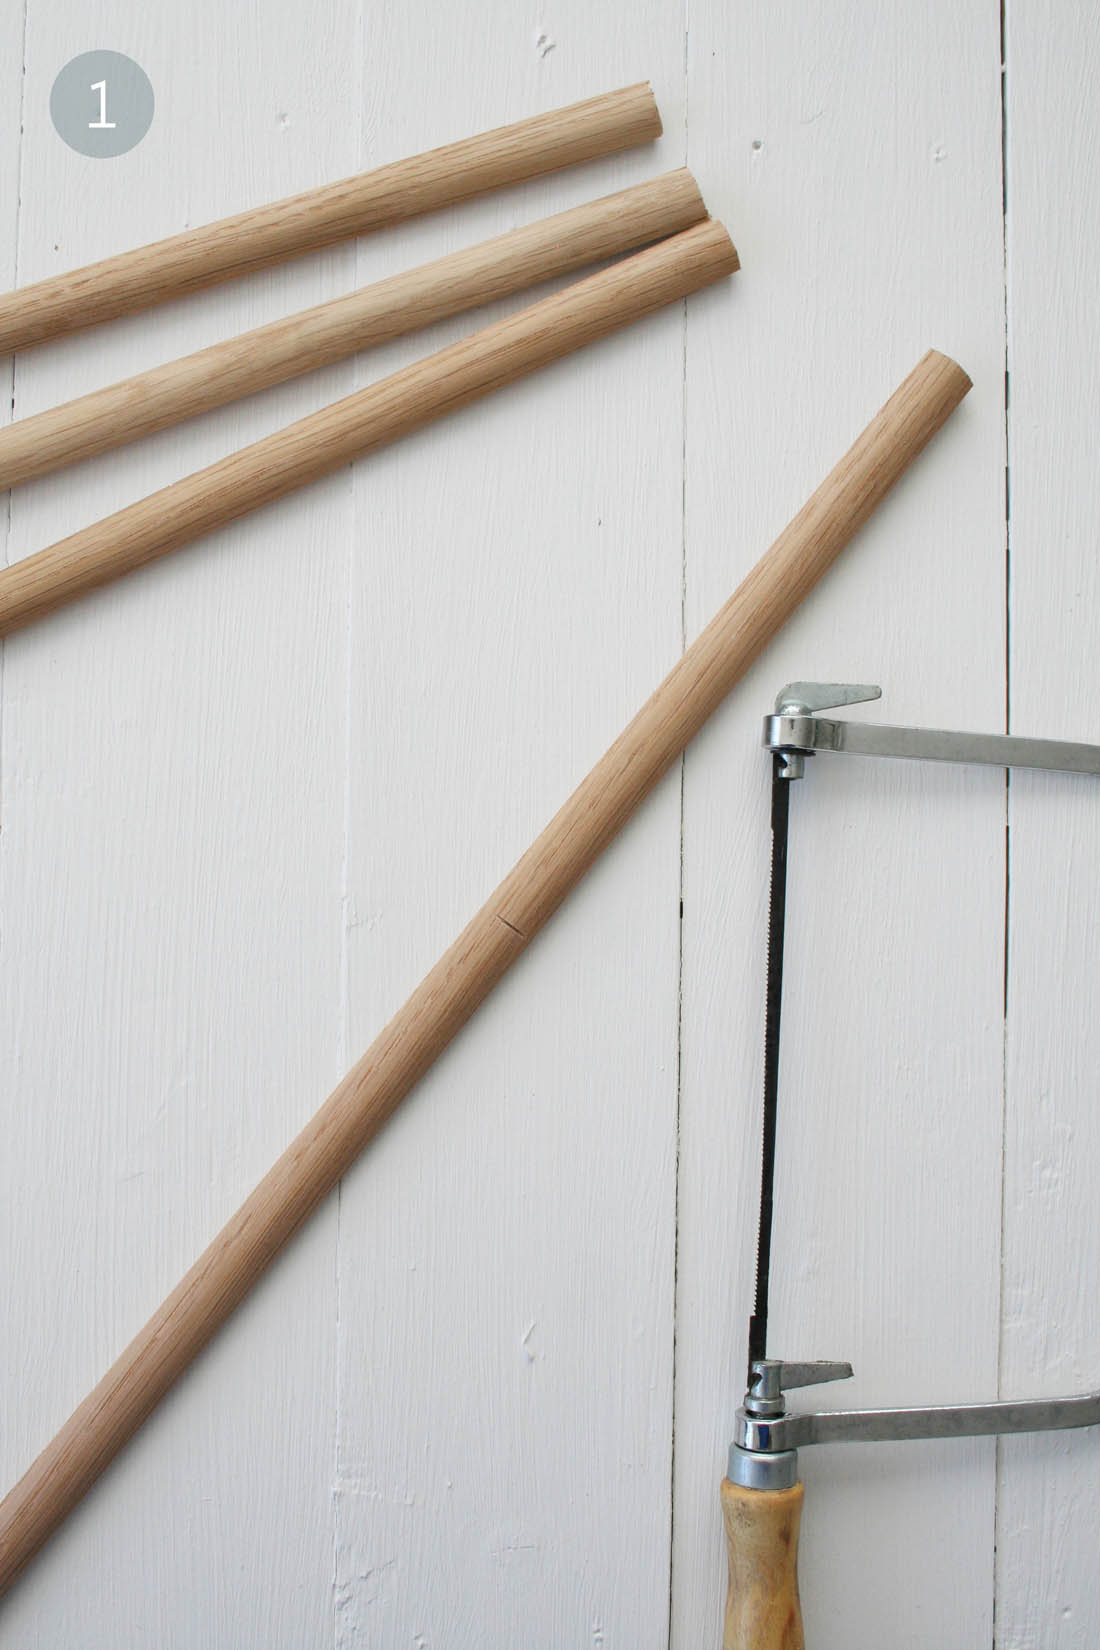
– Four strips of half round moulding the length of your print (I chose oak rather than pine as it looks so much nicer)
– Hacksaw to cut the strips to length
– Sand paper
– Low tack tape (I used washi tape)
– Four small nails
– Hammer (yes, I use a Cath Kidston hammer!!)
– Twine

Step by step:
1. Cut four lengths of wood to the exact width of your print.

2. Use the sand paper to smooth the ends of the strips of oak.

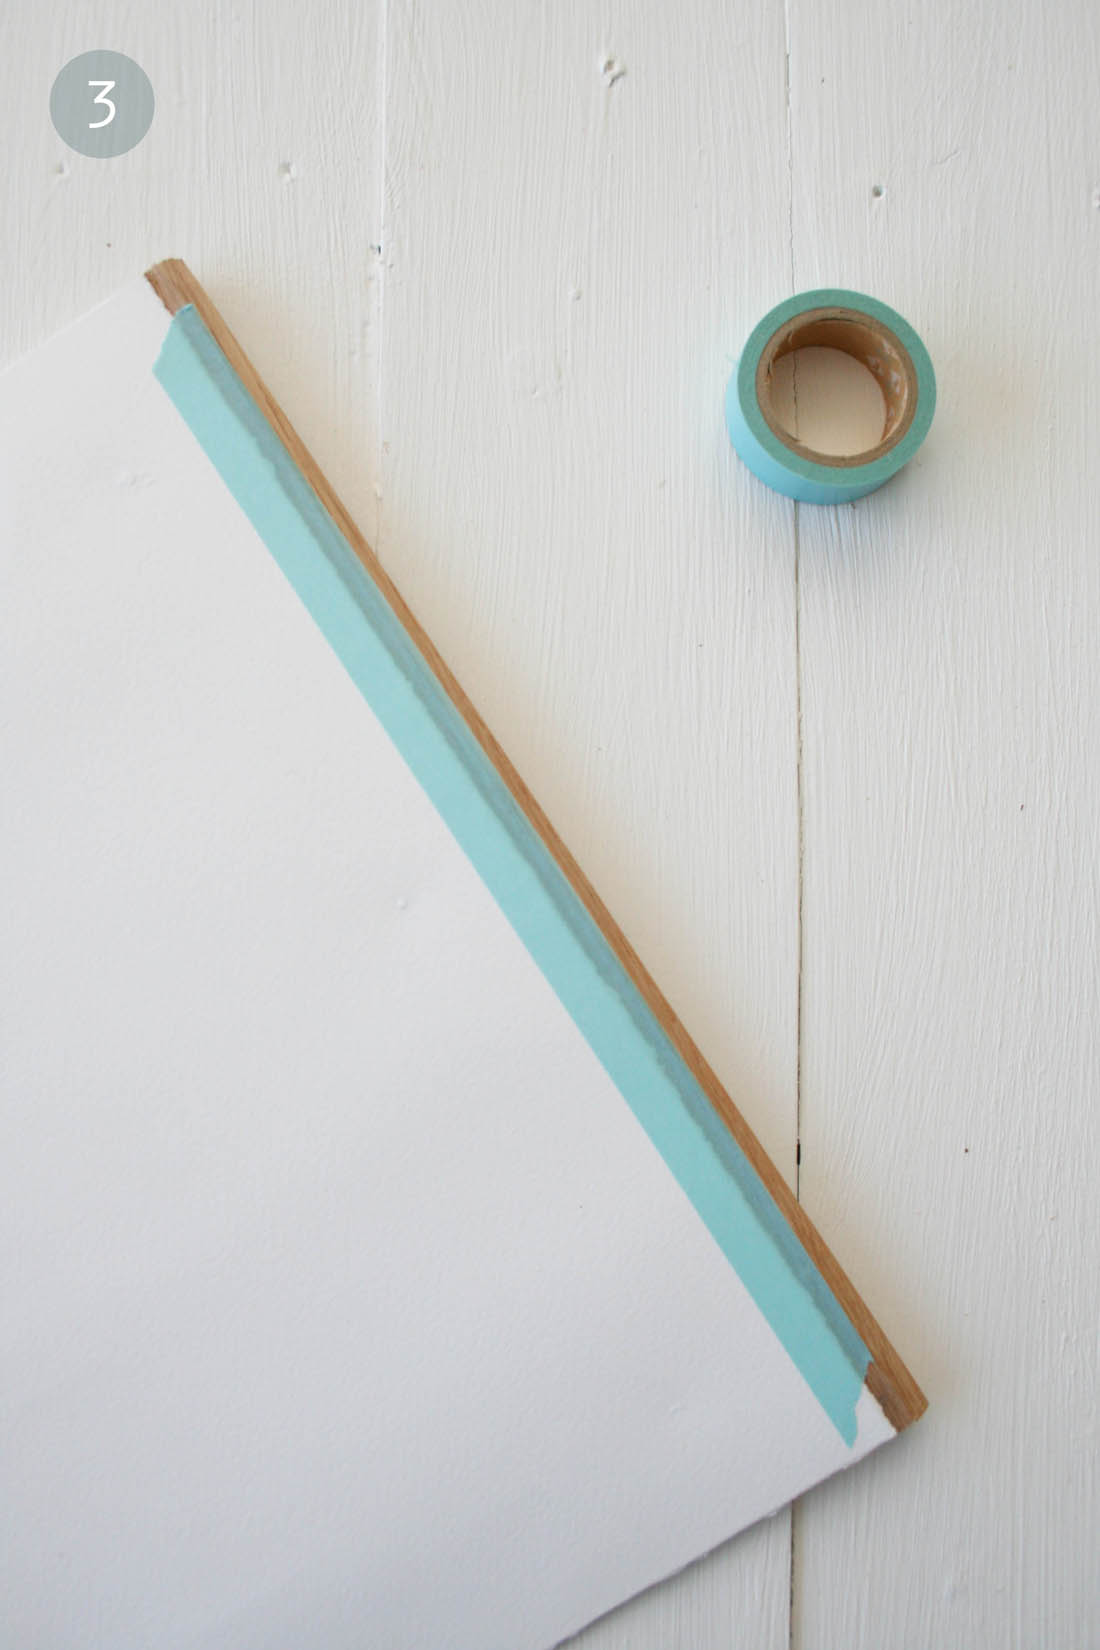
3. Use low tack tape (because it won’t ruin your print) to stick the top and bottom of your print to the strips of wood. Stick the print half way up the wood strip so that when you nail the strips together you don’t have to go through the print.

4. Place the back strip on top of the front strip, sandwiching the print between them. Ask someone to help you hold it in place or use a clamp as you are going to nail it together at either end. Measure where you want the twine to hang from and this is where you will nail the two strips together – make sure you measure it accurately otherwise it won’t hang straight. You are going to nail the two strips together from the back. Place the nail fairly near the top of the wood strip so you won’t go through the print. Hammer it in so it goes completely through the back and into the front strip but not through to the front of the strip as you don’t want to be able to see it at the front. Once the two strips are secured together, bash your nail so it bends flat against the wood strip (you will hang the twine from these). Repeat this step on the other side of the print.
You will need to nail the bottom strips of wood together too, but use shorter nails that won’t need to be bent over as you won’t need to hang twine from these.

5. Tie your twine to the bent nails at the top of your print.

And hang your print! Mine isn’t going to stay on these hooks but I’m just waiting to move a chalk board that I will be selling at our vintage jumble sale and it will be replaced with my print.

Now, let me tell you about how this DIY went wrong. Firstly, I wanted to make it simpler by making the wood strips a couple of centimentres longer than the width of the print. I then bolted them together at the ends so that you could easily swap prints in and out. However, it didn’t look great because my print is only A3 size so it all looked a bit bulky. I think this would be a good solution for larger posters.
My new idea is to embed magnets in the back of one strip of wood and use self-adhesive magnetic strip on the other strip. This would make it really easy to swap posters in and out without damaging the print. Watch this space for that.
If you want to use this idea with beautiful wrapping paper, just glue it to a piece of card first to weight it and give it extra strength. Although, it’s quite important to use as little glue as possible wth wrapping paper as it wrinkles so easily – spray glue or spray mount is the best bet.
Hope this is a useful tutorial; it’s definitely much cheaper than framing prints!
Katy x
Great DIY, it looks like old maps or school displays in the 50´s. I will give it a try, a just need a print !
Author
Yes, exactly, Claire! That’s what Merrick’s prints are inspired by. Good luck with the DIY x
I love this so much. Although I was a little scared after reading the first paragraph. We have just had a loft conversion so have loads of wall space around the new stairs that is just crying out for lovely prints.
Author
Ha! Yes, don’t worry, I’m sure you won;t end up screaming or shouting at anyone 😉 Glad the tutorial is useful x
Ah, so lovely! This puts my crappy tutorial to shame! *hides* I am slightly obsessed with framing stuff this way now though. Who needs glass??
Author
Especially good for children’s prints, I think. X
What a great idea! Love how you shared your trial and error before hitting on a solution that worked too. You hanger looks great x
Author
Got to love a bit of trial and error (even if it does make me scream and throw wood around the room;))
Thank you for this! I’ve been looking at various tutorials and this one just makes the most sense for my not-so-very-crafty-brain. Looking forward to trying it soon!