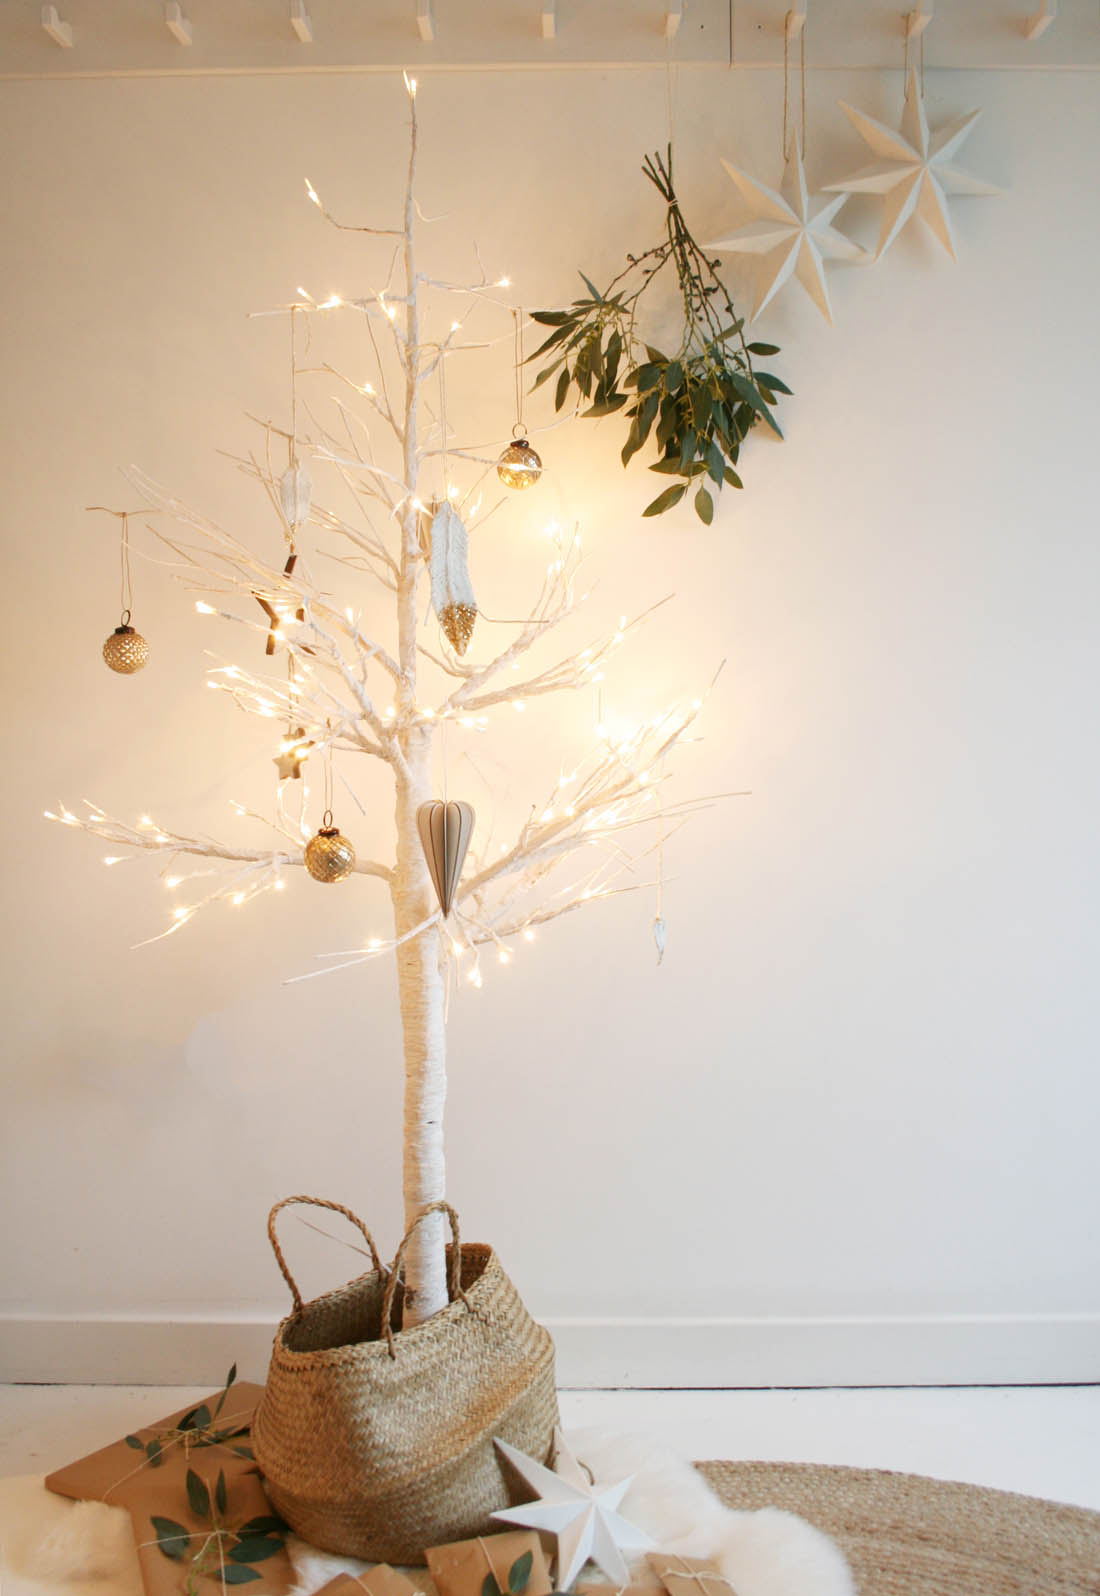
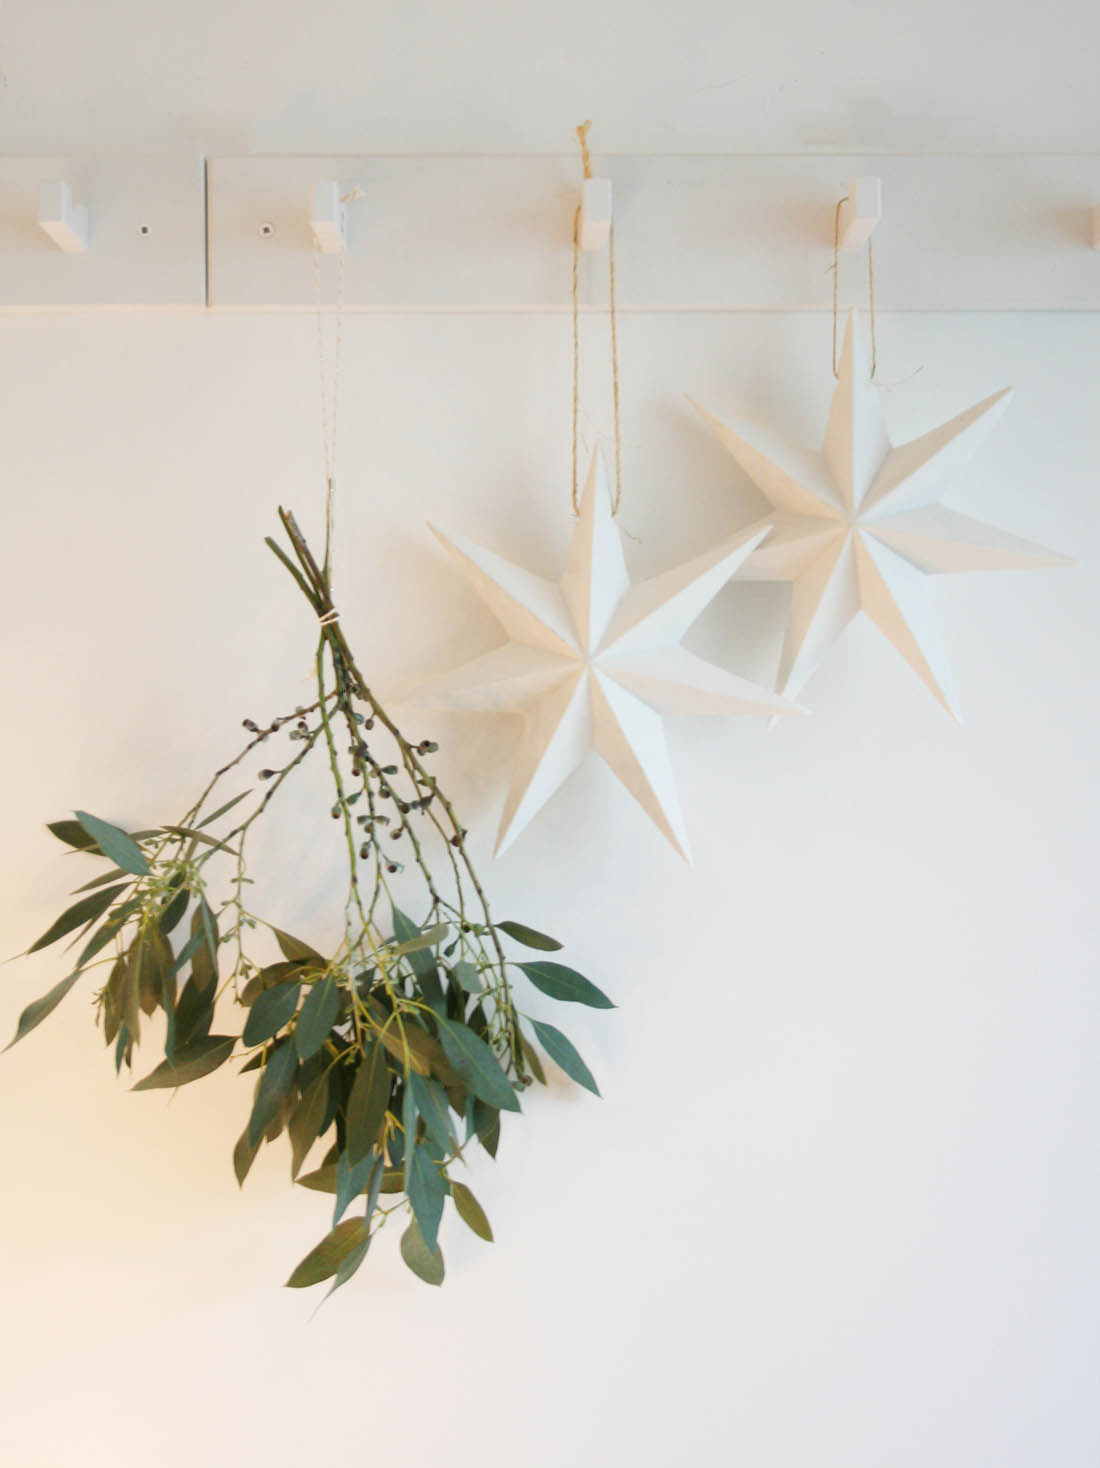
I have just put my Christmas tree up and I still have glittery fingers from making my one handmade bauble of the year that I always gift to my sister (it’s our little tradition). I love having a mix of old and new in my home and the same goes for the tree; some new, some old and some handmade.
This year we have a beautiful ‘tree’ from Houseology that is perfect for our flat and I love how simple it is. It has LED tips and it looks so, so pretty when it is lit at night. Soooo pretty!
So, here is my little tree and my homemade feather bauble (a stupidly easy tutorial below – it honestly took me five mins to make it) along with a set of new baubles that fit with the Scandi/vintage vibe that you know that I love.
A good dose of brown paper packages tied up with string (and a few sprigs of Eucalyptus for good measure).

I was spoilt for choice when selecting a new collection of baubles from Houseology. I decided to stick with white and gold and mix the Scandi wooden hanging tall heart decorations and the large wooden star hanging decoration with the more vintage looking harlequin ball baubles.
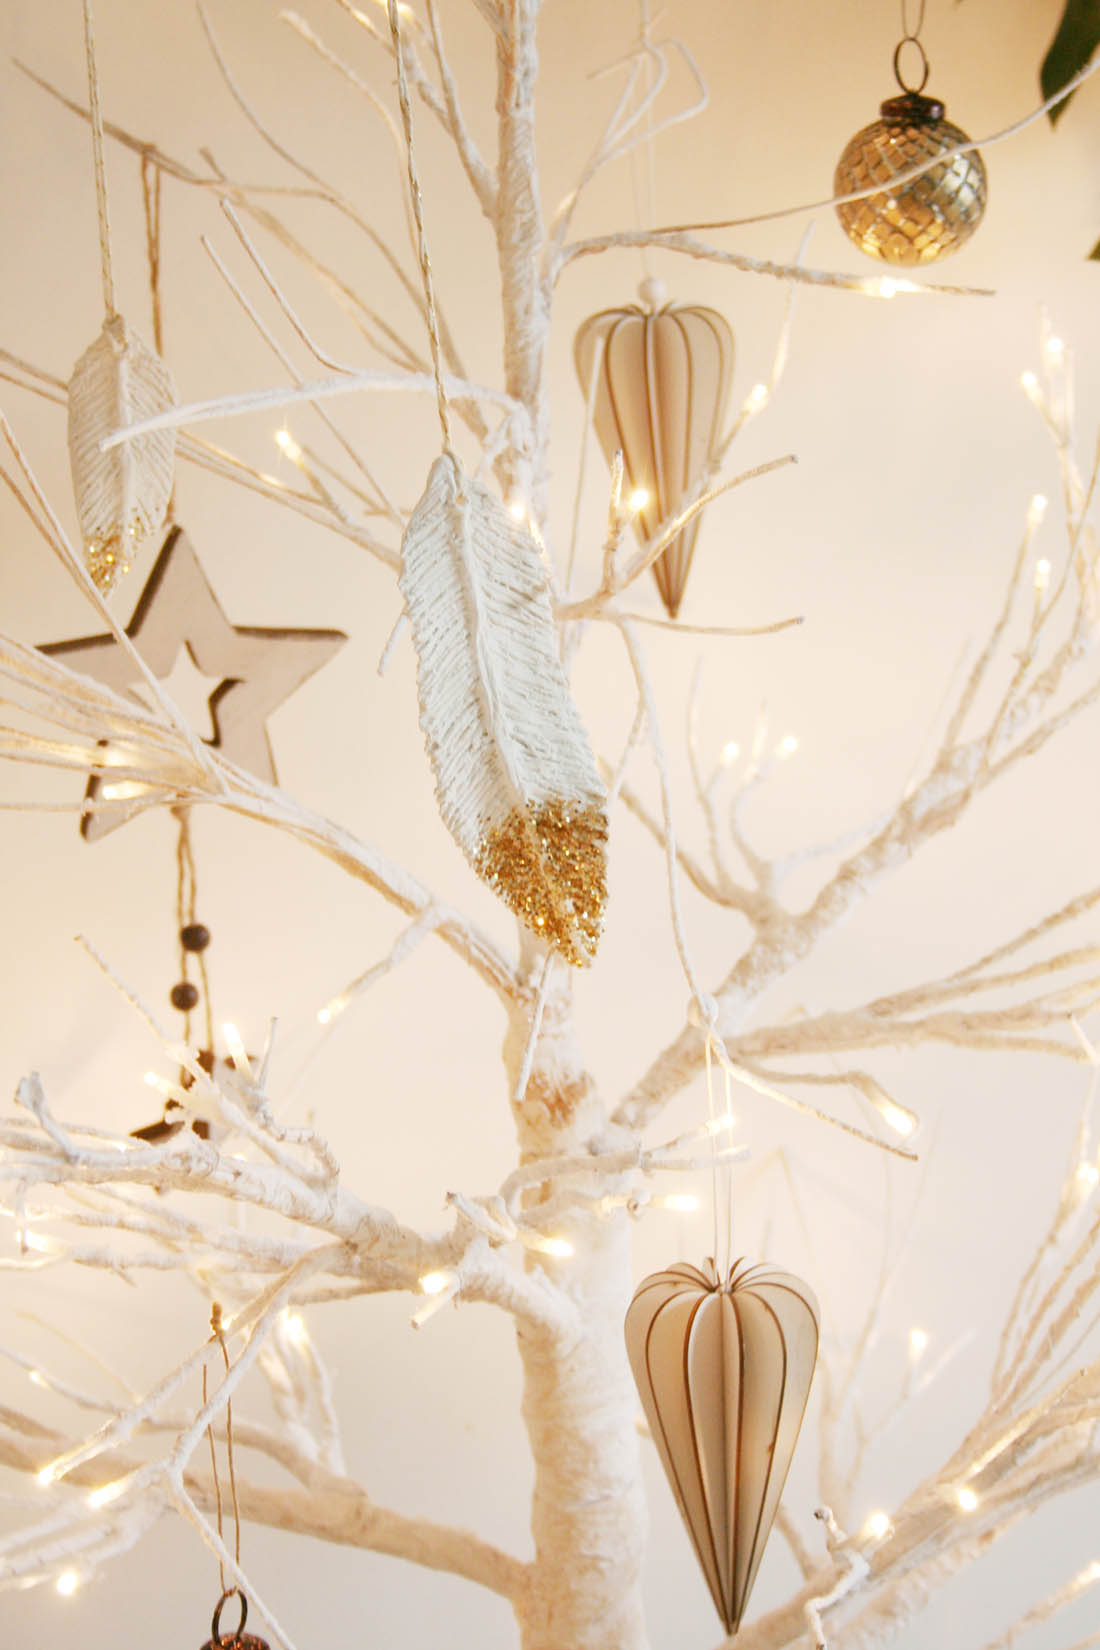
My handmade feather bauble (tutorial below). When Jules found me a pure white swan feather in the park a couple of months ago I scoured the park looking for more but with no luck. Therefore, I tried to make my own using air dry clay (Jules says it looks more like a leaf, but I hope you think it looks like a feather!).
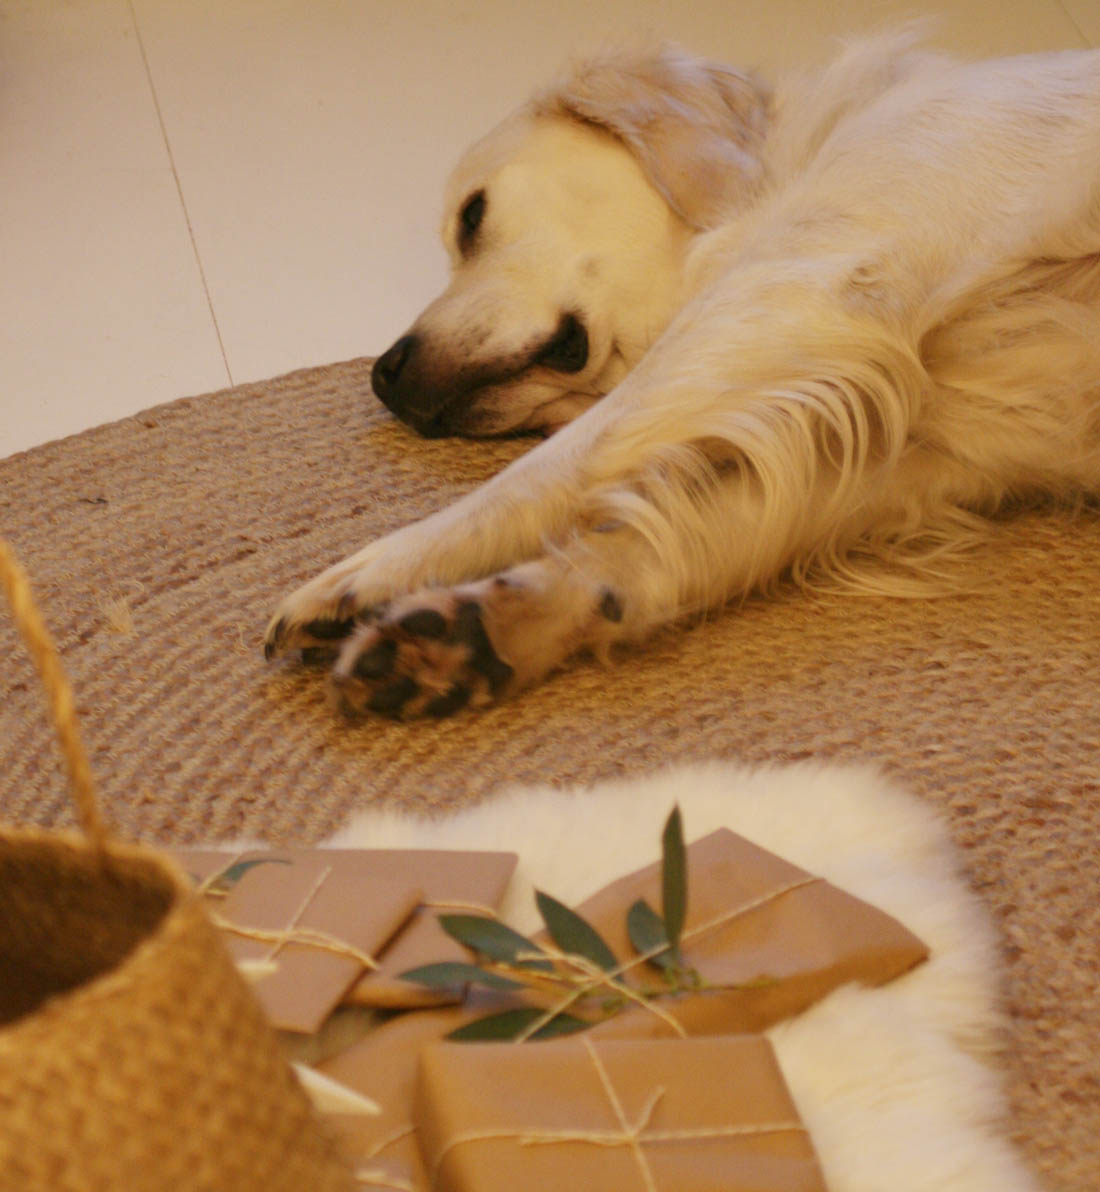
And this little munchkin eyeing up the presents.
If you would like to make some of my gold-tipped feather baubles here is a little tutorial for you…
You will need:
– Air dry clay
– Rolling pin
– Wooden board
– Knife
– Tooth pick
– Paint, brush, glue and glitter to decorate if you want to
– Twine to string it up for the tree

Step by step:
1. Take a small piece of clay in your hands and roll it into a largish sausage shape in your hands (make sure it is as fat as a large sausage).

2. Roll out the sausage shape so it is about 5mm thick. Using a knife cut out a feather shape.

3. Use both forefingers to mould a spine down the centre of the feather. Don’t worry about squishing out the shape of the feather as you do this or leaving finger prints.

4. Use a toothpick to score lines from the spine tot eh outer edge of the feather at a 45 degree angle. Don’t worry about keeping it neat or blurring the outer edge – a bit of texture will make it look better and more feather like than leaf like.

5. Once you have scored down both sides use the tooth pick to create a hole for the twine.

6. Before you leave it to dry overnight, gently manipulate the feather to curl it slightly so it gains the shape of a real feather.

7. Once the clay has dried overnight, gently rub over the little bits and pieces with your fingers to smooth the surface of the feather. Paint your feather and/or add glitter using PVA glue and then string it up ready for the tree!

Happy tree decorating everyone!
Katy
*This post was written in collaboration with Houseology.
