Urban Jungle Bloggers: Plant shelfie

I’ve been really excited about this month’s edition of Urban Jungle Bloggers because I have a brand new Pocket String shelf that Jules bought me for my birthday so it’s perfect for a ‘plant shelfie’. I decided to put my shelf up at the end of our kitchen so it seemed perfect to add some of my herbs and I always find that plants instantly add so much freshness and interest to any styling. I always use tins or cups for herbs (more than anything so that I don’t have to buy plant pots, which are quite hard to find) and my potted basil in the tomato tin is one of my favourites. Take a look at this post that I did last year for more recycled planter ideas.

There’s no way that these shelves will stay like this for long as I am constantly re-arranging things at home, but for now…

Urban Jungle Bloggers - Plant shelfie | Apartment Apothecary

Urban Jungle Bloggers - Plant shelfie | Apartment Apothecary

Urban Jungle Bloggers - Plant shelfie | Apartment Apothecary

Urban Jungle Bloggers - Plant shelfie | Apartment Apothecary

Urban Jungle Bloggers - Plant shelfie | Apartment Apothecary

Thanks as always to Judith and Igor for the inspiration and do pop over to their blogs to see their plant shelfies and search the hashtag #urbanjunglebloggers for more inspiration.

Katy x


Pumpkin tea light holders

As the end of the month approaches, the clocks go back and the darker evenings close in, I am becoming obsessed with burning candles around my home (even during the day, which makes a dreary, rainy day that much cosier). These mini pumpkin tea light holders could not be more seasonal, would make a great decoration for halloween parties and they are so simple to make. They will last about two weeks before they start to decay. This is going to be the briefest of posts as we’re into the sixth day of no internet here so I’m tethering from my phone and there’s barely any 3G! Grrrr!

Anyhoo, here’s how I did it…

You will need:

Mini pumpkins (they are available from supermarkets but you can find a much better range at local markets or florists)

Tea light candles

Sharp knife

Tutorial:

Pumpkin tea light holders | Apartment Apothecary

Step 1: Choose pumpkins that will stand up by themselves and not roll onto their sides.

Pumpkin tea light holders | Apartment Apothecary

Step 2: Start carving out a hole at the top. Start with a small hole and use the tea light to figure out how much more to cut away. Be careful not to make the hole too big, gradually carve away as much as is needed, otherwise your tea light will not be supported.

Pumpkin tea light holders | Apartment Apothecary

Step 3: Scoop out the inside of the pumpkin as this will help to delay the decaying process.

Pumpkin tea light holders | Apartment Apothecary

Step 4: Wedge your tea light into the hole (it should be a tight fit so it doesn’t slip around inside).

Pumpkin tea light holders | Apartment Apothecary

All ready for an Autumnal candle-lit evening at home. I love this little jar lined with old pics of my mum, granny and uncle. The Physalis (or I’ve always known them as Chinese Lanterns) always makes me think of October and Halloween and looks so striking when displayed at home.

Pumpkin tea light holders | Apartment Apothecary

Pumpkin tea light holders | Apartment Apothecary

Happy Autumn evenings.

Katy x


Ask Apartment Apothecary – DVD and CD storage

Hello everyone! Hope your week is going well. Today’s AAA is for Leanne, whose boyfriend has just moved into her house (exciting times!) but as I remember well, the merging or two people’s belongings can be a bit overwhelming – I still haven’t got over it and have the enormous speakers stored under my bed to prove it! Leanne is struggling with DVD storage, which I know is a common problem and I need to tell you now that I HATE CD’s and DVD’s. My immediate thought would be bag them all up and and drop them off at the charity shop, which is what I want to do with Jules’s collection. However, I realise that not all people think the same way as I do (I’ll do anything for more space and less clutter), nor do they have the same priorities (beauty over function). All that being said, I have tried to come up with some compromises…

1. Remove the boxes

If you are struggling with storage space remove the DVD or CD boxes, buy plastic covers and file them. Brilliant.

But then I hear Jules’s voice saying: “I need to be able to see the titles at a glance otherwise I will forget what I’ve got.” So, we move on to option number two…

CD and DVD storage | Ask Apartment Apothecary

Image from: Hi Sugar Plum

 2. File in boxes

If the aesthetics of DVD and CD boxes bothers you, what about storing them in filing boxes? This looks neat and tidy, they won’t get dusty and is more aesthetically pleasing than shelves full of DVD’s.

CD and DVD storage | Ask Apartment Apothecary

Image from: Buzzfeed

3. Use a sideboard or chest of drawers

In my home, I bought a G-Plan sideboard as our AV unit because real AV units make me feel sick. Literally. I’m sorry if you have one, but I can not pretend for a second to like them. In the sideboard we use the large drawer for CD’s and DVD’s, because I am not allowed to get rid of them.

CD and DVD storage | Ask Apartment Apothecary

My G-Plan sideboard acts as our AV unit.

4. Beautiful shelves

And if none of the options above work for you and you simply must store all of your CD’s and DVD’s on shelves, you need to make sure that they are beautiful shelves to offset the unsightly DVD box. The String Pocket shelves are the perfect size for this, as seen below.

CD and DVD storage | Ask Apartment Apothecary

Image from: Seventy Tree

I’m sorry that I didn’t mince my words. Leanne, I hope this has been helpful!

Katy x


DIY crate on castors

Today’s DIY is as easy as it gets, but I have not finished it off as I just can’t decide what colour I want it to be, so I want your helps and ideas! However, I sometimes think it’s useful, if you are going to try this yourself, to see the blank canvas so you can make your own decisions about the finish that you want, instead of being influenced by someone else’s tastes.

Last week’s Ask Apartment Apothecary was full of ideas for storage for children’s rooms. I suggested that a crate on castors would make an excellent toy box, especially if it were painted in chalkboard paint so children could scribble all over it. I have made my own crate on castors to store our wellies in our hallway, as we wear them everyday to take Otto for walks. I am trying to decide whether to leave the crate it as it is, paint the inside, paint the outside or line with wallpaper and varnish etc. I need to mull it over for a while longer so I just want to share how to attach the castors and where to source everything.
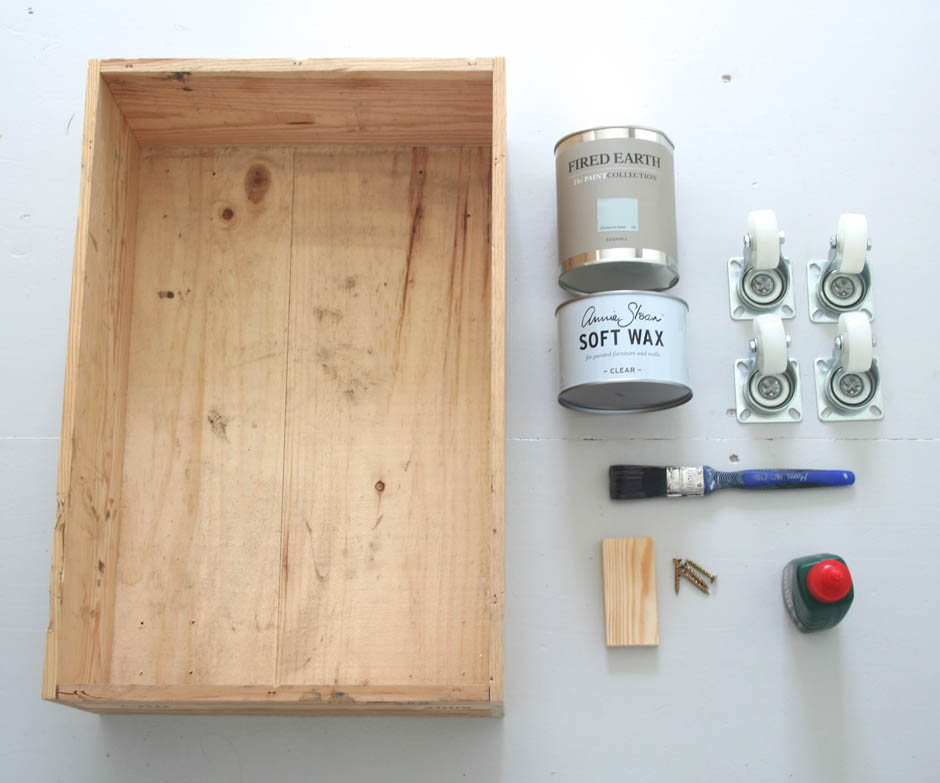
You will need:

Crate – don’t spend a fortune as you can get wine boxes for free if you ask at most wine shops. Generally, wine boxes measure 50 (L) x 38 (W) x 18 (H).

Castors – I chose 41mm light duty swivel castors, which cost £1.29.

Wood glue

Four blocks of wood to screw the castors into (they therefore neeed to be slightly bigger than the castors and deep enough for the screws)

Four screws to fit the castors

Your choice of paint or paper to finish off the crate, or just leave it as it is.

DIY crate on castors |Apartment Apothecary

Tutorial:

1. Stick the blocks of wood with the wood glue onto the base of the crate in the four corners.

2. Once the glue has dried, screw the castors into the blocks of wood. You can’t screw the castors straight into the base of the crate because the wood is too thin.

3. Finish as you desire. See, I told you it was easy!

DIY crate on castors |Apartment Apothecary

DIY crate on castors |Apartment Apothecary

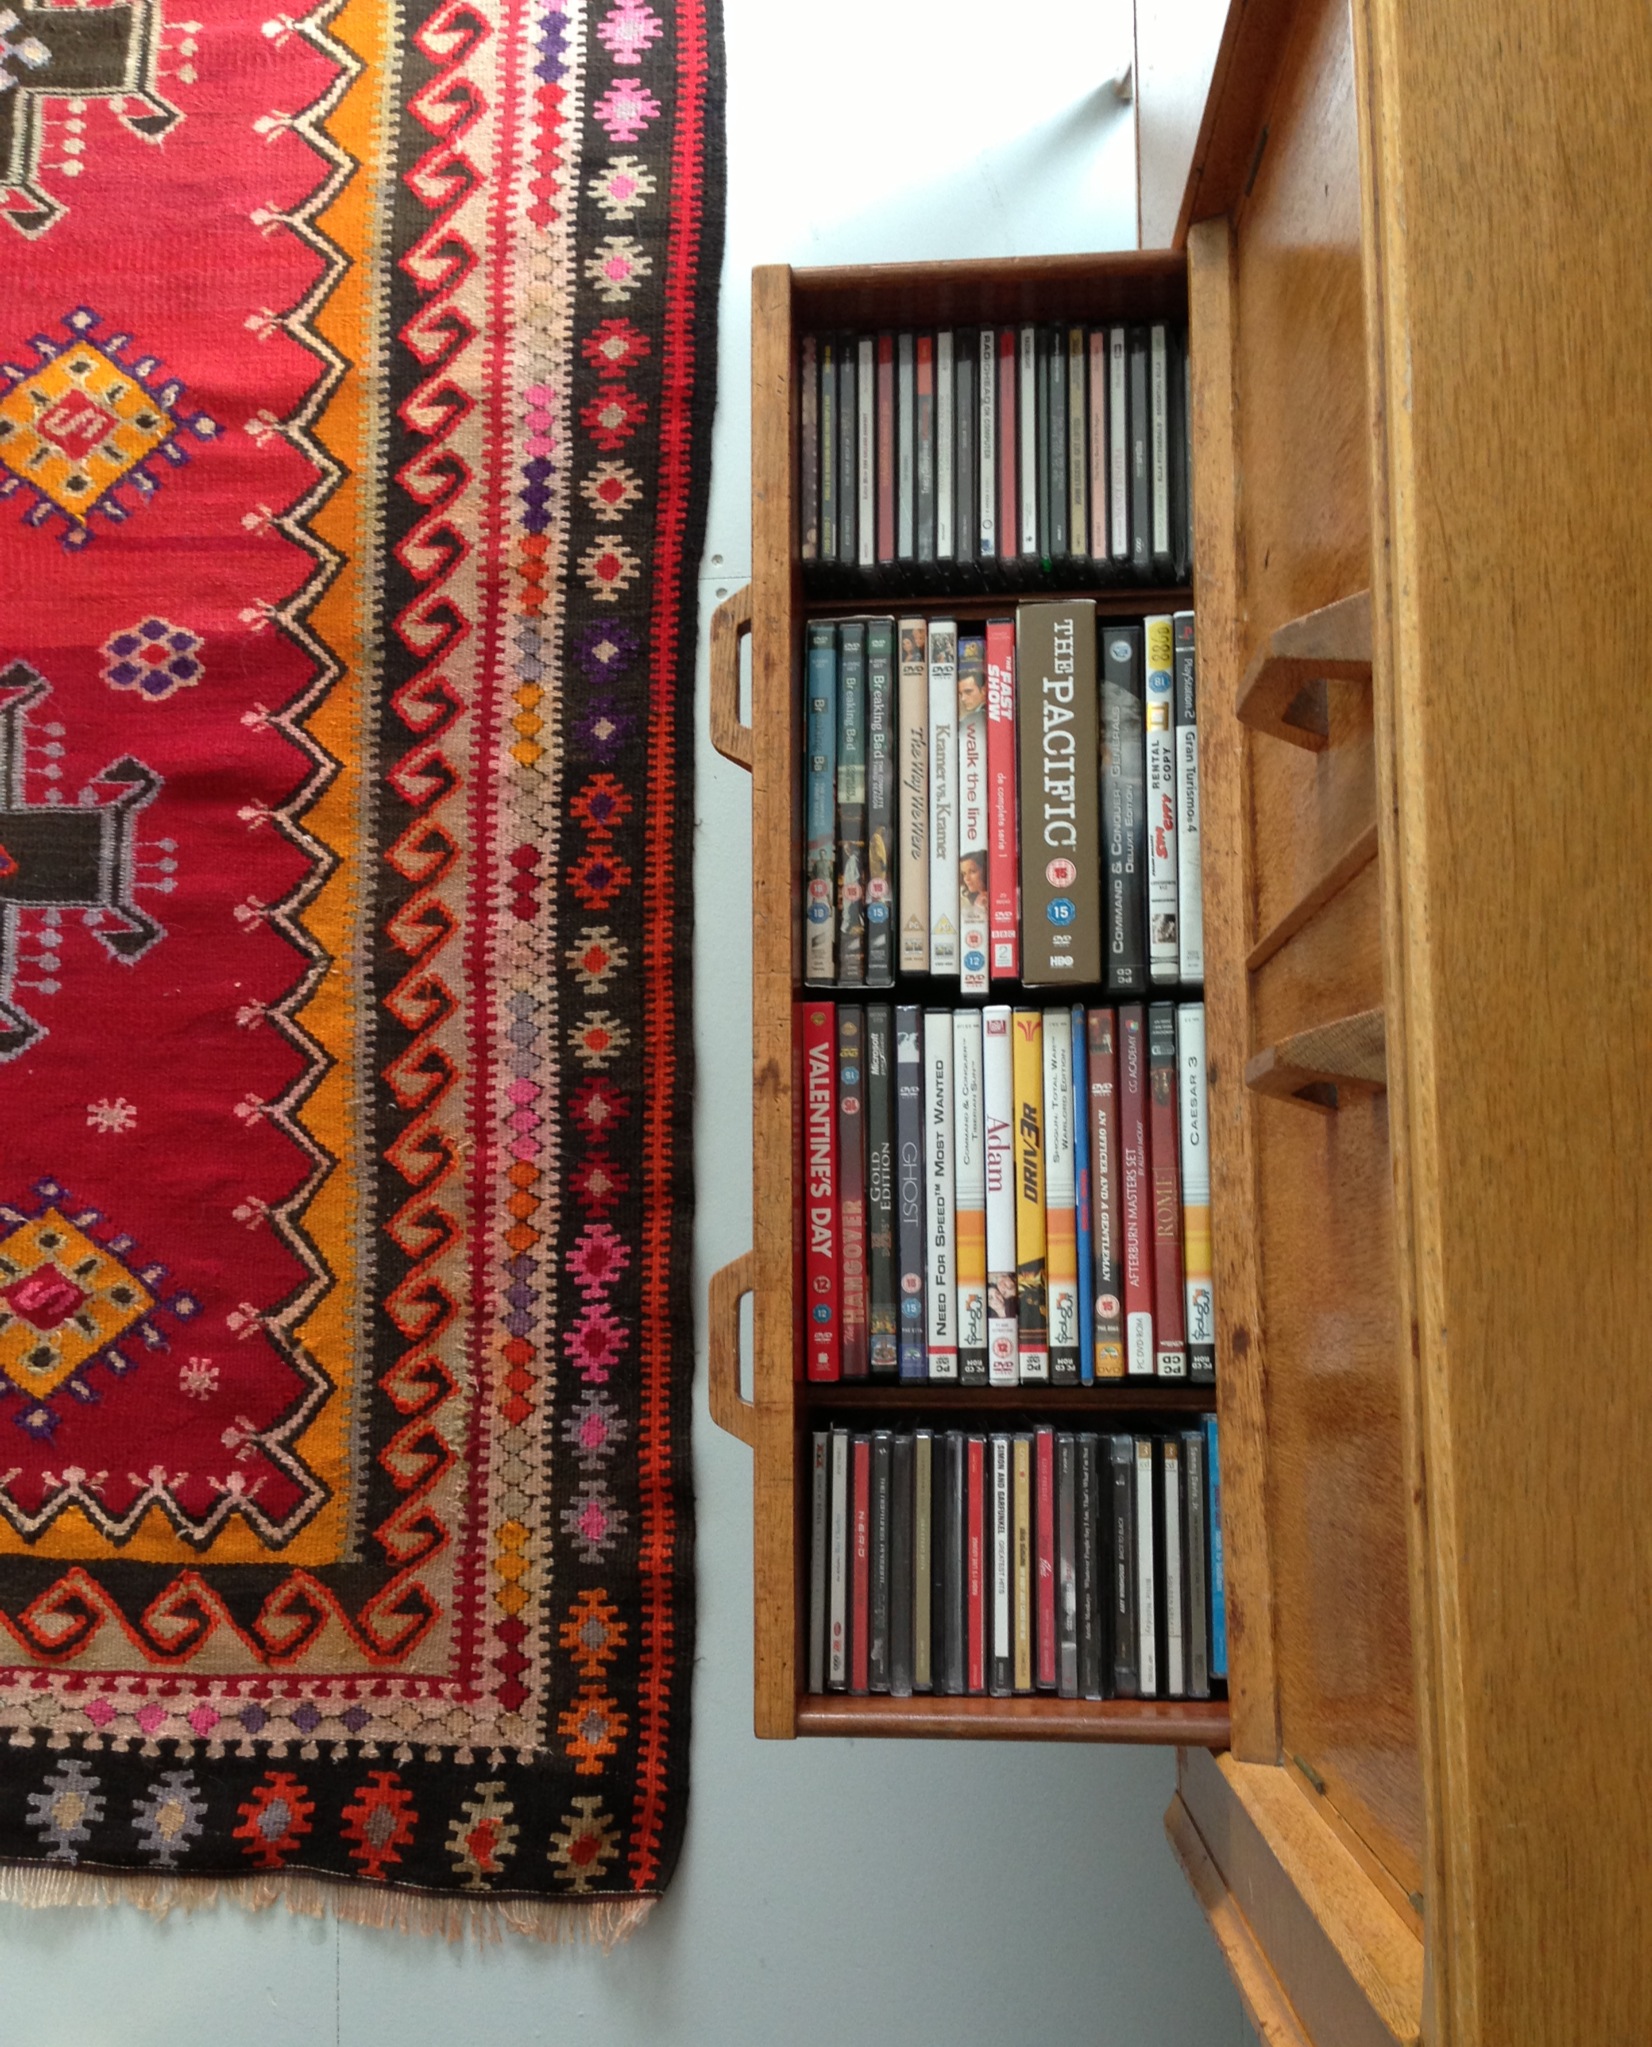
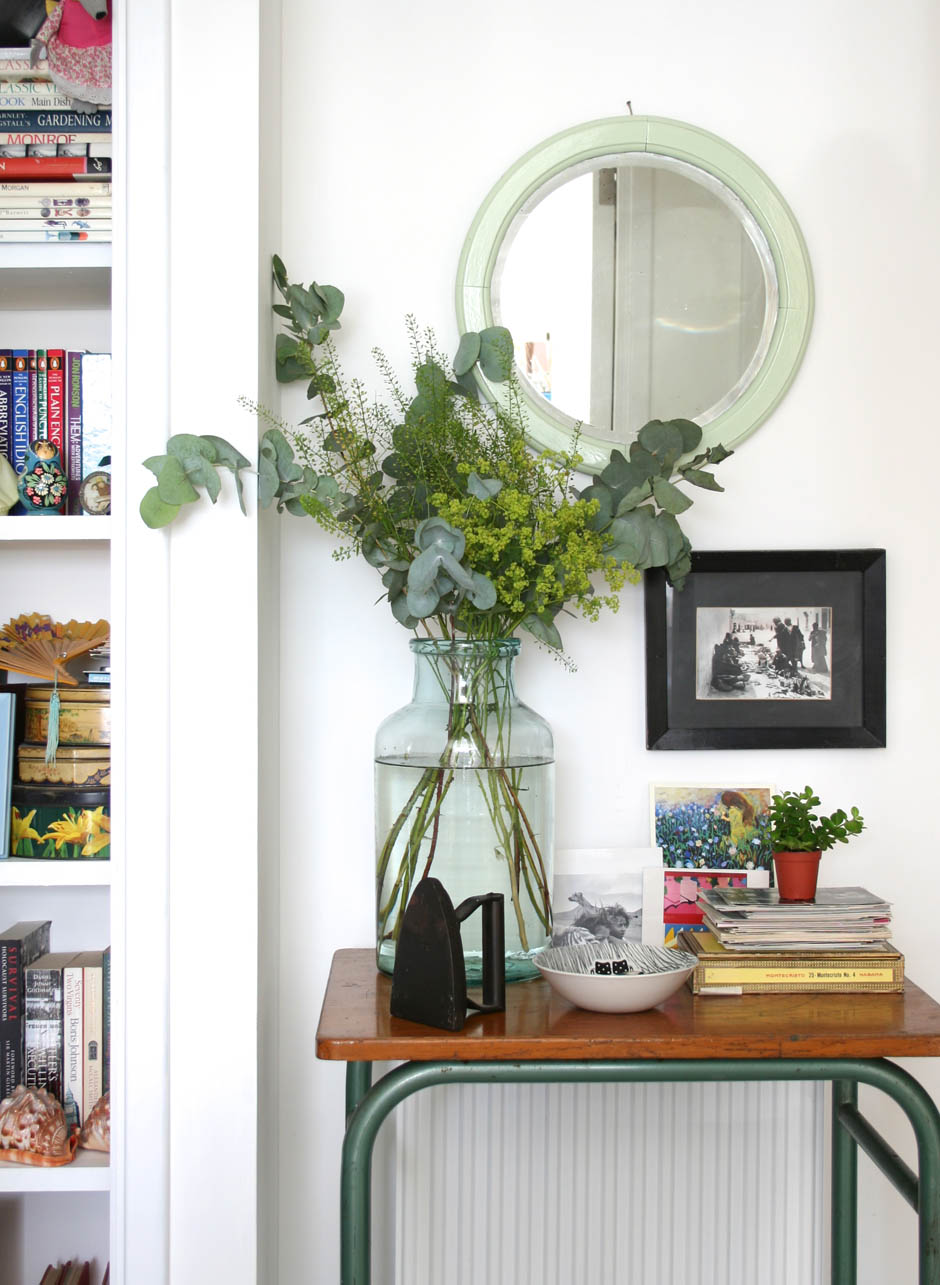
So, how do you think I should finish mine? It’s going to sit underneath our hallway table, that you can see below.

Vintage school desk as hallway table | Apartment Apothecary

If you’ve got any good ideas, please leave a suggestion in the comments section 🙂

Katy x


Styling the Seasons inspiration

It has been a busy week as I’ve tried to catch up on all the work I’ve not been able to do over the last three weeks. Now that I am officially off bed rest, life has gone from being incredibly boring to completely hectic in the blink of an eye. Another nicer change has been going out on dog walks again so that I can breath in the new season, kick dried leaves and enjoy wearing my wellies again; it’s quite incredible how much the outdoors has changed in the space of three weeks. This week has been rather beautiful in London, for the most part, with golden, low light and some amazing blue skies. So, I decided that you should look no further this weekend for inspiration than the wondrous Styling the Seasons photographs for October. Not only do they beautifully reflect the change of season, but I love the freshness of a newly styled surface; I honestly think it has the power to refresh a whole room. You don’t need to buy anything new, all you have to do is wander around your home and pick out some of the objects you like best that may not be shining as much as they should be. Bring your favourite objects together and create a new display on one of your surfaces, be it your coffee table, mantelpiece, sideboard or shelf.  You could even add some nature – conkers, leaves, foliage, flowers. I promise you, it will be worth it and it’s not as hard as it looks, just try not to think about it too much (there are some more tips for you here). Here’s some inspiration from some of the lovely folk who have already taken part in #stylingtheseasons

Styling the Seasons - October | @thislittlecorner Instagram

Image from @thislittlecorner on Instagram. Her feed is absolutely beautiful.

Styling the Seasons - October | Lapin Blu

Image from Lapin Blu. Sarah-Lou’s blog post is one of my favourite posts this month.

Styling the Seasons - October | Littlegreenshed

Image from Littlegreenshed. I’m in love with Lou’s home and her October Styling the Seasons blog post is gorgeous – always such inspiring use of nature.

Styling the Seasons - October | Circle of Pine Trees

Image from @cirlceofpines Instagram. Laura’s photographs and styling are stunning (I also really want that allumettes box!).

Styling the Seasons - October | Lobster and Swan

Image from @lobsterandswan Instagram. Jeska’s styling is always effortlessly beautiful and organic and it always inspires me.

Styling the Seasons - October | Cate St. Hill

Image from @catesthill Instagram. I really love this collection of beautiful objects and the colour palette.

There are so many more that I love that you must see by searching for #stylingtheseasons on: Instagram, Facebook or Twitter or visit my Pinterest board, which will take you through to the lovely blog posts that have been written. Have a go, be creative, experiment and enjoy! That sounds like the best kind of Sunday to me.

Katy x