Paper lanterns for summer parties

A bit of a cheater’s post today as I blogged about paper lanterns last Autumn but lots of you said that you wanted to be reminded about it for the summer….so, here you go!

These lanterns are the perfect two minute project that you can use for glorious summer parties in the garden (or even a wedding).

You need:

White paper bags from Amazon (25 for £2.40 – I just cut off the handles)

Battery operated tea lights from Amazon

Scissors/hole punch/craft knife if you want to create a design but you can just use plain bags

N.B. You may need a few stones to weigh the lanterns down if it is windy

Tutorial:

There really isn’t a tutorial, all you need to do is cut out your desired design (hearts, initials, flowers) or use a hole punch, like I have below. Pop a few tea lights in each bag – you will probably need at least four per bag – and weigh down with stones if you need to.

Paper lanterns by Apartment Apothecary

Paper lanterns by Apartment Apothecary

Have you got any lovely summer parties planned that you could use these for?

Katy x


Furniture makeover challenge

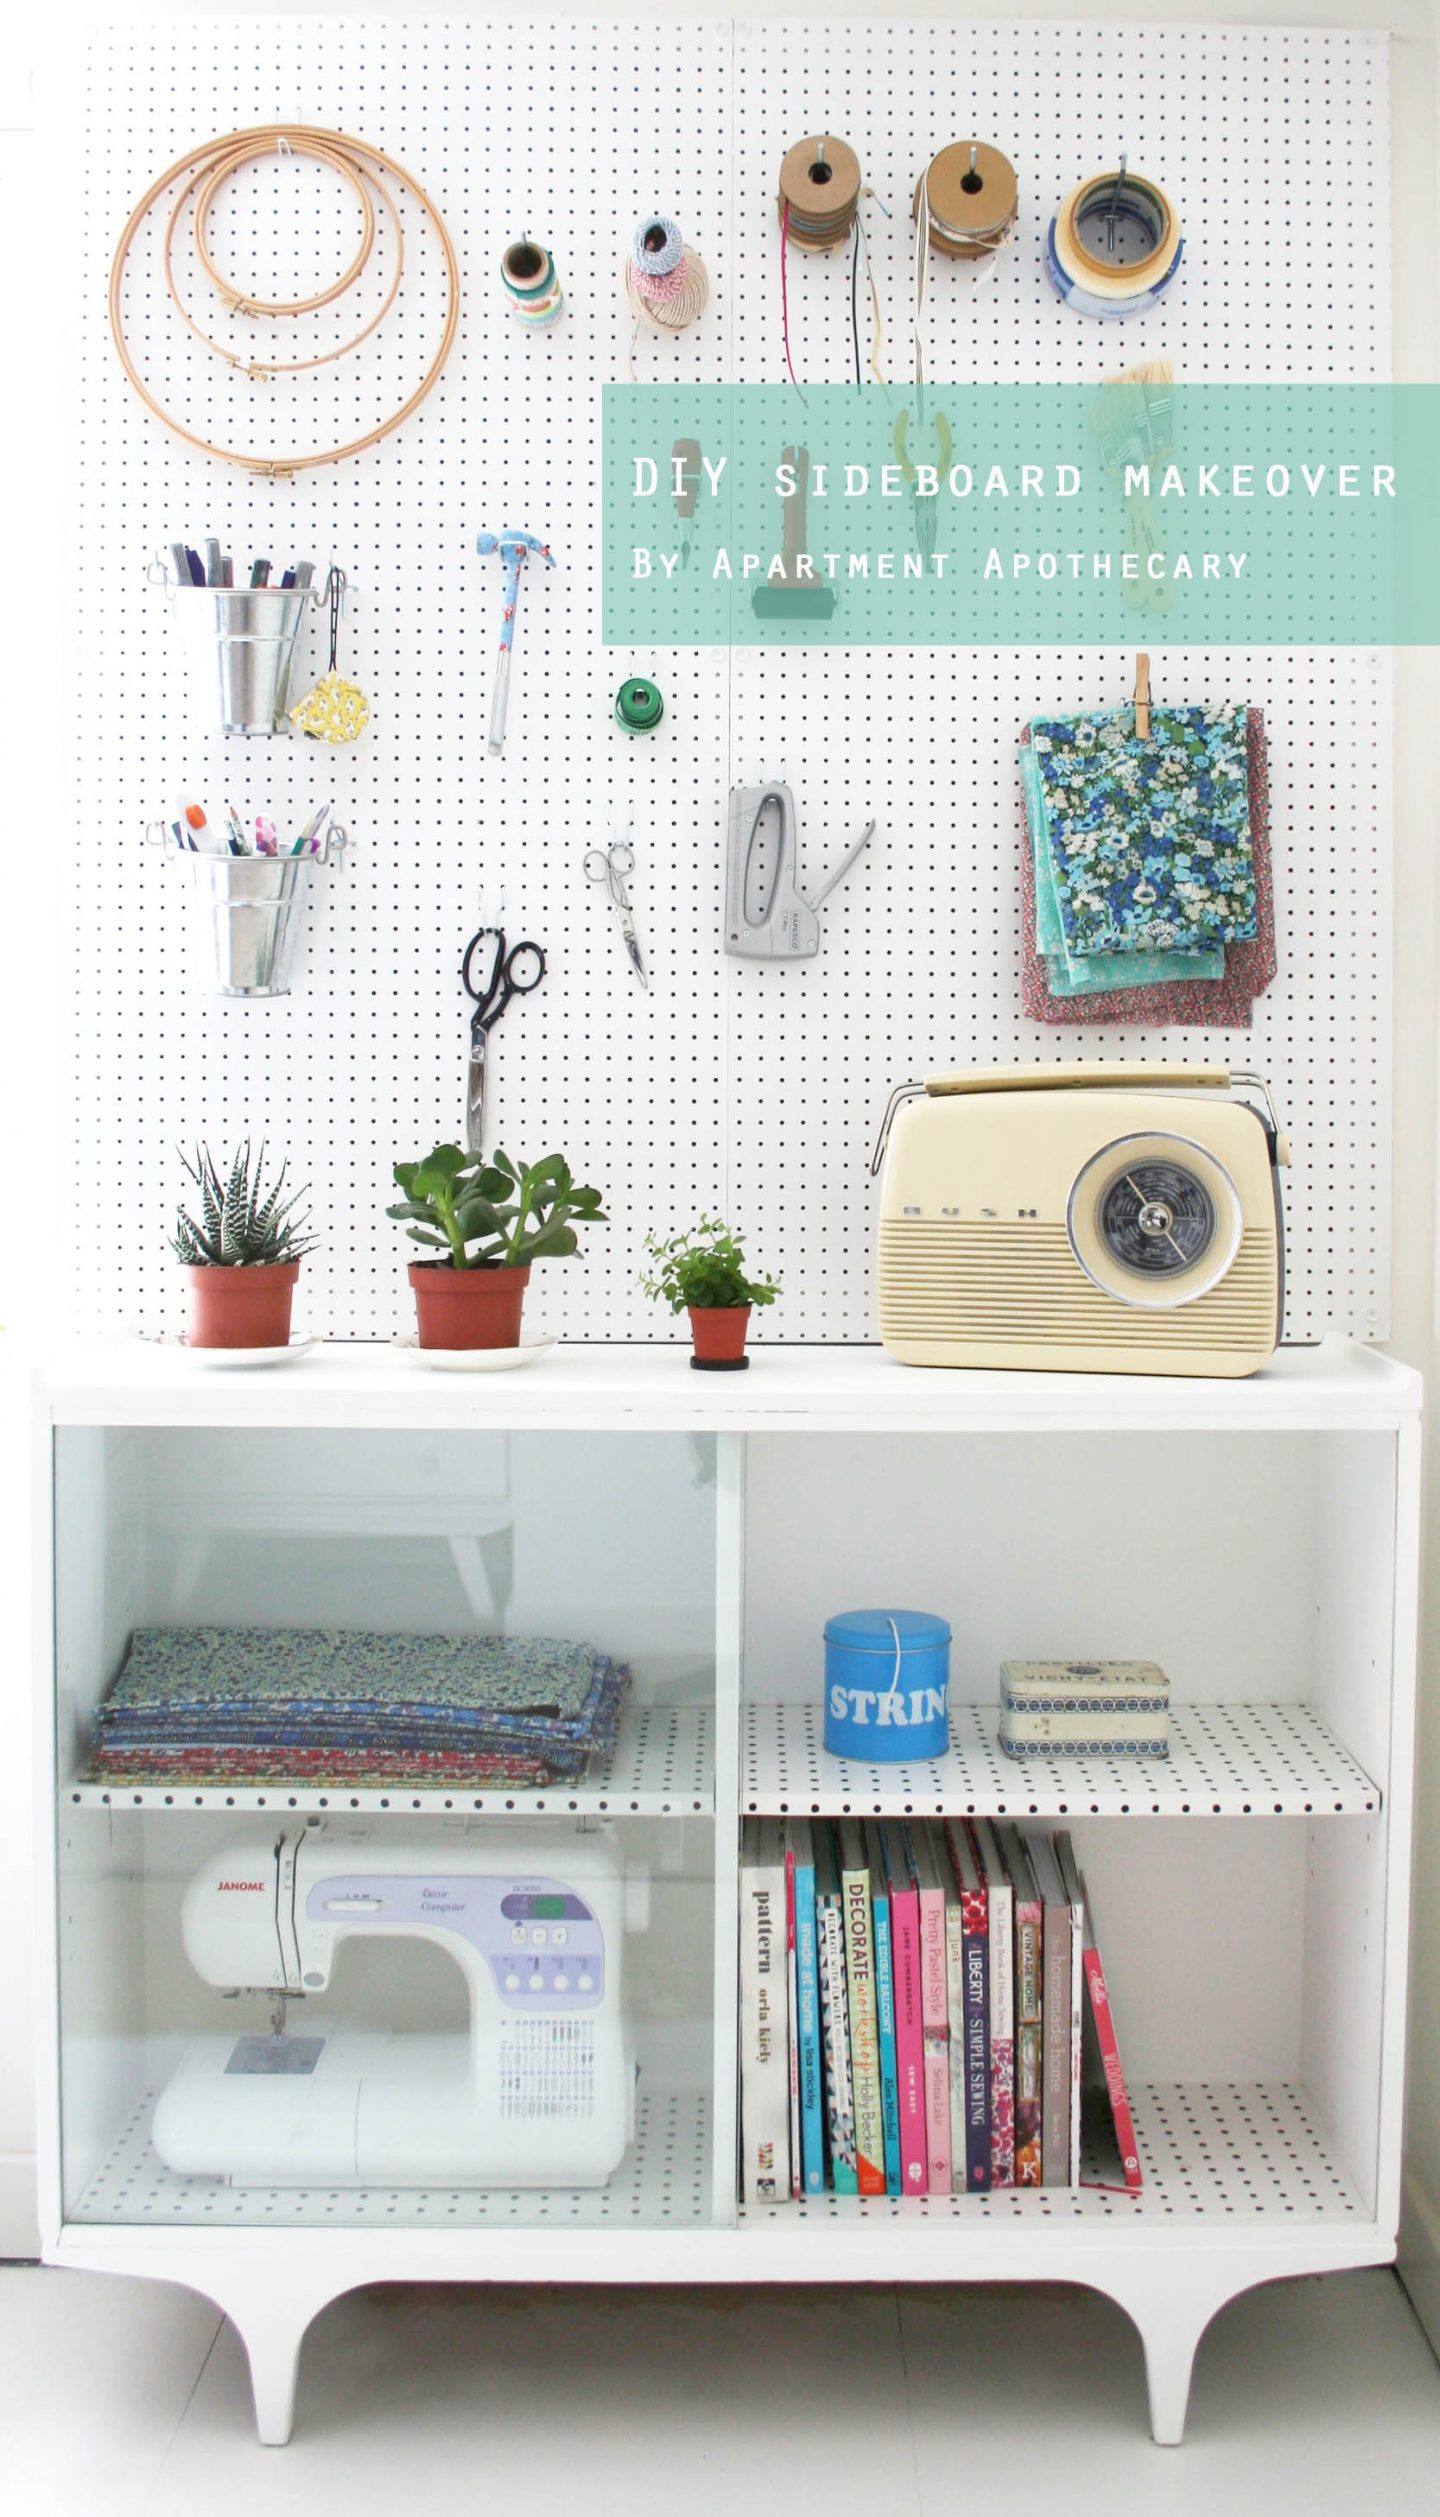
As you may have seen from my previous post I have been kindly asked by Direct Blinds to join in with their ‘Renovation Sensation’ competition. They gave me £100 to find, buy and renovate a piece of furniture of my choice – the perfect competition!

Furniture makeover | Apartment Apothecary

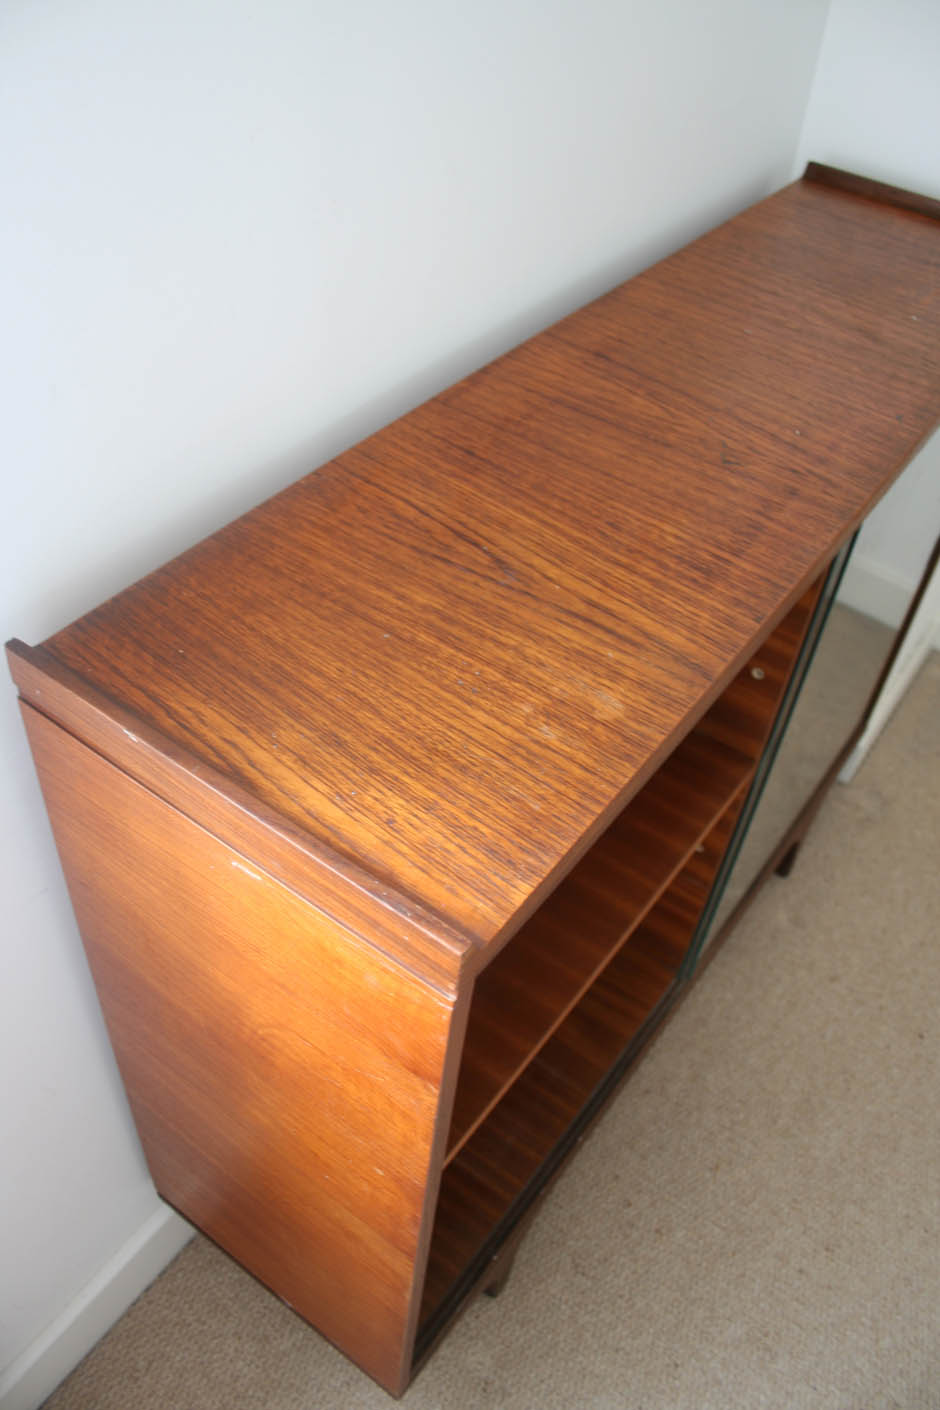
I chose to buy a cabinet from eBay that I need for my new home office. I have taken a lot of inspiration from modern Scandinavian interiors so I want the room to be light, bright and white with vintage touches here and there. The cabinet I bought is a great shape and I love the glass doors but it has a very dark, orangey veneer that is not so pleasant – definitely not the lovely teak of a mid-century cabinet. I tested sanding a patch but it is made of some sort of composite wood so no beautiful grain or colour to reveal.  Therefore, my first task was to brighten it so it doesn’t absorb all of the light from the room. I then tried to give it a bit of character and add some more storage to the top for all my craft supplies. Here’s how I did it…

Furniture makeover | Apartment Apothecary

Furniture makeover | Apartment Apothecary

Renovation

What I used (anything with a price next to it I bought for this competition with the £100 budget):

Cabinet £30

1 litre of Annie Sloan pure chalk paint £18.95

Annie Sloan clear wax

Two sheets of 3.5cm pegboard (60 x 120cm with 1.8cm hole centres) £8 each

Pegboard hooks £13.79

Batons, screws and drill to mount the pegboard

Mini Moderns Snow Peggy wallpaper remnants

PVA glue

Clear varnish

Paint brushes

Clean rag

Scissors

TOTAL: £78.74

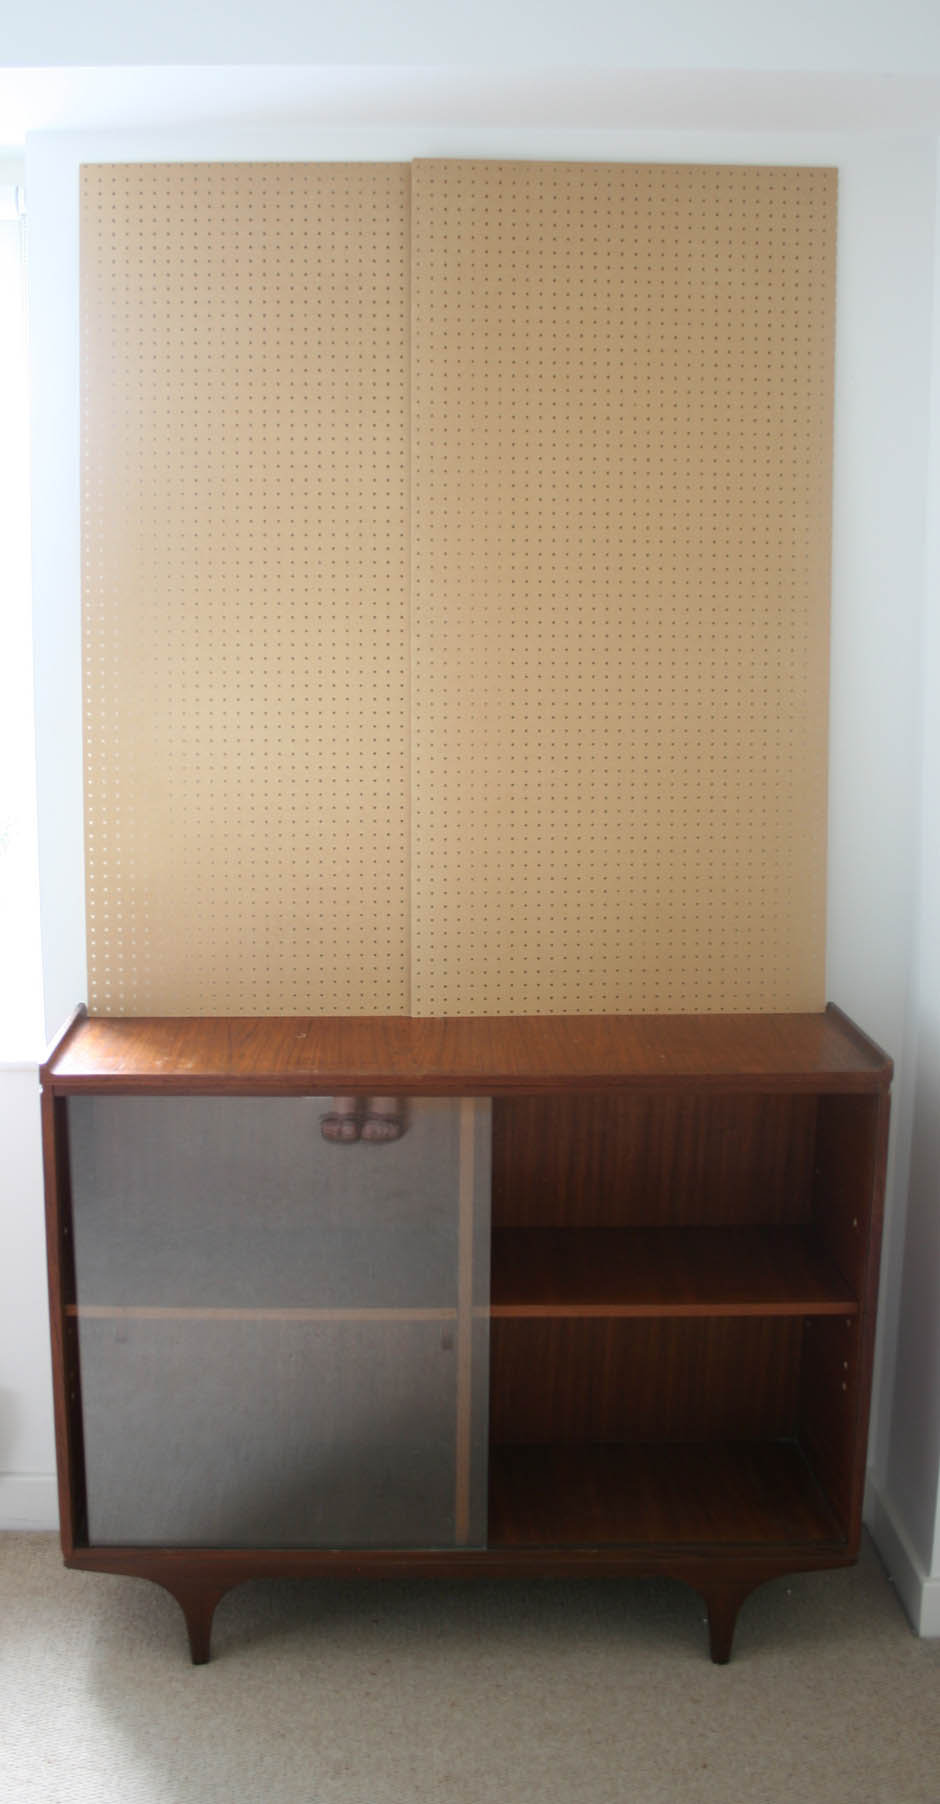
Step 1:

I mounted two sheets of pegboard above the cabinet to add extra storage for my craft supplies.
Furniture makeover | Apartment Apothecary

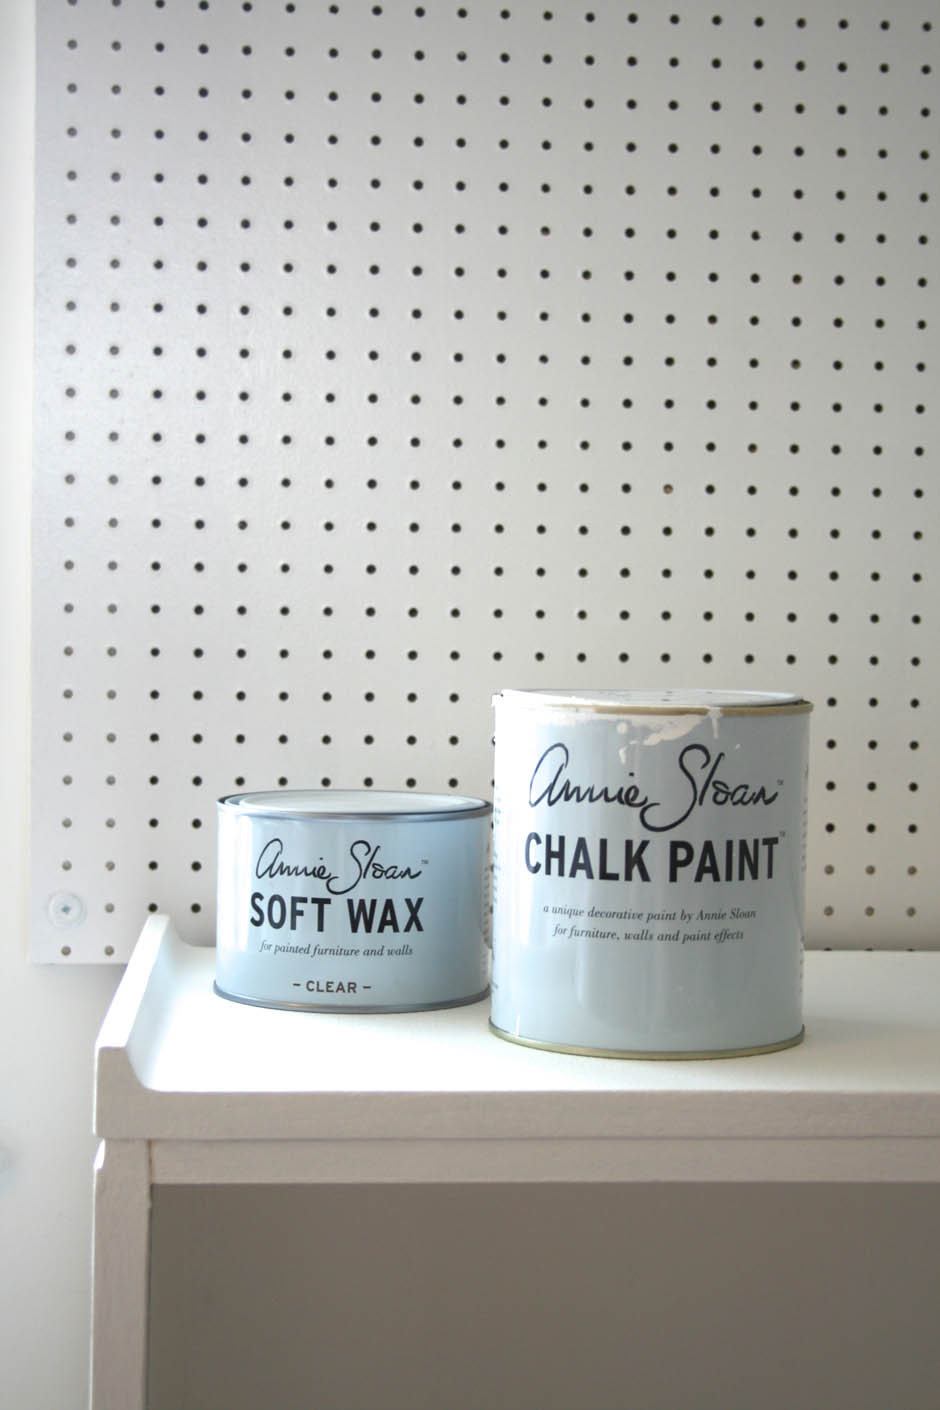
Step 2:

I used pure chalk paint for the cabinet as you can apply this paint straight onto the veneer with no need to sand! Sometimes, with varnished or veneered wood the stain can bleed through the chalk paint so you need to do a tester patch first. If it does come through do a base coat of Zinsser stain blocker. I then used the clear soft wax to add some extra protection to the cabinet. I used eggshell on the pegboard as it needs to be really strong to withstand wear and tear.
Furniture makeover | Apartment Apothecary

Step 3:

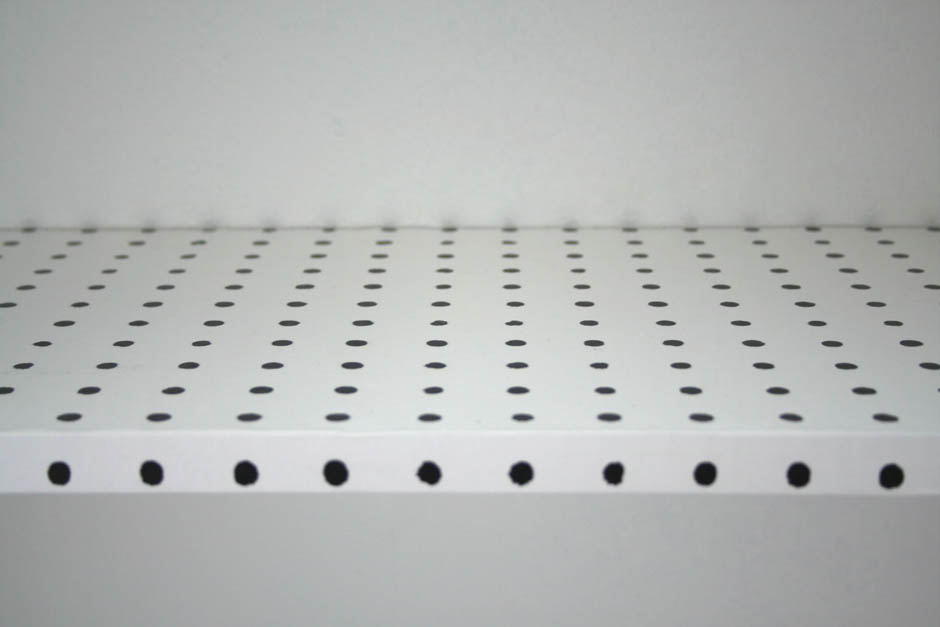
I then used Mini Moderns wallpaper remnants to line the shelves of the cabinet and the pattern reflects the pegboard wall. I spread a very thin even layer of PVA glue over the shelf and laid the paper over it very carefully to ensure I didn’t trap too much air. If you don’t have wallpaper you could also use wrapping paper but use a very small amount of glue as otherwise it will wrinkle.

Furniture makeover | Apartment Apothecary

Step 4:

I put the wallpapered shelves into place and then varnished the paper to make it hard wearing and to avoid scuffing.
Furniture makeover | Apartment Apothecary

Furniture makeover | Apartment Apothecary

After…

Furniture makeover | Apartment Apothecary

Furniture makeover | Apartment Apothecary

Furniture makeover | Apartment Apothecary

Furniture makeover | Apartment Apothecary

So, I have finished the first corner of my new home office – better start stuffing that cabinet with all my craft supplies and finishing off the floor! Thank you to Direct Blinds and fingers crossed that I win this brilliant competition.

Katy x


Liberty sewing project

When I receive an email from Liberty asking me to do a guest post, I always do a little leap for joy. For past guest posts I have made advent calendar bunting and a travel highchair and this time I decided to make a summer project with the beautiful Liberty fabric I was sent. I have had a bare deckchair frame for three years hanging around in my hallway cupboard. Every year I promise myself that I will bring it back to life and this year I have finally got round to it!

I oiled the frame and made a simple, plain sling. I then used the gorgeous Thorpe print fabric to make a headrest cushion. If you have a deck chair, you need to make one of these! It makes the chair sooooo much more comfortable.

I do hope you hop over to the Liberty craft blog to check out my tutorial. Here’s a sneak peek…

IMG_2047

Happy lounging!

Katy x


Wimbledon prints

I think this is my favourite time of year: the promise of summer, sun, Pimms, strawberries and holidays. I’m also totally in love with Wimbledon (although very disappointed there’s no Andy in the final today. Boo.)

If you, like me, love Wimbledon and a good bit of design then these gorgeous prints that are sold at the London Transport Museum may well be right up your street.

They are all original London Underground posters and cost £14.95 for an A3 size print (they are available in a range of sizes). As you may have seen, I do love these vintage tube posters and I featured some that I own a few weeks ago. I think the bold colours and simple forms and fonts would look great on any wall.

Happy tennis watching!

Katy x


Up-cycling an eBay find

I have been asked to enter the best competition EVER!  I’ve been given £100 by Direct Blinds to buy and renovate a piece of furniture of my choice.  Amazing.

I want you to see the ‘before’ shot of the piece I have bought from eBay for £30. I wanted to buy something that I need so this is going to be perfect in my new home office for craft storage. It’s a great shape (love the legs), I like the glass doors and it’s a very practical size. However, in this space, particularly as it is next to the window, it seems to suck every ounce of light from the room. If it were in the sitting room or hallway, I might keep it as it is but it is not the lovely teak you might think it is from the photos; it is actually quite a nasty dark, orangey veneer.

So, it needs to be lightened, a little dash of character and some pegboard to go above the cabinet. This is going to be storage heaven!

Entries close on July 15th so check back to see what the piece will eventually look like.

Up-cycling an eBay find www.apartmentapothecary.com

Up-cycling an eBay find www.apartmentapothecary.com

I’d love to know what you would do to this piece too! Leave me a comment 😉

Katy x