Adding the finishing touches to a room

You may have noticed that I’ve been a bit quiet around here the last couple of weeks as I am struggling with our current round of IVF, which is much, much longer than the previous rounds so it really feels like an endurance test. I don’t know about you but when I don’t feel well I really struggle to think of creative ideas or concentrate so I will try instead to have a practical focus on the blog this week, which might come a bit more easily.

Our living room and kitchen makeover is all finished but dragged on and on because the delivery of a new sofa was very delayed and without that I couldn’t finish off the living space. We are now at a stage where the final finishing touches need to happen and I’ve hit a bit of a wall, mostly because I have felt so floored by all the drugs I am on but also because when so much work has gone into getting the ‘big’ stuff sorted it’s easy to run out of steam doing the smaller jobs e.g. framing art work, deciding on lighting, potting up plants, hanging mirrors etc.

So, I have put together a list of helpful tips if you are in the same situation and hopefully it will help me along the way too!

1. Ask for a trusted opinion

When you’ve been working on redecorating a room for a while it can become all a bit of a blur and you can no longer see the wood from the trees. You can end up having no idea whether the room actually looks nice or not because you have looked at it and studied it for so long! That’s why it’s a great idea to call on someone whose opinion you trust to come over and gauge their reaction. Make a little list of things you have been struggling with – placement of art work, cushion choices, whether the big houseplant should go on the left or the right of the window – and ask their opinion. I did this a couple of times last week and it has really helped me refocus and trust that I am making the right decisions.

2. Make a comprehensive list

I can find it a bit stressful when I think there is still loads to be done and therefore I do nothing. Making a clear list makes everything feel more manageable and can remove some of that stress as more often than not you realise there isn’t as much to do as you had built up in your mind.

3. Plan your budget

If you know that you still need to buy finishing touches for your room/s plan your budget carefully. Perhaps space out the purchases over the next few months and plan towards that.

4. Take your time

I think it can be a positive to take your time on the finishing touches of a room as it makes it feel more organic and a break after doing major changes can be refreshing as you come back to the room with a new perspective. However, you do need to be firm with yourself about what needs to be done and plan some sort of timescale as I have seen soooo many people never ever finish a room off as they just get used to it the way that it is.

5. Take photos to gain new perspective

If you are struggling after working on a room for too long and you feel unsure about what it needs to pull it all together try taking a few snaps. Seeing the room on film can really help give you a new perspective and a bit of distance, which should help you identify what you need to add to make it feel finished.

6. Break it down

Once you have the big stuff in place i.e. new wall colours, furniture, room layout, flooring, it can be helpful to categorise the finishing touches to help you figure out what you need. Think about a) lighting – at least three light sources in each room b) textiles – curtains, rugs, cushions, throws c) walls – art work, prints, shelves, mirrors d) decorative accessories – plants, books, objets d’art. Work through each category in that order.

Adding the finishing touches to a room | Apartment Apothecary

7. Be prepared

Be clear about the colours you want to use in the room and carry a paint colour card as well as fabric swatches for your sofa/curtains/cushions around with you in case you see something you want to buy (yes, I actually do that). It will save you so much time and umming and ahhing if you can make a decision there and then as you come across things you like. Also, always have a few snaps of the room on your phone so that you can reference those if you are in a shop and trying to make a decision on whether to purchase something or not.

I have been choosing between different rugs, lighting and artwork for my living room over the last couple of weeks so I’d like to share that decision making process with you this week as it may provide some good inspiration if you are making changes to your living area.

Hopefully be back tomorrow with lots of lovely lights that I’ve been lusting over.

Katy x

Studio living

Nearly ten years ago the first property I bought was a 33 m2 studio flat in Borough, just down the road from where I am now. I thought it was the BEST THING EVER and there wasn’t a day that I didn’t love living there. I never felt cramped, claustrophobic or penned in and the only reason I left that flat was to move in with a boyfriend (he definitely made me feel penned in so that didn’t last long).

I learnt a lot about staying organised and living without ALL the stuff from that studio; it felt so simple and carefree living in such a small space and everyone who visited me there would wax lyrical about how great it was. Anyhoo, why am I telling you this? Well, one of very good friends is moving next week to a studio flat about a four minute walk from my flat (yay!) after I found it for her on RightMove – finally, my guilty pleasure of snooping in other people’s homes online has paid off! We visited the flat together and we both loved it and she decided on the spot that it was right for her and didn’t bother seeing anything else.

My friend has since asked for advice on living in such small space so I thought it might be helpful to share some of that here as I’m sure we are not the only ones who live in small flats.

Love the area

I think it’s really important that you choose an area that you love if you are moving into a small flat. You need to feel that you can get out and about easily so that you don;t feel hemmed in. Knowing that there is a great bar, restaurant or park on your doorstep makes studio living so much more bearable.

Declutter

You must get bored of me harking on about decluttering but I really do believe it has the power to change the way you live. When you live in a small space the last thing you want is to be surrounded by stuff and have to sacrifice an important piece of furniture such as a dining table because you have too many clothes/books/crap to fit in.

Studio apartment | Home of Emmy Lundström | Ennui blog

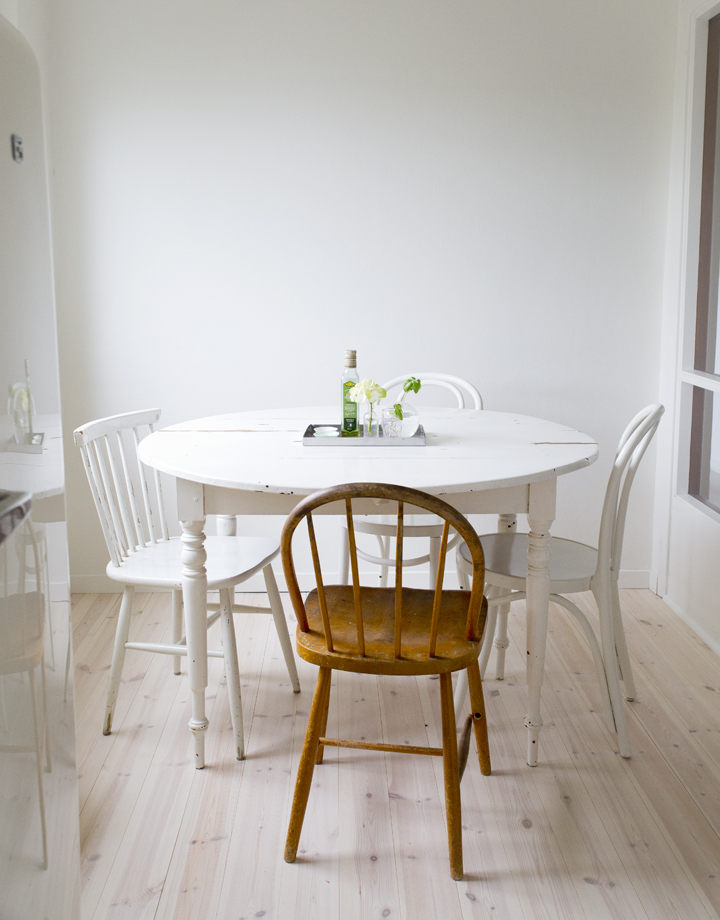
You need to be able to fully function in a small flat. For example, get rid of clutter if it means you can fit in a good sized dining table. Image via the gorgeous Ennui blog featuring the home of photographer Emmy Lundström.

Use wall space

Don’t underestimate the amount of storage space you can achieve by using the walls. Whether it be high shelves, wall cupboards, picture ledges, shelving or hooks there is always a way to use the walls without encroaching on the space too much.

Keep floor clear

Keeping the floor clear of anything other than furniture and the odd basket is something I have always strived to do and it makes a huge difference to how spacious a flat feels. Piles of stuff precariously balanced around the place is a big no, no.

Create zones

Try really hard to make it very clear what each part of the flat is for, which will help you keep organised and keep the whole place from becoming one big mess.

Studio apartment | Stadshem

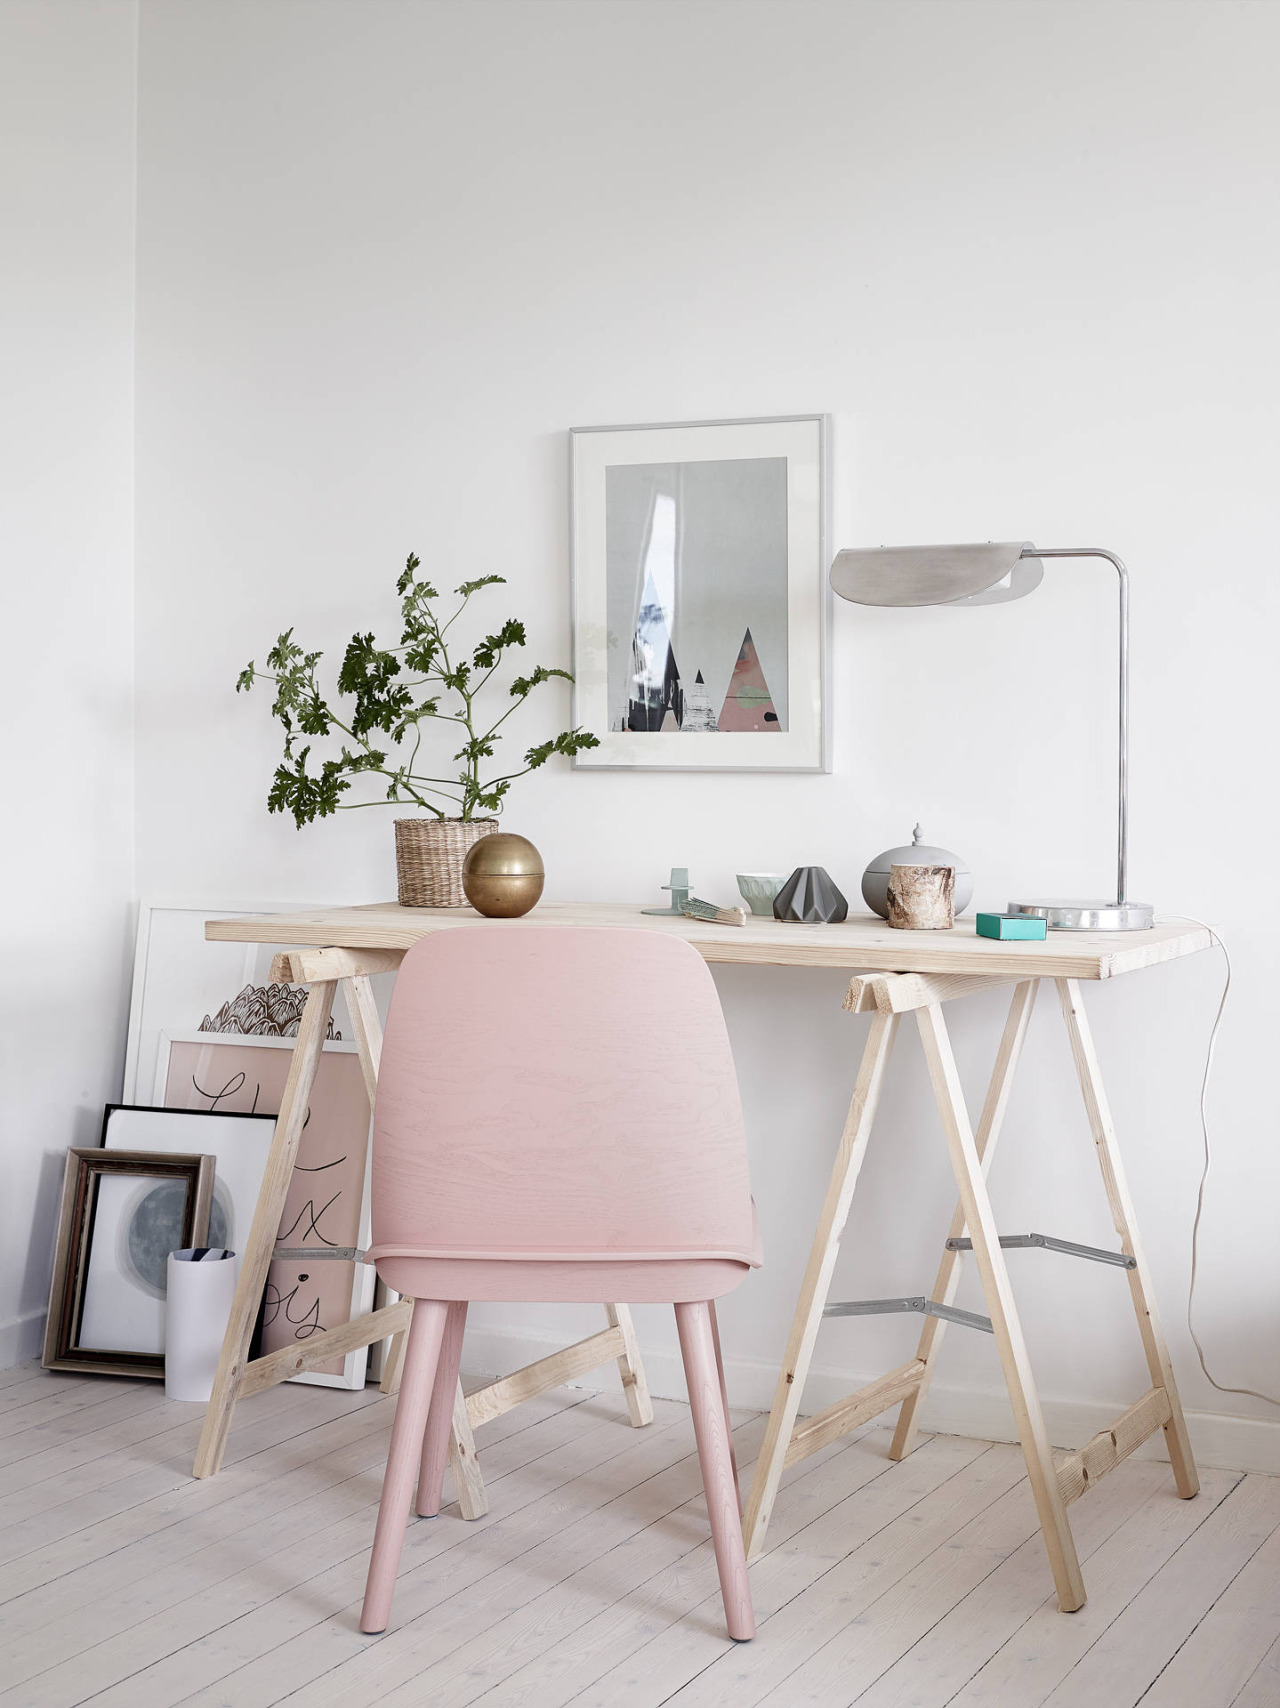
Working happens at the desk, sleeping happens in the bed, relaxing/reading/TV watching happens in the seating area. Keep everything separate so that it doesn’t become a confused space with everything everywhere. Image via Stadshem.

Studio apartment | Home of Emmy Lundström | Ennui blog

Love the way this bedroom has been divided off from the rest of the living space – those windows are genius. Image via Ennui.

Outdoor space

If you can find somewhere with outdoor space you need to grab it and make the most if it! Have the windows and door open every day (weather allowing) and make sure to actually use the space in a productive way so that it feels like an extension of your flat; it will make a huge difference to the feel of the place.

Alaska building Bermondsey | Converted factory | Apartment Apothecary

This is the studio flat my friend is moving to. It is a converted factory with its own terrace – look at those windows!

Don’t scrimp on style

The worst mistake you can make when moving into a small place is to think that there is no point putting any effort in to the way it looks. Taking care and paying attention to the colour scheme, adding character and injecting your personality into the space will make it feel so much more special and you will want to spend time there.

Studio apartment | Stadshem

Beautiful and stylish work area. Image via Stadshem.

Establish tidying routines

When I lived in my studio flat I decided to have a sofa bed with a fully sprung mattress. I had to be very disciplined to put the bed away every morning so that the living area was a useable space when I got home from work. Very quickly it became a deeply engrained routine, as did putting away all my clothes every night and cleaning everything away after dinner. These small actions made the space functional at all times.

Studio apartment | Home of Emmy Lundström | Ennui blog

Making the bed every day is very important if you have no other rooms to escape to. Image via Ennui.

Have you ever lived in a studio flat or bedsit and got any good tips?

Katy x


Tips for selling on eBay

As I’m sure you have realised my home is in a constant state of decorating flux – nothing stays the same for long and I am always dreaming of new home improvements. As a result, I am constantly decluttering as each room gets overhauled. I have written before about my decluttering experiences and over time I have become a bit of a pro; I can now get rid of almost anything without batting an eyelid or making a huge mess, which is always the risk when turning a room on its head.

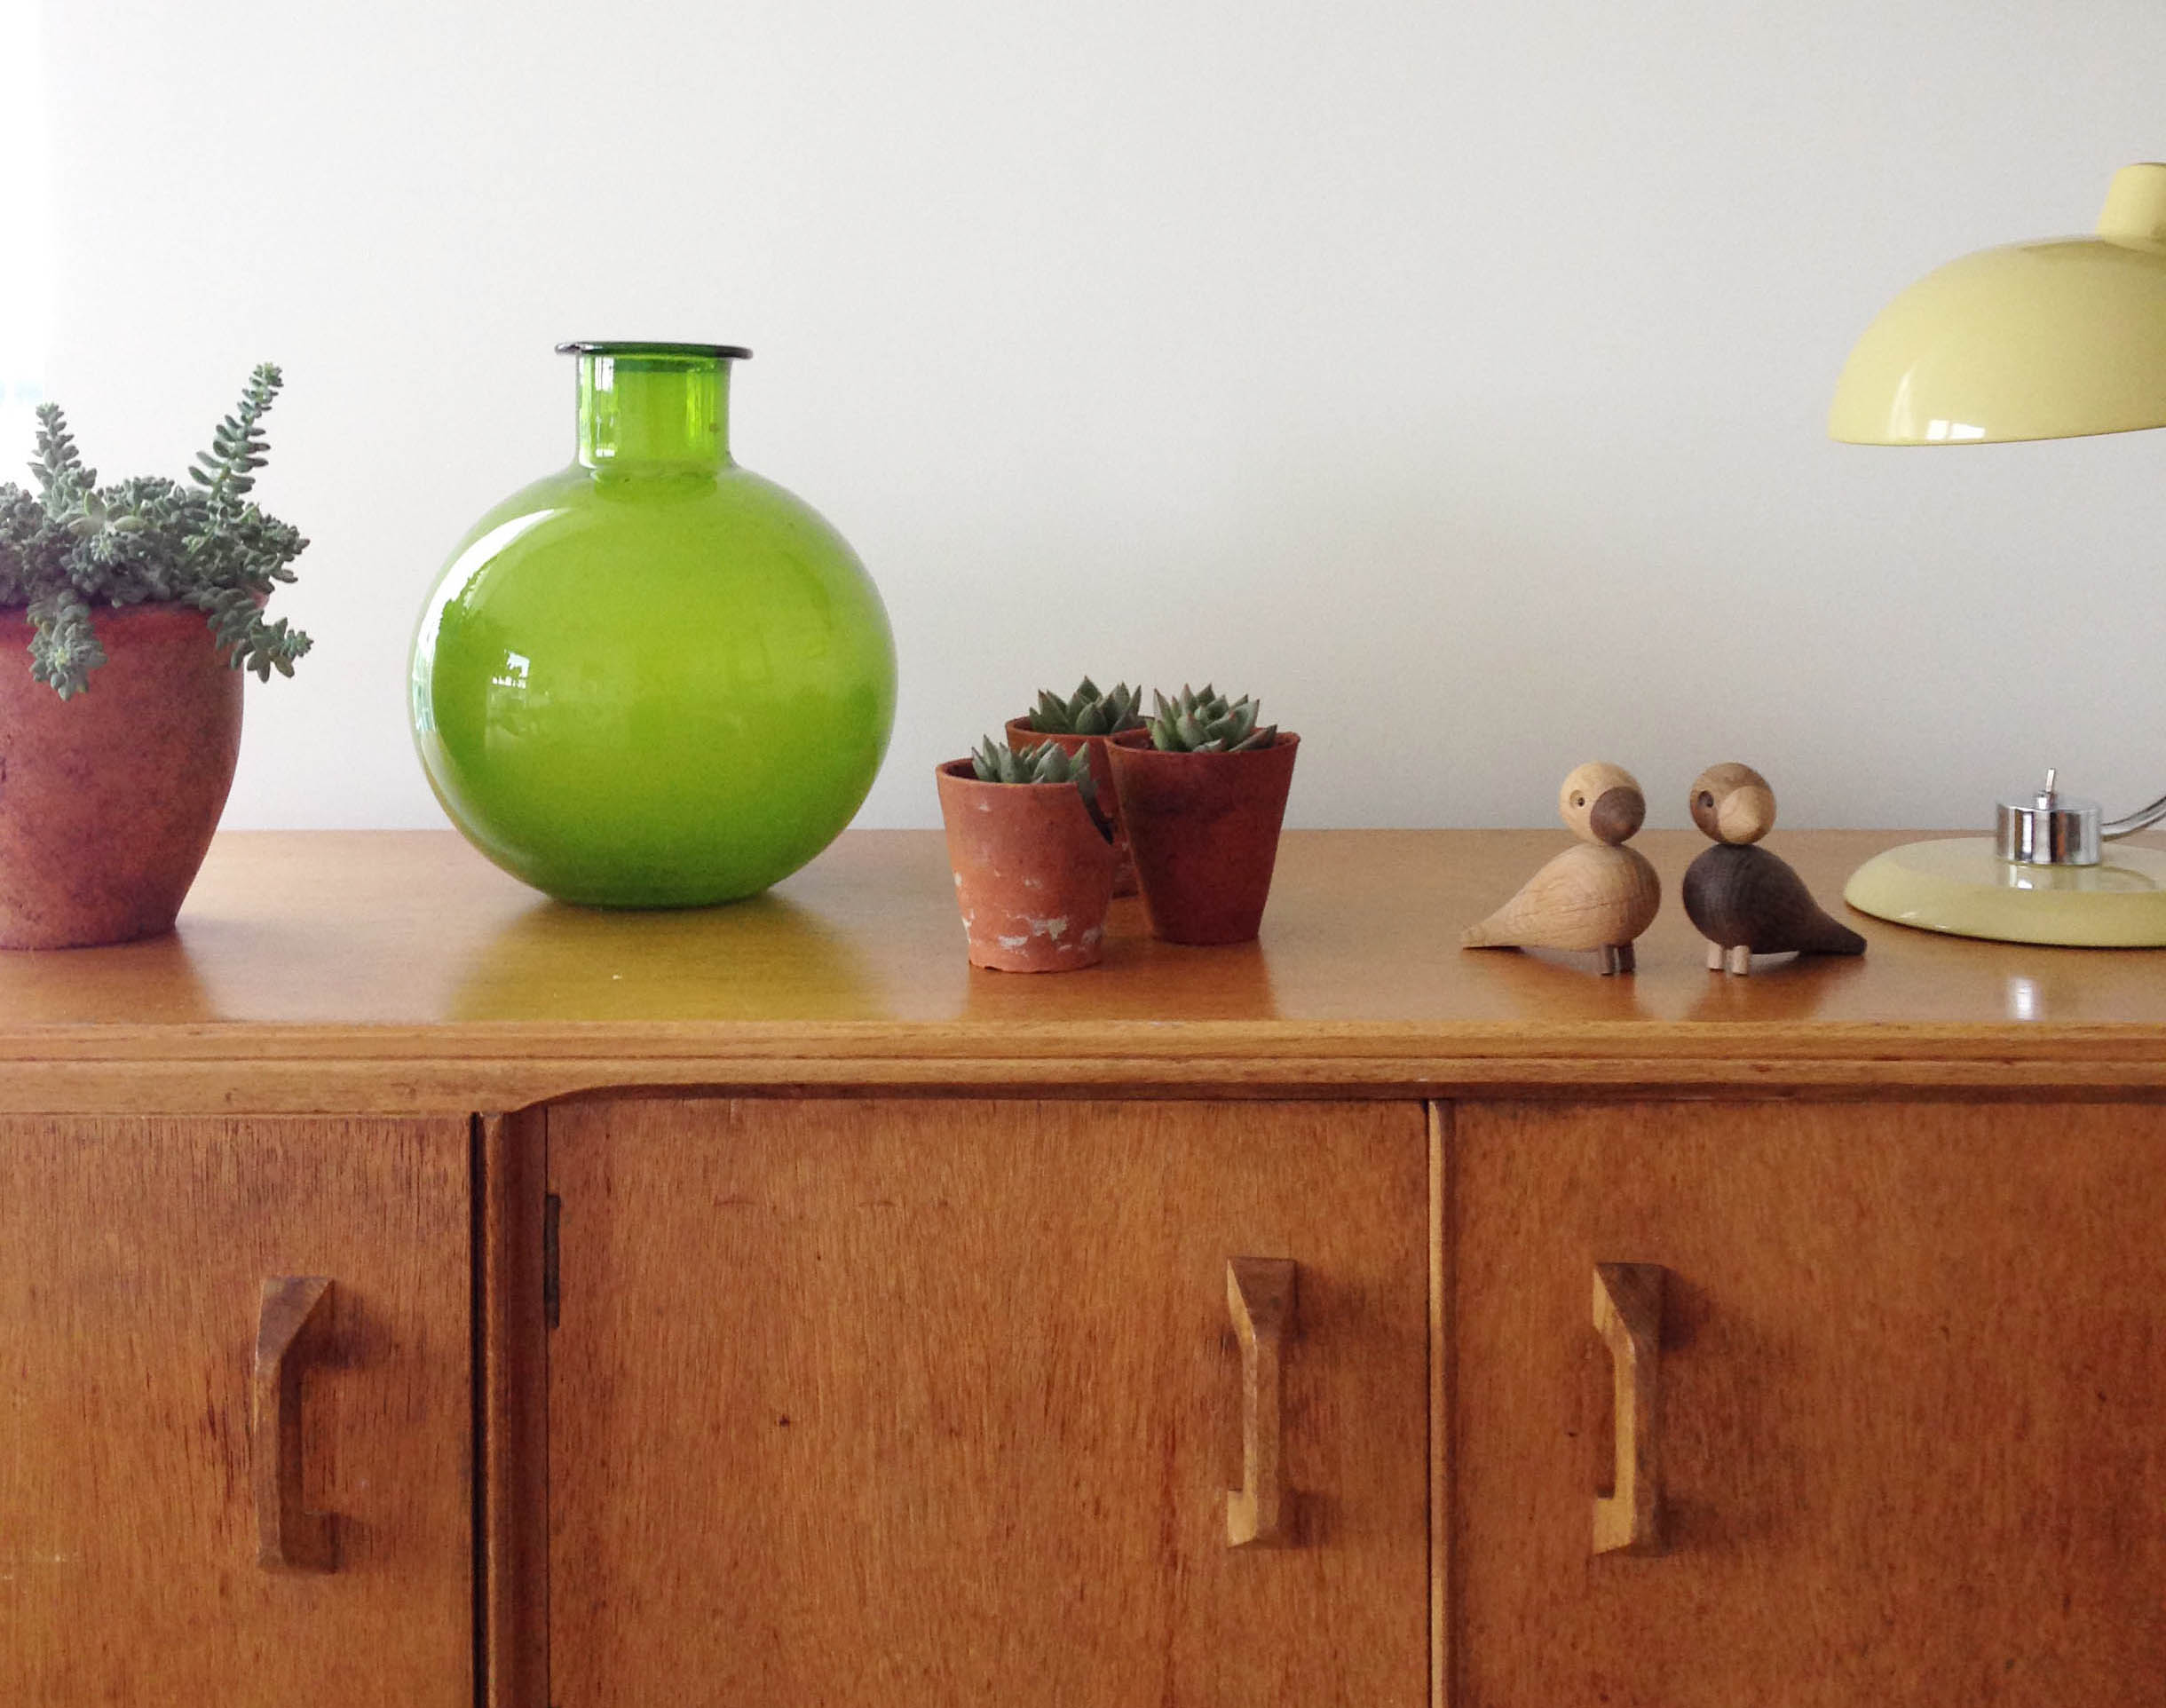
However, the issue of what to do with the stuff I get rid of is a bigger problem. Back in October we even held a vintage jumble sale to find a home for all our decluttering efforts. Since then I have done another big bout of decluttering, this time focused on the living room as we put my makeover plans into action (always start with the decluttering!). Therefore, I am resorting to some good old fashioned eBay selling. I have already managed to sell my G-Plan sideboard (sob!) as we just don’t have enough space for it and the yellow lamp in the picture has to go, too. I will also be selling my teal velvet loveseat, Lloyd Loom chair, large mirror from above my dining table, cushion covers and other bits.

I am pretty experienced when it comes to both eBay buying and selling and have been doing it for years. This weekend one of my jobs is to list what we have to sell so I thought I’d share some of my tips, as I’m sure they may come in handy for some of you. I have sold loads of clothes on eBay, which is a total breeze compared to homewares that can be a tougher sell.

Selling homewares on eBay tips | Mid century sideboard | G-plan sideboard | Retro furniture | Apartment Apothecary

I have already sold my sideboard and the yellow lamp will be listed this weekend.

1) Is it right for eBay?

Generally speaking I think there are two different types of homewares that do well on eBay. Firstly,  discontinued or cut price mainstream furniture or home accessories and secondly, vintage one-off pieces. If what you have is more like jumble then it can be a bit of a hard slog. I have loads of tiny knick knacks that will probably sell for about £1 on eBay but I tend to think that for all the effort it takes to photograph, wrap and post something sometimes the £1 you get in return isn’t necessarily worth it. Why not give it to the local charity shop instead?

You do need to remember that you do have to pay out to use eBay (i.e. they take a cut of your sale and charge you for certain listings) so thinking of alternatives can be a good way to go, whether it be a targeted Facebook group, Instagram or just try asking friends because they may have similar taste to you.

2) Expectations

I once had an armchair sitting on top of my dining table for a month – yes, a month! – because I expected to be able to sell it for only slightly less than the shop price (it had to live on the dining table because I live in a flat so you can’t fit an extra armchair in just like that). It was only when I really did my research and watched similar items selling for less that I lowered my expectations and finally sold it at half the price I thought it would go for. Be realistic and search similar listings to figure out the going rates.

3) Gather everything you plan to sell together

I always find that it’s helpful to gather everything that you plan to sell and keep it all separate and out of the way. The last thing you want is to list an item and then find someone in your house has used it after you’ve cleaned it or even broken it. Also, it just makes the process of tracking what you are selling and dispatching a sold item that much easier if you know exactly where it is.

4) Wash/prep to sell

You do need to make sure that whatever you are selling is in a good state before you post it. The last thing you want is poor feedback as that really does have a negative impact on how willing people are to buy from you. Put cushion covers or blankets through the wash, dust furniture, give mirrors a polish.

5) Photos

This is really obvious but it still astounds me how poor the photos are on listings, especially considering almost everyone has a decent camera on their phone these days. Take photos during the day in natural light, try to photograph what you are selling against a plain backdrop, take several pictures from different angles and just make sure they are not blurry! Also, make sure the main featured image isn’t a stock photo from a shop site, if you are selling something that can still be bought in the shops. Try to make the featured image stand out and catch the eye of any potential buyers. I use the eBay app as you can take photos on your phone and load them directly to the listing – so easy!

Selling homewares on eBay tips | Vintage Lloyd Loom chair | Apartment Apothecary

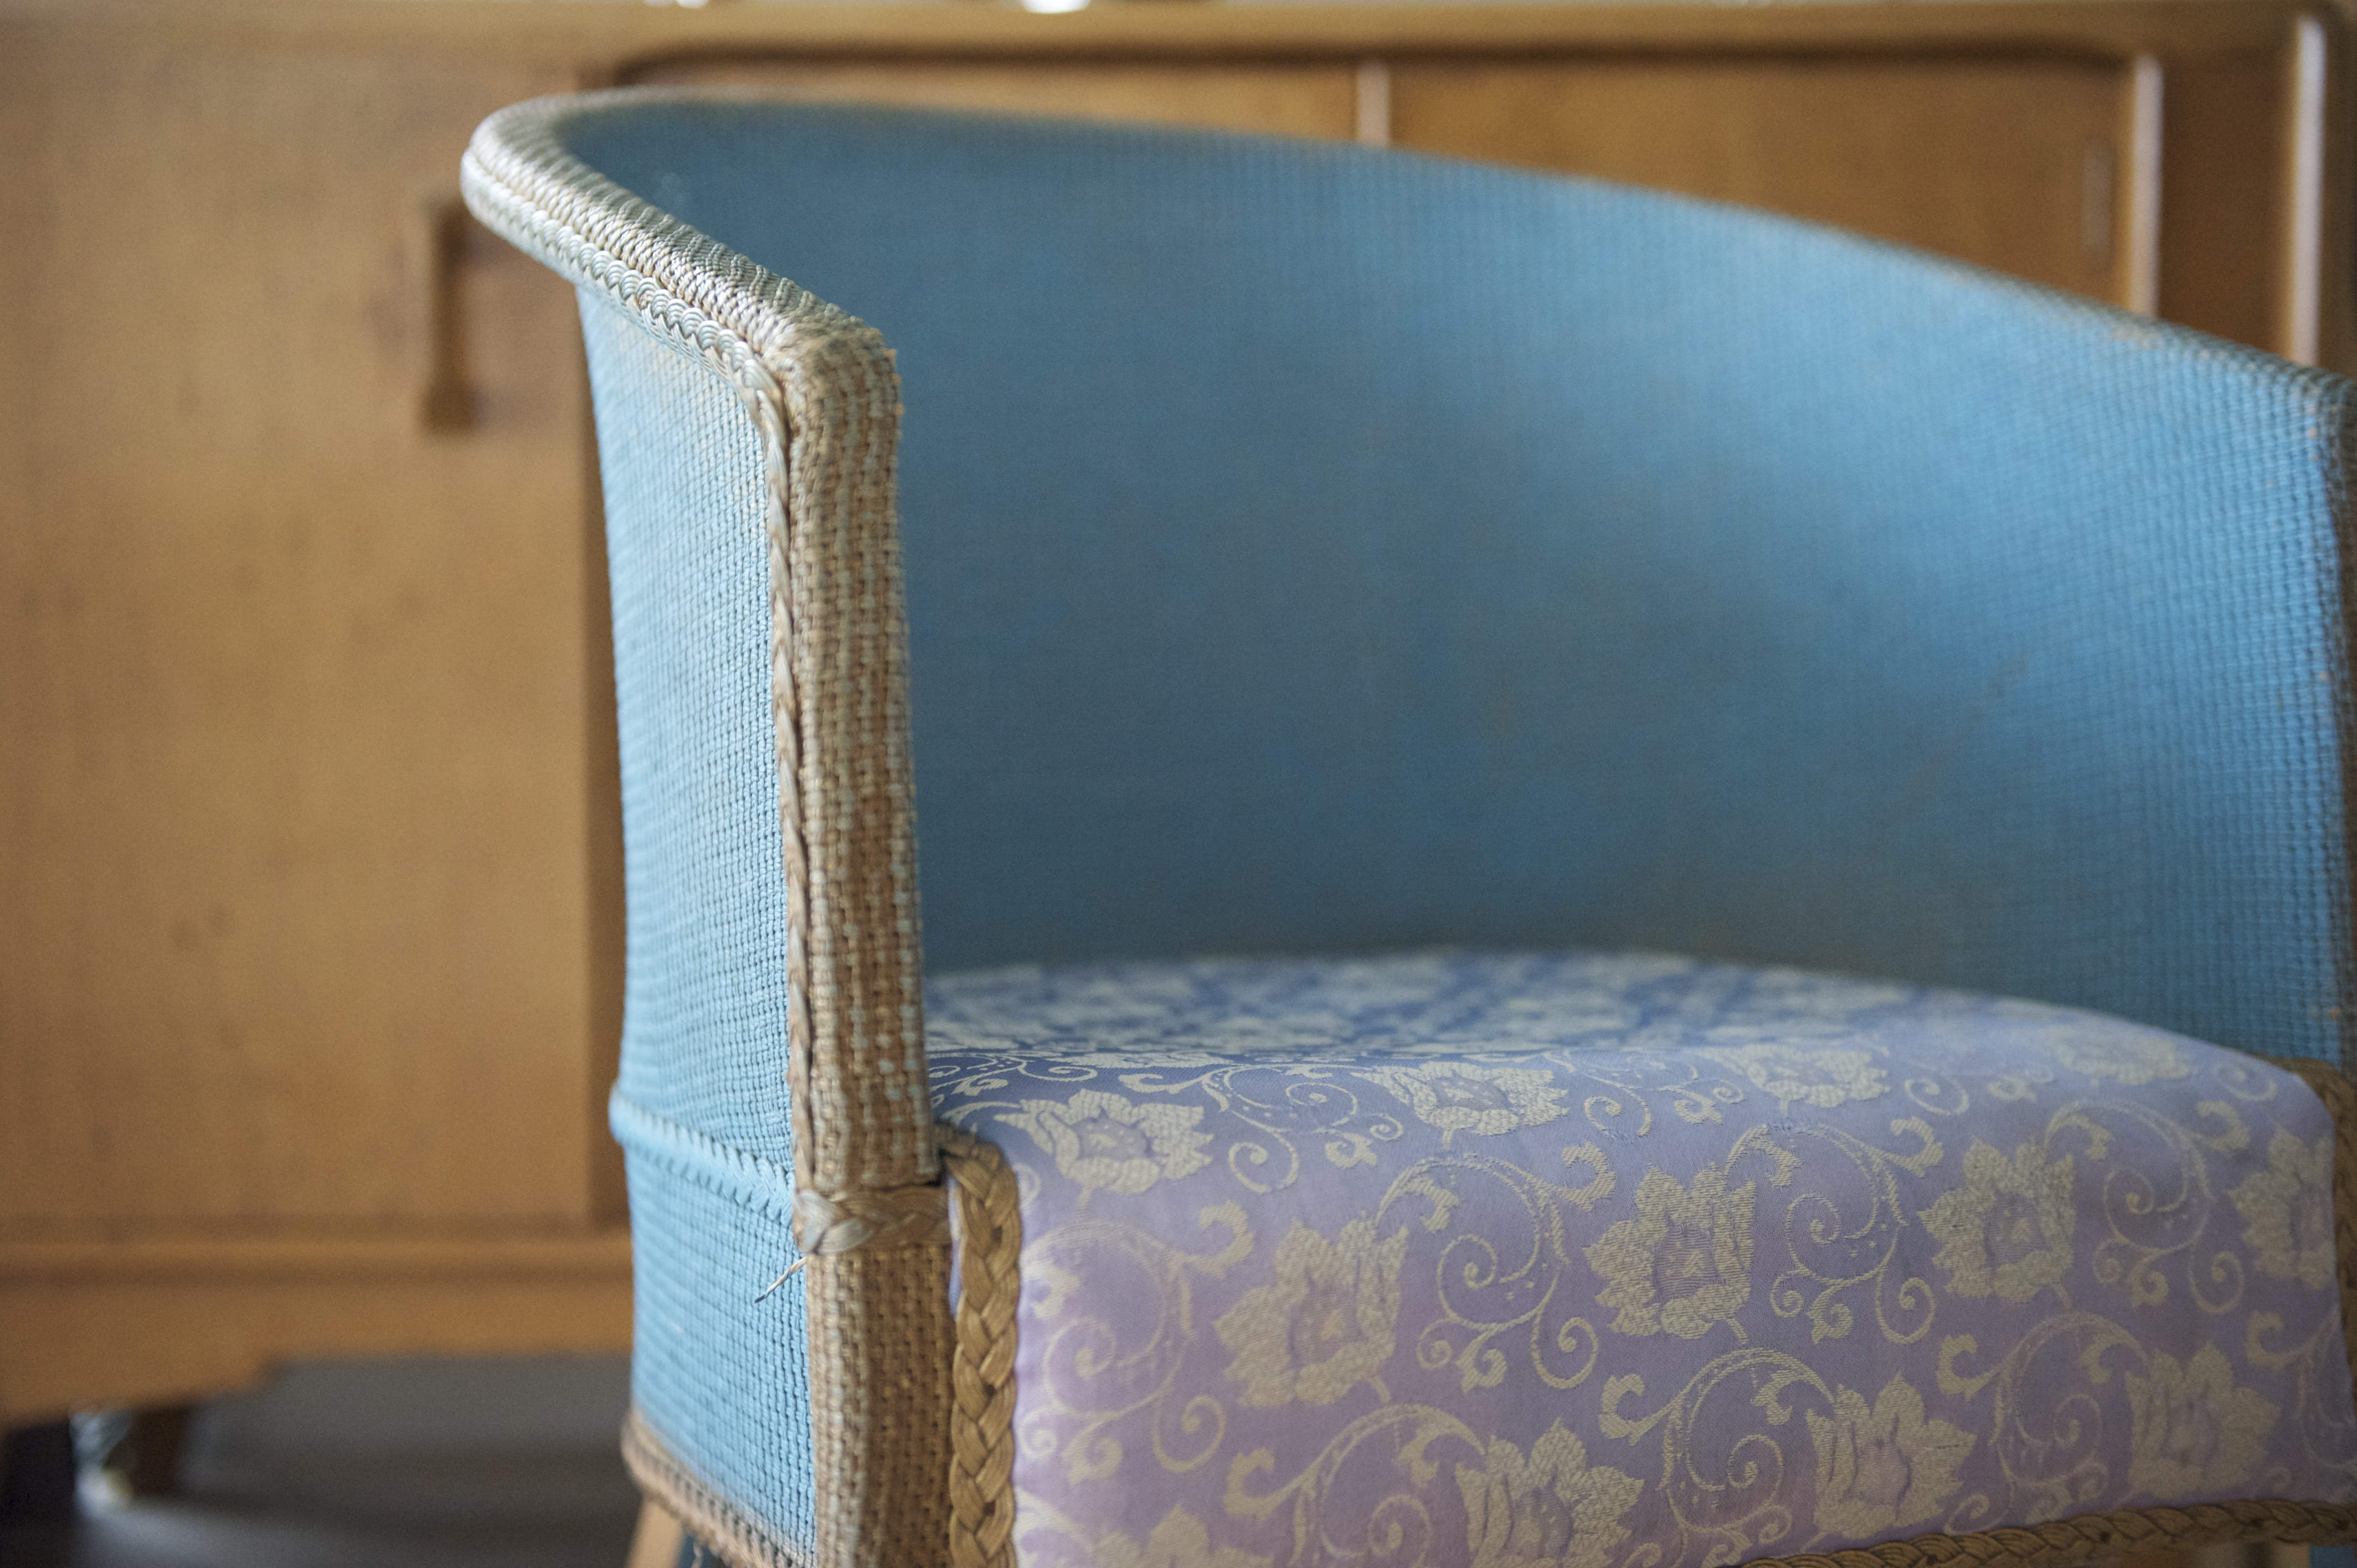
Make sure you take a variety of shots. I will be selling this Lloyd Loom chair that I love but I won’t have space for it in my living room once it is redecorated.

6) Key words and description

When you create your listing do a little research and make sure you know exactly what era the piece is from or what style it is so you can include these words in the title i.e. mid century, retro, Victorian, floral, Scandinavian. You want to catch as many potential buyers as possible when they are searching for homewares by including relevant key words.

When it comes to describing your piece make sure you add as much detail as possible including all dimensions. The more information you can give the easier it will be for a potential buyer to make up their mind – if they have to get in touch to ask questions this becomes off putting.

7) Save packing materials

When ever you receive packages keep the boxes, bubble wrap, tissue paper or jiffy bag. This will save you lots on packing materials and it’s good to recycle.

8) Shiply/UBER XL

If you can offer postage because the piece is small enough then that’s great. However, if you have a large piece to sell if you list it as ‘Collection only’ this will put off a lot of people. I always say that I can arrange a courier and that the cost of that depends on where the buyer lives.

Shiply is a brilliant way to organise a courier. It basically works on an auction-like basis and getting quotes is free. You give the details of what you are selling (you can even put in the number of your eBay listing) and then couriers bid for the job. So, for example, I recently sold a double bed and I had bids of £100, £72, £67, £52, £35 and £32 to courier it to Manchester. I obviously went with £32 (you can check the rating of your driver) and once you have accepted the bid you can then organise the pick up and drop off. If you live somewhere with UBER’s in operation try out their UBER XL service. I sold my G-Plan sideboard the other day to someone within London and it cost £17 in an UBER XL (larger than your average taxi) and very easy to organise using the app.

Selling homewares on eBay tips | Teal velvet loveseat| Apartment Apothecary

Sad to be selling my armchair as it was the first big piece of furniture that I bought when I bought my first flat ten years ago. I will definitely use Shiply to courier this to whoever buys it.

Hope this is helpful if you haven’t sold on eBay before. Wish me luck for getting rid of my stuff!

Katy x


Behind the scenes and DIY home studio tips

When I began my blog I had no idea how to take decent photographs in my home and it took me a long time to figure out how other bloggers did it. When I look back at some of my posts I cringe a bit as I realise how ugly some of my photos are – dark, bits of clutter captured in the corner of photos, muddy backdrops, light absorbing carpets or table tops. Over the last couple of years I have developed ways of improving the photographs I take in my home to try to make them look a bit more professional, without the obvious benefits of the lights, backdrops and space of a proper studio (oh to dream!). If you are new to blogging this post is for you!

DIY home studio for blog posts | Quick fix home studio tips | Taking photographs for blog posts | Apartment Apothecary

I shared my tips and tricks to create a home studio at Britmums conference as part of my talk about styling for blog photographs – you can see my tips for styling here and tips for taking photographs of your styling here. Today, I would like to share my tips for cheap, easy ways of creating a ‘home studio’ to make the most of your styling and make your photographs look more cohesive. Hopefully, these ideas won’t take too much effort or mean you need a dedicated space to take photographs, which a lot of people just simply don’t have.

1. Fake it!

One of the biggest lessons I have learned as my blog has developed and I have been offered more and more freelance work is that I need to fake it. For example, if I am asked by a sewing magazine to make an ironing board cover I know I do not have a lovely laundry room in which to photograph the project (I wish!). If you find yourself in this type of position, with something that you need to photograph but not the right type of room or backdrop for it, you need to be a bit creative about finding a solution. You can see below the solution I came up with for the ironing board – cleared a shelf in my home office, put a few ‘laundry room type things’ on the shelf and kept it simple. I hope if you look at the final magazine page that you would never guess it was in a messy office.

DIY home studio for blog posts | Quick fix home studio tips | Taking photographs for blog posts | Apartment Apothecary

DIY home studio for blog posts | Quick fix home studio tips | Taking photographs for blog posts | Apartment Apothecary

Another example from the same magazine, I needed to photograph some hanger jackets yet I know that the inside of my wardrobe is dark and ugly so using that as the backdrop would not have worked. I didn’t persevere trying to make the hangers look good in the wardrobe just because the cupboard was the natural backdrop for these items. If there isn’t enough light, there isn’t enough light – if I was a professional photographer I might have been able to make it work, but I’m not so I had to get creative again. You can see the solution I came up with below.

DIY home studio for blog posts | Quick fix home studio tips | Taking photographs for blog posts | Apartment Apothecary

DIY home studio for blog posts | Quick fix home studio tips | Taking photographs for blog posts | Apartment Apothecary

Take another look around your home when photographing particular props or products and try to think about what make shift sets you can create instead of making do with a bad option.

2. Focus on a small area in your home

When I started out I was far too keen to take a picture of whatever I had made or styled in a full room setting. However, we do not all have magazine-ready homes ready to be shot at a moment’s notice. When you want to take a photograph of something focus on a small area of a room and clear the clutter and even furniture from that small space. This makes it a much more manageable task than re-styling a whole room ready for a shoot. The issue is that if you do choose to photograph something and capture a whole room (that isn’t magazine-ready) at the same time, you are most likely going to detract from the item you are blogging about.

You can see in the images below that I needed to photograph the two vases and I made it really easy and simple by clearing clutter off the top shelf and then honed in on only that shelf for the final image. It didn’t take long but is a far more effective shot than one of the full, cluttered shelf or the messy room the shelves are in.

3. Use natural light

I have heard lots of bloggers worry about the same issue that they are at work or looking after children during the day so how can they take advantage of natural daylight. The fact of the matter is that photographs using natural daylight are 100% better than those that don’t (unless you are a pro photographer). A simple way of using your time efficiently so that you can photograph your styling in the daylight is to set it up the night before. When you get home from work or the children are in bed, spend some time setting up your styling, take some test shots and then when you have a few minutes the next day take the final photographs in the natural light. You can see examples of that process below. I had an Easter table to shoot but I knew I was out at meetings the next day so I set it up the night before and did the final shots in a few minutes the next day.

This is also a good habit to get into over the winter months when there is far less light. If you have your styling all ready to go the night before, you can take advantage of the brightest part of the day instead of wasting the precious minutes of light faffing around with styling.

DIY home studio for blog posts | Quick fix home studio tips | Taking photographs for blog posts | Apartment Apothecary

DIY home studio for blog posts | Quick fix home studio tips | Taking photographs for blog posts | Apartment Apothecary

The best place to take photos to make the most of natural light is next to a window, however you want to avoid direct sunlight. If there is direct sunlight you will need a sheer blind or thin sheet to diffuse the light from the window.

Timing is really important when taking photos at home. You will need to chase the natural light as your home won’t benefit from the massive windows, white walls or lights that some studios do. Therefore, you need to plan your blog posts carefully and track the weather. If you know you have three tutorials to shoot save them for the sunniest day of the week and make sure everything is ready for that day.

If all else fails, you may need to admit defeat and just not photograph in a particular room or corner of your home, for example my bathroom has no natural light as it is windowless. A really bad photo is worse than no photo at all sometimes.

4. DIY backdrops

For those of us who photograph smaller items such as jewellery, craft tutorials and flowers it’s a really good idea to build up a bank of DIY backdrops that can be easily moved around the house, catching the best light and will give your photos a cohesive look and allow the products to shine. Whether it be an old sheet, tablecloth, foam board, wrapping paper, wallpaper remnant, wooden board, card, roll of paper or even old floorboards, these backdrops are easy to get hold of, very inexpensive and relatively easy to store. Using DIY backdrops is so much better than using your varnished orange pine dining table, light-absorbing dirty carpet or bobbly ugly bed linen  (things I did when I started out) – never photograph anything on those surfaces ever again!

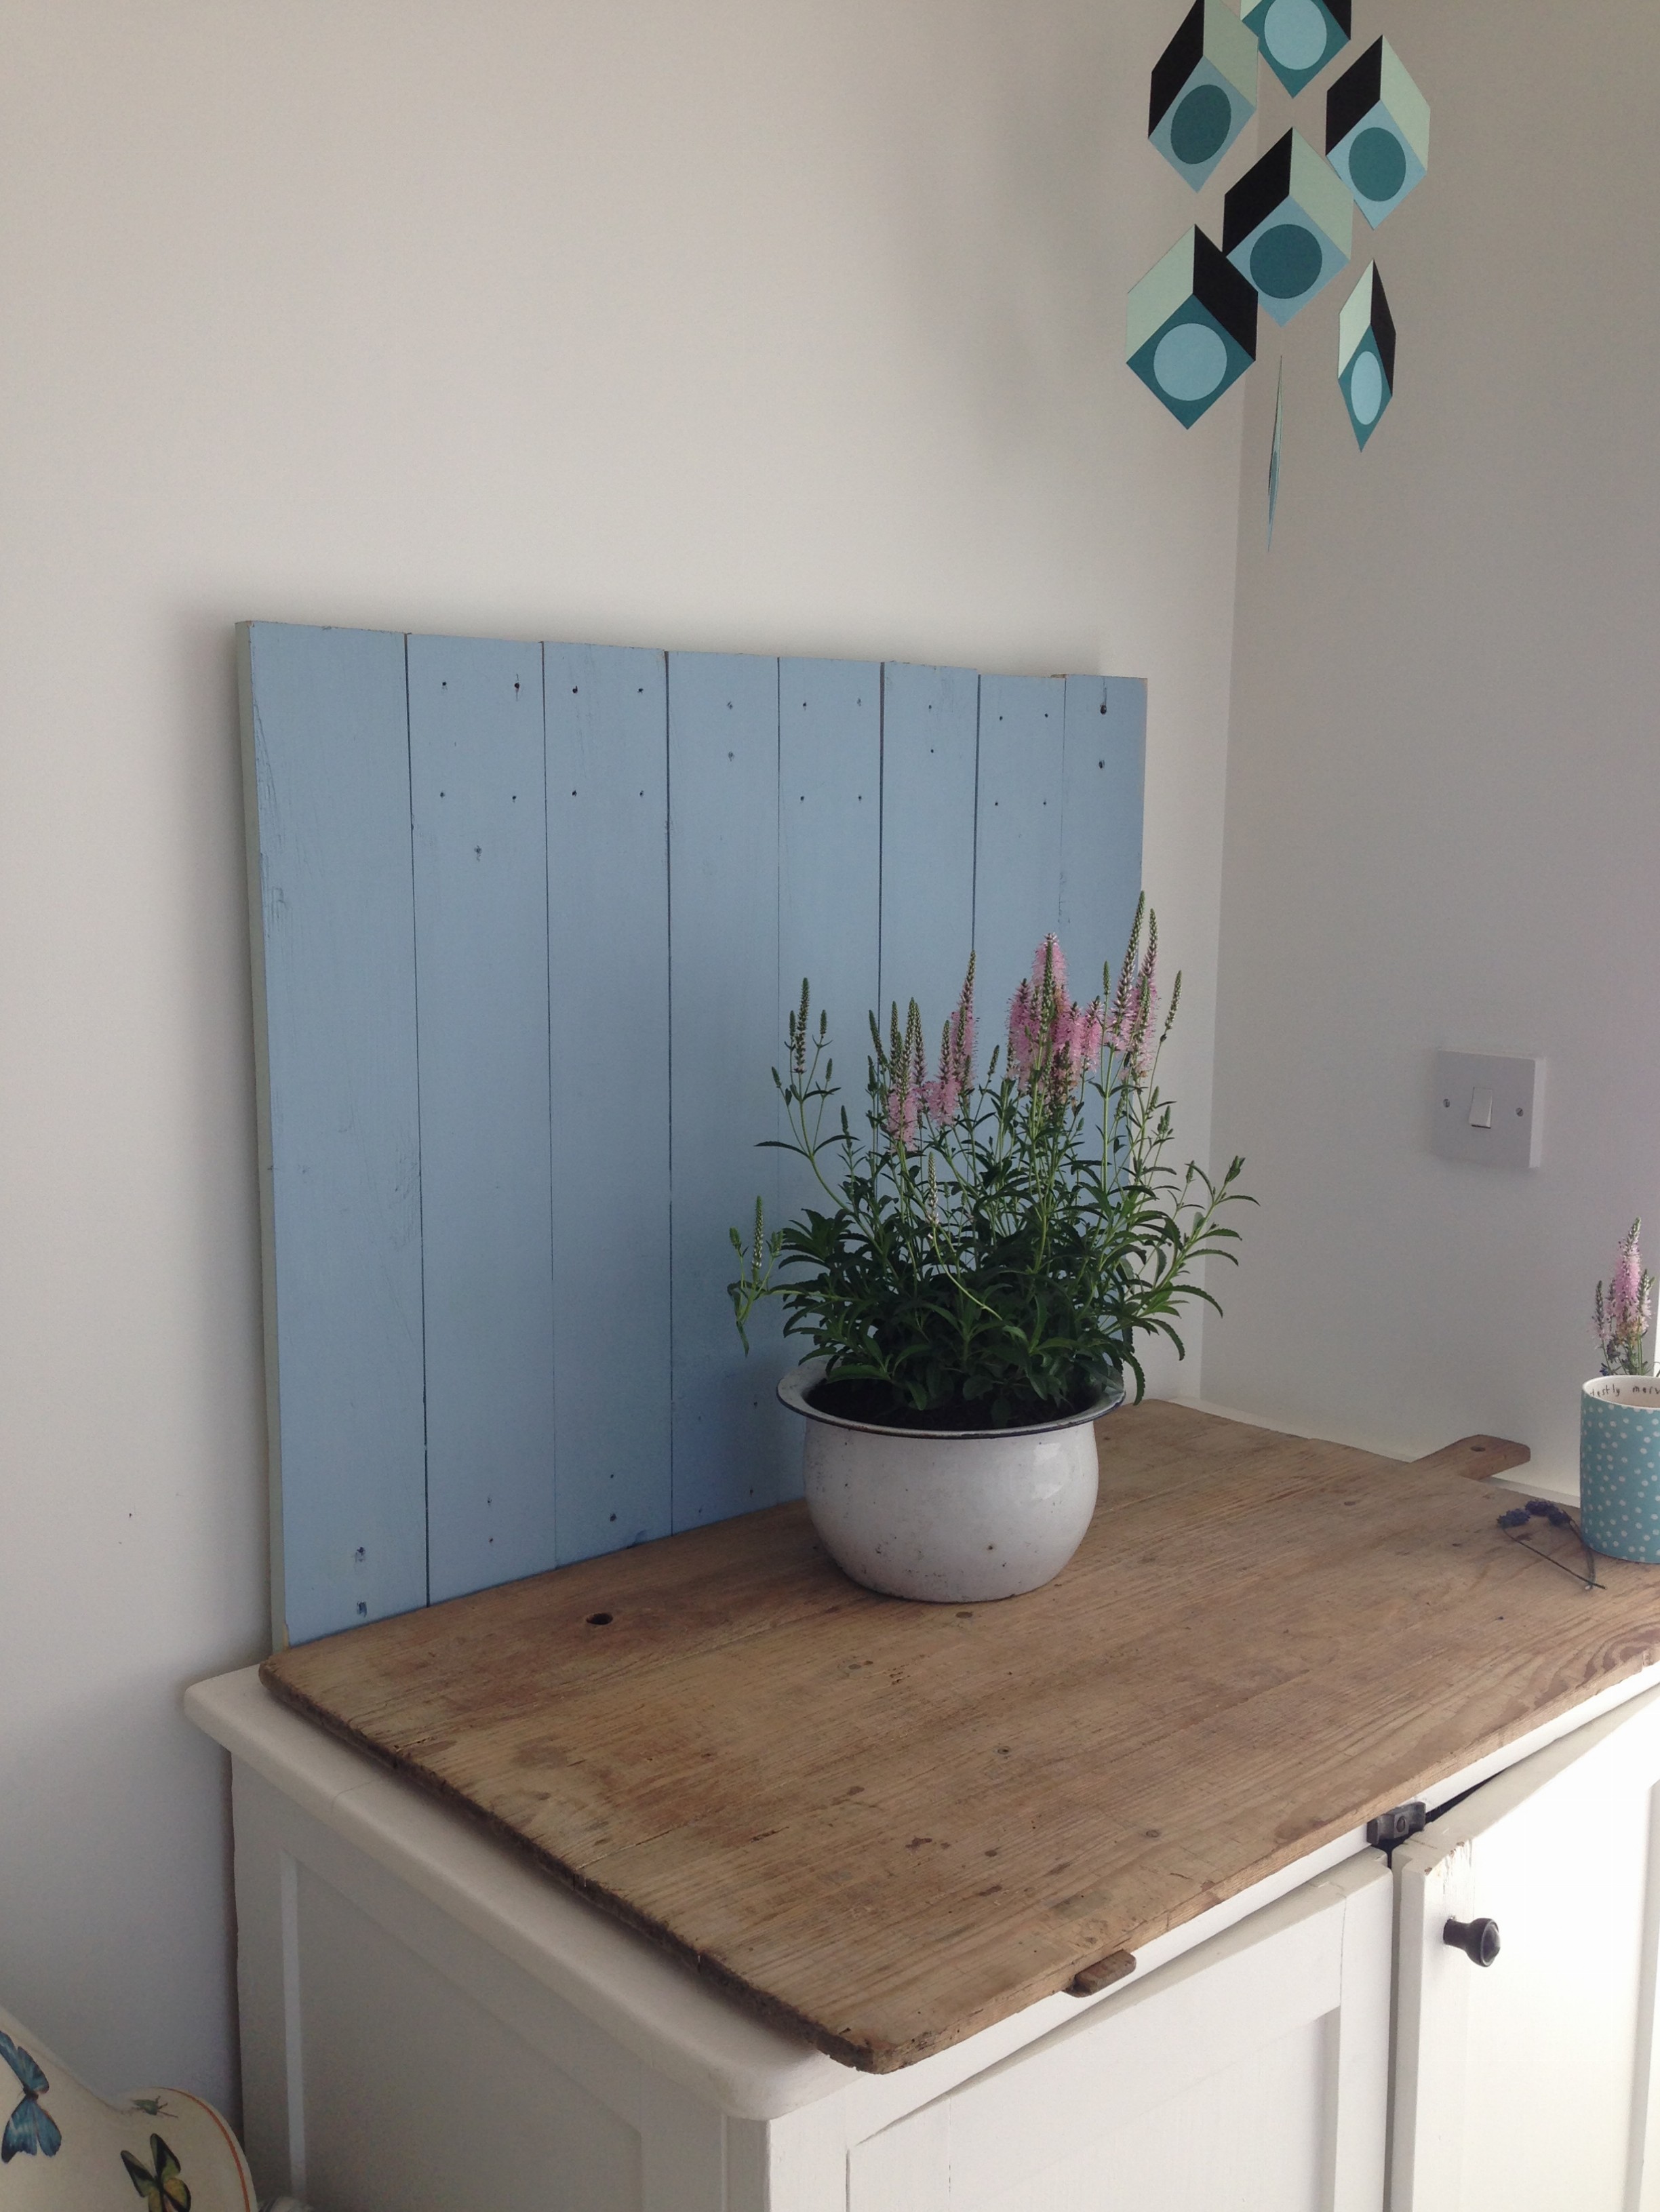
I recently made some scrap planks of pine (they used to be a puppy guard around the bottom edge of our balcony when Otto was small enough he could potentially fall through the gap!) into a board that I can paint different colours according to what I am photographing – at the moment it is white and will probably stay that way for a while. All I did was line up the planks, cut them to the same size using a saw, and then nail two supporting planks onto the back. I love the added texture planks give to any styling. I also bought a massive bread board from Ardingly fair the other day for about £10 and this is the perfect background for flat lays that I can place anywhere with the best light. I was inspired by the lovely Liz over at Say Yes blog to make this board after I saw this post (pictured in the header of this post).

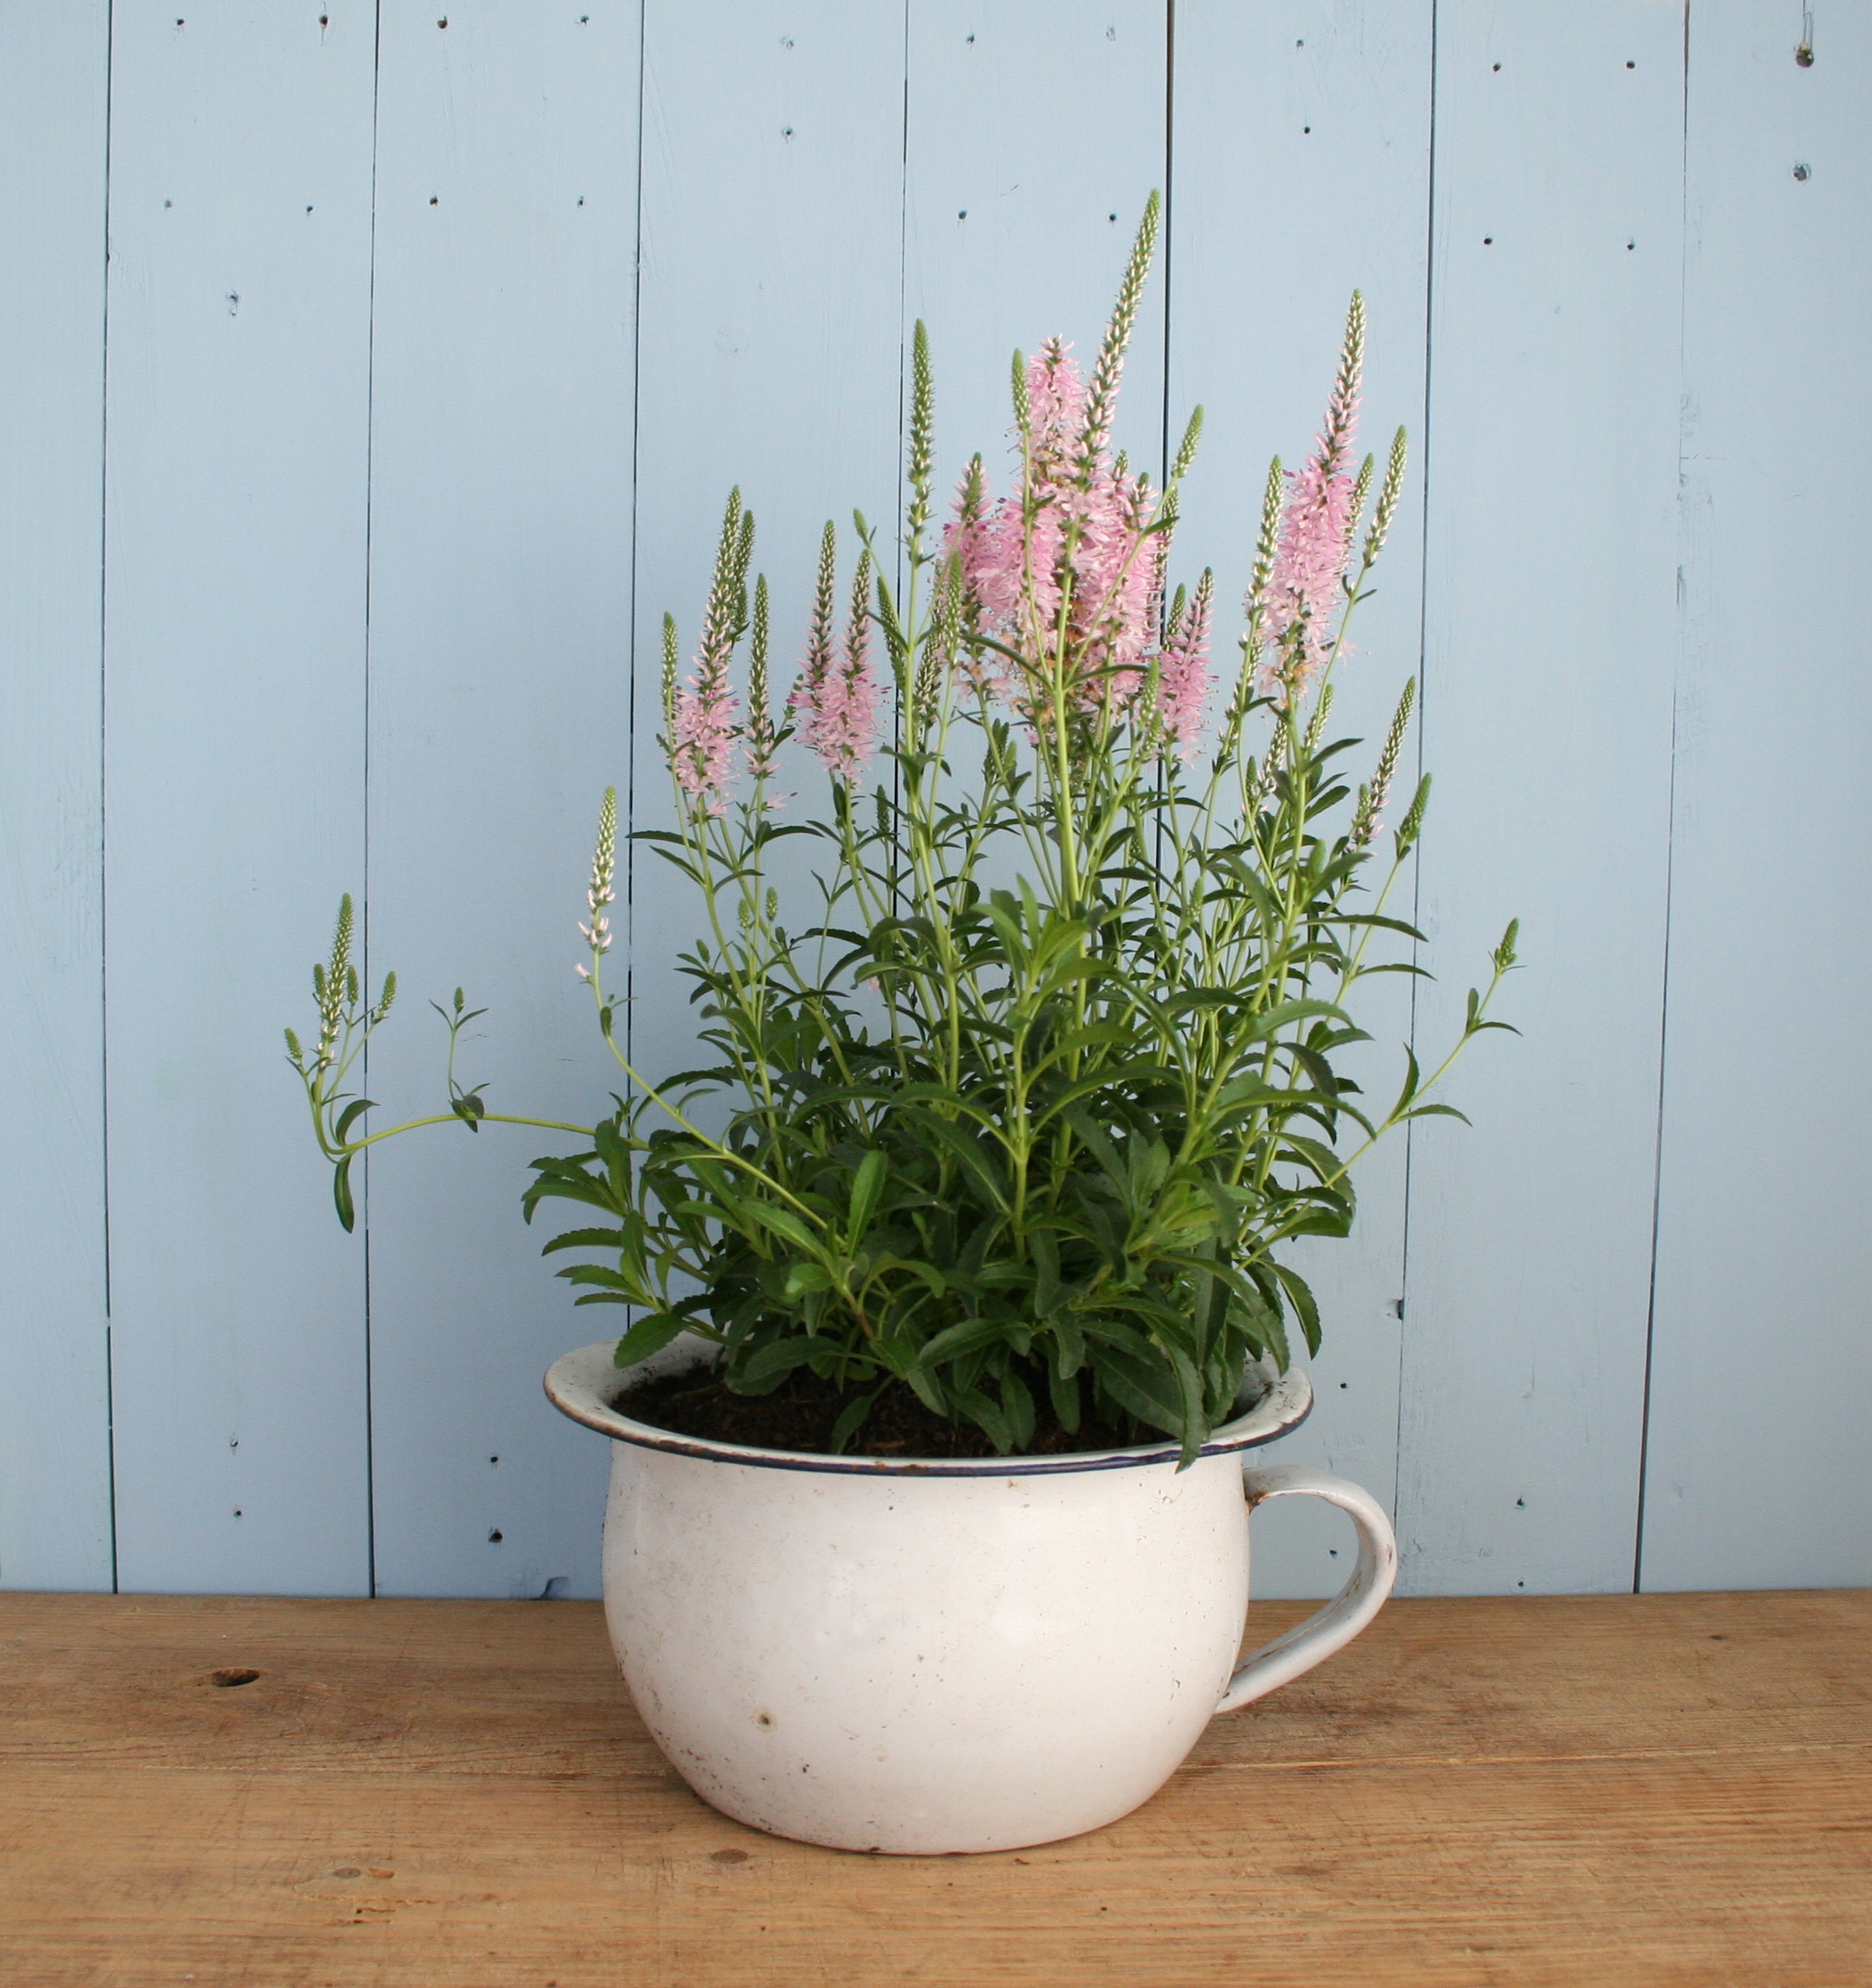
Or just use planks of wood pushed together…

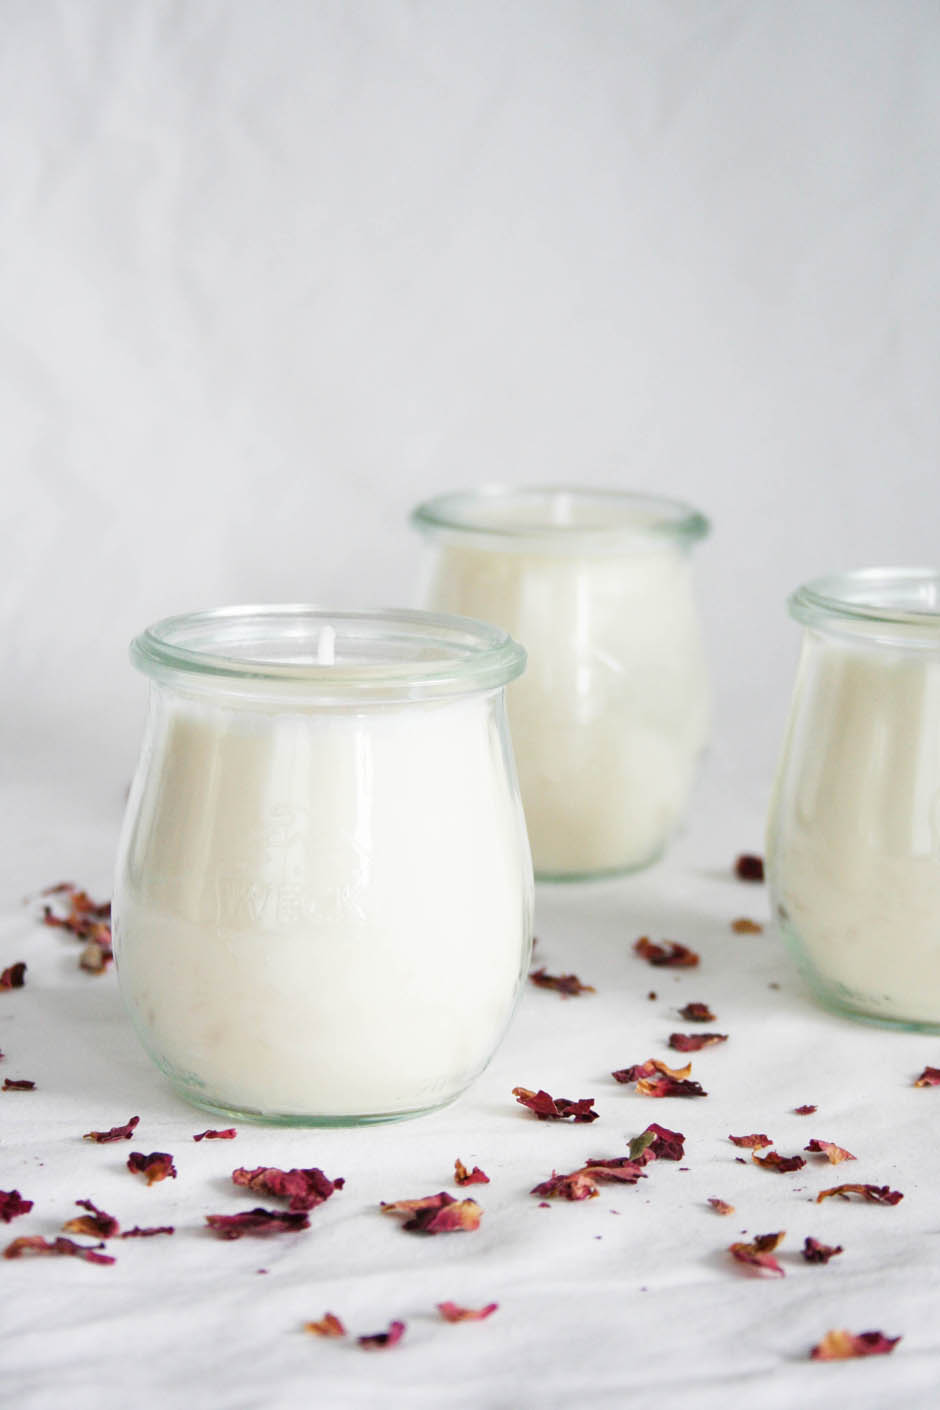
An old sheet worked perfectly as a backdrop for this candle tutorial

DIY home studio for blog posts | Quick fix home studio tips | Taking photographs for blog posts | Apartment Apothecary

DIY home studio for blog posts | Quick fix home studio tips | Taking photographs for blog posts | Apartment Apothecary

These clever bloggers have got very creative with easy backgrounds, too. Lisa Levis uses blackboard paint, Fran from Fall for DIY uses brick effect wallpaper, marble effect sticky back plastic and pegboard really effectively to display her projects. You can buy wallpaper by the metre from Off the Wall or get £1 A4 samples from Coral and Bone. You can buy marble effect sticky back plastic from Amazon. I bought my pegboard from Amazon for a fraction of the cost of ready made ones, which is perfect for backgrounds, and you can paint it any colour you want.

Foam board is a brilliant thing to have at home, especially if you photograph craft tutorials. One piece behind, one piece on the floor and even an extra piece at the side to reflect the light and a mini-studio is made. Here is a behind the scenes shot from Aileen who blogs over at At Home In Love

DIY home studio for blog posts | Quick fix home studio tips | Taking photographs for blog posts | Apartment Apothecary

Something everyone can get hold of is a pretty piece of wrapping paper that can instantly lift a photo…

DIY home studio for blog posts | Quick fix home studio tips | Taking photographs for blog posts | Apartment Apothecary

I really hope that these tips have been helpful if you are just starting out with a blog. I am always trying to improve my photos and I have a long way to go so if you are reading this and know any extra tips please pop them in the comments below. Thank you!

Katy x

P.S. Don’t forget, you can see my first post from my conference talk about styling tips here and my second post about photographing your styling here.


Ask Apartment Apothecary – Styling tips for your home or blog photographs

I have worked hard over the last two years of blogging to improve my styling skills through practise and trial and error. My strength lies in styling interiors to be photographed but there are general styling rules that I have learnt along the way that can be used for any type of styling. I promised after doing my ‘Photo-Styling for Blogs’ talk at blogging conference, Britmums, that I would share the general styling rules I spoke about there and if you missed my first post after my talk with tips for taking photos of your styling then pop over and read that one, too (there’s also a video of me styling a dining table). I used my own photos for my last post to illustrate my tips but I have decided to use some of my favourite Instagrammers photos in this post as there’s the added bonus of finding some fab people to follow for inspiration.

Firstly, I would like to point out that these ‘rules’ are for guidance only and to help one to learn but experimenting is the most effective way of learning, in my opinion. As one grows in confidence all of the rules are there to be broken.

Secondly, these rules can help those who want to style their own home as well as those styling for blog photographs, Instagram and product shots. Also, these general styling rules can be used for styling any type of subject: interiors, food, people, flowers and so on.

Thirdly, you don’t have to use every single rule when styling something; pick and choose the most appropriate rules according to what you are working with.

I hope some of this helps…

Ten styling rules | Home styling | Photo styling for Instagram or blogs

1. Get inspired and then go ‘home shopping’

I always begin any styling by leafing through a magazine, perusing my favourite blogs or Instagram. I look for anything that catches my eye, the different objects used and composition that appeals to me. I try to pick up ideas that I like and build on them incorporating my own style.

It’s just not possible to buy a whole new set of props for each bit of styling I do so I will do some ‘home shopping’. I will take a basket around my home and pick up a collection of objects from the different rooms in my home that I can potentially use in my styling. To help me figure out what to collect, I will think about the rules below.

2. Tell a story/create a mood

The first thing that I consider when I begin styling is what story am I trying to tell and/or what mood am I trying to create. It is important to give your styling a sense of reality as this will make it more interesting and more authentic. For example, in the shot below, Rebecca’s story is about her using her new potting bench for the first time as summer approaches. Adding a narrative makes this beautifully styled shot a part of real life and one can relate to it.

Photo styling tips | Potting bench | Really Pretty Useful blog

Image by Rebecca of Really Pretty Useful blog or @reallyprettyuseful on Instagram.

3.  Think about the angle from which you will photograph your styling

When you are styling anything, have in your mind the angle from which you are going to photograph it. For example, if you are going to photograph your styling from above this could totally change the objects you choose and the composition of the shot: some objects just don’t shine from particular angles. I often use my phone to take a few snaps to work out which angle is best whilst arranging my props.

Photo styling tips | Using a triangle of colour | Styling jewellery

Image of Charlotte from Lotts and Lots blog or @lottsandlots on Instagram.

4. Variety of heights, sizes, textures

When selecting your props think about heights, sizes and textures. In many cases you will want a variety of all three, which will add texture, depth and interest to your styling and will lead the eye around the styling. If everything is the same size and texture your styling could end up looking dull and flat.

Photo styling tips | Using different textures and heights in styling | Vignette | Vintage bottles and books with feathers

Image by Emily @harryandfrank on Instagram.

5. Group objects in odd numbers (two is the exception)

Subconsciously you probably already do this because grouping things in even numbers can look quite odd. I can’t explain why, or what happens in our brains that means grouping objects in odd numbers is more aesthetically pleasing, but if you try it out at home you will see for yourself. For example, in the shot below there are three vases and even the number of flower stems have been counted out so that they are arranged in odd numbers. When I go to the florist and choose my own flowers, I will always ask for one, two, three, five or seven stems and I will cut them to different heights to help achieve the rule above.

Photo styling tips | Styling flowers | Ranunculus | Arranging flowers

Image by Julia of Humphrey and Grace blog or @juliabesidethesea on Instagram.

6. Triangle of colours

This is something I have learnt to help me style my own home and it seems to work every time. It is particularly useful when styling a set of shelves. Using a combination of many colours can look amazing but if you don’t have the skill to pass that off, try to pick at least three objects of the same colour (or a tone of). Placing these three objects at three points within your styling to form a triangle can help to bring unity and cohesion. For example, in the shot below, I have used two triangles of colour: the pink vase, pink pillow and pink in the blanket below the bedside table and then the grey lamp, the grey bedlinen and the grey in the blanket. If I had used a different coloured blanket it would have stuck out like a sore thumb and ruined the balance of the look.

Photo styling tips | Bedroom styling | Bedside table | Triangle of colours

Image of my bedroom.

7. Layer shot

To draw the eye into your styling it is important to add layers. If everything is at the same level it can look flat and lack interest. By placing something in the foreground (in the shot below, the book), the middle ground (the board with the tea, muffin and flower) and the background (the duvet) the eye is drawn in as well as adding context to your styling, which adds a sense of reality.

Photo styling tips | Layering a shot | Breakfast in bed | A Quiet Style blog

Image by Emma of A Quiet Style blog or @aquietstyle on Instagram.

 8. Objects shouldn’t touch

This is a rule I picked up from the brilliant Ellie Tennant’s styling session at last year’s Blogtacular and I am now acutely aware of it (I think the Britmums audience at my talk thought I was a bit mad as I went on about it quite a lot!). When you are using more than one prop you need to pay close attention to where you place them. The objects should never ‘just touch’; they should either overlap or have a gap between them. You can see in the shot below that all of the vases either overlap or there’s a distinct gap between them (with the one exception of the round vase on the far left that is just touching the tall vase next to it – it doesn’t look or feel right, does it?).

Photo styling tips | Styling flowers | Arranging flowers in vases

Image by @_knobz on Instagram.

9. Add an unexpected element

To take your styling to the next level, you can think about adding an unexpected element, which is another rule I learnt from Ellie Tennant. It may be some fallen petals from a flower or food that has inexplicably escaped the bowl (;)) you are photographing; anything that breaks the crisp lines of your styling and adds texture. For example, Lucy has lifted this shot of cupcakes by writing Sunday into the icing sugar, which helps to tell the story and adds a layer of interest to the shot.

Photo styling tips | Food styling | Food photography | Cupcakes | Capture By Lucy Blog

Image by Lucy of Capture by Lucy blog or @capturebylucy on Instagram.

 10. Use negative space

You do not always have to fill the frame when styling a photograph. I love a bit of negative space, which is the space around the subject, not the subject itself. If done well, negative space can form its own shapes and become a point of interest in itself, as well as allowing your subject to shine.

Photo styling tips | Pink macarons | Styling food | Food photography | Borrowed Light blog by Catherine Frawley

Image by Catherine of Borrowed Light blog or @catherine_frawley on Instagram.

I will do my third and final post in this series in the next couple of weeks and I will focus on taking photos for your blog or Instagram at home and I will give you some quick and cheap ways of creating a ‘home studio’. Don’t forget to have a look at my first post in this series for tips on photographing your styling.

Happy styling!

Katy x