Cotton reel holder

As promised, I am going to share a couple of tutorials this weekend for storage solutions that I featured in my Crafty workspace post.

This first tutorial shows you how to make a cotton reel holder. This really is a great solution to the problem of having a million and one cotton reels and never being able to find the colour you need. It also takes up no desk space, which is important when sewing as you need as much space as possible.

You will need:

1. Baton of wood (I bought mine from B&Q and it was pre-painted). Length: 180cm, Height: 4.5cm, Depth: 1.5cm. The baton I bought is actually meant for skirting board so it has a curved edge, which looks nice.

2. Dowling. Length: 320cm, Diameter: 6mm

3. Paint and brush

4. Drill, eight screws and wall-plugs, spirit level, pencil

5. Hacksaw and sandpaper.

Cotton reel holder

1. Saw your baton into four equal lenths of 45cm and sand off the edges.

Cotton reel holder

2. Use the hacksaw to chop the dowling into 10cm lengths. You need 32 of these. Use the sandpaper to soften the edges.

Cotton reel holder

3. Drill eight holes across each baton, an equal distance apart. Try to drill the holes at a slight angle so the dowling points up rather than horizontally.

Cotton reel holder

4. Use a spirit level and pencil to mark where to screw each baton onto the wall. Drill in two screws, one at each end of the batons.

Cotton reel holder

5. Screw in all four of your batons and then paint the dowling and the ends of the batons.

Cotton reel holder

Done!

Cotton reel holder

Cotton reel holder

I have found that one of things that will stop me sewing is not having direct access to the tools needed as it is quite a fiddly process. This reel holder makes it simple and I keep the bobbins in one of the jars.

Tomorrow, I will show you how to make a magnetic board from a baking sheet, fabric and a bit of glue. If you have any crafty storage solutions please do let me know; either leave a comment or email me a photo katy@18.200.196.112. x


Craft room

I have been very busy recently trying to transform our guest room into a work space for both me and my boyfriend. The challenge is to fit a double bed and enough space for two people to work into a relatively small room. Oh, and the budget is only £150…eeek! We need:

– Desk space for two

– Space for a lap top and desk top computer

– Storage for craft materials

– Filing cabinet

– Space for sewing machine

– Double bed

– Drawers for clothes

Difficult? Just a little.

Before:

Home office

This is the desk that we had before. There was absolutely no storage and only really enough room for a computer, definitely no craft space, let alone room for two to work here at the same time. Photograph by Peachey Photography

After:

I did a lot of planning and searched around for creative storage solutions. Have a look at my last post in which I show my inspiration and my tips for creating a functional, yet stylish, work space: Tidy desk, tidy mindWhat I have created is a much more practical, functional space and even though it may not look quite as nice as it did before I think considering how much we had to spend and how much we needed from this space it is as stylish as it can be. I have kept the whole room white with clean lines so it looks as large and as uncluttered as possible. See what you think…

Home office and craft room

I painted a chest of drawers we already had and changed the knobs (one is missing, I know!) so it could act as an extra ‘leg’ and it provides lots of storage for craft materials. I then bought a 2.5m long piece of MDF for £30 from a timber yard, which I painted and varnished. This sits across the drawers and two Ikea trestle legs that only cost £25. An off-cutting of the wood top is used for the shelf.

Home office and craft room

This is my end of the desk for my sewing machine, cutting mat and space to craft. A tutorial to show you how to make the cotton reel holder will follow. I have used the noticeboard as an inspiration board with my favourite pictures, magazine cuttings, fabric swatches, postcards.

Craft storage solutions

Jam jars screwed onto the shelf for easy access.

Craft storage solutions

Make sure you use at least two screws otherwise your pots will swivel!

Craft storage solutions

I put a broom handle, that I painted, between the shelf brackets and hung Ikea Fintorp pots on Grundtal S-hooks for tools and pens.

Craft storage solutions

I’ve used more S-hooks to hang tools so everything is to hand.

Washi tape

Washi tape and ribbon reels on the broom handle.

Craft storage solutions

A magnetic board that I made from a baking sheet…tutorial to follow!

Home office and craft room

Using a 2.5m table top gives us both space and flexibility.

Craft room

My chalkboard storage boxes (see tutorial) are used for craft materials and my favourite interiors books sit on the shelf. I’ve also hung my favourite Double Merrick print. I’ve also added a Loaf lamp that I already had.

Craft room

I’ve used old Kilner jars with labels printed from Graphics Fairy for my sewing supplies.

Modge podge jars

I’ve also covered jam jar lids with fabric for storage pots; much cheaper than buying new.

Craft room

I have recycled a mustard jar and more old Kilner jars for storage.

Wicker trunk

My fabric is in a wicker basket that I found in a skip (love a good skip-find!)

Home office and craft room

The finished room. There’s a filing cabinet tucked in the corner with all my magazines stored on top, that actually looks more like a bedside table (bought from eBay for £20). I hung hooks in this room for guests to hang their belongings when they come to stay. In total we spent about £120 on: desk, shelf, filing cabinet, storage and paint. Now, I just need to find two proper desk chairs although that will probably require quite a bit more than £30 (maybe more like £300!)


Jules has since realised that making a work space for two may not have been such a good idea; I like a good chat whilst I’m crafting or blogging and he has a lot of ‘real’ work to do! Ha! Too late now.


Sew Over It

Everyone is talking about sewing thanks, in part, to the Great British Sewing Bee. I have recently started sewing and if you are thinking about it, I urge you to go for it!

I asked my boyfriend, Jules, to buy me a sewing machine for Christmas. At the time, I didn’t know how to sew, but I was convinced that, given the chance, I would love it.  He very kindly did buy me  a machine and as I predicted, I do love it.  The moment of reveal is so satisfying and the creativity involved in choosing fabrics is one of my favourite parts of the process. That being said, it is not something that comes naturally to me; I would describe myself as a ‘sloppy sewer’ because generally in life I like to get things done as quickly as possible, regardless of the ‘finish’.  Sewing requires a huge amount of precision and patience so it is a good skill for me to practice.

I decided that I needed to do a sewing class to get me started so I didn’t pick up lots of bad habits. So, me and my friend, Farah, went along to Sew Over It, a lovely sewing cafe in Clapham run by Lisa Comfort. We did the ‘Intro to Sewing’ class over two Sundays and what a delightful time we had!

The sewing cafe…

Sew Over It sewing classes

Sew Over It is nestled in Clapham North.

Sew Over It sewing classes

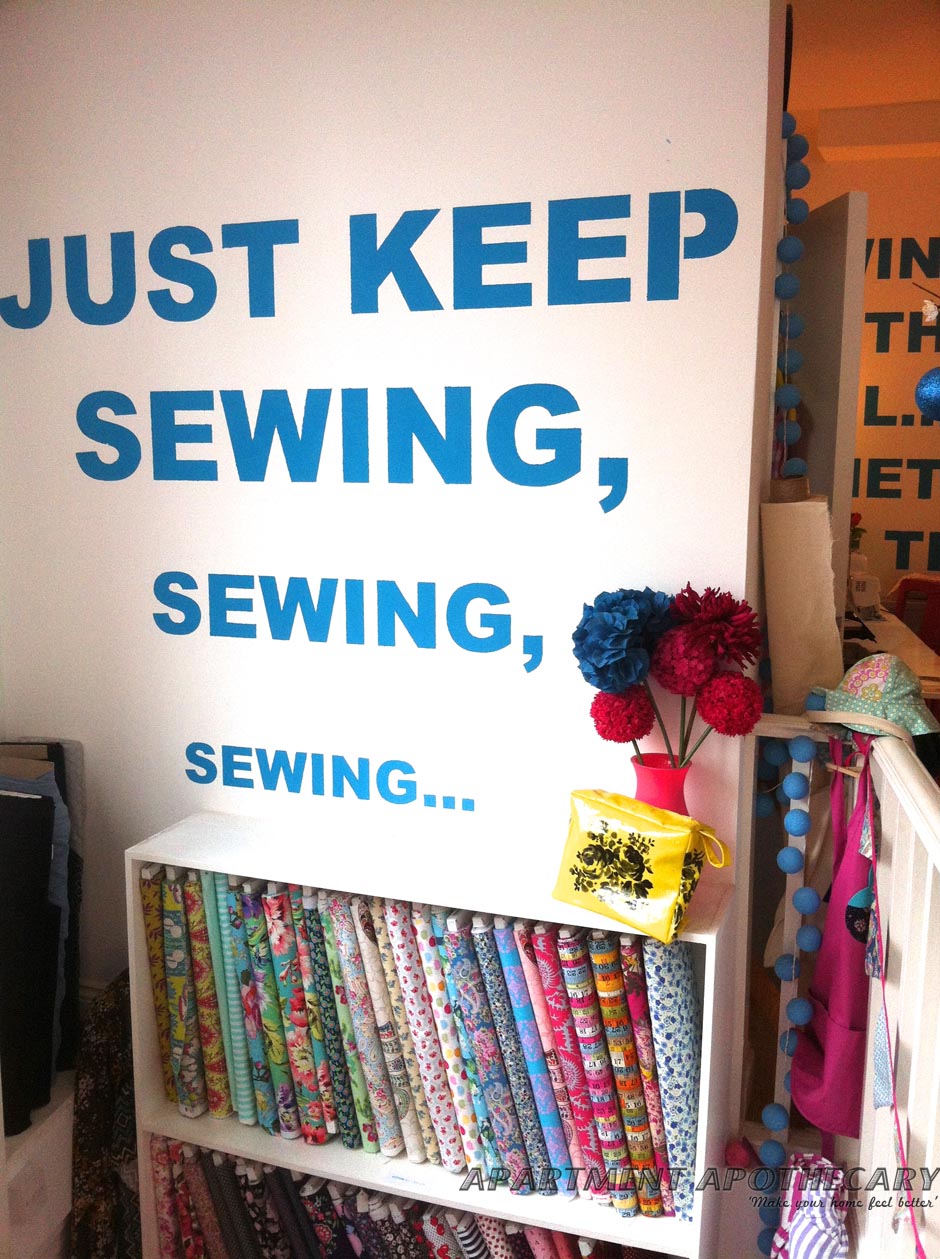
They stock a delightful range of fabrics to use during the class but also to buy online.

Sew Over It sewing classes

The cafe is lovely and homely, just what you need for a good day’s sewing.

Sew Over It sewing classes

They stock basic haberdashery bits as well as lovely adornments.

And to work…

Sew Over It sewing classes

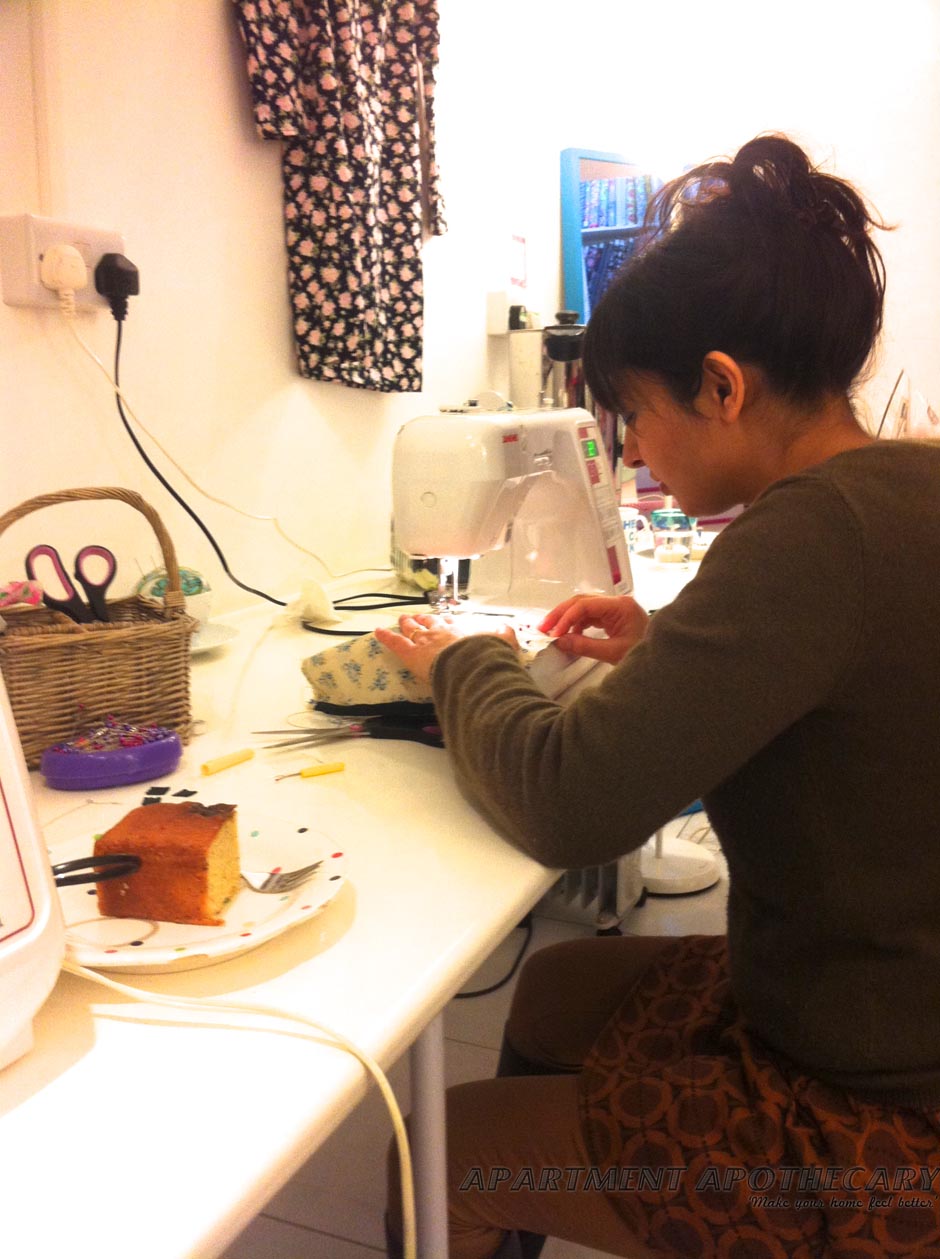
We started the first day by learning how to make a basic cushion. This is my friend Farah concentrating very hard, whilst trying to resist eating her cake.

Sew Over It sewing classes

The tutor, Dominique, was lovely and her pace was perfect. She was also very patient with us when we went wrong!

Sew Over It sewing classes

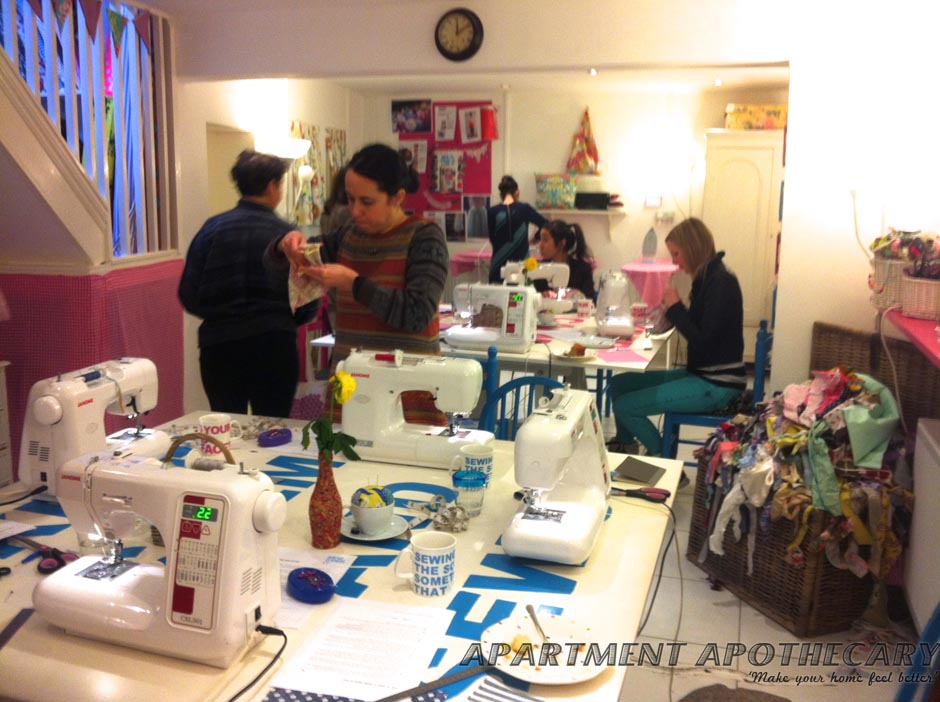
The downstairs studio is a great place to sew, whilst doing a lot of chatting. We met some really interesting ladies.

What we made…

Sew Over It sewing classes

Finished article number one!

Sew Over It sewing classes

I loved learning how to make covered buttons…so pretty!

Sew Over It sewing classes

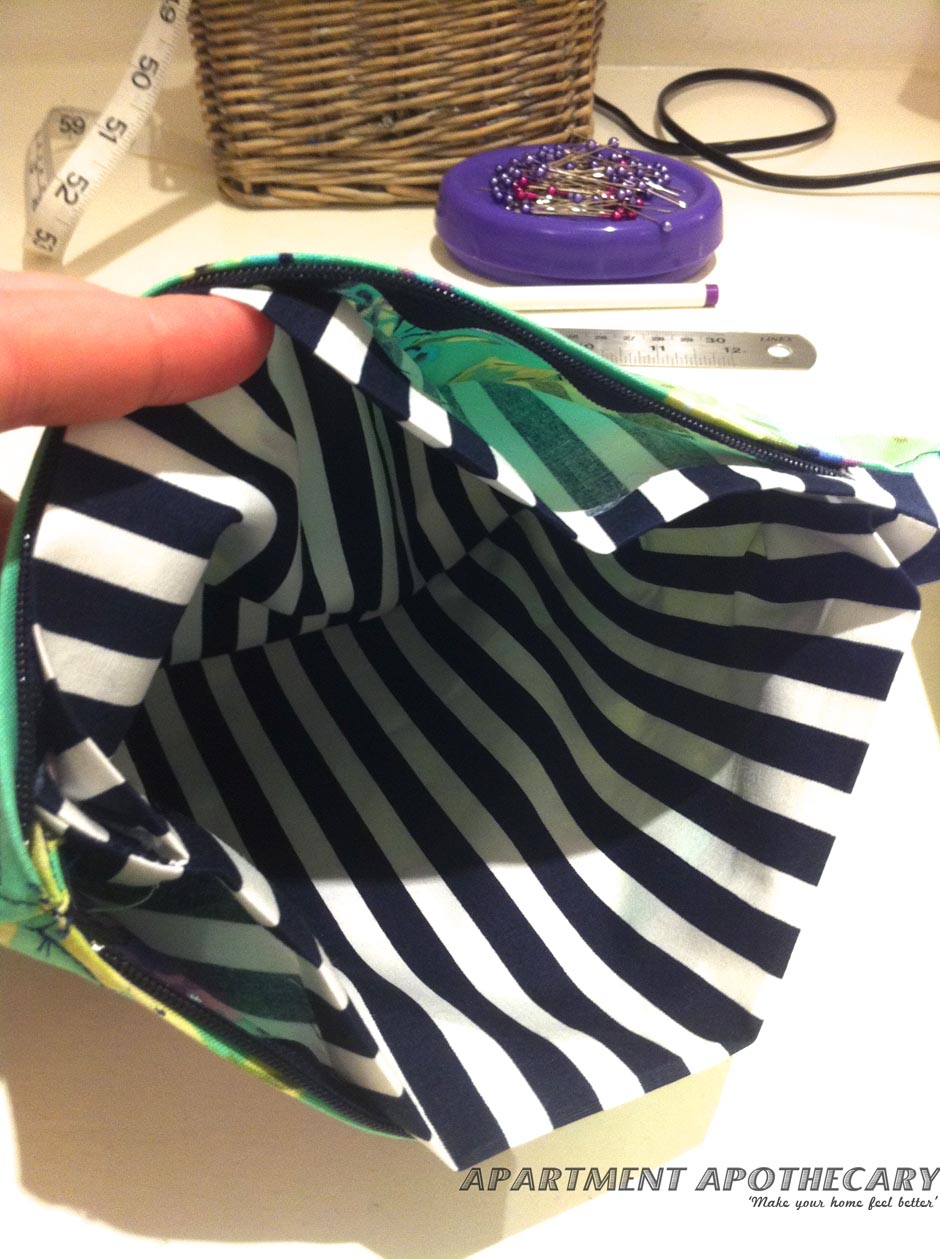
On the second Sunday we also learnt how to sew a make-up bag, although I still need lots of practice sewing in zips.

Sew Over It sewing classes

I also had time at the end of the second Sunday to put my new-found skills into practice and make some bunting.

What I’ve made since…

I have tried really hard to develop my sewing skills since the class and have taught myself new techniques: attaching bias binding, button holes, using interfacing. However, I am definitely planning to go back to Sew Over It  for their curtain making class. Have a look at the projects I have worked on since:

Liberty print quilt tutorial

I have made a Liberty print patchwork quilt. Follow my tutorial if you would like to make one too.

Liberty print cot tidy

I also used Liberty print to make this cot tidy for a friend’s baby shower. Follow my tutorial to give it a go.

Bunting

I started this bunting during the class and finished it at home (20 meteres worth!) This is a really good place to start as you can practice basic skills without it mattering too much if you go wrong – follow my tutorial .

Baby blanket

I’ve also sewn a couple of baby blankets – tutorial to come!


If you’re looking for a new hobby, give sewing a go.  I promise, you won’t be disappointed. Thank you lovely ladies at Sew Over It.


Liberty print cot tidy

Did anyone see the Great British Sewing Bee last night? I’m very excited about it and feel full of motivation to push my new hobby further (especially as Patrick Grant is involved!). So, I have a new sewing project to share today…

This project is in honour of my friend Betty and her baby bump.  I am making a present for her baby shower and if you are wondering what a cot tidy is, it’s an excuse for me to indulge my addiction to Liberty fabric and make something delightful for my wonderful friend (and hopefully she’ll find it useful too!).

You will need:

1. Lightweight cotton fabric: Two 47cm x 38cm pieces for the back and front, two 46cm x 28cm pieces for the pocket and sixteen 4cm x 20cm strips for the four handles (or use ribbon as this is the bit that takes the longest). I’ve used Phoebe and Poppy and Daisy prints from Liberty.

2. Medium weight interfacing – It can be ironed on to your fabric to make it stiffer and gives it shape and form. I bought it from John Lewis. You will need exactly the same amount of interfacing as material.

3. 50cm of double folded 25mm bias binding, which I bought from John Lewis.

4. Sewing machine, fabric scissors and/or cutting board and rotary cutter, pins, chalk, cotton, needle, button hole foot for sewing machine.

5. Self cover buttons that you can buy from Sew Over It.

Tutorial

a) Cutting your pattern:

Liberty fabric cot tidy

1. Press your material.

Liberty fabric cot tidy

2. Cut your pieces of interfacing, using scissors or a rotary cutter: Two 47cm x 38cm pieces for the back and front, two 46cm x 28cm pieces for the pocket and sixteen 4cm x 20cm strips for the four handles. These will act as your pattern.

Liberty fabric cot tidy

3. Place your interfacing pieces onto the wrong side of your fabric, one at a time, and iron on (using the instructions in the packet). Cut each piece out either with scissors or a rotary cutter on a cutting board.

b) Make and bind the pocket:

Liberty fabric cot tidy

4. Pin three sides of your two pocket pieces together, right sides together (interfacing facing outwards), leaving the bottom open.

Liberty fabric cot tidy

5. Sew the sides and the top of the pocket together leaving one long side (which will be the bottom) open.

Liberty fabric cot tidy

6. Turn your pocket inside out. I have used a different fabric for the inside and outside of the pocket.

Liberty fabric cot tidy

7. Unfold one side of your binding and line the top edge with the edge of the top of your pocket (this is the sewn, neat edge of your pocket.)

Liberty fabric cot tidy.

8. Sew along the first crease of the binding.

www.peacheyphotography.co.uk

9. Fold the binding over the edge of your pocket and press and pin it.

Liberty cot tidy

10. Now, sew the binding on the top side of the pocket so that it catches the back of the binding on the back of the pocket.

c) Attaching the pocket to the front piece of the cot tidy:

Liberty cot tidy

11. Pin your pocket to the front piece of your cot tidy (the back piece should be set aside still), leaving at least an inch either side to allow for a seam allowance and to give your pocket some volume.

Liberty cot tidy

12. Pin the bottom corners of the pockets carefully to pinch in the volume of the pocket.

Liberty cot tidy

13. Divide your pocket in half and draw a straight line top to bottom with tailors’ chalk.

Liberty cot tidy

14. Sew a couple of lines of topstitch up the centre of the pocket to divide it into two. Now set this piece aside.

d) Making the tabs to attach the cot tidy to the bar of the cot:

Liberty cot tidy

15. Sew the right sides of each tab together, with as little seam allowance as possible.  There are eight of these to do so patience is needed!

Liberty print cot tidy sewing tutorial

16. Turn each tab outside in using a pencil to push it out.

e) Putting all the pieces together:

Liberty print cot tidy sewing tutorial

17. Press a 1cm seam on the back piece of your cot tidy but don’t sew it yet.

Liberty print cot tidy sewing tutorial

18. Sew each tab on the wrong side of the back piece, with the pressed seam. Use thread in your bobbin that you want to be seen on the back of your cot tidy.

Liberty print cot tidy sewing tutorial

19. It should look like this once you’ve sewn all the tabs on.

Liberty print cot tidy sewing tutorial

20. Press a 0.5cm seam along the front piece of the cot tidy. Now, pin the front of the cot tidy (with the pocket already attached to it) wrong side out to the back of the cot tidy, which should also be be wrong side out.

Liberty print cot tidy sewing tutorial

21. Sew along both sides and bottom of the cot tidy. Leave the top, where the tabs are, open so you can turn it inside out.

Liberty print cot tidy sewing tutorial

22. Sew topstitch along the top of the cot tidy, securing the tabs in place and leaving a neat edge.

f) Making the buttons:

Liberty fabric cot tidy

23. Place the top side of the button on the wrong side of the fabric, draw round it and then cut out leaving 1cm all the way round.

Making Liberty fabric covered buttons

24. Do a running stitch round the outside of the circle and leave the two ends of the threads poking out.

Making Liberty fabric covered buttons

25. Place the top side of the button inside the fabric and pull the two ends of the thread tight so the fabric gathers in and then push the bottom side of the button in.

Liberty print self covered butons

26. Pop the back on the button.

Making Liberty fabric covered buttons

27. Perhaps the most satisfying bit of the whole process!

Liberty print cot tidy sewing tutorial

28. Using a button hole foot on your sewing machine make a button hole on your front tabs and sew on your fabric covered buttons to your back tabs. Then, you’re done!

Liberty print cot tidy sewing tutorial

The back.

Liberty print cot tidy sewing tutorial

The front.

Liberty fabric cot tidy

Inside the pockets is the contrasting fabric.

Liberty fabric cot tidy

Its purpose is to hang over the side of a cot to hold books, toys, rattles whilst baby sleeps.

Liberty print cot tidy sewing tutorial

Maisie the mouse is not included, I’m afraid!

Happy baby shower, Betty, and happy sewing everyone else!

Katy x


Easter bunting and egg hunting

So, are we all over bunting yet? I know it’s quite twee and it’s been done to death but you can’t get away from the fact that it is pretty and brightens up a party or the garden. Just sayin’.

One of my friends, Thomasina, made a huge length of bunting quite a few years ago and whenever a big event is planned it is always rolled out: a couple of weddings, a 60th birthday, a couple of 30th birthday parties, including my own, and so on. It even travelled to Edinburgh for an event and everyone’s hearts stopped when it temporarily went missing in the post on its way back (not sure if Thomasina knows about that bit). I decided to make some, quite a lot actually as it’s so much cheaper to make compared to buying it, and three people have already asked if they can borrow it for their weddings. Therefore, I’ve done a little tutorial in case you, too, want to make your own for this summer’s party, wedding, children’s birthday etc.

I made 20 metres of bunting and this cost me about £10 in cheap cotton and the binding. I’ve had a look around and my £10 wouldn’t get much more than 2 metres in the shops (crazy!) so well worth making your own if you have a sewing machine (or a lot of time and patience if you want to do it by hand). This is the perfect project if you have only recently taken up sewing, like me, as you can practice pattern cutting, pinning, sewing in a straight line, top-stitching and binding and if you get anyhting wrong it really doesn’t matter as once it is flapping in the wind, hanging at a height, who is going to notice any mistakes?

You will need:

1) Lightweight fabric of your choice (it doesn’t even have to be 100% cotton, as you can’t really tell the difference when it’s hung at a height).

2) Thread, pins, scissors, sewing machine.

3) 25mm cotton binding (in whatever colour you like) bought from eBay. This is sold in different lengths – I bought two 10m lengths for £2.80.

Tutorial:

Bunting

1. For each flag you need a pair of identical triangles (well, as identical as you can get them – mine are distinctly wonky). Mine measure 10 cm long and 8cm wide.

Bunting

2. Cut out lots of pairs of triangles according to what length you plan your bunting to be. I decided to use three different prints but you can use all your old scraps or go completely plain – up to you.

Bunting

3. Pin the triangles right sides together, leaving the top open.

Bunting tutorial

4. Sew the triangles together, leaving the top of the triangle open. Leave a 0.5cm seam allowance.

Bunting tutorial

5. Snip the end of the triangle off (the seam allowance – don’t cut through the stitching) so that when you turn it inside out it can be pressed flat.

Bunting tutorial

6. Turn the triangle inside out using a pencil to push the tip of the triangle out.

Bunting tutorial

7. Press the flag once it is turned inside out. I then decide to do a top-stitch just for decoration, and practice as much as anything, but this is not necessary.

Bunting tutorial

8. Press the binding in half. You will need to sew along the whole length of the binding adding a flag every 8cm (just fold and pin the binding over the top of the flag).

Bunting tutorial

The finished article.

Easter egg hunt

The bunting was supposed to be the garden decoration for our mammoth family Easter egg hunt in Devon (28 of us this year) but I’ve got a feeling it’s not going to be garden weather, somehow. Oh well…

Have a lovely Easter weekend, whatever you have planned xx