Urban Jungle Bloggers: Plants and coffee

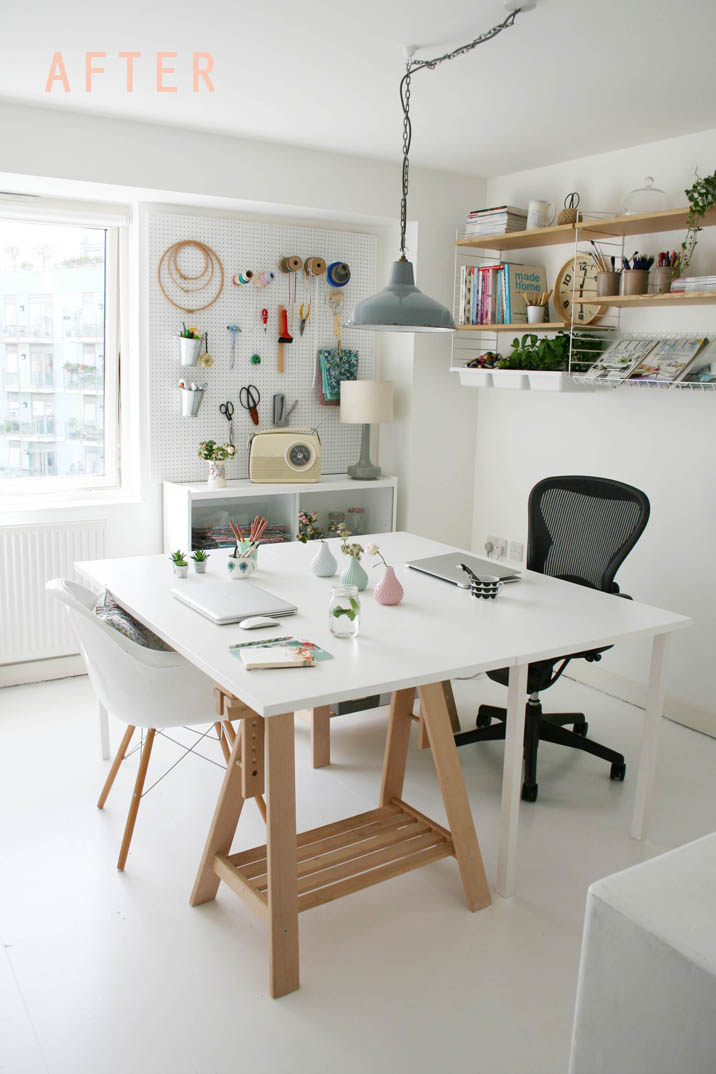
I shot this post last Friday and as if by magic the sun came out and bathed my dining table in so much beautiful light, which made such a wonderful difference to what has been a long run of very dark days (and VERY frustrating attempts to photograph things for the blog). And you know what? I achieved at least three times as much on that sunny, bright day as I had done in the dark days leading up to it. Anyhoo, the point is I really enjoyed putting together this little shoot for Urban Jungle Bloggers, the theme being Plants and Coffee. UJB is a project run by Judith and Igor and is about living with plants – in your home, in other interiors, in public spaces: “We want to highlight the beauty and benefits of houseplants and other greeneries in urban spaces”.

Urban Jungle Bloggers: Plants and coffee | Apartment Apothecary

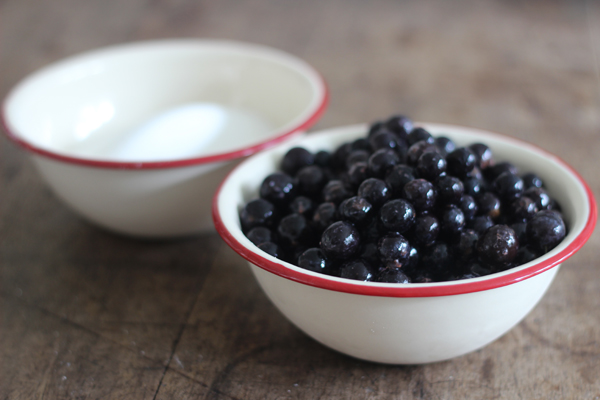
The plants I have featured in this post were inspired by a most gorgeous tutorial over on A Quiet Style by Emma and Caroline of Wild Rubus. I spent a joyous hour or so removing bulbs from their pots and trying my best to remove all of the soil, as you can see above, and you then re-pot the bulbs in glass jars with water instead of soil. Do check out the lovely tutorial and try it for yourselves – thank you ladies for the inspiration!

So, here are my plants and coffee pics. Enjoy…

Urban Jungle Bloggers: Plants and coffee | Apartment Apothecary

It’s coffee time! My new Brixton wall clock by Newgate £85.

Urban Jungle Bloggers: Plants and coffee | Apartment Apothecary

Urban Jungle Bloggers: Plants and coffee | Apartment Apothecary

The daffodil roots were quite sticky and I couldn’t remove a lot of the soil as well as Emma and Caroline did. However, Caroline very helpfully suggested leaving the roots to soak overnight and then try again to remove all of the soil, which worked wonderfully well but, unfortunately, I had already taken these photographs so I will have to show you the final result another time. I love glass planters as they let all the light through and I think the bulbs themselves are rather beautiful and it’s a shame to hide them under earth.

Urban Jungle Bloggers: Plants and coffee | Apartment Apothecary

I love these Weck tulip jars and they are perfect for the onion shaped Hyacinth bulbs.

Urban Jungle Bloggers: Plants and coffee | Apartment Apothecary

I made this gingerbread syrup for Jules as a Christmas present (he said it was his favourite one) and he now has it in his coffee every morning (out of control!). Thank you to Laura for her recipe on Circle of Pine Trees. I’ve had to make another huge batch since Christmas as he loves it so much – Laura, I will be blaming you when his teeth fall out!

Urban Jungle Bloggers: Plants and coffee | Apartment Apothecary

Urban Jungle Bloggers: Plants and coffee | Apartment Apothecary

Thank you, as ever, to Igor and Judith for their inspiration. Are you geeing up for the coming of Spring and planting that needs to be done? Or are you just relaxing with a cup of coffee with gingerbread syrup?!

Katy x


Dried flowers at home during winter

Are we all getting bored of winter yet? One of the things I don’t like about this season is the dark; it makes blogging original content so much more difficult as there is such a short window of light during which I can take half way decent photographs (I find this difficult enough without having so little natural light). Saying that, I took all of the photos below on a really dark day so they have been photo-shopped within an inch of their lives!

Another thing I find difficult about winter is the lack of colour outside. I miss beautiful spring blooms, wild flowers and blossoming trees. I also miss some of my favourite flowers at the florist and can find it really difficult to find what I like without having to spend a small fortune. I can’t just grab a hydrangea stem from the balcony or a handful of wild flowers from the roof terrace so buying cut flowers every week can be pretty pricey.

This winter I have found a great solution to this problem, which is a lovely selection of dried flowers from The Great British Florist. I used to have this idea that dried flowers were ‘grannyish’ and were all very earthy, dull tones. However, I have bought beautiful bright bunches of dried flowers that have really brightened up my home and have cost me nothing much at all compared to weekly fresh flowers.

Dried flowers at home during the winter | Apartment Apothecary

I love this little display on one of my Ikea picture ledges including dried Gypsophila, Eucalyptus, Peonies and Nigella.

Dried flowers at home during the winter | Apartment Apothecary

The vivid pink of this Larkspur injects some much needed colour at this time of year.

Dried flowers at home during the winter | Apartment Apothecary

Who knew that you could dry Peonies? They are so pretty.

Dried flowers at home during the winter | Apartment Apothecary

One bunch of Larkspur that costs £4.50 has filled three vases in my home.

Dried flowers at home during the winter | Apartment Apothecary

Did you see my hallway makeover? This vase from Petersham Nurseries usually lives on my new hallway table with yellow flowers to tie in with this cushion. I was finding it so difficult to find tall yellow flowers so these Achilleas are perfect! I had to bring it all into my home office to photograph because there was not enough light in the hallway.

If you, too, need an inexpensive boost of colour to your home during these dark days then check out the selection at The Great British Florist.

Katy x


How to make a dried Hydrangea wreath

The lovely Tamsyn, who blogs over at The Villa on Mount Pleasantvery kindly wrote and photographed this guest blog post last year and I just had to share it again in case you missed it the first time round. This is the perfect time to be drying Hydrangeas and Tamsyn’s dried wreath is a must. I followed the tutorial myself last year to make one for my mother-in-law and it was much easier than I expected and the results are beautiful. Over to you, Tamsyn…

Hello everyone! My name is Tamsyn and I blog over at The Villa on Mount Pleasant.  I was so delighted that Katy asked me to write a guest post for Apartment Apothecary, as her blog is such an inspiration to me! Here’s my tutorial for making a hydrangea wreath…

Hydrangeas can be bought cheaply enough from markets or car boot fairs, and it’s worth getting a couple to plant out in the garden, as the flowers turn beautiful faded colours in September, and look fantastic dried and placed in big zinc florist buckets.  If you don’t have any dried hydrangea heads, you could use ivy, dried roses, berries, pine cones, seed heads, artificial flowers – anything really!

Dried Hydrangea wreath tutorial | Made by Tamsyn Morgans | Apartment Apothecary

You will need:

A natural rattan wreath (I got mine from Hobbycraft)

Dried hydrangea heads

Thin pliable wire

Ribbon of your choice

Scissors

Dried Hydrangea wreath tutorial | Made by Tamsyn Morgans | Apartment Apothecary

Tutorial:

1. Take your dried hydrangeas, and trim the stalks right down to the flower heads.  I roughly planned out my wreath by placing the heads on the wreath, and working out where I wanted to put them according to colour and shape.

2. Cut a length of wire approximately 30cm long.  Thread it through the flower head just above the cut stalk, and then attach the head to the wreath.  Wrap the wire round the wreath and twist it together at the back to fasten it.  Don’t trim the wire yet, as you may decide you want to take it off and reposition your flower once you have more heads on.

Dried Hydrangea wreath tutorial | Made by Tamsyn Morgans | Apartment Apothecary

Dried Hydrangea wreath tutorial | Made by Tamsyn Morgans | Apartment Apothecary

3. Work your way around the wreath fastening your heads on with the wire.  As I didn’t have quite enough full heads to complete my wreath, I used smaller heads clustered together to fill the gaps.

Dried Hydrangea wreath tutorial | Made by Tamsyn Morgans | Apartment Apothecary

Dried Hydrangea wreath tutorial | Made by Tamsyn Morgans | Apartment Apothecary4. Once my wreath was covered I had some smaller gaps to fill, so I took some of my large individual petals, and twisted the top of a piece of wire approx 15cm long around the stalk.  I then threaded  the wire through from the top of the wreath through to the back, and fastened by twisting it round the rattan.  Berry sprigs would look lovely dotted around too, using this method.  At this point, I kept my wreath looking quite rustic – maybe I could have trimmed some of the heads a little to make more of a perfect circle shape, but I didn’t want  to get in a tizz about it – rustic is good!

Dried Hydrangea wreath tutorial | Made by Tamsyn Morgans | Apartment Apothecary

Dried Hydrangea wreath tutorial | Made by Tamsyn Morgans | Apartment Apothecary

5. Finally, cut a piece of ribbon, and choose where you would like the top of your wreath to be.  A wide piece of vintage lace would look lovely too.  Thread the ribbon through the rattan and tie in a knot to make a large loop.

Dried Hydrangea wreath tutorial | Made by Tamsyn Morgans | Apartment Apothecary

Thank you so much, Tamsyn (again!). Make sure you drop by Tamsyn’s blog for lots of gorgeous vintage inspiration.

Katy x


Urban Jungle Bloggers: Plant shelfie

I’ve been really excited about this month’s edition of Urban Jungle Bloggers because I have a brand new Pocket String shelf that Jules bought me for my birthday so it’s perfect for a ‘plant shelfie’. I decided to put my shelf up at the end of our kitchen so it seemed perfect to add some of my herbs and I always find that plants instantly add so much freshness and interest to any styling. I always use tins or cups for herbs (more than anything so that I don’t have to buy plant pots, which are quite hard to find) and my potted basil in the tomato tin is one of my favourites. Take a look at this post that I did last year for more recycled planter ideas.

There’s no way that these shelves will stay like this for long as I am constantly re-arranging things at home, but for now…

Urban Jungle Bloggers - Plant shelfie | Apartment Apothecary

Urban Jungle Bloggers - Plant shelfie | Apartment Apothecary

Urban Jungle Bloggers - Plant shelfie | Apartment Apothecary

Urban Jungle Bloggers - Plant shelfie | Apartment Apothecary

Urban Jungle Bloggers - Plant shelfie | Apartment Apothecary

Thanks as always to Judith and Igor for the inspiration and do pop over to their blogs to see their plant shelfies and search the hashtag #urbanjunglebloggers for more inspiration.

Katy x


Blog love

Happy weekend everybody, albeit a very wet one here in London. If you plan on staying at home today, I have the perfect reading for you…

Remodelista

A great interiors book is reviewed this week over on Remodelista – Beautifully Small: Clever ideas for compact spaces, by Sara Emslie. The photographs of this London cottage are featured in the book – I need to live there!

Beautifully Small by Sara Emslie | Apartment Apothecary

Sugar and Cloth

There’s a lovely, bright and cheerful DIY project featured on Sugar and Cloth this week. If you are looking for an easy craft project this weekend, this could be for you.

DIY colour block trivets | Sugar and Cloth

Growing Spaces

I have a thing about Sloe Gin – I love it – so I wanted to share Heather’s recipe. If you make it, please bring me round a glass or two.

Make your own sloe gin | Growing Spaces

Betty and Walter

I’m feeling inspired by the lovely Lisa Levis’s latest blog post to start more collections. She’s encouraging all of us to start collecting and share our finds using the hashtag #collectingcollections.

Collecting collections | Betty and Walter blog

Lobster and Swan

Jeska recently shared a new and very exciting venture that she is undertaking, which is called The Future Kept. It will be a new online store and it is definitely one to watch as I know she will choose the most beautiful items.

The Future Kept | Lobster and Swan

Liberty blog

And last but not least, you can also check out my design tips for creating the perfect work space over on the Liberty blog this weekend 😉

DIY Home office makeover | Liberty blog

Have a good one everybody!

Katy x