Rug placement

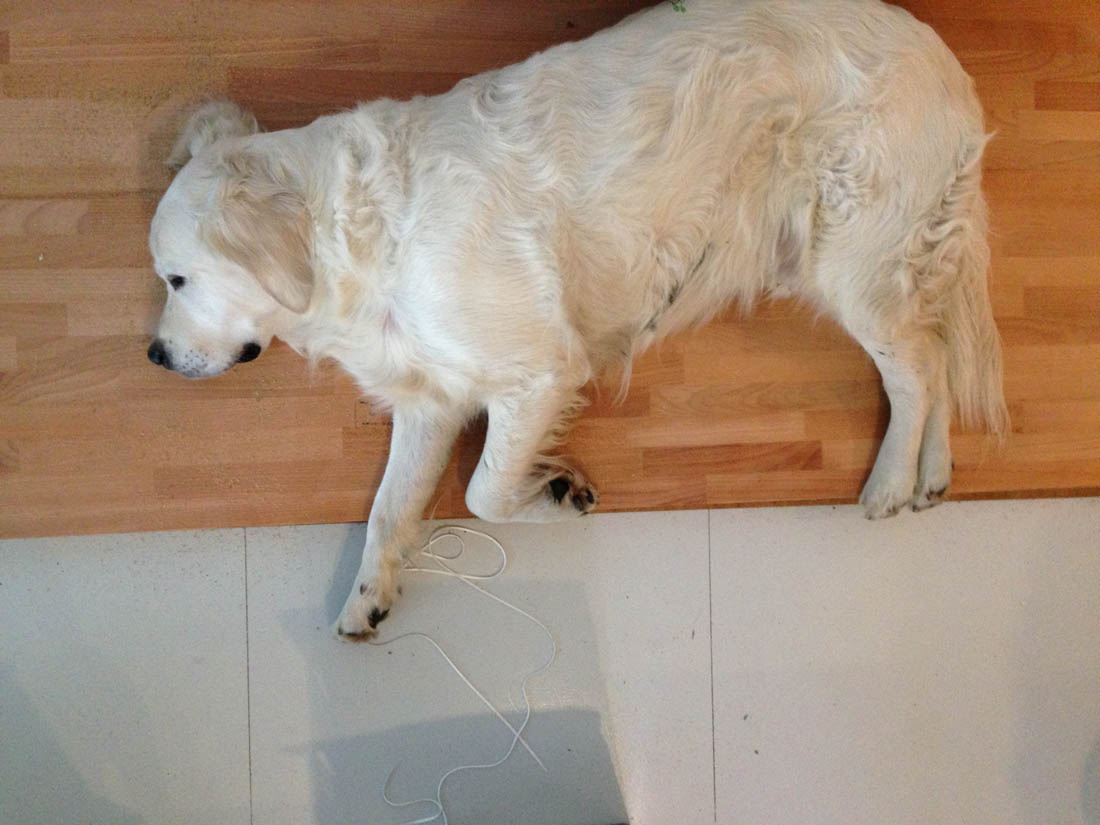
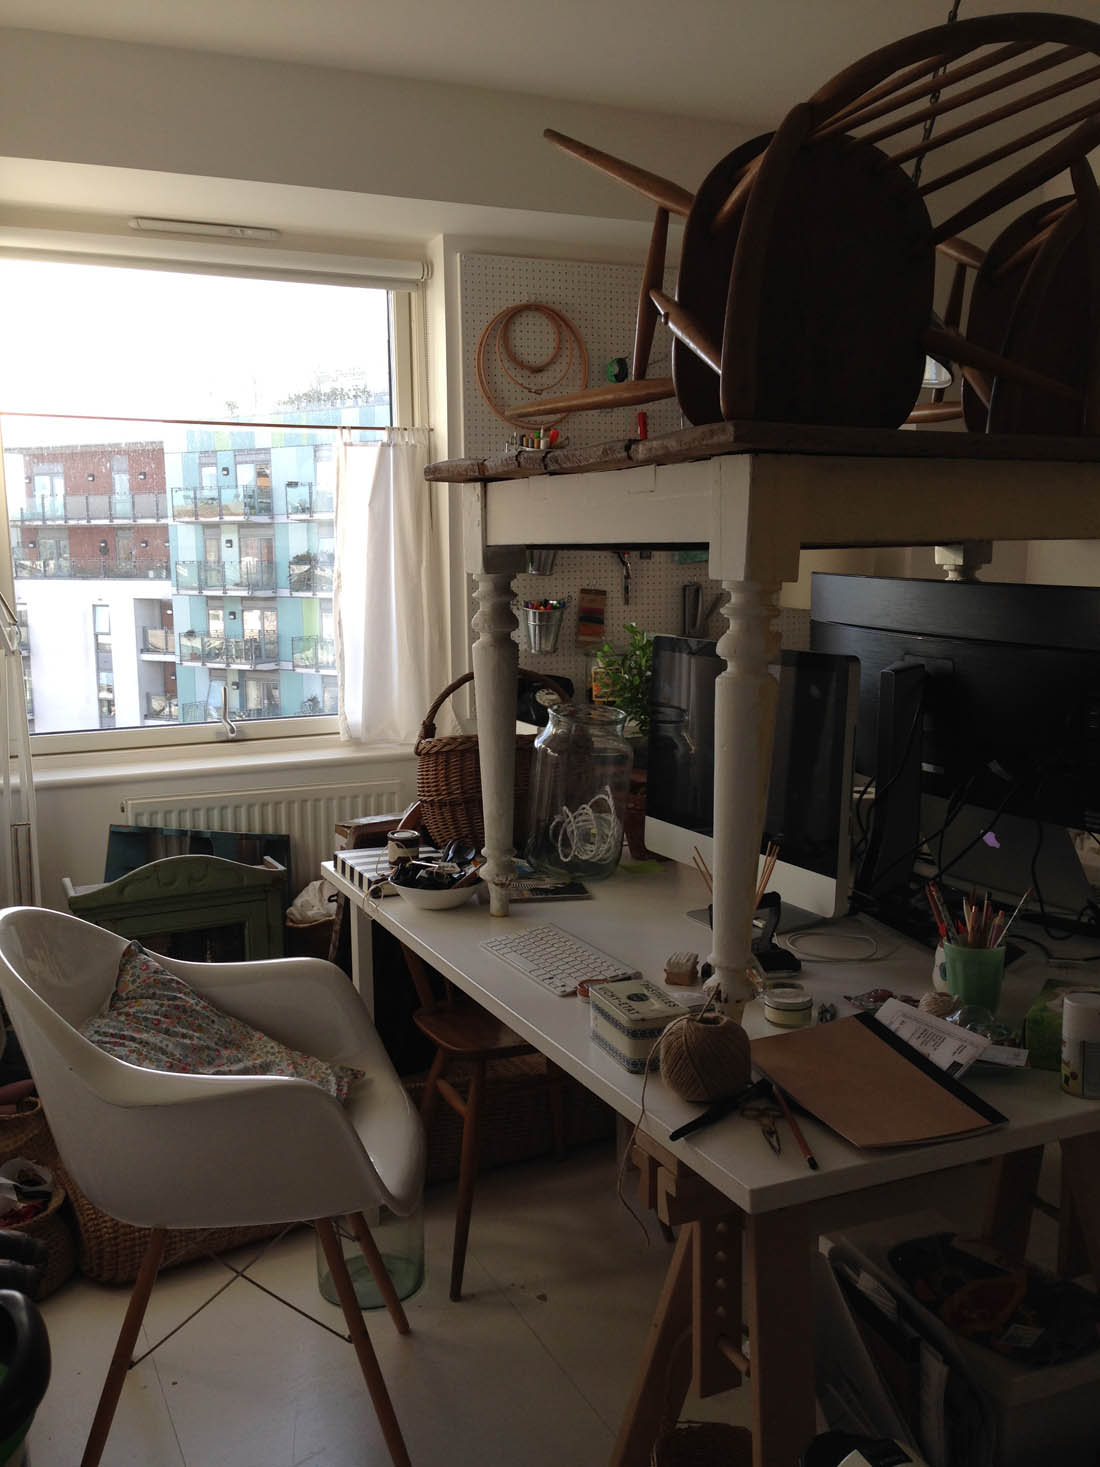
A day arrived a couple of years ago when Jules had taken Otto for a walk and he called me on the way home to warn me to line the hallway with towels leading straight into the bathroom. In came Otto covered from head to toe in thick, sticky mud and I knew that our carpet had to go. I couldn’t give this huge dog a bath every day for the rest of time for fear that the carpet was being ruined. Therefore, the carpet went and we painted the MDF boards underneath with floor paint, which has given us an easy to clean and more modern feel in our flat. However, there are those times when all I want in life is to feel the soft, sumptuous tread of carpet underfoot, especially at this time of year. That’s where a good rug comes in. I can not express how important a good rug is in pulling a room together, bringing cohesion, adding a cosy feel, softening the echoes and hard edges of a wooden or stone floor.

I bought the most beautiful kilim rug from Turkey a couple of years ago that I have had to surrender as it shows up Otto’s hair so much and it is so thin that he was starting to make holes in it. I have packed it away safely for that forever home in the country I will have one day (!) and instead have bought a much more practical one. As we begin to finish our DIY and I can start to think about styling our sitting room with a new sofa, chairs and rug my mind has wandered to rug placement (yes, that’s a thing). When putting a room together the placement of your furniture in relation to your rug is incredibly important to the overall feel of the room and it impacts on the size of rug you choose.

If someone is struggling with a room and they ask me to take a look almost always one of the glaring problems is that the rug is too small, big or the furniture is laid out in the wrong formation around the rug. Just with a little tug here or pulling a chair forward there and the whole room can feel different – honestly! So, here are some helpful  guidelines that I will be following to help me lay out my rug and furniture in my sitting room…

Floating rug v. Grounded rug

Rug placement tips | Apartment Apothecary

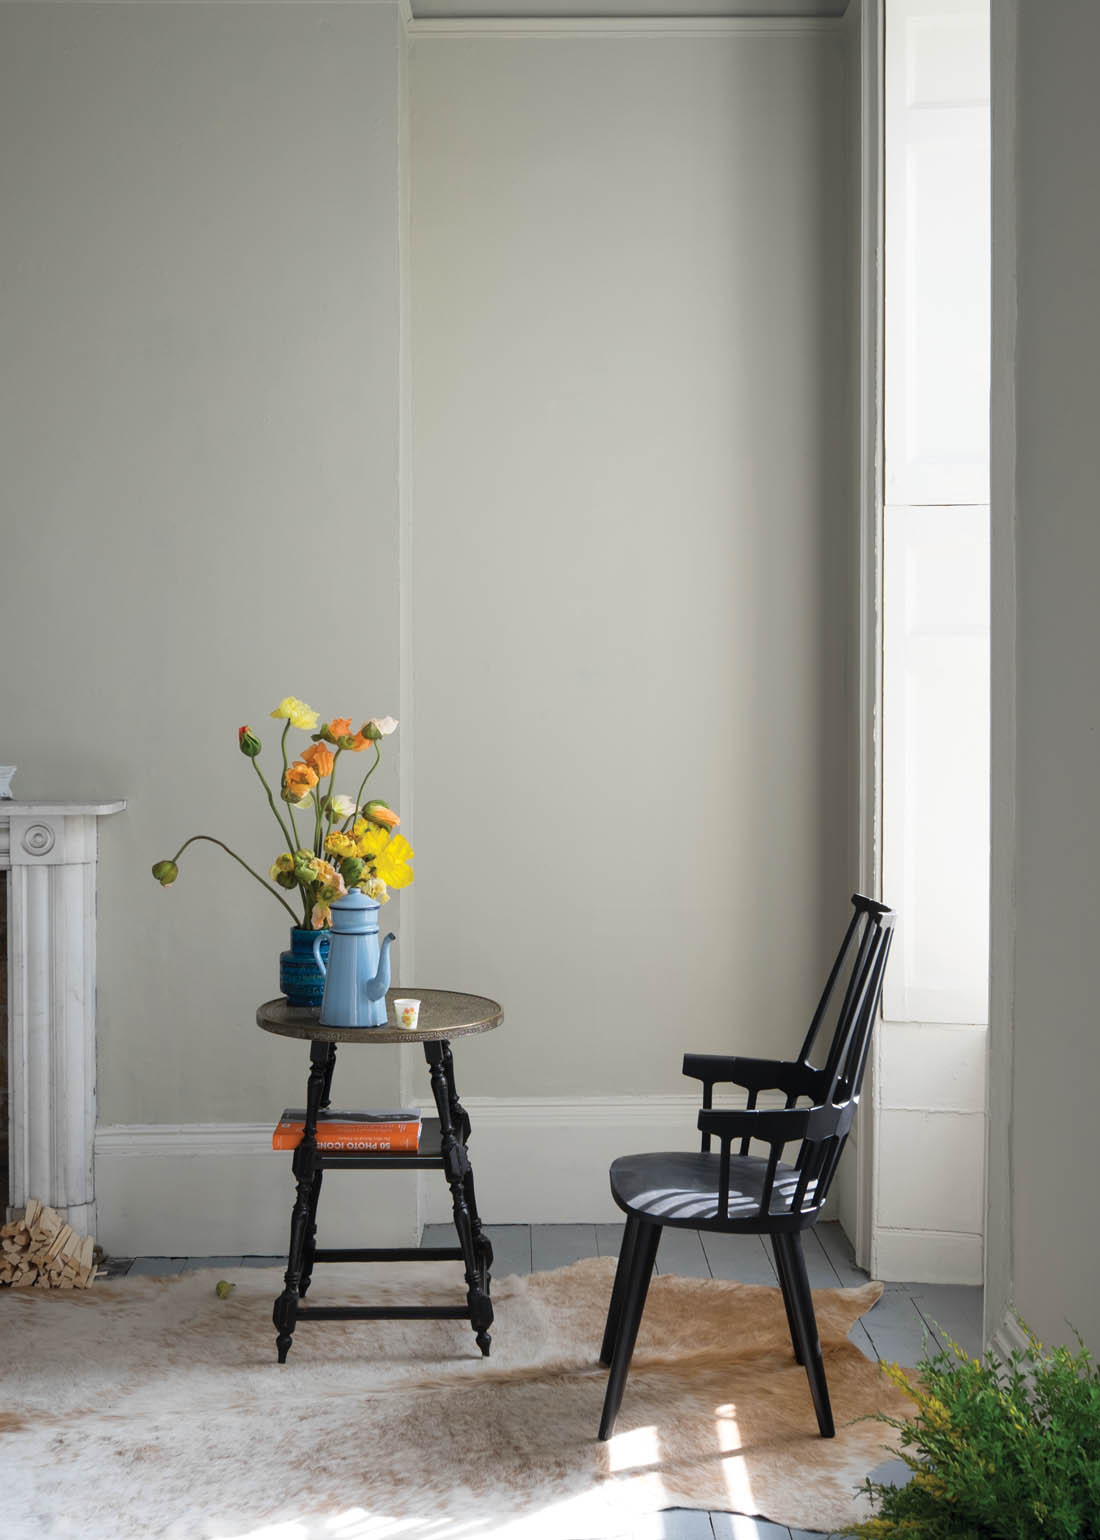
A ‘grounded’ rug. This rug is part of the beautiful range of House Beautiful rugs designed exclusively for Carpetright and is called ‘Horizon’.

A floating rug is a bad rug. The sofa (block at the top of the graphic – apologies for my poor design skills) does not touch the rug (rectangle in the middle) and nor do the two chairs (two dark blocks at the bottom of the graphic). The rug is too small resulting in the room feeling disjointed and ‘bitty’.

A grounded rug, on the other hand, is a good rug. It is large enough for the two front legs of the sofa to sit on the rug, as well as the front legs of both the chairs. This pulls all of the furniture together, creates a cohesive feel and grounds the room. Ideally there should be about 50cm from the edge of the rug to the walls of the room. I have decided to go with two chairs opposite our new sofa, now that we have sold our teal loveseat, so I will be arranging them to follow this simple rule.

In the past I have struggled to find affordable on-trend rugs but it feels like everyone is catching on quick so I’m very pleased to be collaborating with Carpetright on this post to introduce you to their new range created by House Beautiful – pretty good, hey? I love the different textures, muted colours and bold designs and I think my favourite design is ‘Valley’.

Rug placement tips | Apartment Apothecary

Available in store at Carpetright.

Right, I’m off to place my rug – happy weekend!

Katy x


New Farrow & Ball colours

Last month I was very excited to be invited to a secret preview of the nine new Farrow & Ball colours with Joa Studholme, their International Colour Consultant. I arrived to the beautiful Albany apartments in Piccadilly having always admired F&B colours from afar, told others to use them but only gone as far as using their All White floor paint in my own home – because why would anyone ever need anything more than white walls? However, I left that evening determined to paint both my sitting room and kitchen in pretty bold colours and hatching plans for how I was going to persuade Jules that that was an excellent idea. What on earth happened?! It definitely wasn’t the bubbles being served because I stuck to dry January that evening *smug face*.

Well, I think it was a combination of two things. Firstly, Joa is simply brilliant and I could have listened to her all night; who was I to argue when she suggested I use Peignoir in my sitting room and told me that her own sitting room is painted in that colour? Secondly, I genuinely fell in love with the colours and the stories behind their names alone were enough to seduce me away from my beloved white walls.

And so the day after the preview I put my order in and as you can see in my Styling the Seasons post my sitting room is now Peignoir and proud.

New colours

All nine of the new colours were launched this week and just in case you missed it here is a brief run down of my favourite in the the collection and how Joa introduced them to us.

First up was Shadow White, predicted by Joa to be incredibly popular as it is a very “safe pair of hands”. A muted shade, a true neutral without the yellow of Slipper Satin, perfect for any style of home.

Next came Drop Cloth, a name that I love taken from the decorator’s dust sheet and Joa told me that her decorator had suggested it. This colour is not too yellow, nor too grey and works beautifully with Shadow White and Shaded White for those looking for a neutral colour scheme with understated sophistication.

And here’s my favourite. As soon as Joa pulled up the board painted in this colour I whispered to Kate, who I was sitting next to and who has tipped it as being one of the most popular of the new colours: “I think that’s my colour”. Inspired by the chiffon gowns in which ladies traditionally brushed their hair in boudoirs (that description clinched it for me!) it is a very soft pink with a huge amount of grey. As I said in my post this week, Jules thinks this colour is grey, which goes to show how different in looks in different lights. As I sit here typing with the sun streaming in it is the blushest of pinks. I love it. “Pink for boys,” as Joa put it.

I also fell quite hard for Cromarty, which piqued my interest when we were told it was named after the shipping forecast – there’s something quite romantic about that, I think, conjuring up notions of swirling seas and winds. A soft muted green, lighter than Mizzle and would work beautifully with Blue Gray or Pigeon and perfect for a kitchen.

Worsted slips seamlessly between Purbeck Stone and Mole’s Breath on the colour chart. Named after the Norfolk village where the flat woven fabric used for city suits was originally woven, Joa forecast that it will be a hit as the obsession with grey looks set to run for a while longer.

To see the other new colours have a look here and I’d love to know which one is your favourite.

Katy x

Styling the Seasons – February

I’m very excited to give you a sneak peek into my sitting room today (just the teeniest tiniest corner as there is stuff everywhere after a month of DIY weekends as you can see in the behind the scenes pics here). After spending last week painting this room and re-painting the floor it is very nearly ready for a new month with a new colour as Spring slowly but surely approaches.

Farrow & Ball have launched nine new colours today, which is quite an event as it only happens every three years. I was lucky enough to go to the preview of the new colours last month and I immediately fell in love with Peignoir and decided there and then it had to go on my walls. It is the most amazing pink with a big dose of grey and in some lights it is a beautiful blushy pink and in other lights a very dark grey – I love it. As soon as I walk into the room it is like the walls are giving me a great big hug. It is the perfect colour to welcome in longer days and Spring blooms and that’s about all I have managed this month as we are still very much in a state of disarray.

I bought a lovely bunch of simple flowers from the market this weekend – because it wouldn’t be February without a nod to Valentine’s Day and flowers are a must! – and brought them home in this beautiful vintage French basket from La Petite Brocante.

Styling the Seasons - February | New Farrow & Ball colour - Peignoir | Apartment Apothecary

Basket from La Petite Brocante.

I put the flowers into a big jug and onto the table, mirror still to be hung, radiator still to be painted…

Styling the Seasons - February | New Farrow & Ball colour - Peignoir | Apartment Apothecary

With the sun streaming into the room Peignoir is the softest of pinks but Jules thinks it is dark grey so that gives you some indication of how much the colour changes with the light (and how I managed to convince him to paint our sitting room pink – ha!). It’s a bit magical.

Styling the Seasons - February | New Farrow & Ball colour - Peignoir | Apartment Apothecary

Radiator still needs to be painted – that’s tonight job!

I hope February is full of colour, flowers and ALL the love for you all. Charlotte and I would love to see your February styled surfaces so post a pic on Instagram or blog about it and we can’t wait to see.

Katy x

January: A review

I know it’s trad to hate January and all that but I have to say it’s been a really good month. I think because I was dreading it so much I made special efforts to make it a positive and productive month, which really paid off. And, as always, it was made even better by the stunning styling going on across the #StylingTheSeasons hashtag and so many wondrous blog posts with a few new faces this month, which has made it extra exciting.

My favourite post this month is full of colour, flowers that are beginning to emerge again and a sideboard full of joy…

Styling the Seasons - January review | Capture By Lucy

Pop over to Lucy’s blog Capture By Lucy to see how she styled this lovely lot for her Styling The Seasons post.

There have so many inspiring posts this month that you can visit by clicking on the links below:

Lobster & Swan | Let’s Talk Mommy | The Lovely Drawer |  Life by Naomi | Celebrate Creation | A Curated Mess | Capture By Lucy | The Twinkle Diaries | We made this home | Brit Decor | Sew Simone | Tea with Ruby | Gathered Cheer | The Villa on Mount Pleasant | Growing Spaces | Marmalade Pie | The Ordinary Lovely | thevintagehousethatcouldLotts and Lots | Apartment Apothecary

See you back here tomorrow with my post for February and don’t forget you can join in too by styling any surface in your home to represent what February means to you. Share on any social media, use the #StylingTheSeasons hashtag and tag me and Charlotte so we can see!

Katy x

DIY behind the scenes

Gah! I am currently sitting on my bed with my iMac precariously balanced whilst trying to type up this post after painting myself in to my bedroom for the next eight hours. Oh, the joys of DIY! I don’t have anything pretty to share this week so I thought I would give you a glimpse into the chaos around here instead – makes for a nice change, no? Kitchen is almost done, just tiling and door handles to change. Sitting room is half painted and floor is half painted, too. Jules and Otto have gone to stay with his mum for a week so I can crack on with it all (floor painting and Otto do not mix, believe me!).

I wish I could afford to pay someone else to do all our home improvements but we are able to do it ourselves, we have the time, we have the flexibility and between us we have the know-how so somehow it seems like a huge luxury to pay someone else to do it for us. However, there are times when I’m covered in paint or the whole flat is filled with sawdust that I wish I was anywhere but here. Although, there are a few things that I have learnt along the way that make DIY so much easier and less chaotic that I will share with you, too.

Are you ready for the ugliest photos this blog has ever seen?

Tip 1: Don’t freak out!

When the new work tops arrived I burst into tears. In isolation and before they had been oiled I worried that the wood looked too pink and I was terrified that I’d wasted a huge amount of money on something I didn’t like. However, as soon as the worktops were installed and I could see them in context they are exactly what I wanted. It is far too easy to panic when you are doing home improvements that something isn’t right. However, until you have put the whole room together it is far too difficult to tell whether you have made a mistake so don’t freak out prematurely!

Behind the scenes of DIY | Kitchen makeover | Apartment Apothecary

Behind the scenes of DIY | Kitchen makeover | Apartment Apothecary

Tip 2: Prepare practical stuff

I knew that there would be a few days without a cooker, hob, sink, plumbing for the washing machine and dish washer. Therefore, I cooked some meals that could be frozen and then heated in the microwave so we didn’t go hungry. As well as that I did all the laundry before we began and got the bath set up for washing up (back breaking, I tell you!).

Behind the scenes of DIY | Kitchen makeover | Apartment Apothecary

Old worktop coming out.

Behind the scenes of DIY | Kitchen makeover | Apartment Apothecary

Everything had to be unplumbed to remove this worktop and for a new sink to be installed.

Tip 3: Don’t get carried away!

On the first weekend of our DIY endeavours we fitted the smaller of the two worktops. It all went pretty smoothly and without much disruption. However, after waiting until the next weekend to do the other side of the kitchen we both got a bit carried away and rushed into starting the work without preparing as much as we should have done. Jules was ready to get going and asked me to clear out the cupboards and instead of doing that job properly I rushed it and didn’t bother packing everything into boxes. Instead I just heaped it onto our table and onto the floor. Such a silly mistake  – the second worktop required far more cutting and the amount of sawdust was out of control! Every single thing that I didn’t bother packing into boxes got covered  and very quickly it all became pretty chaotic. Our over exuberance to get started on that second weekend actually slowed us down in the long run.

Behind the scenes of DIY | Kitchen makeover | Apartment Apothecary

Tip 4: Plan time carefully

I think it’s best to work back from when you want the room you are working on to be complete. I knew that I wanted everything to be done by the start of March. Therefore, I made sure I ordered new furniture/materials with long lead times before Christmas. I also organised to sell old furniture by the weekend before I planned to paint (the point I am at now). That way it makes painting so much simpler, especially because I have decided to re-do the floors so getting rid of our old sofa and selling our teal loveseat made clearing the floor space so much easier.

Behind the scenes of DIY | Living room makeover | Apartment Apothecary

Although there is still a fair bit of stuff packed into the office and bedroom!!!

Behind the scenes of DIY | Living room makeover | Apartment Apothecary

Tip 5: Buy all the materials you will need in good time

I am lucky enough to be trying out one of the nine new Farrow & Ball colours in my sitting room (they launch on February 1st so keep your eyes peeled and try to guess which one I have chosen!). Only problem is I didn’t order quite enough – rookie error! There is nothing worse than having to interrupt DIY because you don’t have the materials you need. We have also had to do an 7.45pm dash to B&Q in a taxi before it closed to buy the correct jigsaw blades. Gah! Waste of time and waste of money so make sure you prepare properly and always get more than you think you’ll need.

Behind the scenes of DIY | Living room makeover | Apartment Apothecary

I still have a couple of coats of paint left to do before Jules and Otto come back on Friday and then we will do the tiles in the kitchen this weekend. After that I may never do DIY again…until the next time, at least!

Katy x