12 Christmas crafts and DIY’s

Stuck for ideas for Christmas decorations, homemade presents or table settings this year? Well, I have rounded up twelve of my favourite Christmas projects that I have done over the last couple of years and I hope they will give you a bit of inspiration. I know it can seem like a lot of effort to get into craft or DIY projects at this time of year but don’t see it as a chore: it is such a wonderfully relaxing thing to do when it is cold and dark outside, the Christmas lights are on and you’ve got mince pies or a box of chocolates to keep you going. There really is nothing better to bring the festive feeling alive…

img_9837

1. Liberty baubles

Find the full tutorials here:

1. Liberty print baubles
2. Gold tipped feather baubles
3. Dried Hydrangea wreath
4. Gingerbread syrup recipe
5. Homemade nutella recipe
6. DIY candles
7. Succulent and herb wreath
8. Christmas in a jar gift
9. Eucalyptus garland
10. Christmas table
11. Advent calendar
12. Paint dipped baubles

1 copy

2. Gold dipped feather baubles

wreathtutorial7

3. Dried Hydrangea wreath

making-candles-3a

6. DIY candles

Natural Christmas garland | How to make a Eucalyptus garland | Apartment Apothecary

9. Eucalyptus garland

pink-plate

12. Paint dipped baubles

I hope some of these projects will get you in the festive mood and you can enjoy a crafty afternoon here and there over the next couple of weeks.

Katy x

12 Christmas crafts and DIY projects | Apartment Apothecary

Pin me!

Pine cone wreath tutorial

Do you ever get bored of the traditional Christmas colours? Red, green and gold has never really been my thing so I’m always on the look out for alternatives. I tried pastel pinks, greens and blues one year and last year I went for fresh greens and white. This year, I still want to incorporate as much nature in the house as possible but I have also been challenged by Harveys Furniture to add a burst of bright colour by creating my own festive decoration. So, I have decided to combine nature and a touch of colour.

DIY pine cone wreath | Neon pink Christmas decorations | Apartment Apothecary

I have a collection of pine cones that I have gathered each winter from the park. I always love making a wreath for Christmas so I decided to make mine a bit different this year by using the pine cones and adding a touch of neon pink to add a flash of colour. I think this will look great on a dark grey front door.

You will need:

you-will-need

Step by step:

Step 1 – Stretch the wire coat hanger out into a circle, leaving the hook at the top in tact.

DIY pine cone wreath | Neon pink Christmas decorations | Apartment Apothecary

Step 1

Step 2 – Space out the pine cones around the wire hoop to figure out how many you will need for the wreath.

DIY pine cone wreath | Neon pink Christmas decorations | Apartment Apothecary

Step 2

Step 3 – Use neon acrylic paint to add a touch of colour to the tips of the pine cones. Leave to dry overnight.

Step 4 – To attach the cones to the wire hoop wrap a piece of floral wire around the centre of each cone and twist the wire lengths around each other so that it is secure.

Step 5 – Attach the cone on to the hoop by wrapping the excess wire around it tightly.

DIY pine cone wreath | Neon pink Christmas decorations | Apartment Apothecary

Step 5

Step 6 – Place more cones on to the hoop, securing them as you go, until the entire hoop is covered.

step-5a

Step 6

You can then hang the wreath using the hook at the top of the wire hoop.

DIY pine cone wreath | Neon pink Christmas decorations | Apartment Apothecary

If you have any painted pine cones left over you can use them as festive place name holders for your Christmas table. Just slot a name card in to each cone and they will add a modern touch to your feast!

DIY pine cone wreath | Neon pink Christmas decorations | Apartment Apothecary

You can see more creative Christmas decoration ideas over on the Harveys Furniture blog. Have you got any crafty plans for this weekend?

Katy x

*This post was written in collaboration with Harveys Furniture.

IKEA Bekvam spice rack hacks

Whenever I go to Ikea I always seem to leave with a couple of Bekvam spice racks as there are so many ways in which one can use them. If you saw my post this week about transforming our home office into a nursery you will know that things are being shifted around here – again! We’ve had to change a few things in the hallway to make room for a pram so we’ve lost the hallway table and the table has moved into a corner of the nursery for me to work from (it’s actually a vintage school desk). Therefore, I’ve been looking for easy storage solutions for the hallway for letters and keys and I also need somewhere to store notebooks and stationery next to my desk. I have had a look on Pinterest and found some really great ways to use the spice racks that will help me solve these specific issues, as well as a few other ideas to use in the nursery for displaying books, toys and hanging clothes.

So, here is some inspiration for ways to use these cheap little racks that you may find helpful too…

Bekvam spice rack IKEA hacks | Apartment Apothecary

I had never thought of mounting the rack upside down but it works brilliantly as a way to hang things from the rung across the rack. Image via @calivintage on Instagram.

Bekvam spice rack IKEA hacks | Apartment Apothecary

I am definitely going to put up a couple of racks next to my desk to store stationery and notebooks as the desk is so small I can store anything on the table. Image via Bondville.

Bekvam spice rack IKEA hacks | Apartment Apothecary

I love the idea of displaying lovely children’s books in the racks. Image via Petite Vintage Interiors.

Bekvam spice rack IKEA hacks | Apartment Apothecary

What about adding hooks to the rack to hang keys or jewellery. The racks are also great for storing nail varnishes and toiletries in a bathroom. So many possibilities.

I’m off to Ikea this weekend so I may have to pick up a few more spice racks…

Katy x

Transforming a home office into a nursery – ‘behind the scenes’

img_4345

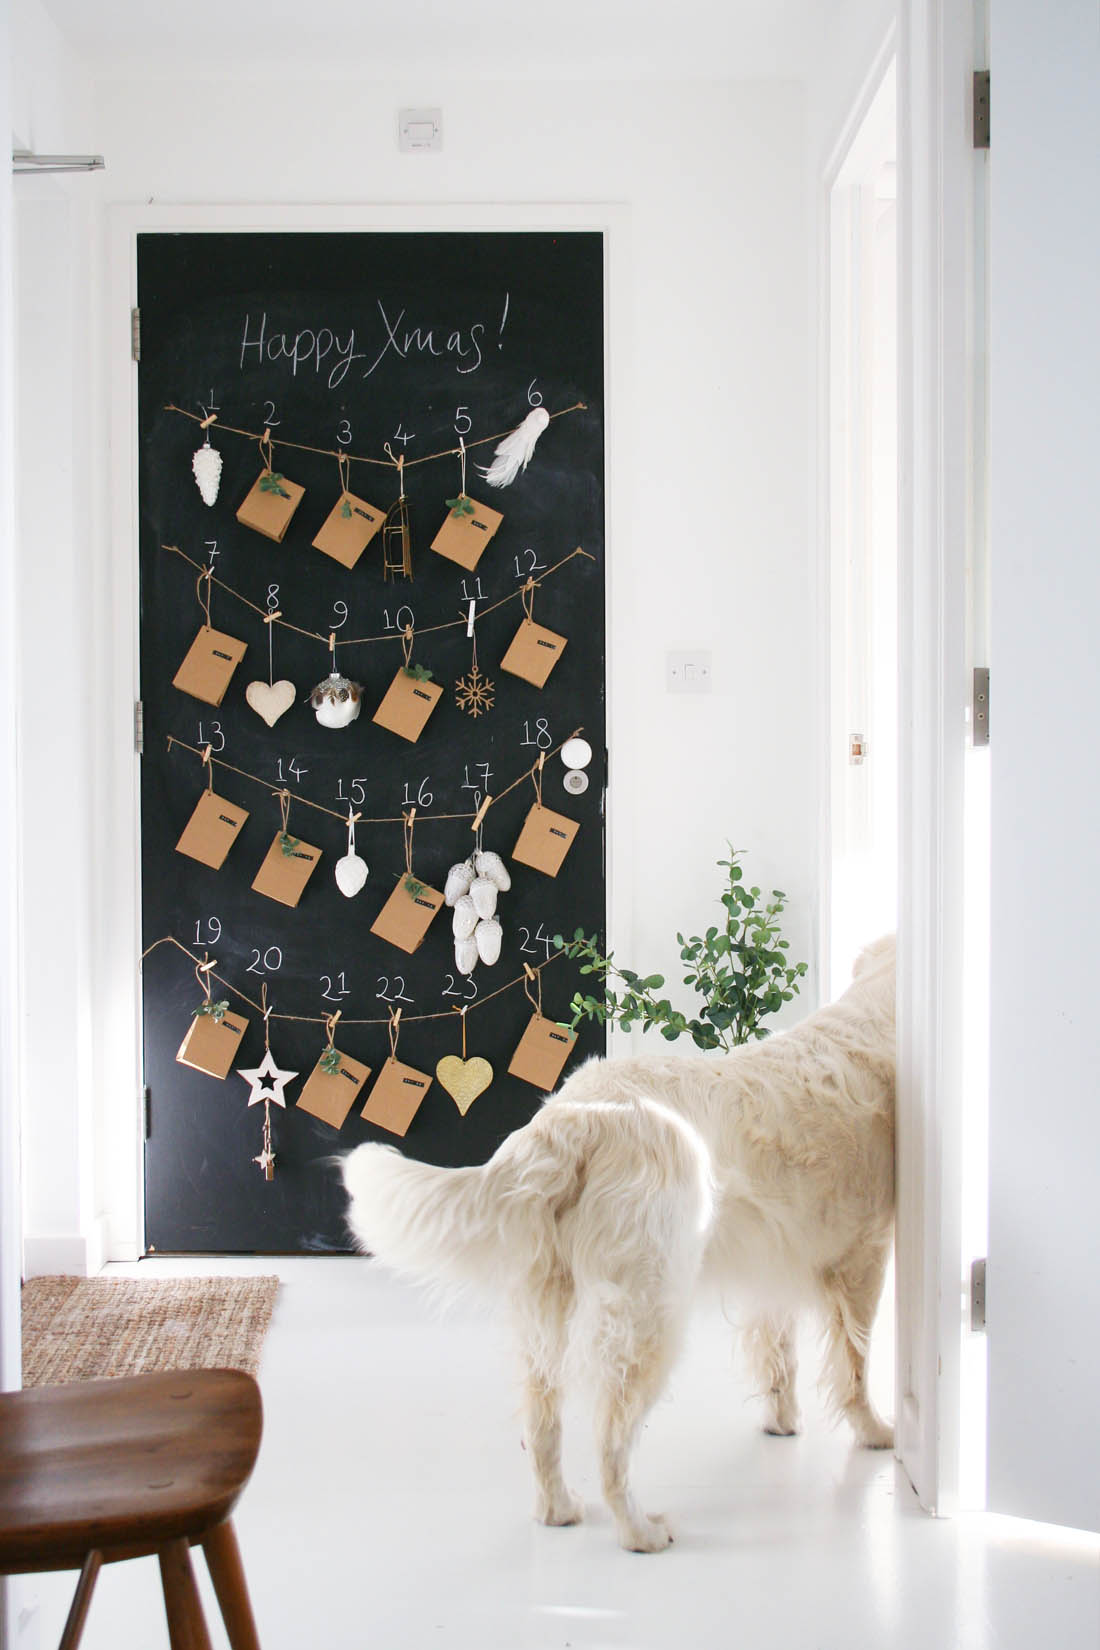
The nursery is nearly ready and this baby is nearly ready to make an appearance, too – just six more weeks to go! The day the cot and pram arrived last week it all suddenly felt very real as we could start imagining a baby actually being in the house. I think it feels a bit too real for Otto as the first thing he does every morning is go into the nursery and sit and stare at the toys in the cot and then lies down and guards them all day; it’s going to be an interesting transition for him.

Anyhoo, I thought you might like to see some of the progress snaps as we transformed our home office to what will be the baby’s room. This has definitely been a tricky room to decorate and furnish as I have no idea how we will use this room. It all feels very much like unchartered territory so the room isn’t particularly striking in design as I focused more on changing its function, decluttering, making space and creating a blank canvas that we can fill as and when we get to know baby and our needs as parents – I hope that makes sense! By the way, my friend and I have a few more things for sale over on my Instagram sale page, if you are interested.

So, here are the different phases of the room’s transformation…

Making space and decluttering

I knew the vast majority of work that would go into this room was changing its function. If you take a look at our home office it was full of tools, craft supplies, stationery, computers, printers, office chairs, a huge desk etc. Most of it had to go and to achieve that I had to make some space that would enable me to sort, organise and declutter. Therefore, the first job we did was break the desk in half (we used the MDF from the half we got rid of to make a very handy platform in our hallway cupboard for extra storage for the pram bits) and then push the remaining half up to the wall so I had lots of floor space to play with. I gave myself two weeks – a couple of weekend afternoons and evenings here and there – to get the job of clearing the room out done, which included selling a lot of stuff on Instagram and eBay. It was quite a smooth process and although we were surrounded by parcels to be sent off and piles of stuff for charity/recycling/to keep it was manageable because of the extra space in the room created by the moving the desks around.

Converting a home office into a nursery | DIY before pictures | Room makeover | Apartment Apothecary

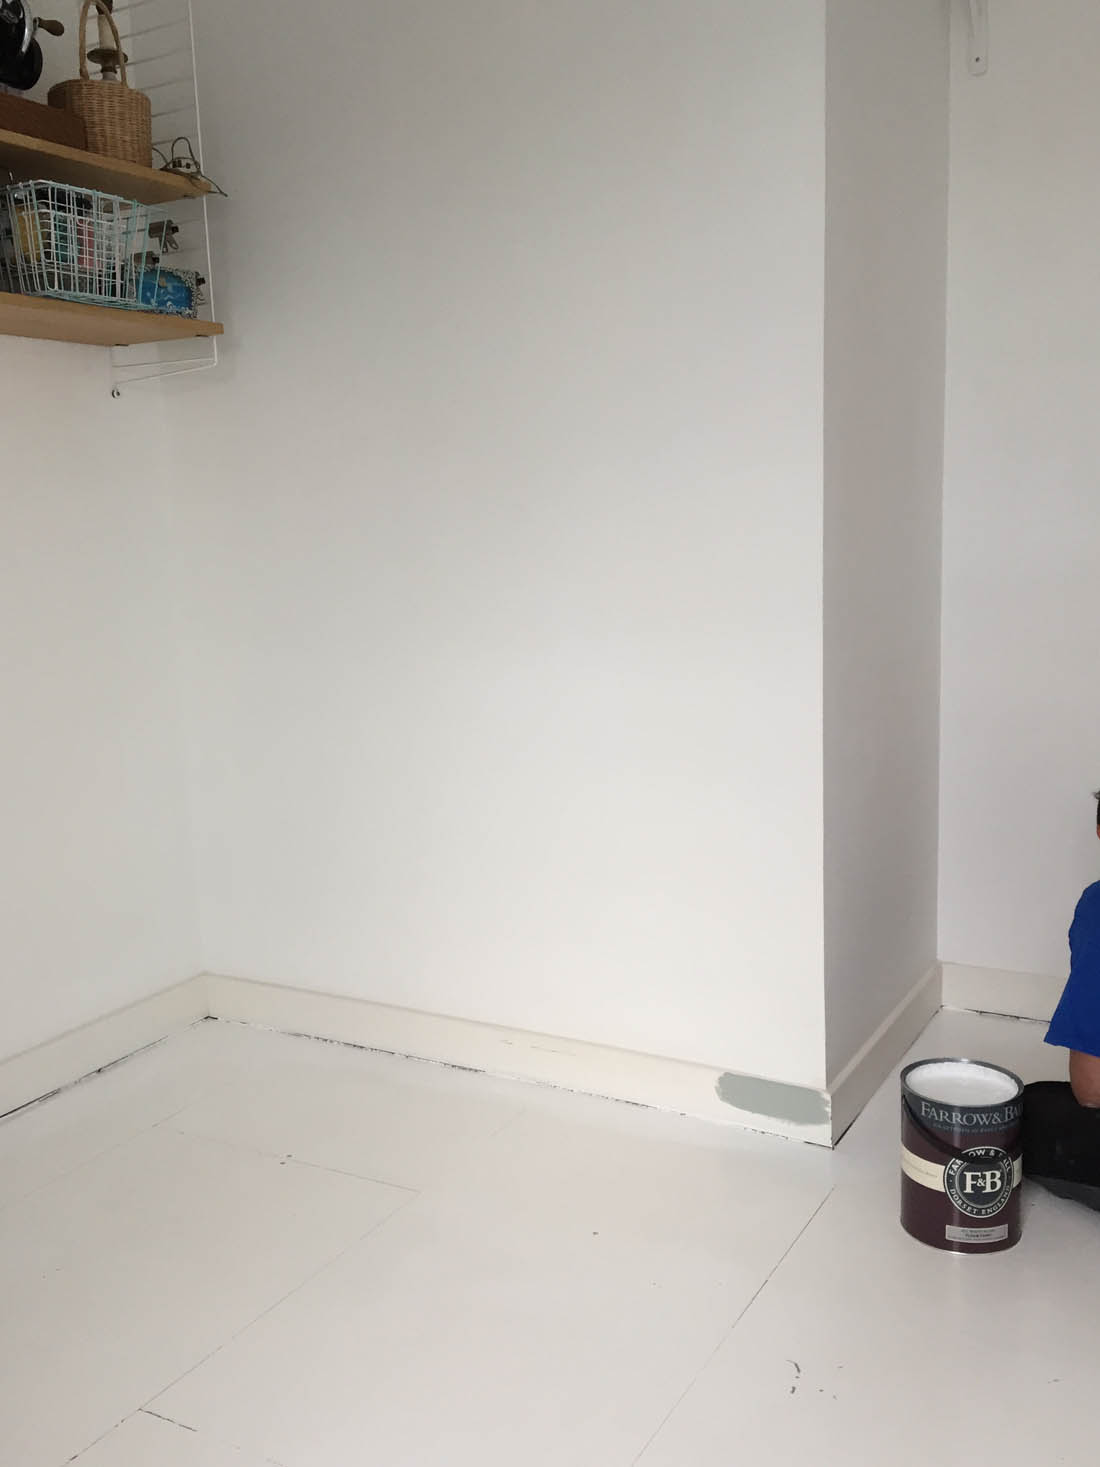
Removing wall hangings, filling in holes and freshening wall paint

Once I knew what we were keeping I stuffed it on to the String Shelves and created a pile of stuff in one corner of our living room. We had to keep the one remaining desk as we had to work during the day, doing DIY only at weekends, but this was easy to work around. The first DIY job was filling in holes in the walls where we had removed the pegboard, peg rails, shelves etc. and then sanding these down ready for a lick of paint just to freshen the walls.
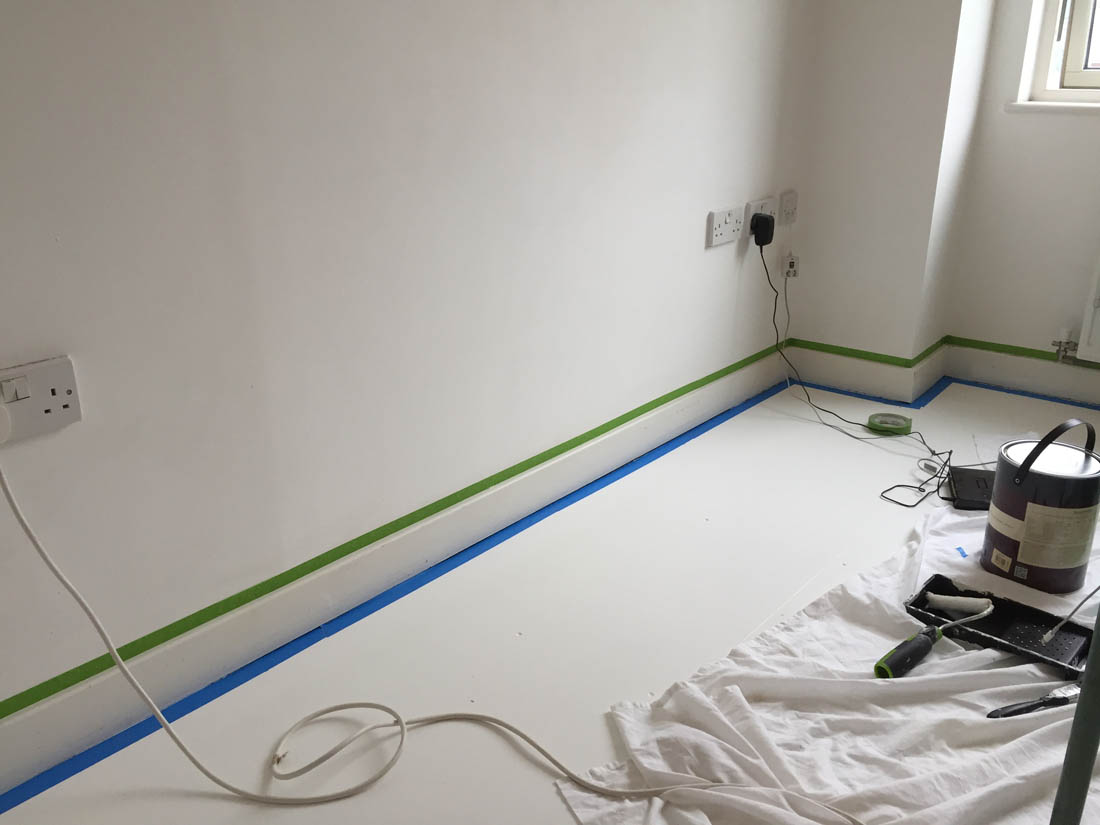
Painting the floor

We were able to get away with touching up the wall paint but the floor has seen a huge amount of wear and tear over the last three years since it was last painted. This room has been such a hard working room as there have been two of us working in here pretty much every day and desk chair wheels and constant crafting/DIY projects and moving stuff around has taken its toll. Therefore, we had to give the floor a couple of coats of new paint and we used Farrow & Ball’s All White floor paint again, which goes on so easily so it’s not a particularly difficult job. It was at this point that we finally got rid of the desk, sold our desk chairs and moved out of the room.

Painting the woodwork

The woodwork was horribly scuffed and dirty as it hasn’t been painted for over six years and it looked really bad in contrast to a freshly painted floor and walls. Therefore, I decided early on that this was where I wanted to add a bit of colour so we painted the skirting boards, window frame and ledge and the door and its frame. I chose Farrow & Ball’s Light Blue, which gives a hint of colour and definition and a nice basis for the room’s overall colour scheme.

Converting a home office into a nursery | DIY before pictures | Room makeover | Apartment Apothecary

Adding new furniture

Once all the painting was done we could arrange for delivery of the new furniture and lay a lovely wool rug (20% off today!) that instantly made the room feel cosy and welcoming. The only remaining task is to now sort out where to store and display the ‘stuff’ we want to keep in this room and I will do that over the next couple of weeks.

Converting a home office into a nursery | DIY before pictures | Room makeover | Apartment Apothecary

As you can see, not a particularly thrilling or exciting transformation and the work mainly went into clearing the room and changing its function but it does feel totally different now. I will show you in a couple of weeks what the finished room looks like now we have the new furniture in and a few baby things kicking around.

Katy x

*When I say ‘we’ did this, ‘we’ did that, I basically mean Jules did it all. I did all the prep and painting in our living room and kitchen at the beginning of the year but this time round I had the perfect excuse to sit back and bark orders 😉

Gift guide – cosying up at home

Christmas is one month away…just saying. Could it be time to start thinking about gifts? I’m going to go with YES! I unashamedly love this time of year and treating those you love and preparing for time off, time away from the computer, time to spend with friends and family. Just thinking about it makes me feel all cosy and comforted. I’m starting the first of a series of gift guides with the cosy theme and some lovely gifts – whether big or small – for those that love to spend time at home and settle into winter not to be seen again until Spring (I can kind of relate to that!). So, here are my picks for the homebody who loves to feel warm and comfortable and to make their home feel the same way…

Christmas gift guide - cosying up at home | Apartment Apothecary |

Cashmere socks – The White Company / Christmas scented candles – The White Company / Cashmere jumper – Urbanara / Cashmere joggers – Urbanara / Dusty pink rug – Urbanara / Pouffe – Swoon Editions / Men’s let mule slippers – The White Company / Dusty pink armchair – Swoon Editions / Moroccan pom pom blanket – Maud Interiors

There’s more…

You can buy all of these lovely things directly through my blog – just click on the product and add to your basket and you’ll check out right here. If you want to see what else you can buy here visit the full shop.


What are your ‘stay at home’ essentials?

Happy shopping and cosying this weekend!

Katy x