Styling neutrals in your home

Ok, we need to talk about neutrals today. I’ve been thinking about colour a lot recently because I feel that my flat has become a home of two halves after recent room makeovers: the bedroom and office are neutral with pastel accents whilst the living room is filled with quite deep, intense colours. I don’t like the divide so I want to try to make the kitchen and living room more in line with the bedroom and office.

Firstly, I have decided to make my kitchen completely neutral with a few blue accents as I have loads of blue and white china. The inspiration behind my neutral colour scheme started with my new collection of Cotton white Le Creuset from Houseology. I am head over heels in love with Le Creuset but I have always held back from starting a collection because the bright colours didn’t do it for me and once you start collecting one colour what happens if you change your mind?!! The white is perfect for those people who love neutrals and those people who want it to fit in with a colourful kitchen, too.

Cotton white Le Creuset | Styling neutrals in your home | Styling String Shelving | Apartment Apothecary

Cotton Le Cresuet casserole dish (top shelf, left), utensil holder (top shelf, right) and baking dishes (bottom shelf, left) from Houseology.

It’s funny, I’ve always thought neutral colours weren’t for me – you know, beige and boring and all that? However, I’ve recently noticed that one of my very favourite Instagram accounts (that you can see here) is based on a beautiful home filled to the brim with neutrals. Turns out, I love them. It also turns out that they don’t have to be boring or blah.

Here are my tips to help you style neutrals in your home to make them look as interesting as possible and, in my opinion, as interesting as bright colours:

1. Texture and a mix of materials

Texture when integrating lots of neutrals in to your home is key. You want to add raw woods, glassware, ceramics, stoneware, baskets, enamelware and linens. The more texture the better as this draws the eye around the styling and adds interest and a variety of colour.

2. Points of contrast

Intersperse your styling with a few darker items (grey is always a good option) or even another colour. This will add enough contrast to ensure your neutrals don’t all merge into one another.

3. Combine vintage and new pieces

Combine new and old in your styling as the age and interest of the vintage pieces will attract attention and create more contrast amongst the neutrals.

I’ve been playing around with some of my kitchen pieces that I want to go on my open shelving (yup, I am definitely going for open shelving after my umming and ahhing, thank you to everyone who commented and helped me with the decision). You might think I am ever so slightly bonkers but I spent Friday night – yes, Friday night – removing stuff from my home office string shelving and then pretending they were my new kitchen open shelves and experimenting with styling neutrals trying to follow my own advice above. What do you think?

Cotton white Le Creuset | Styling neutrals in your home | Styling String Shelving | Apartment Apothecary

I am now really looking forward to ripping down the wall cupboards in the kitchen and getting some shelves up!

Cinnamon bun recipe

The first thing I decided to cook in my Le Creuset baking dish were these cinnamon buns to take to brunch at the weekend. Would you think I was even more bonkers if I told you I chose this recipe especially so I could play around with styling neutrals?! Bonkers, I tell you.

Cotton white Le Creuset from Houseology | Stoneware | Cinnamon buns | Food styling

Cinnamon buns in Le Creuset baking dish.

Pop over here for the bun recipe.

Here is my recipe for the icing – I think it’s better than Nigella’s 😉

2 oz softened cream cheese

7 tbsp softened butter

1/2 tsp vanilla extract

2 tbsp milk

Good pinch of salt

1 1/2 cups sugar

Beat the cream cheese and butter together. Mix in the vanilla and milk and then gradually add the sugar and salt until smooth. I pour it on whilst the buns are still warm so it kind of melts into them and will therefore keep them moist. However, you can wait until they are completely cold.

Cotton white Le Creuset from Houseology | Stoneware | Cinnamon buns | Food styling

They didn’t last long!

Do you love Le Creuset as much as I do? What colour would you go for?

Katy x


*This post was written in collaboration with Houseology.

Follow my blog with Bloglovin

Behind the scenes and DIY home studio tips

When I began my blog I had no idea how to take decent photographs in my home and it took me a long time to figure out how other bloggers did it. When I look back at some of my posts I cringe a bit as I realise how ugly some of my photos are – dark, bits of clutter captured in the corner of photos, muddy backdrops, light absorbing carpets or table tops. Over the last couple of years I have developed ways of improving the photographs I take in my home to try to make them look a bit more professional, without the obvious benefits of the lights, backdrops and space of a proper studio (oh to dream!). If you are new to blogging this post is for you!

DIY home studio for blog posts | Quick fix home studio tips | Taking photographs for blog posts | Apartment Apothecary

I shared my tips and tricks to create a home studio at Britmums conference as part of my talk about styling for blog photographs – you can see my tips for styling here and tips for taking photographs of your styling here. Today, I would like to share my tips for cheap, easy ways of creating a ‘home studio’ to make the most of your styling and make your photographs look more cohesive. Hopefully, these ideas won’t take too much effort or mean you need a dedicated space to take photographs, which a lot of people just simply don’t have.

1. Fake it!

One of the biggest lessons I have learned as my blog has developed and I have been offered more and more freelance work is that I need to fake it. For example, if I am asked by a sewing magazine to make an ironing board cover I know I do not have a lovely laundry room in which to photograph the project (I wish!). If you find yourself in this type of position, with something that you need to photograph but not the right type of room or backdrop for it, you need to be a bit creative about finding a solution. You can see below the solution I came up with for the ironing board – cleared a shelf in my home office, put a few ‘laundry room type things’ on the shelf and kept it simple. I hope if you look at the final magazine page that you would never guess it was in a messy office.

DIY home studio for blog posts | Quick fix home studio tips | Taking photographs for blog posts | Apartment Apothecary

DIY home studio for blog posts | Quick fix home studio tips | Taking photographs for blog posts | Apartment Apothecary

Another example from the same magazine, I needed to photograph some hanger jackets yet I know that the inside of my wardrobe is dark and ugly so using that as the backdrop would not have worked. I didn’t persevere trying to make the hangers look good in the wardrobe just because the cupboard was the natural backdrop for these items. If there isn’t enough light, there isn’t enough light – if I was a professional photographer I might have been able to make it work, but I’m not so I had to get creative again. You can see the solution I came up with below.

DIY home studio for blog posts | Quick fix home studio tips | Taking photographs for blog posts | Apartment Apothecary

DIY home studio for blog posts | Quick fix home studio tips | Taking photographs for blog posts | Apartment Apothecary

Take another look around your home when photographing particular props or products and try to think about what make shift sets you can create instead of making do with a bad option.

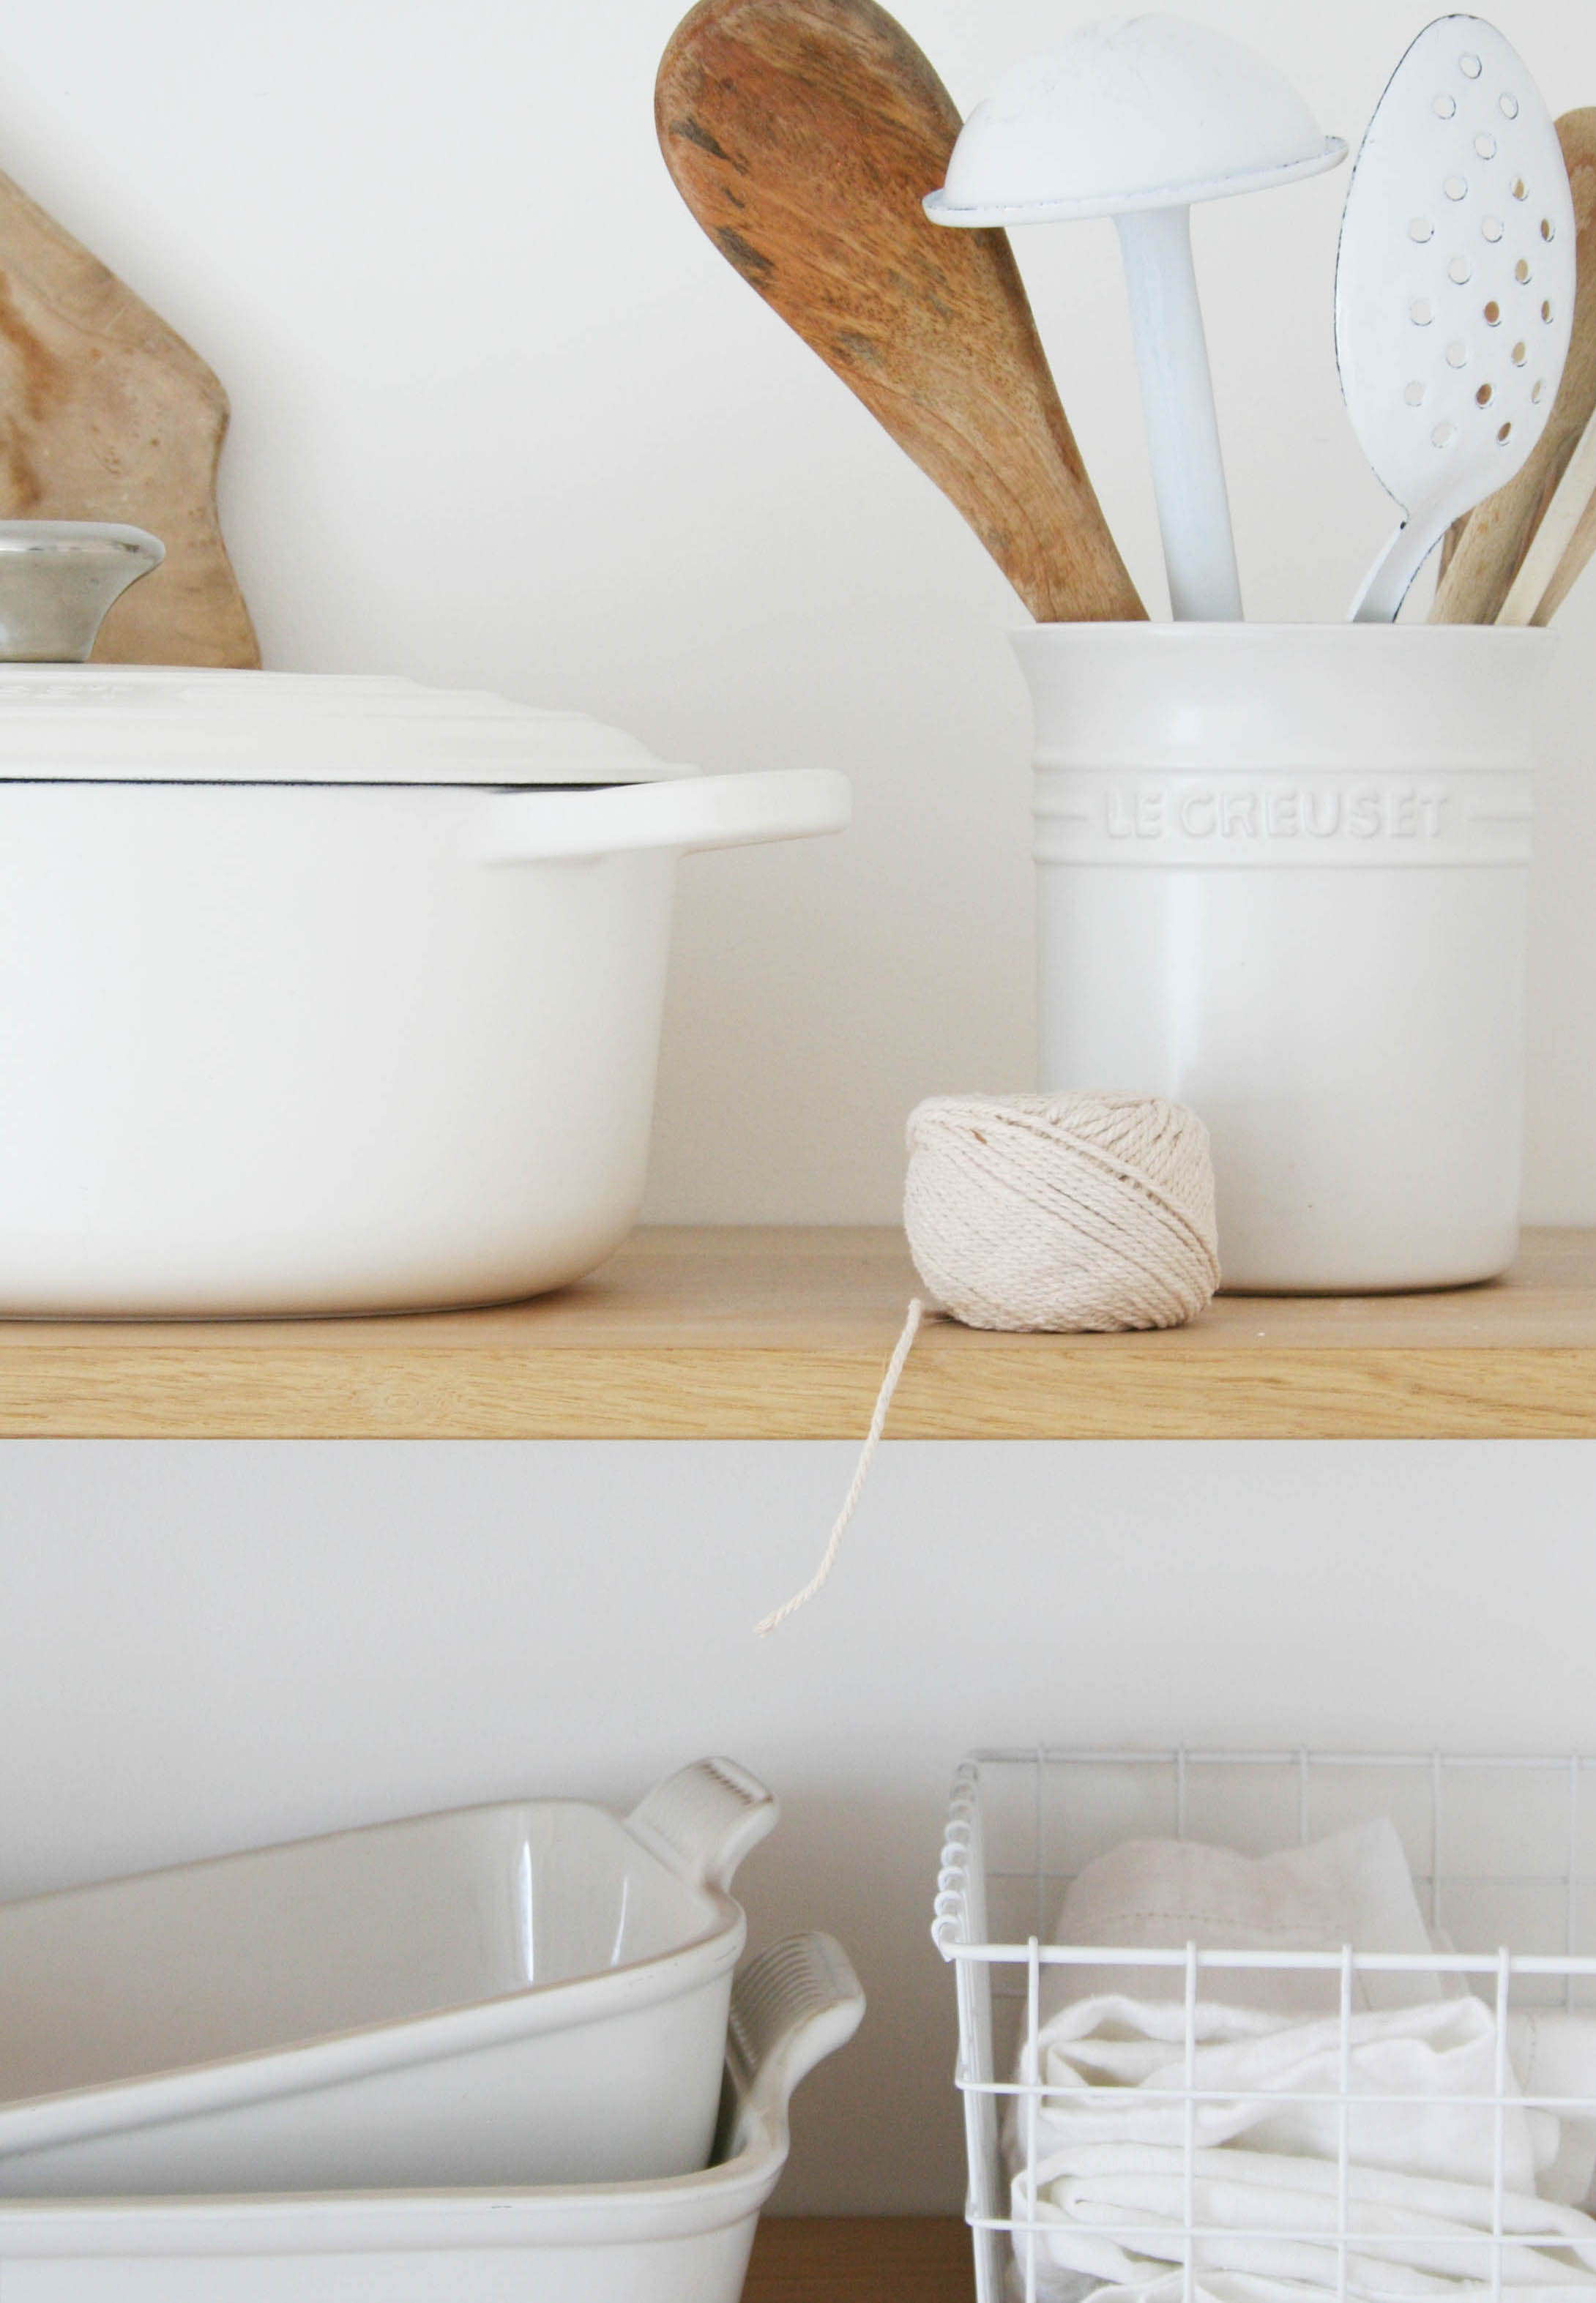
2. Focus on a small area in your home

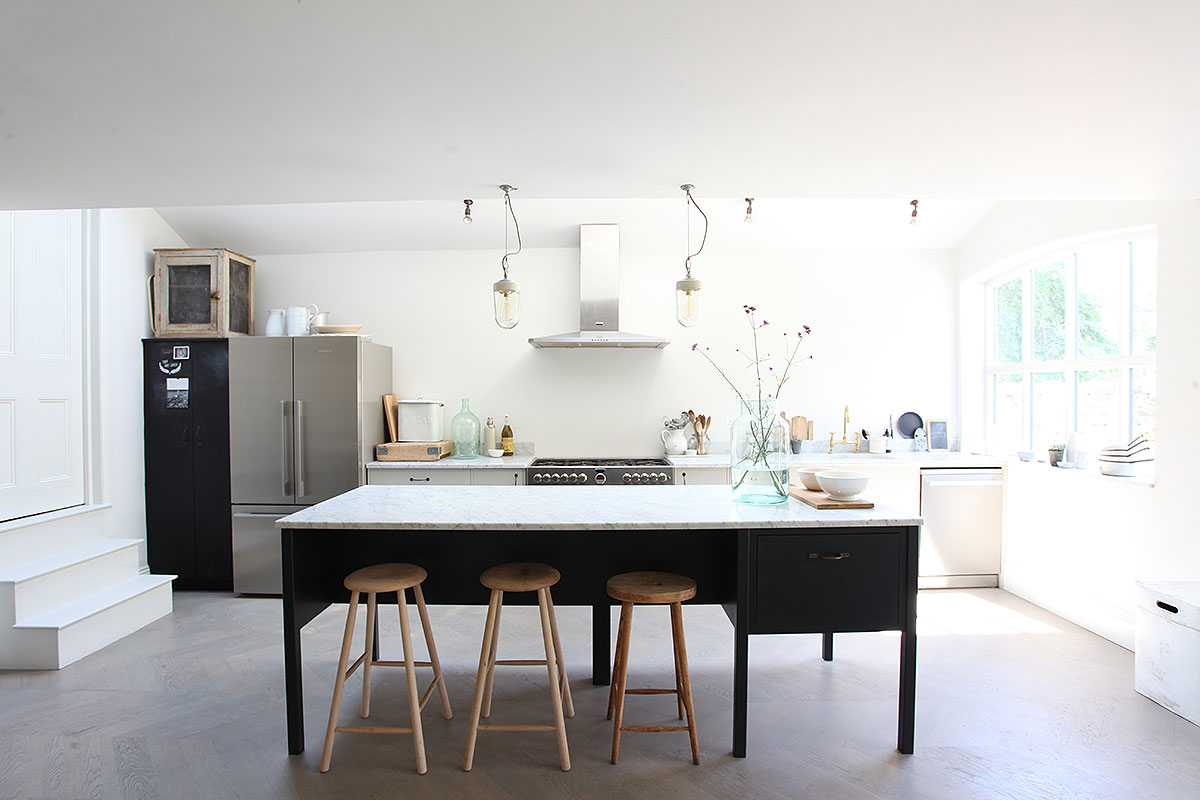
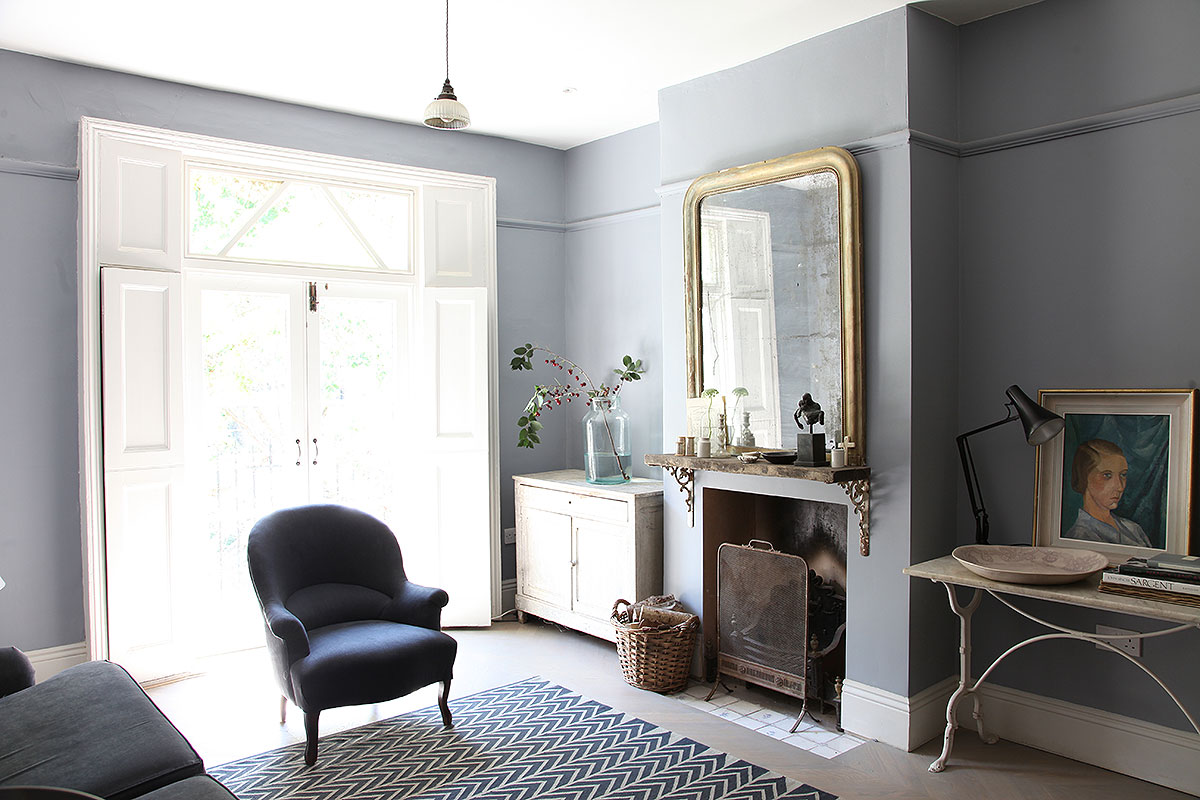
When I started out I was far too keen to take a picture of whatever I had made or styled in a full room setting. However, we do not all have magazine-ready homes ready to be shot at a moment’s notice. When you want to take a photograph of something focus on a small area of a room and clear the clutter and even furniture from that small space. This makes it a much more manageable task than re-styling a whole room ready for a shoot. The issue is that if you do choose to photograph something and capture a whole room (that isn’t magazine-ready) at the same time, you are most likely going to detract from the item you are blogging about.

You can see in the images below that I needed to photograph the two vases and I made it really easy and simple by clearing clutter off the top shelf and then honed in on only that shelf for the final image. It didn’t take long but is a far more effective shot than one of the full, cluttered shelf or the messy room the shelves are in.

3. Use natural light

I have heard lots of bloggers worry about the same issue that they are at work or looking after children during the day so how can they take advantage of natural daylight. The fact of the matter is that photographs using natural daylight are 100% better than those that don’t (unless you are a pro photographer). A simple way of using your time efficiently so that you can photograph your styling in the daylight is to set it up the night before. When you get home from work or the children are in bed, spend some time setting up your styling, take some test shots and then when you have a few minutes the next day take the final photographs in the natural light. You can see examples of that process below. I had an Easter table to shoot but I knew I was out at meetings the next day so I set it up the night before and did the final shots in a few minutes the next day.

This is also a good habit to get into over the winter months when there is far less light. If you have your styling all ready to go the night before, you can take advantage of the brightest part of the day instead of wasting the precious minutes of light faffing around with styling.

DIY home studio for blog posts | Quick fix home studio tips | Taking photographs for blog posts | Apartment Apothecary

DIY home studio for blog posts | Quick fix home studio tips | Taking photographs for blog posts | Apartment Apothecary

The best place to take photos to make the most of natural light is next to a window, however you want to avoid direct sunlight. If there is direct sunlight you will need a sheer blind or thin sheet to diffuse the light from the window.

Timing is really important when taking photos at home. You will need to chase the natural light as your home won’t benefit from the massive windows, white walls or lights that some studios do. Therefore, you need to plan your blog posts carefully and track the weather. If you know you have three tutorials to shoot save them for the sunniest day of the week and make sure everything is ready for that day.

If all else fails, you may need to admit defeat and just not photograph in a particular room or corner of your home, for example my bathroom has no natural light as it is windowless. A really bad photo is worse than no photo at all sometimes.

4. DIY backdrops

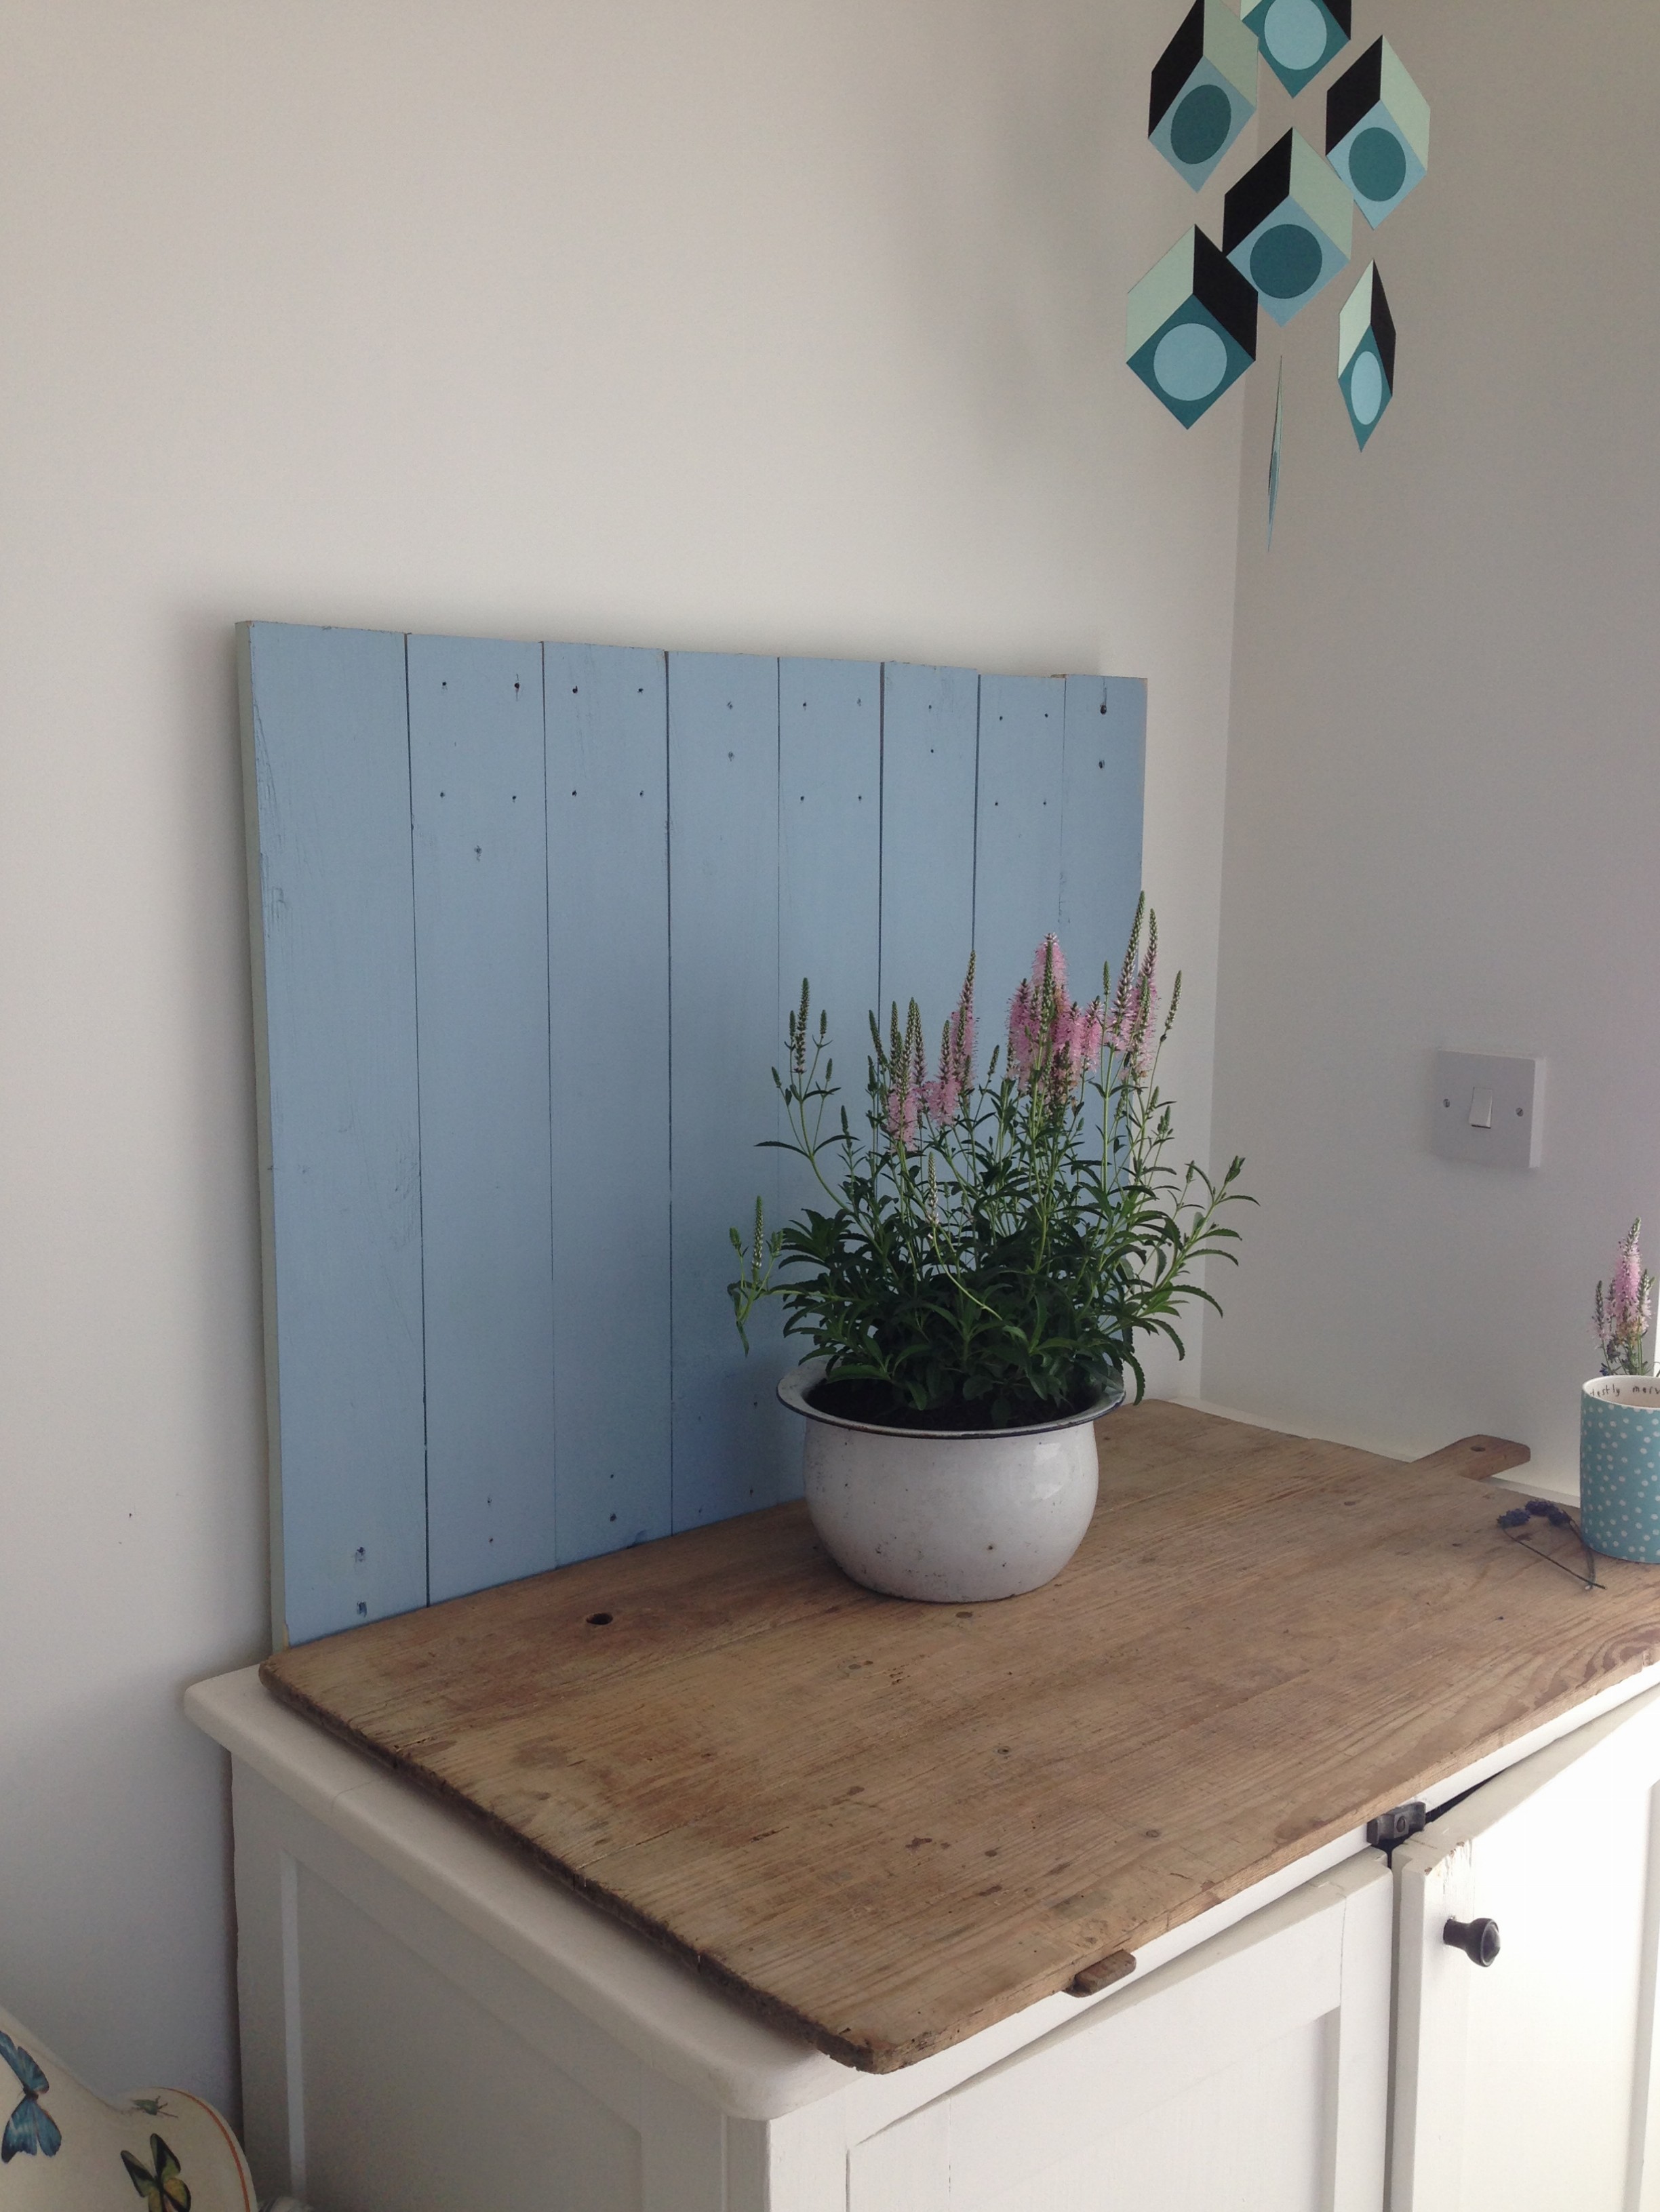
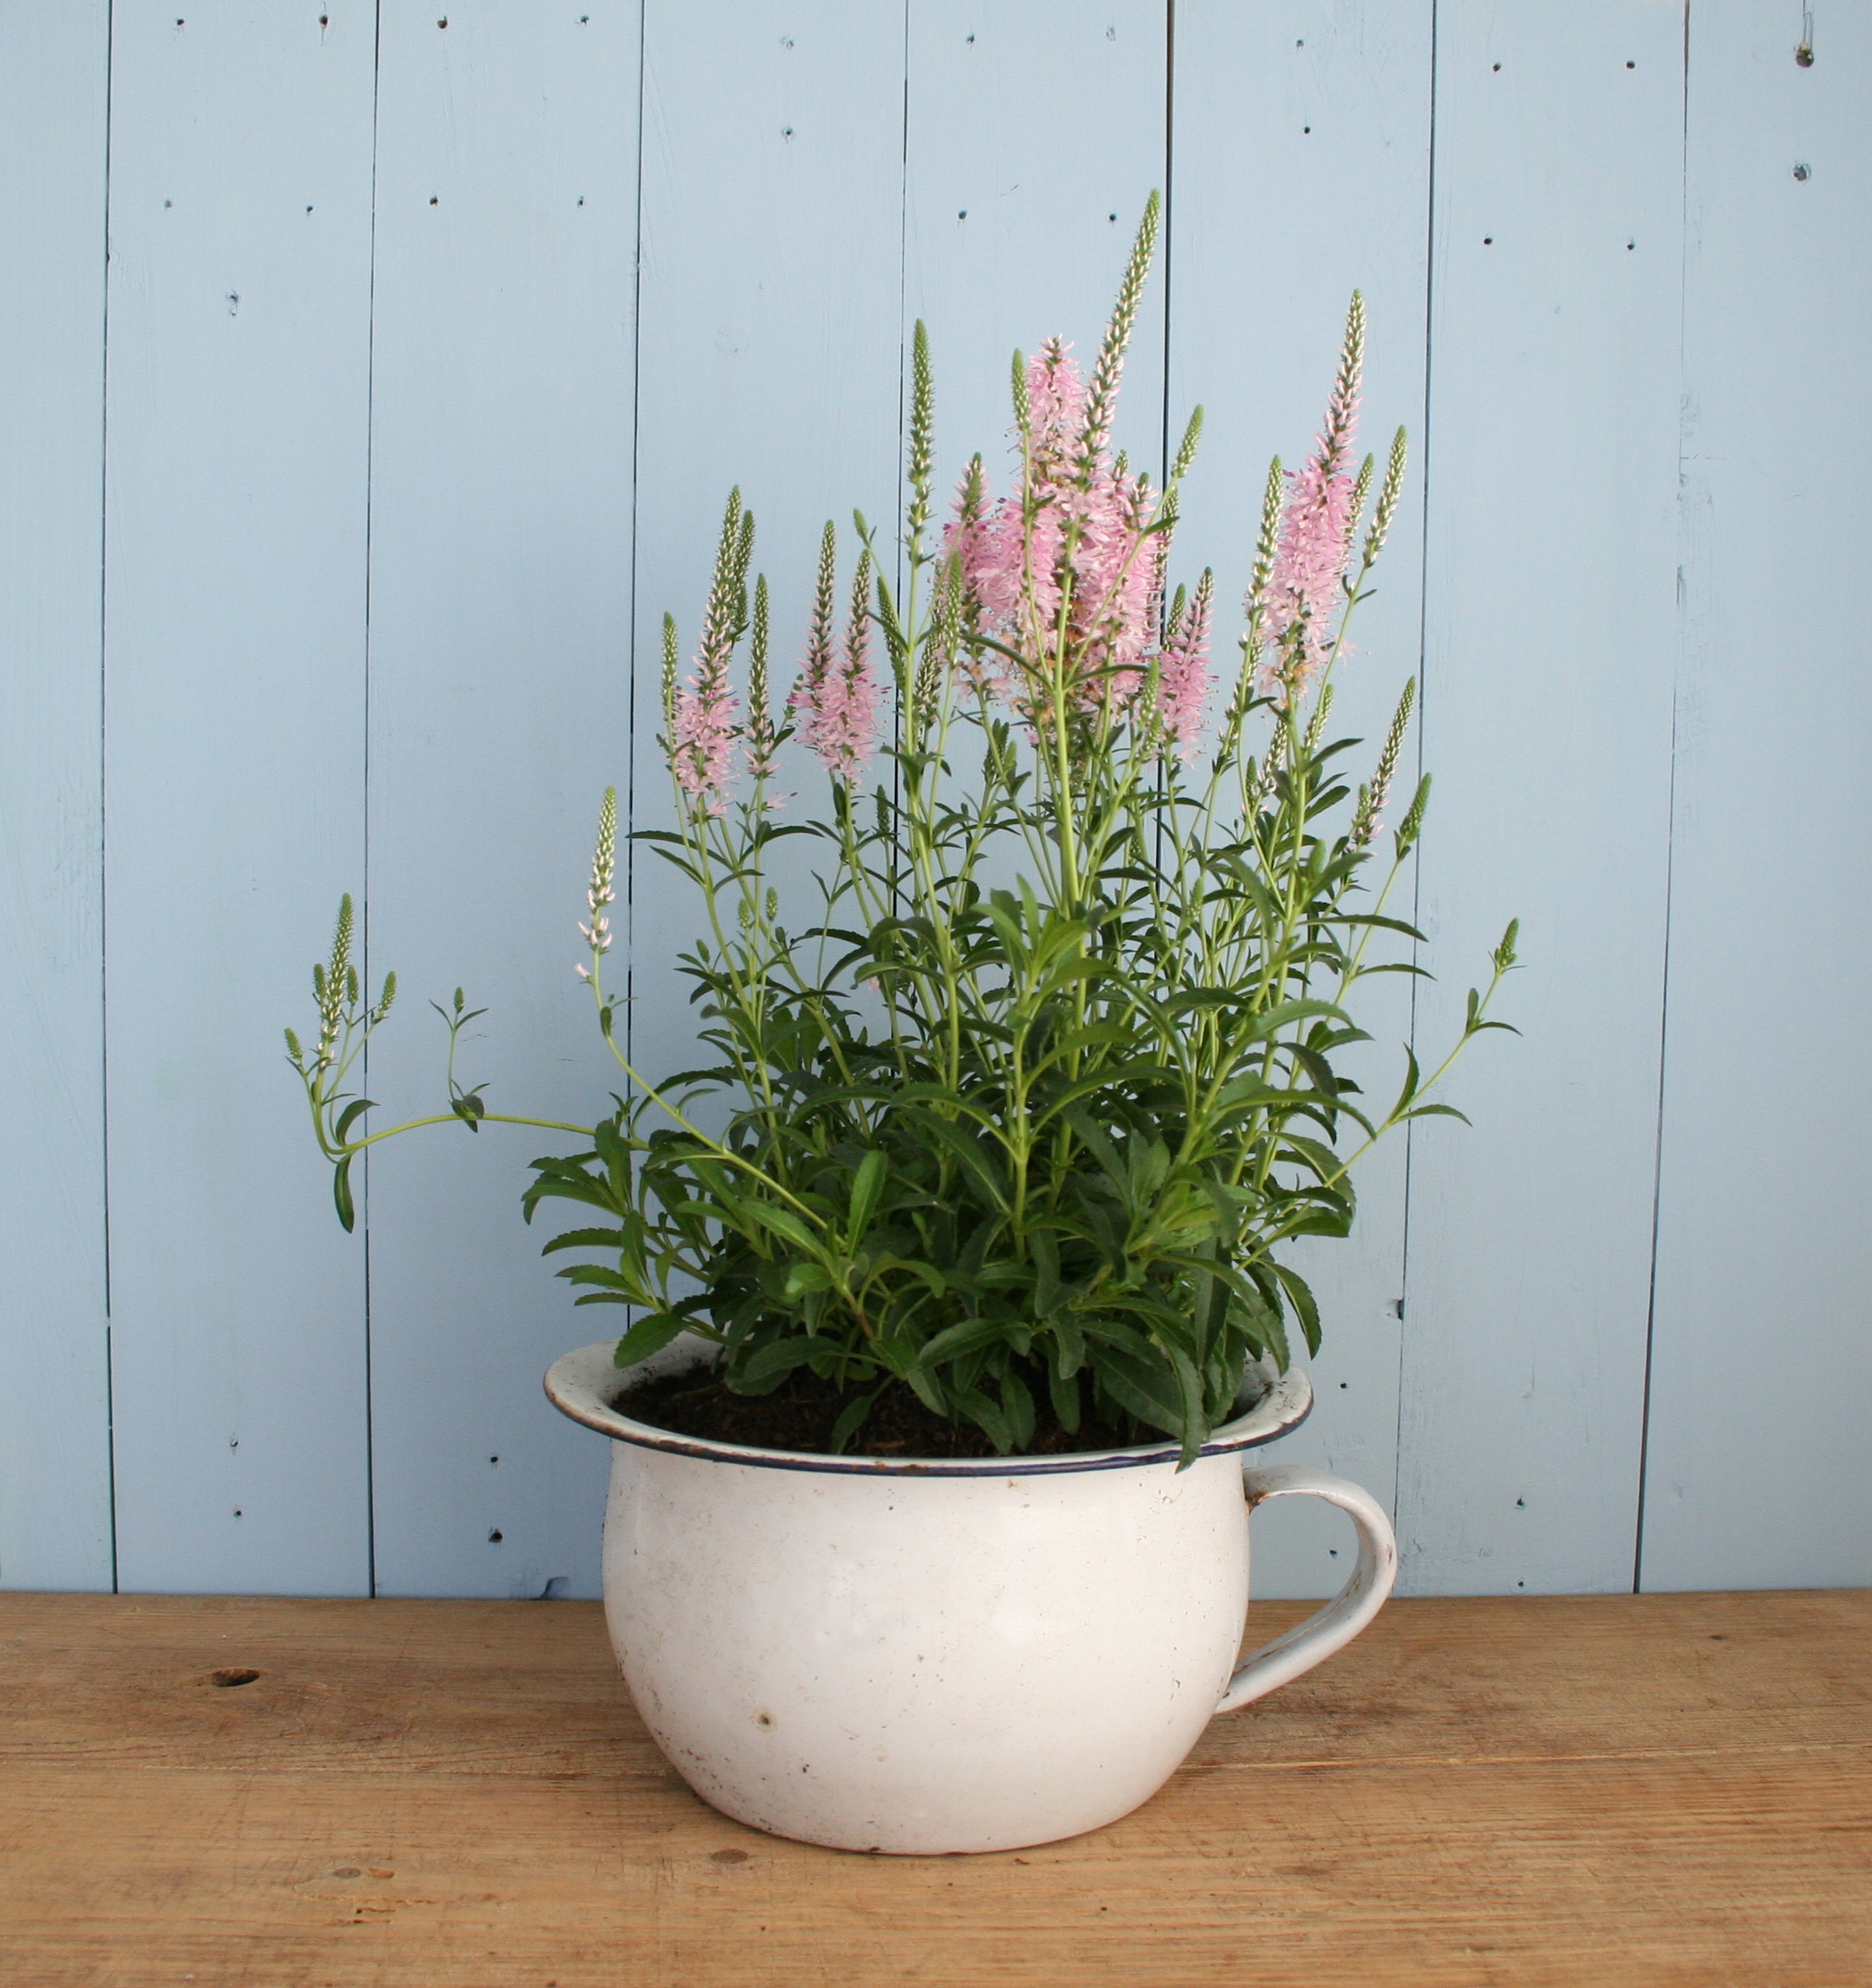
For those of us who photograph smaller items such as jewellery, craft tutorials and flowers it’s a really good idea to build up a bank of DIY backdrops that can be easily moved around the house, catching the best light and will give your photos a cohesive look and allow the products to shine. Whether it be an old sheet, tablecloth, foam board, wrapping paper, wallpaper remnant, wooden board, card, roll of paper or even old floorboards, these backdrops are easy to get hold of, very inexpensive and relatively easy to store. Using DIY backdrops is so much better than using your varnished orange pine dining table, light-absorbing dirty carpet or bobbly ugly bed linen  (things I did when I started out) – never photograph anything on those surfaces ever again!

I recently made some scrap planks of pine (they used to be a puppy guard around the bottom edge of our balcony when Otto was small enough he could potentially fall through the gap!) into a board that I can paint different colours according to what I am photographing – at the moment it is white and will probably stay that way for a while. All I did was line up the planks, cut them to the same size using a saw, and then nail two supporting planks onto the back. I love the added texture planks give to any styling. I also bought a massive bread board from Ardingly fair the other day for about £10 and this is the perfect background for flat lays that I can place anywhere with the best light. I was inspired by the lovely Liz over at Say Yes blog to make this board after I saw this post (pictured in the header of this post).

Or just use planks of wood pushed together…

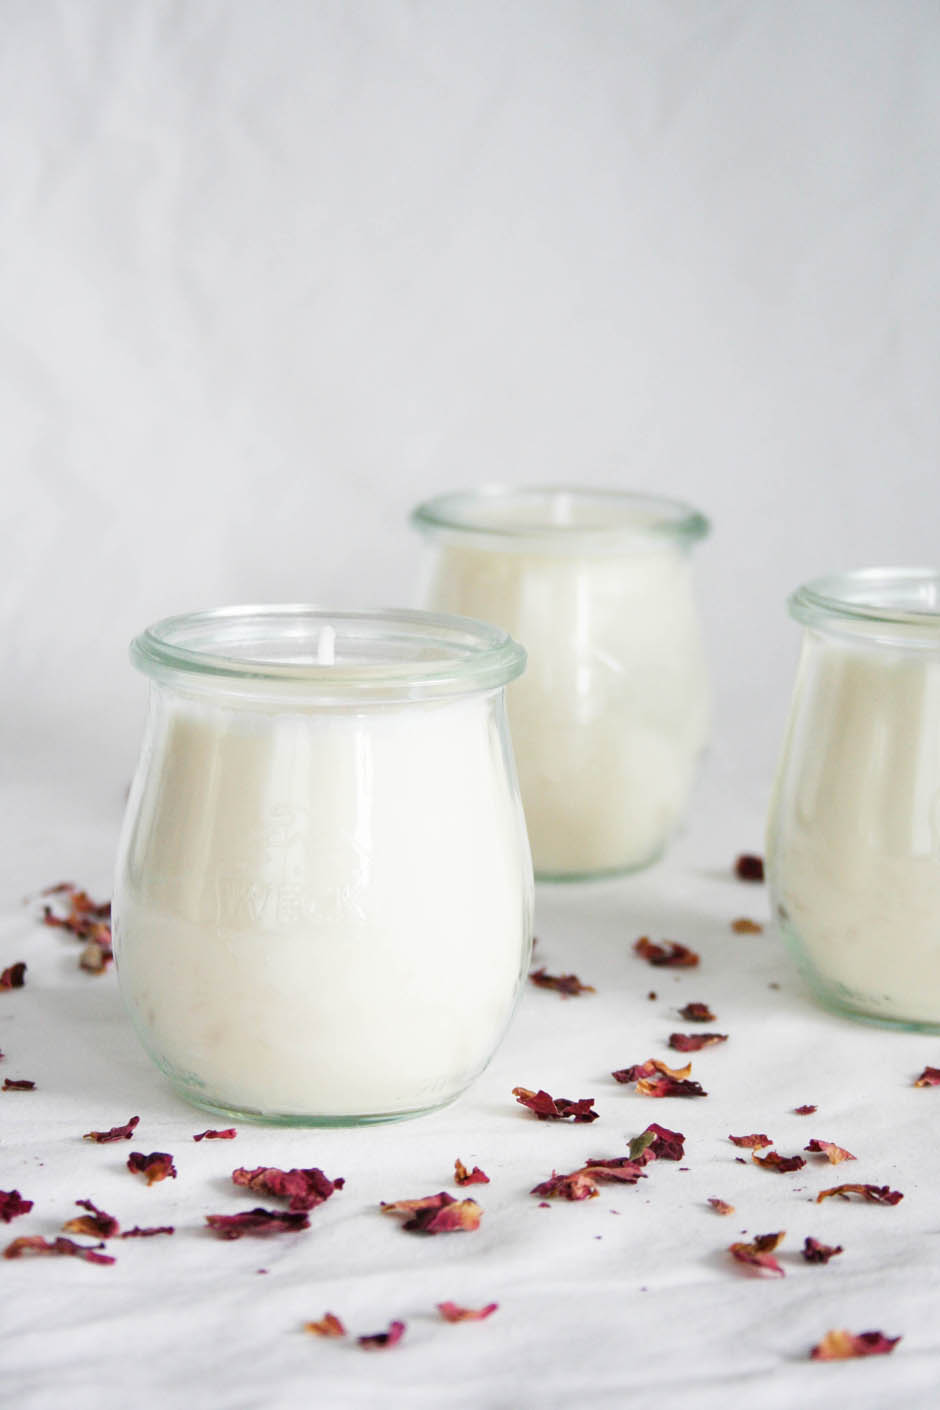
An old sheet worked perfectly as a backdrop for this candle tutorial

DIY home studio for blog posts | Quick fix home studio tips | Taking photographs for blog posts | Apartment Apothecary

DIY home studio for blog posts | Quick fix home studio tips | Taking photographs for blog posts | Apartment Apothecary

These clever bloggers have got very creative with easy backgrounds, too. Lisa Levis uses blackboard paint, Fran from Fall for DIY uses brick effect wallpaper, marble effect sticky back plastic and pegboard really effectively to display her projects. You can buy wallpaper by the metre from Off the Wall or get £1 A4 samples from Coral and Bone. You can buy marble effect sticky back plastic from Amazon. I bought my pegboard from Amazon for a fraction of the cost of ready made ones, which is perfect for backgrounds, and you can paint it any colour you want.

Foam board is a brilliant thing to have at home, especially if you photograph craft tutorials. One piece behind, one piece on the floor and even an extra piece at the side to reflect the light and a mini-studio is made. Here is a behind the scenes shot from Aileen who blogs over at At Home In Love

DIY home studio for blog posts | Quick fix home studio tips | Taking photographs for blog posts | Apartment Apothecary

Something everyone can get hold of is a pretty piece of wrapping paper that can instantly lift a photo…

DIY home studio for blog posts | Quick fix home studio tips | Taking photographs for blog posts | Apartment Apothecary

I really hope that these tips have been helpful if you are just starting out with a blog. I am always trying to improve my photos and I have a long way to go so if you are reading this and know any extra tips please pop them in the comments below. Thank you!

Katy x

P.S. Don’t forget, you can see my first post from my conference talk about styling tips here and my second post about photographing your styling here.


The perfect interior?

I came across this house the other day (it is a locations house which is why it is so pared down and there’s no ‘stuff’) and it stopped me in my tracks. I daydream on a regular basis about what my dream home would look like but I never ever see my idea of ‘perfect’ in real life. However, I can quite safely say that the kitchen diner in this house is my idea of complete perfection. The combination of styles, mix of materials, the kitchen island, the space, light, a few characterful pieces, the lighting, dining table and doors open directly to the garden – I want all of it! Every single bit of it – I would not change a thing.

Sophisticated interior | Period home |Hallway | Grey highlights in hallway

Sophisticated interior | Period home | Kitchen island | Combining styles in the kitchen

Sophisticated interior | Period home | Kitchen island | Combining styles in the kitchen

Unknown-4

I do like the sitting room a lot but it’s not quite ideal for me although it has given me inspiration for some potential changes to my own room – I love the colour on the walls and the sophisticated, simple styling.

Sophisticated interior | Period home | Kitchen island | Combining styles in the kitchen

Sophisticated interior | Period home |Vignette | Autumn styling

Sophisticated interior | Period home |Vignette | Autumn styling

I hope this has given you a bit of inspiration for the weekend. What does your dream home look like?

Katy x


*All images from Light Locations

Autumnal interiors

Since starting Styling the Seasons I have become so much more aware of changes I make at home with the change of each season; subtle tweaks and additions that make my home feel cosier, warmer and more comforting. I like to add more layers, textures, textiles and light around my home to make longer evenings and colder days more bearable (I have to admit that I love the cold weather, especially cosied up in my triple glazed flat!).

I have carefully picked out some perfect Autumnal items from the mid-season Houseology sale; the perfect excuse to add a touch of seasonal love to your home and make the transition to the colder months that lie ahead. Lots of these gorgeous homewares are reduced by 50%!

I’m not really into traditional Autumnal colours so I have chosen lots of soft neutrals, raw wood, wicker and some blue highlights (I’m thinking about making changes to my sitting room and adding more blue, so a bit of a selfish choice!). How gorgeous is that raw oak console table? Ideal for an Autumnal hallway to store muddy wellies – a daily problem for us due to muddy dog walks – and display some lovely nature finds. Layering and textures are so important to make a home feel cosy and so heaps of throws, blankets and cushions are a great choice. A set of baskets to store extra blankets is also a must in my house – I always have a blanket when I watch TV or read in bed. Cooking and entertaining is a big feature at this time of year, I suppose we invite friends round a lot more because we can’t spend as much time outside. That’s why I have picked a beautiful linen apron, enamel mixing bowls and a serving platter, perfect for a bit of Autumnal cooking and entertaining. I also love the Tonfisk tea and coffee set, designed to keep your hot drinks warm and the wooden covers enable you to wrap your hands around the cups and warm your hands: perfect for working from home to have on your desk. Another really great thing to buy when they are on sale are quality mattress toppers that will make your bed feel so much more snuggly and warm. I want it all and it’s so tempting at such low prices!

What changes do you make at this time of year? Explore the full Houseology mid season sale if you fancy making some new additions to your home to welcome in Autumn.

Katy x


*This post was written in collaboration with Houseology.


Kitchen tiles

It was my birthday last week and I decided to treat myself to a new kitchen worktop (err, those things are expensive!!). I have a love/hate relationship with Ikea but I can’t help but admit that I see a day trip there with my mum as quite a joyful task (is it just me?) so off we went to order the new worktop. Now that that is sorted – I ordered the solid beech one – I can get on with thinking about other details for my kitchen makeover. I know I want to try a little DIY on the kitchen doors to make new handles and we will make the open shelving out of MDF, painted white. So, the only other thing to consider is replacing the splash back, which is currently just an extension of the horrible laminate worktop. Bearing in mind that the cupboard doors are white, the floor is painted grey and the worktop is going to be wooden (you can see more of my kitchen as it is now here), I can’t quite make up my mind about the splash back: should it be completely neutral or more of a statement?

Top 5 kitchen tile picks | Kitchen makeover | Splash back | Wall tiles

Play it safe with metro brick tiles? Image via Pure Style.

I’ve been tossing up a couple of options for the splash back and can’t quite decide between tiles or tongue and groove. I’m erring towards tiles because tongue and groove is a bit too ‘country’ for my modern flat but then I can’t make up my mind between something with a bit of colour and pattern like these gorgeous handmade Mexican tiles or something a bit more neutral and sleek. Help!

Top 5 kitchen tile picks | Kitchen makeover | Splash back | Wall tiles

1. Metro brick tile, Tiles Direct 2. Fenlands tiles in Heron, Fired Earth 3. Carrara white marble, Tiles Direct 4. Large square mosaic, Tiles Direct. 5. Toulouse St. Etienne, Fired Earth.

Any ideas? I’m going to order some samples to see the different options in situ before I make any decisions. I really like the idea of having these large marble tiles – a bit more like panels than tiles – as they would work so well with the white kitchen and wood work top but I have loads of blue and white Cornishware crockery and can’t help but think the two won’t work together particularly well; the one being quite sophisticated and other being more country kitchen style. Well, the worktop won’t arrive for eight weeks so I’ve got some thinking time ahead of me.

Katy x


*This post was written in collaboration with Tiles Direct.