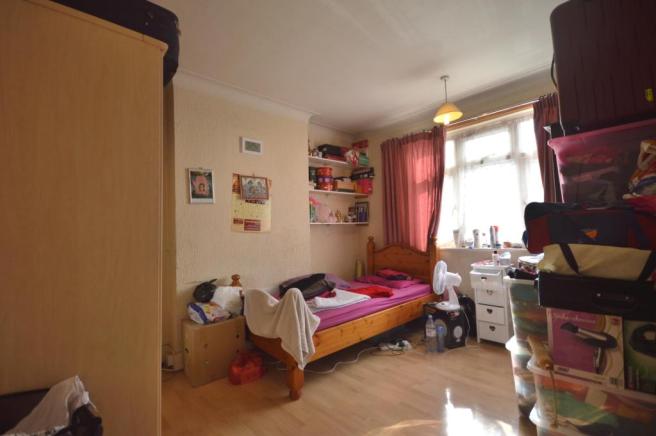
I’d say Mimi’s room is the only room in the house that is basically finished. The reason for this is that we pretty much lifted everything that was in her old room and placed it all in this new room and it all fitted and worked really well. In fact, the paint on the woodwork is what we used in her nursery in our flat and is what inspired me to use it throughout our new house as I loved it in her room so much. The only real difference in here is that the daybed has moved to our third bedroom and I have to say that we really miss it in here as it was where we would dress her and give her milk and read stories before naps and bedtime. Before long though the Sebra cot will extend into a junior bed so we can use that instead.
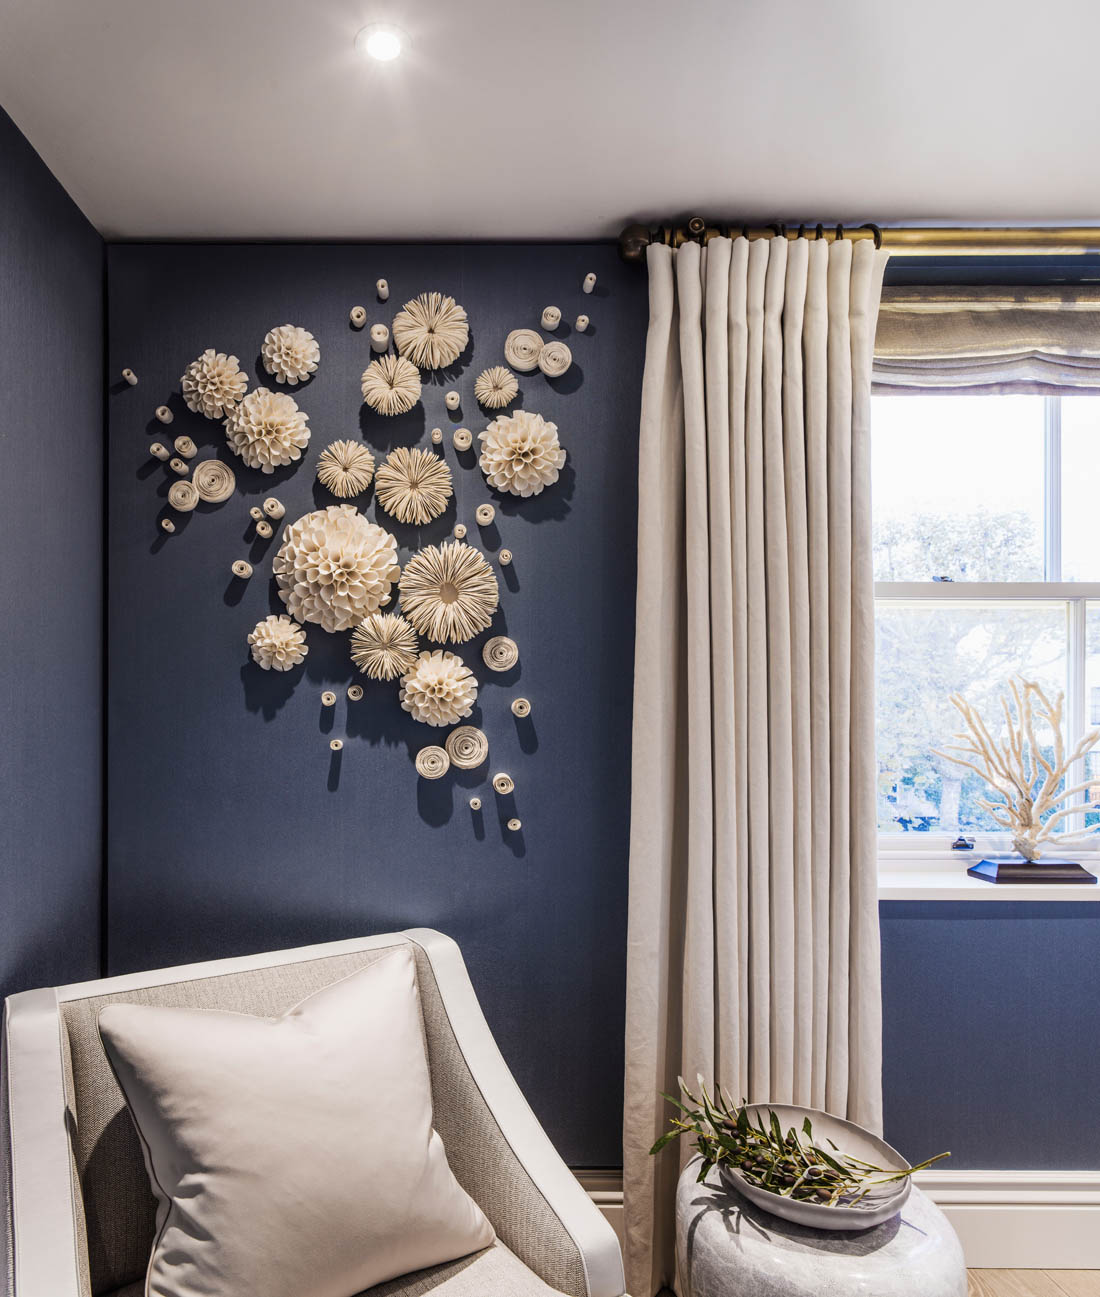
Other than that we have kept the room very neutral and there are a couple of blank walls that we can add to with book shelves and height charts and things like that. The only addition we have made is the linen canopy above her cot that my mum bought Mimi for her 1st birthday and she loves it and I love the burst of colour it adds to the room.
Have a little look for yourselves…

Sebra rose canopy | Sebra cot | Vintage shelf | Hot air balloon light | Whale (no longer available but this is a close match) | Sausage dog | Luggy trolley
-
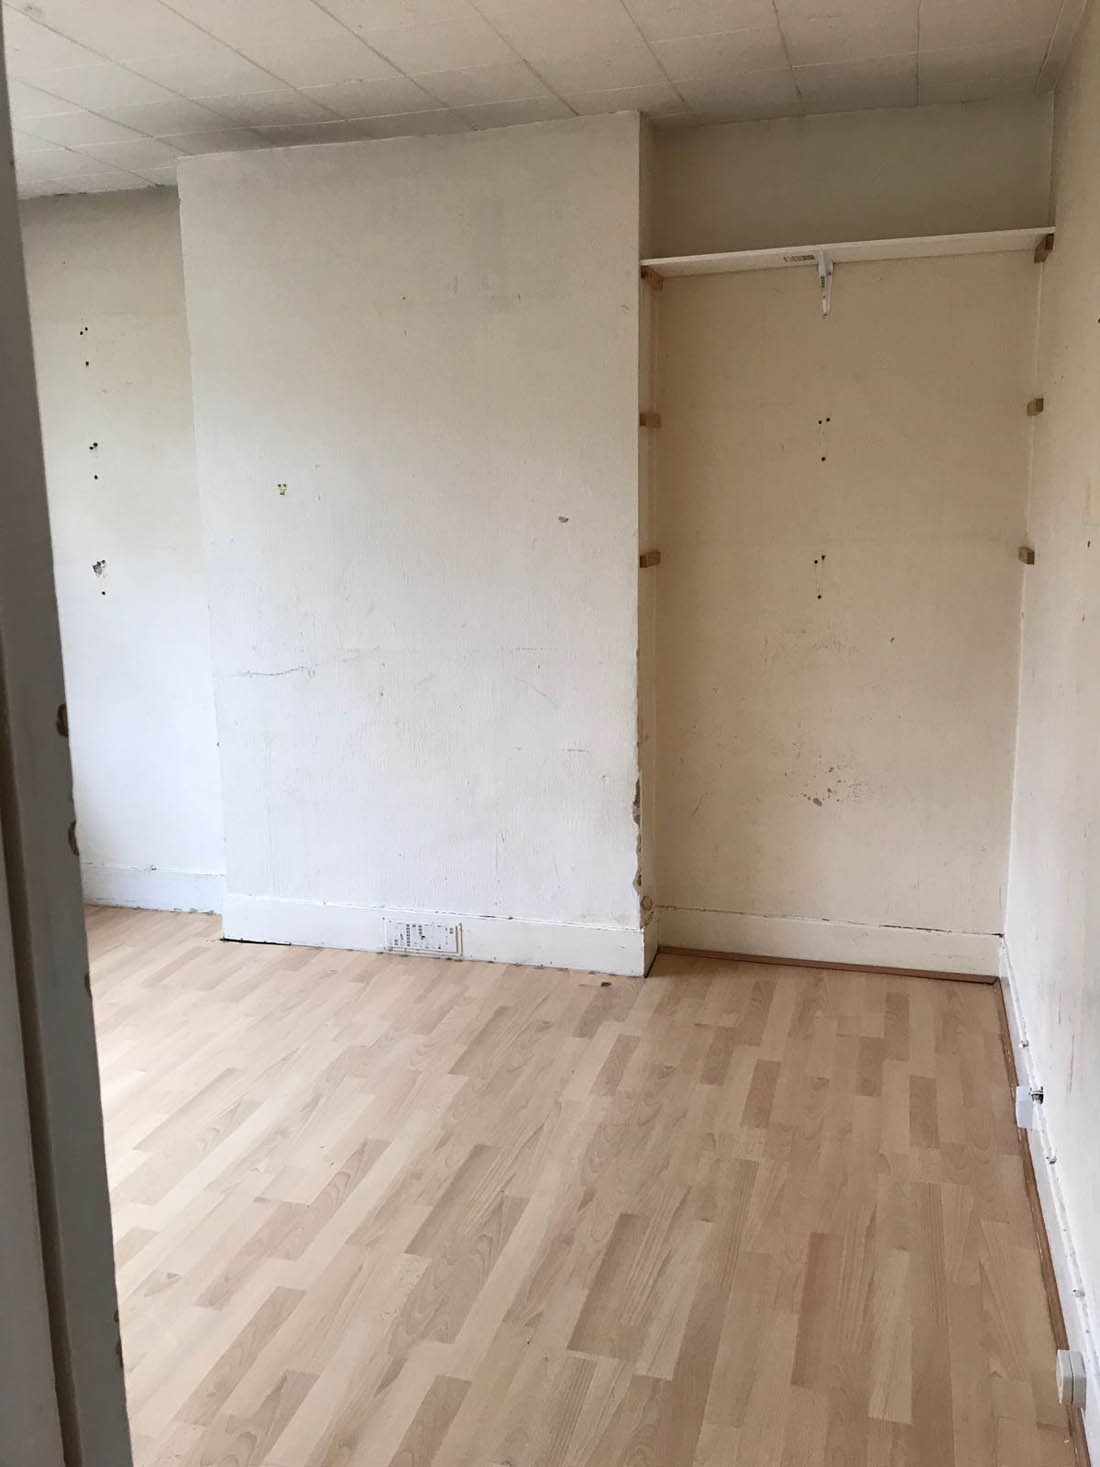
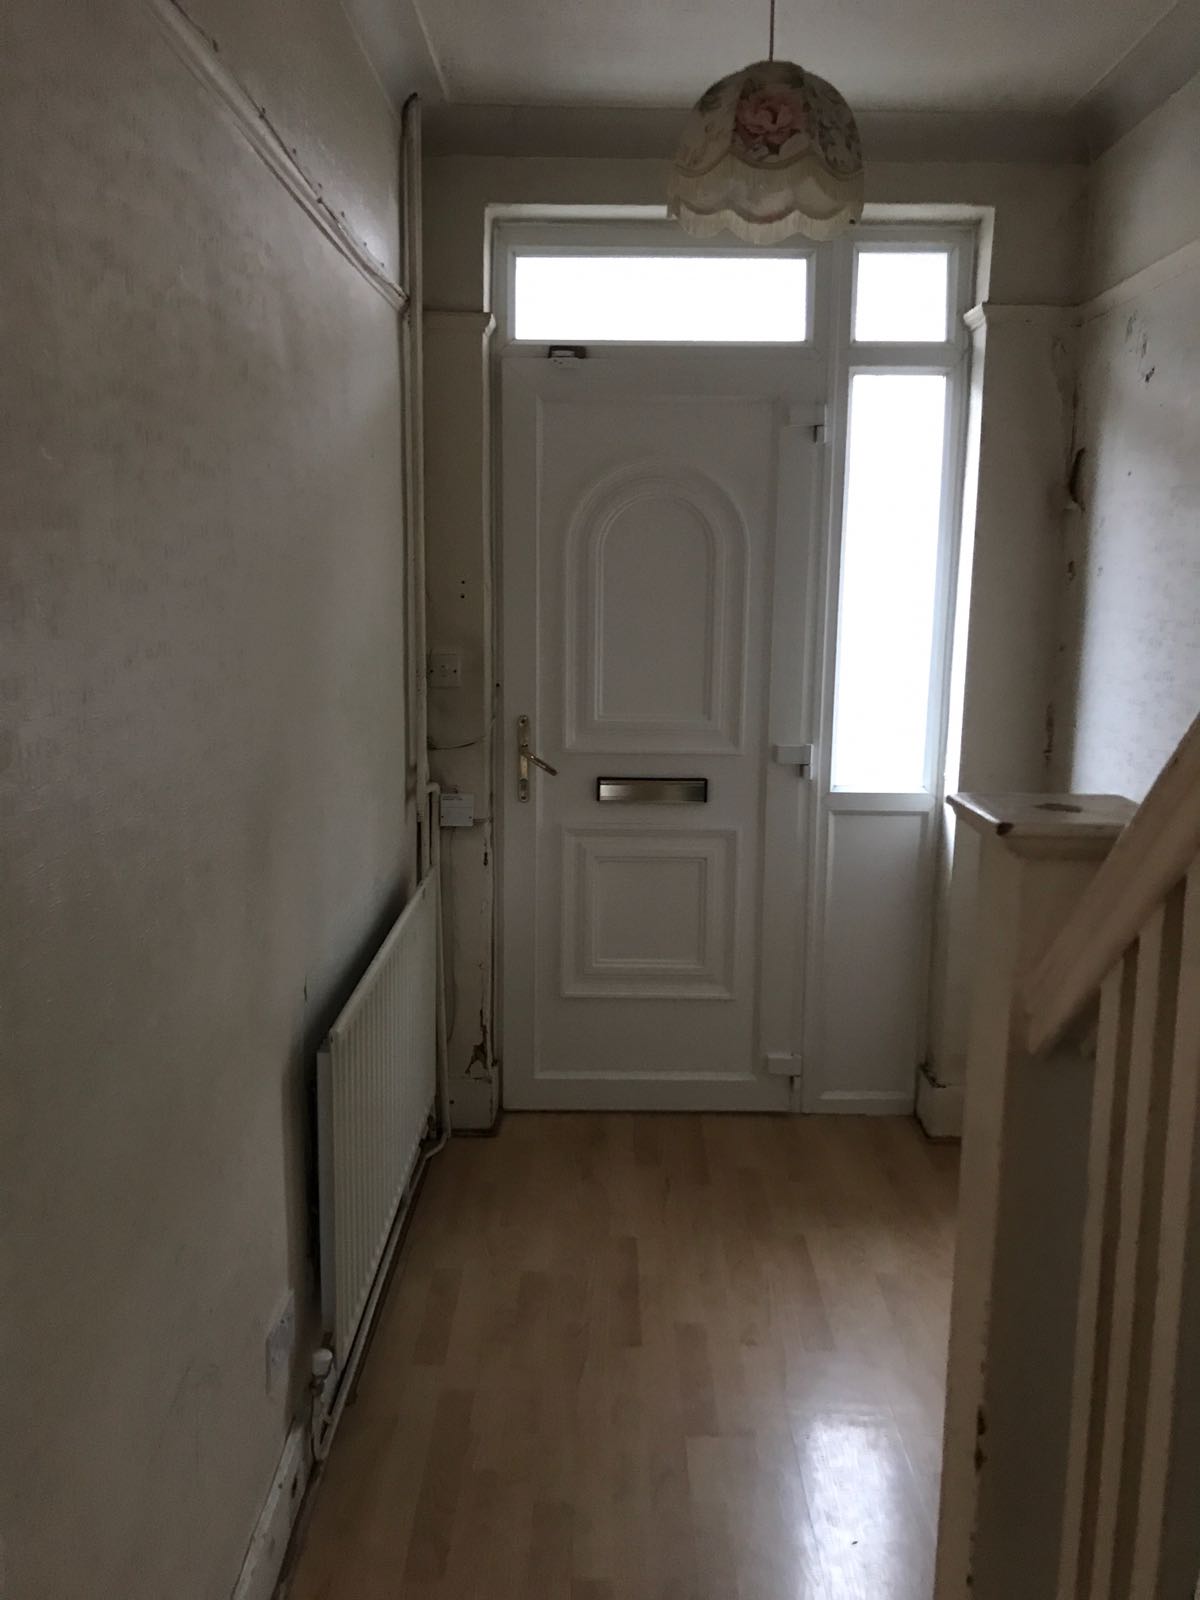
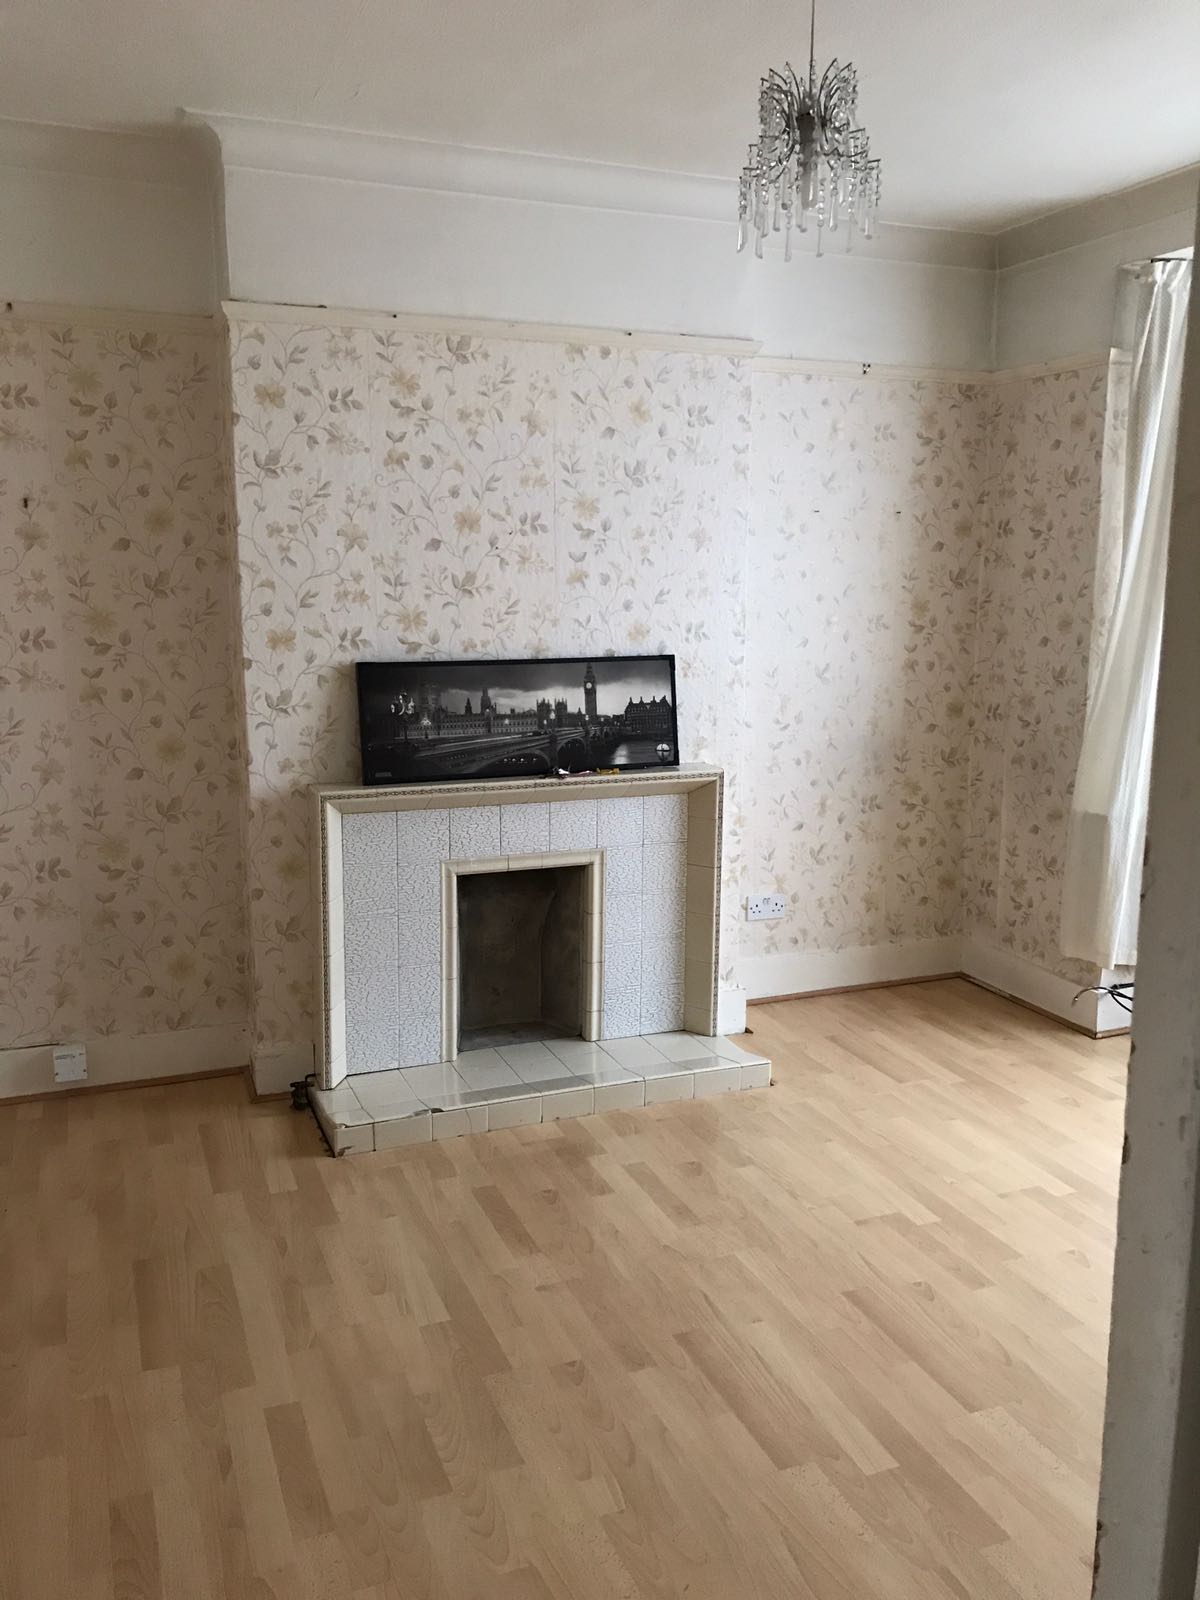
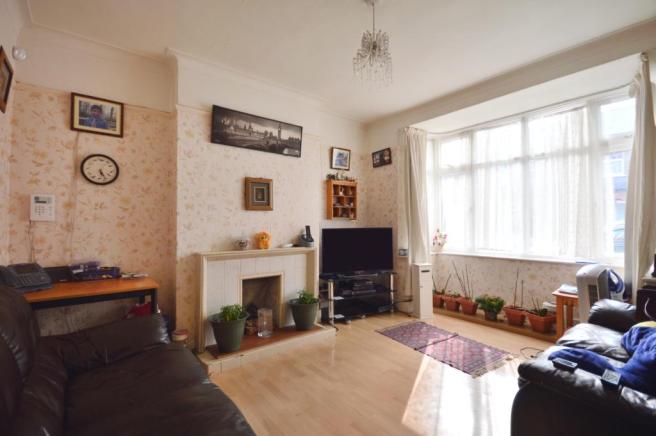
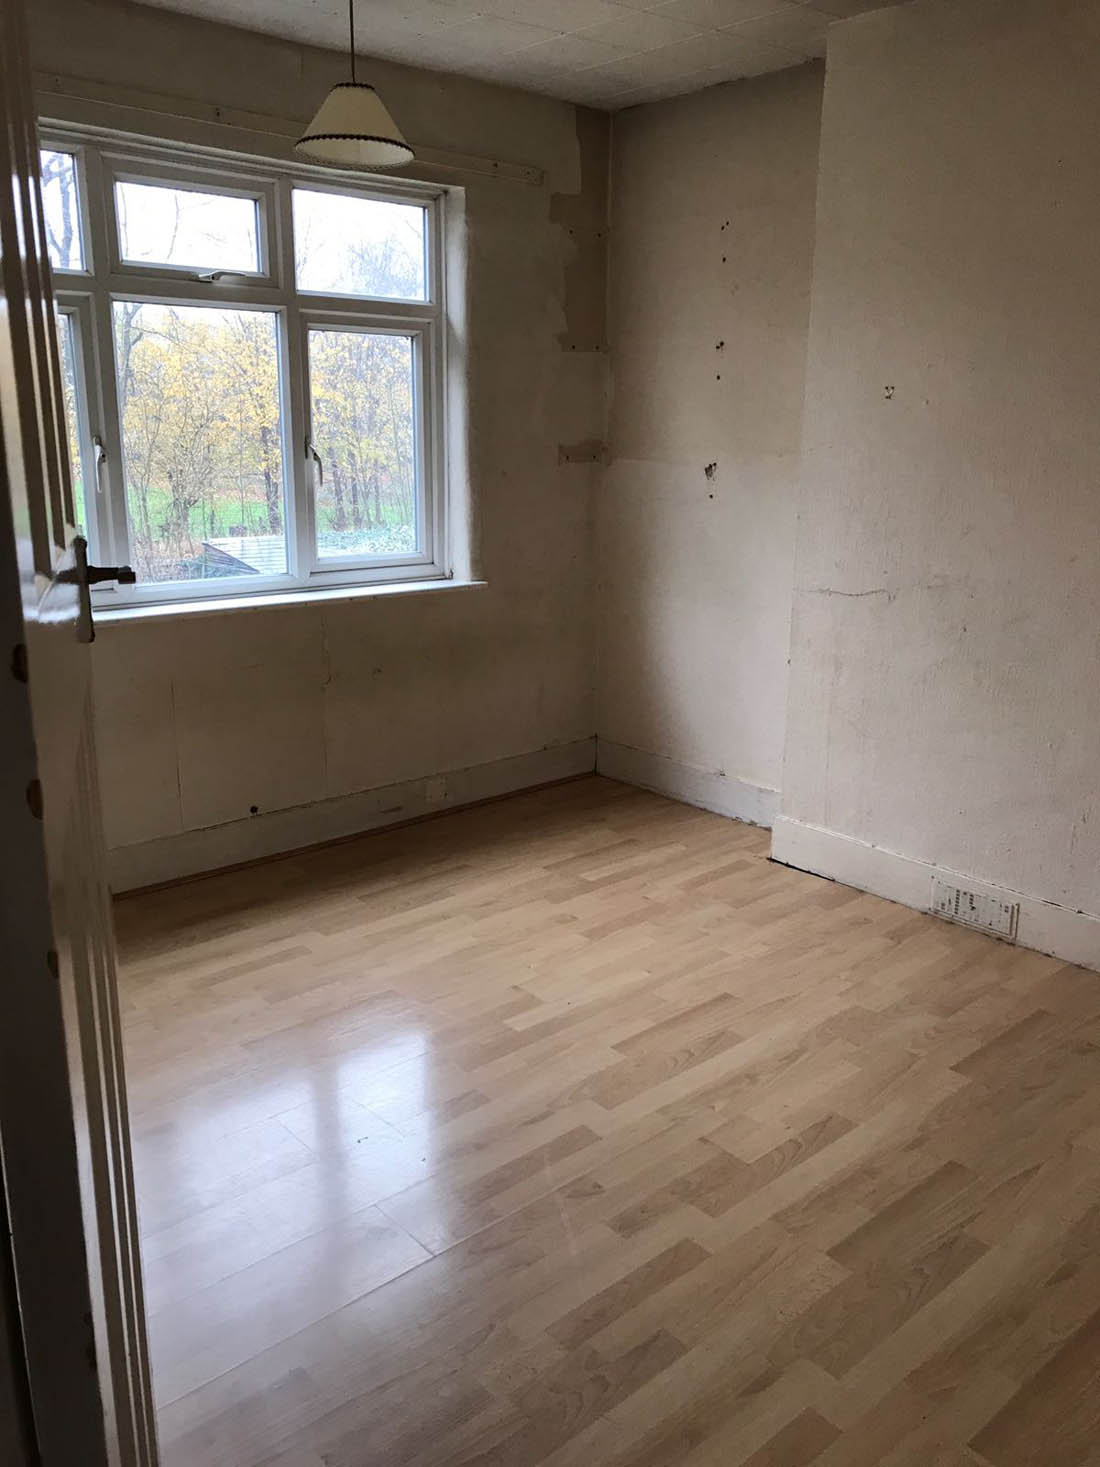
- Before
-

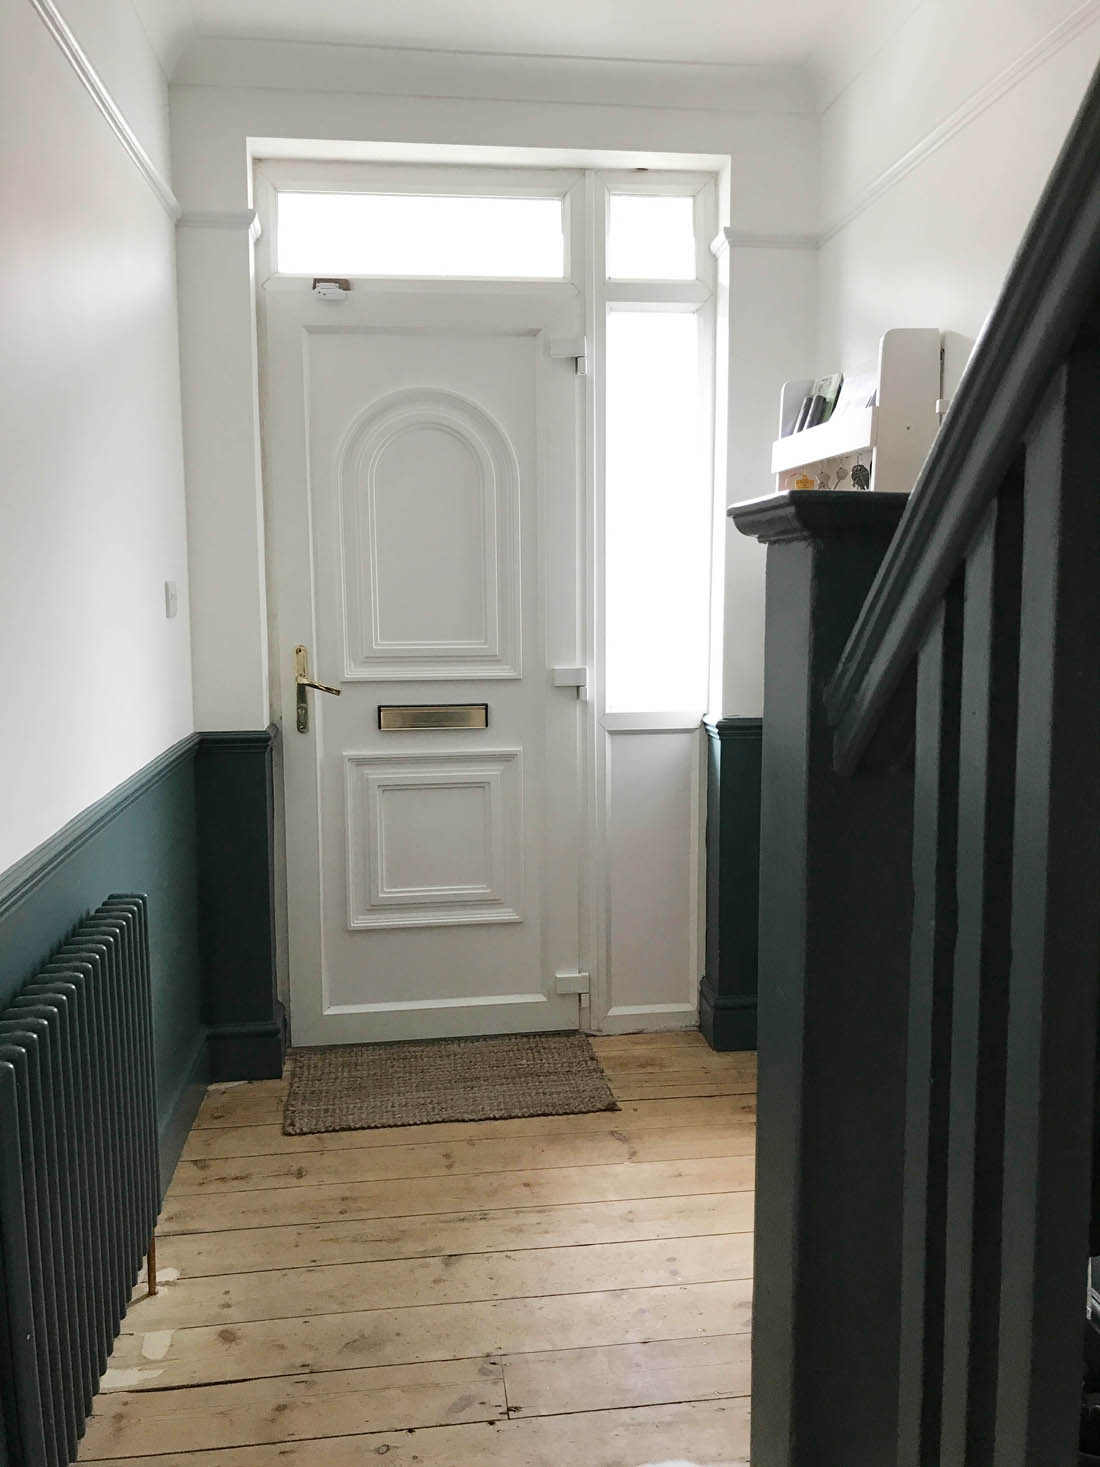
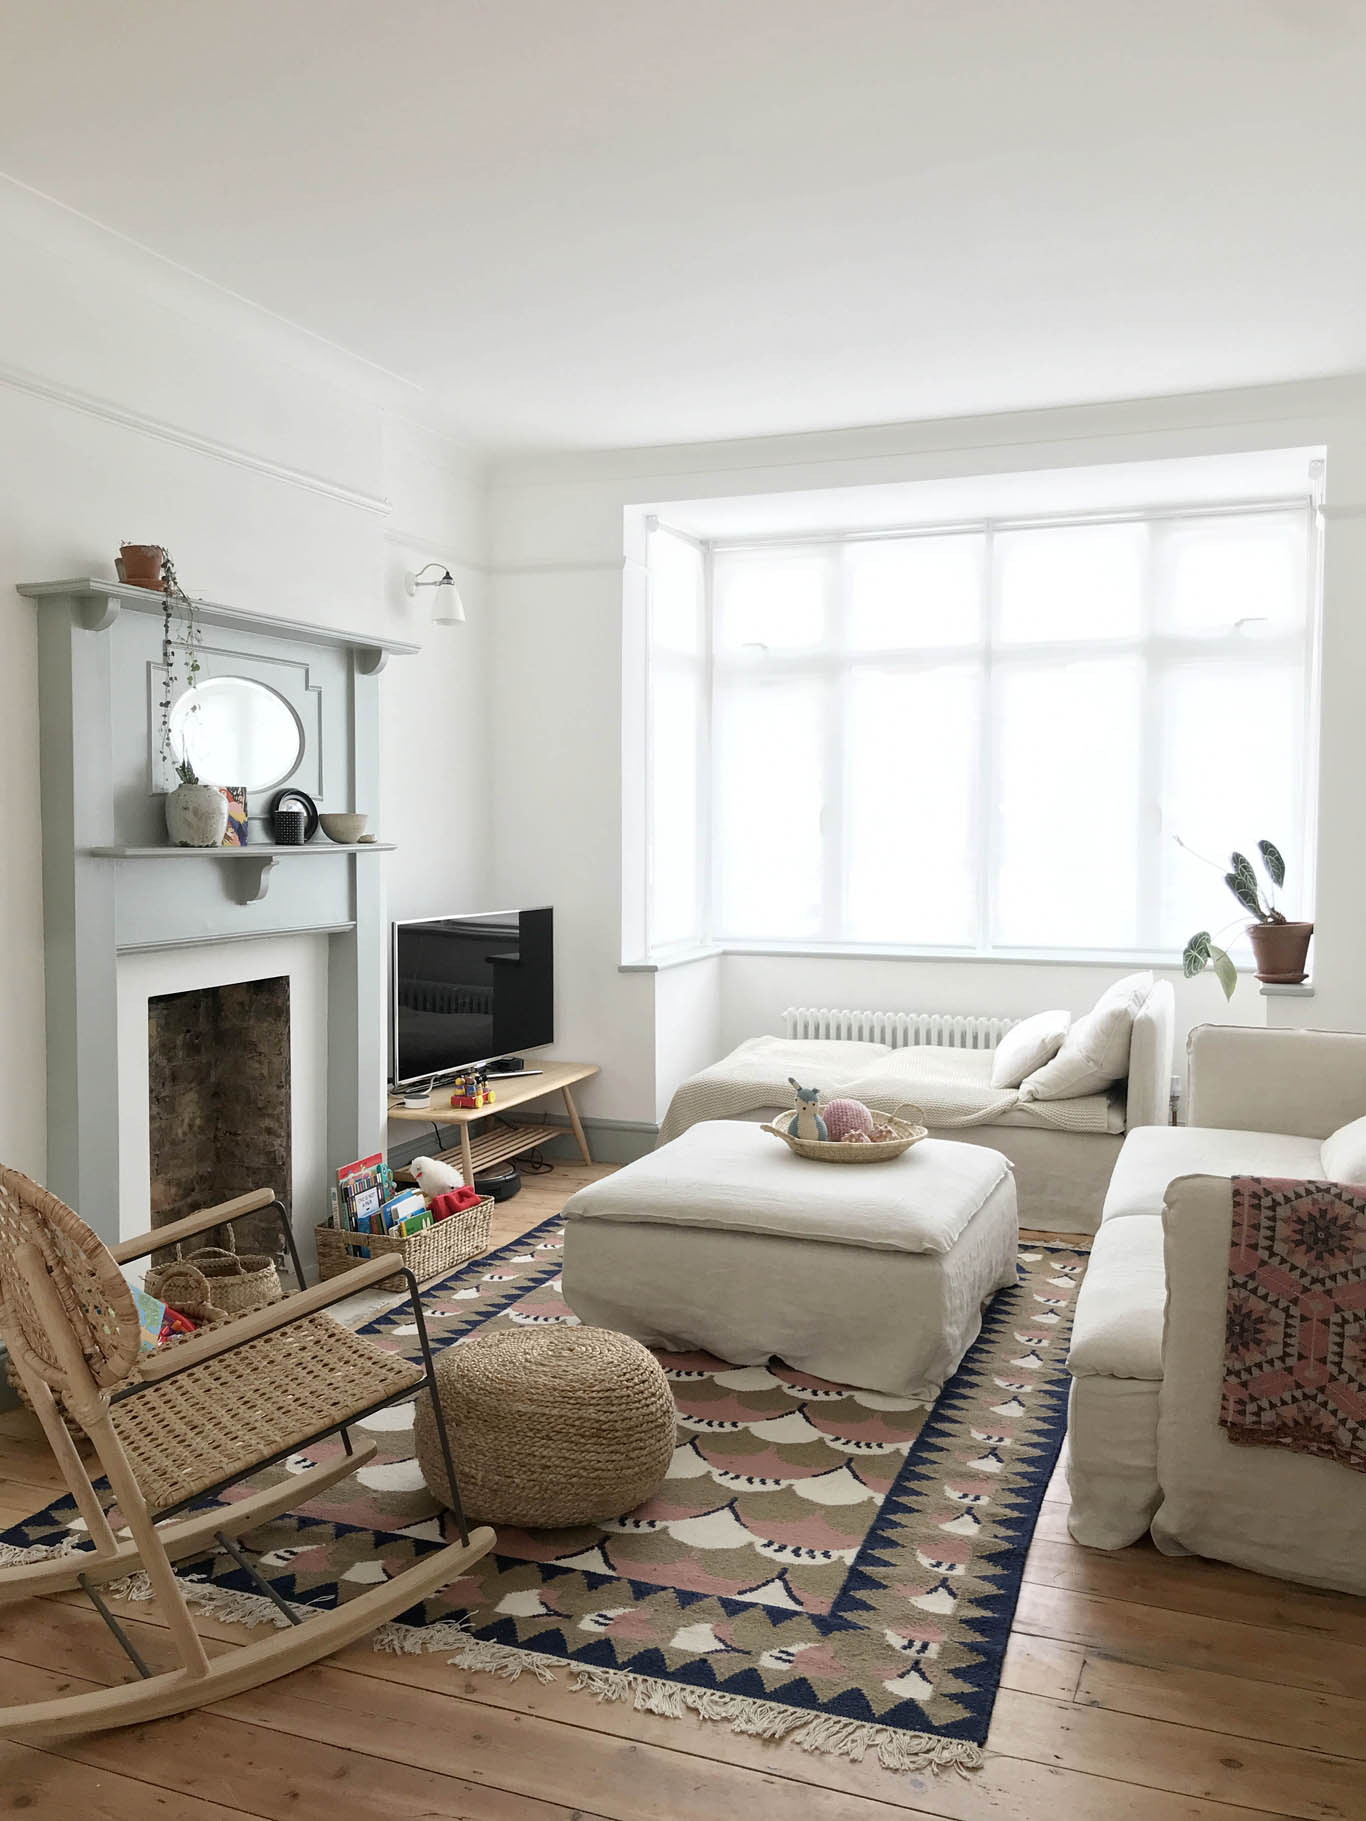
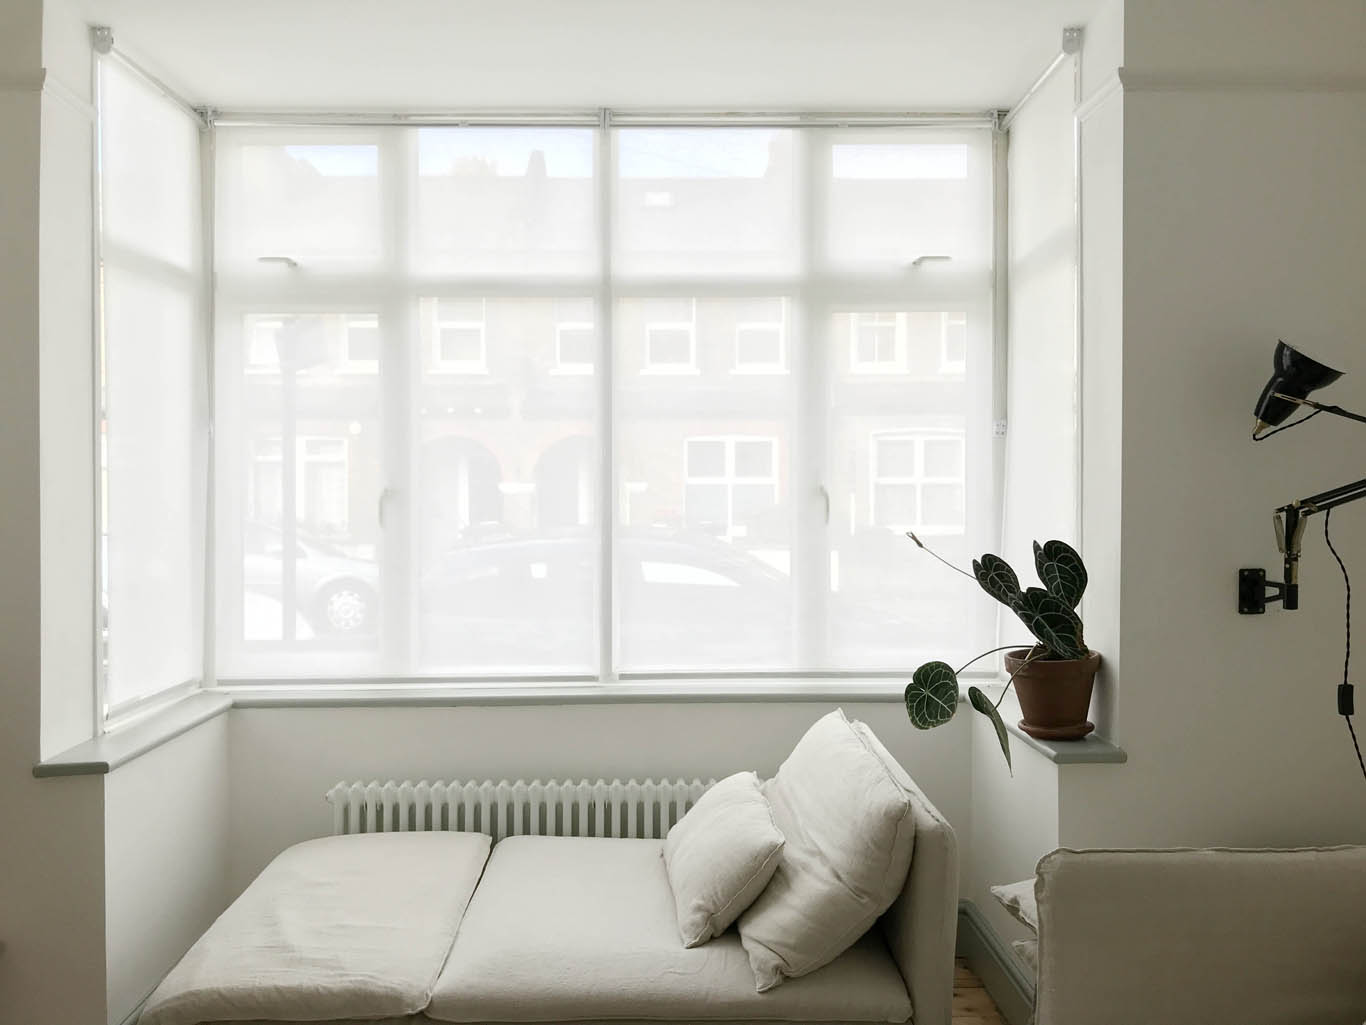
- After
Princess and the Pea print | Elephant | House cushions | Animals book | Rug
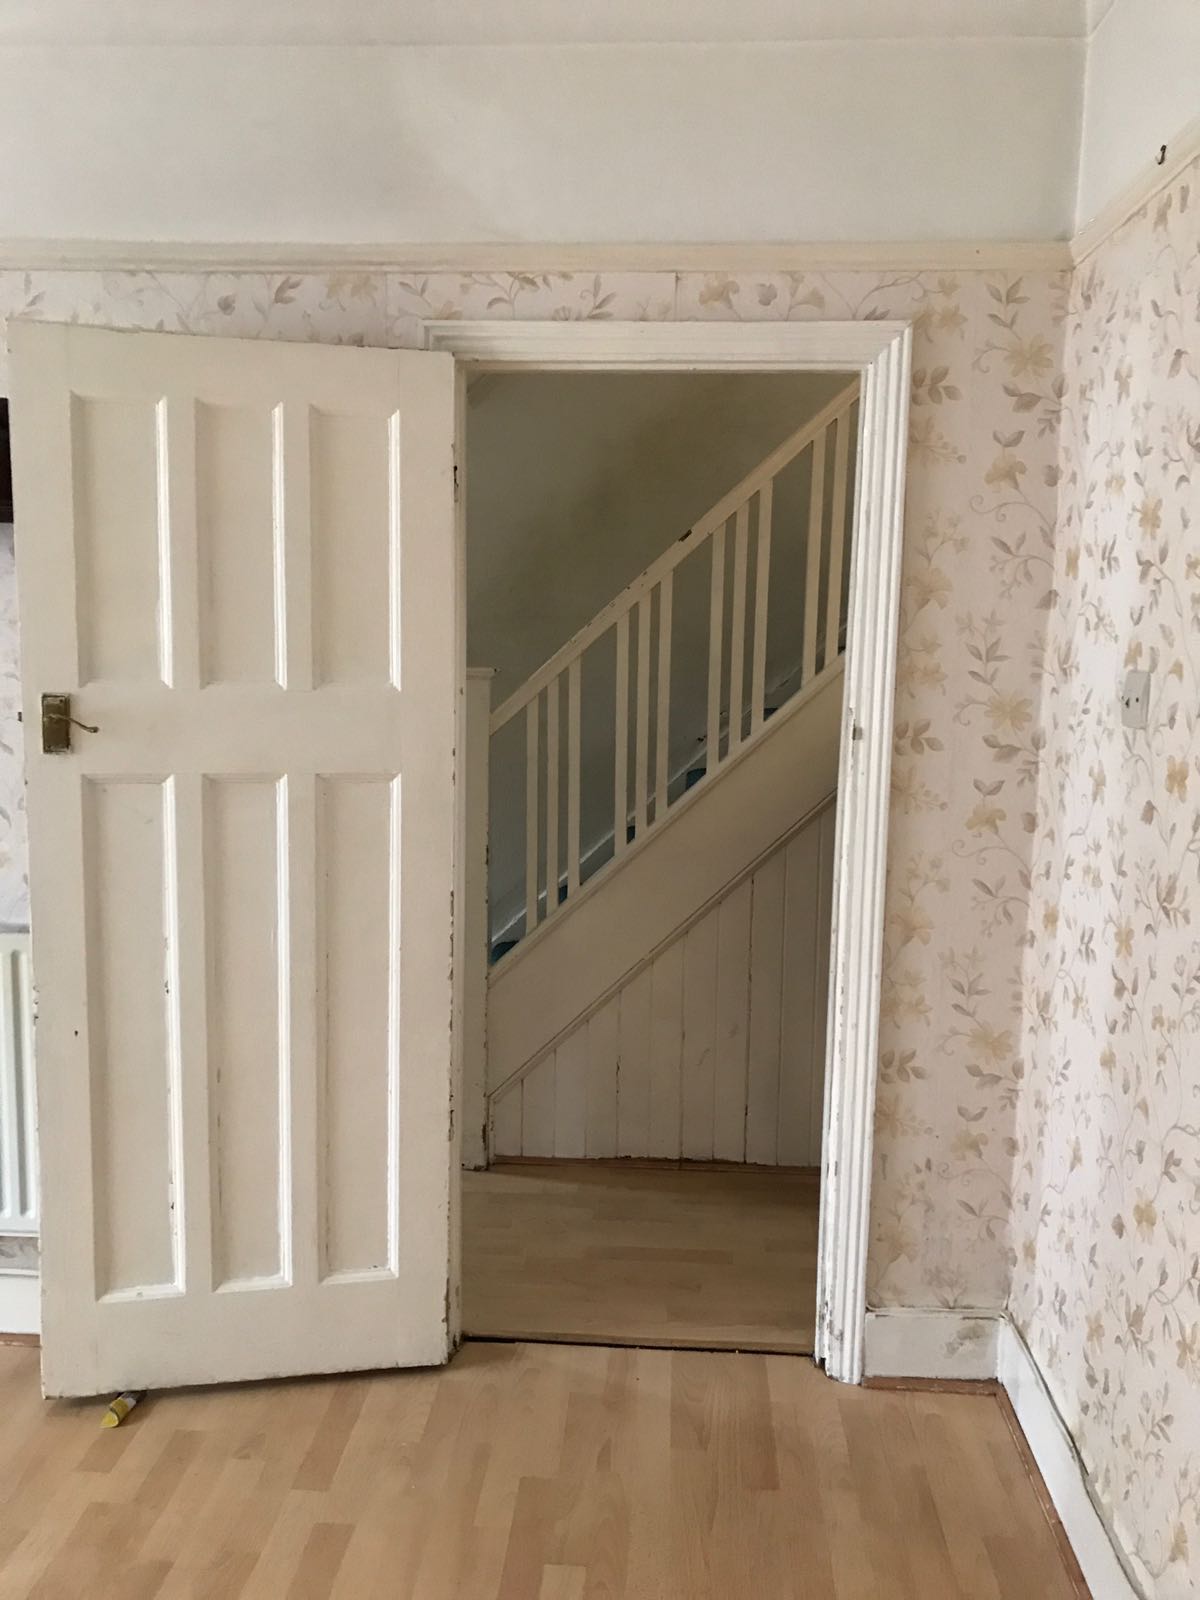
We removed the laminate throughout the house including this room and as you can see above the walls were in a pretty bad state and there were foam tiles on the ceiling. There was only one electric point, the ceiling light was right next to the window, the radiator was in the wrong place and it all needed gutting.
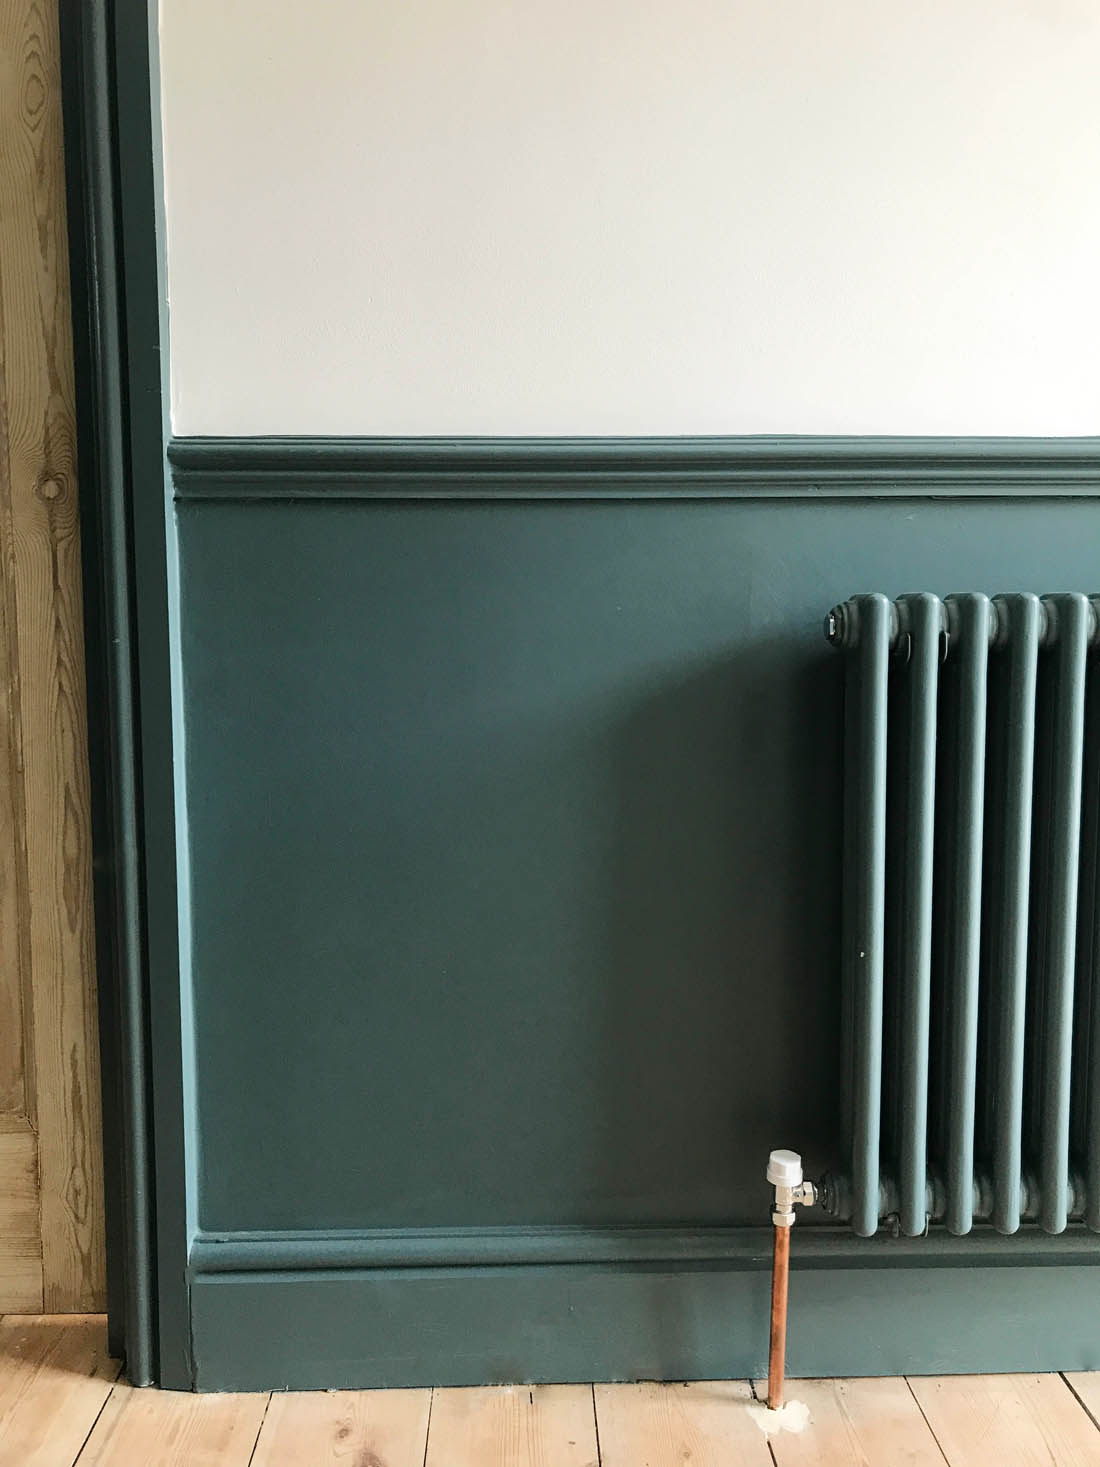
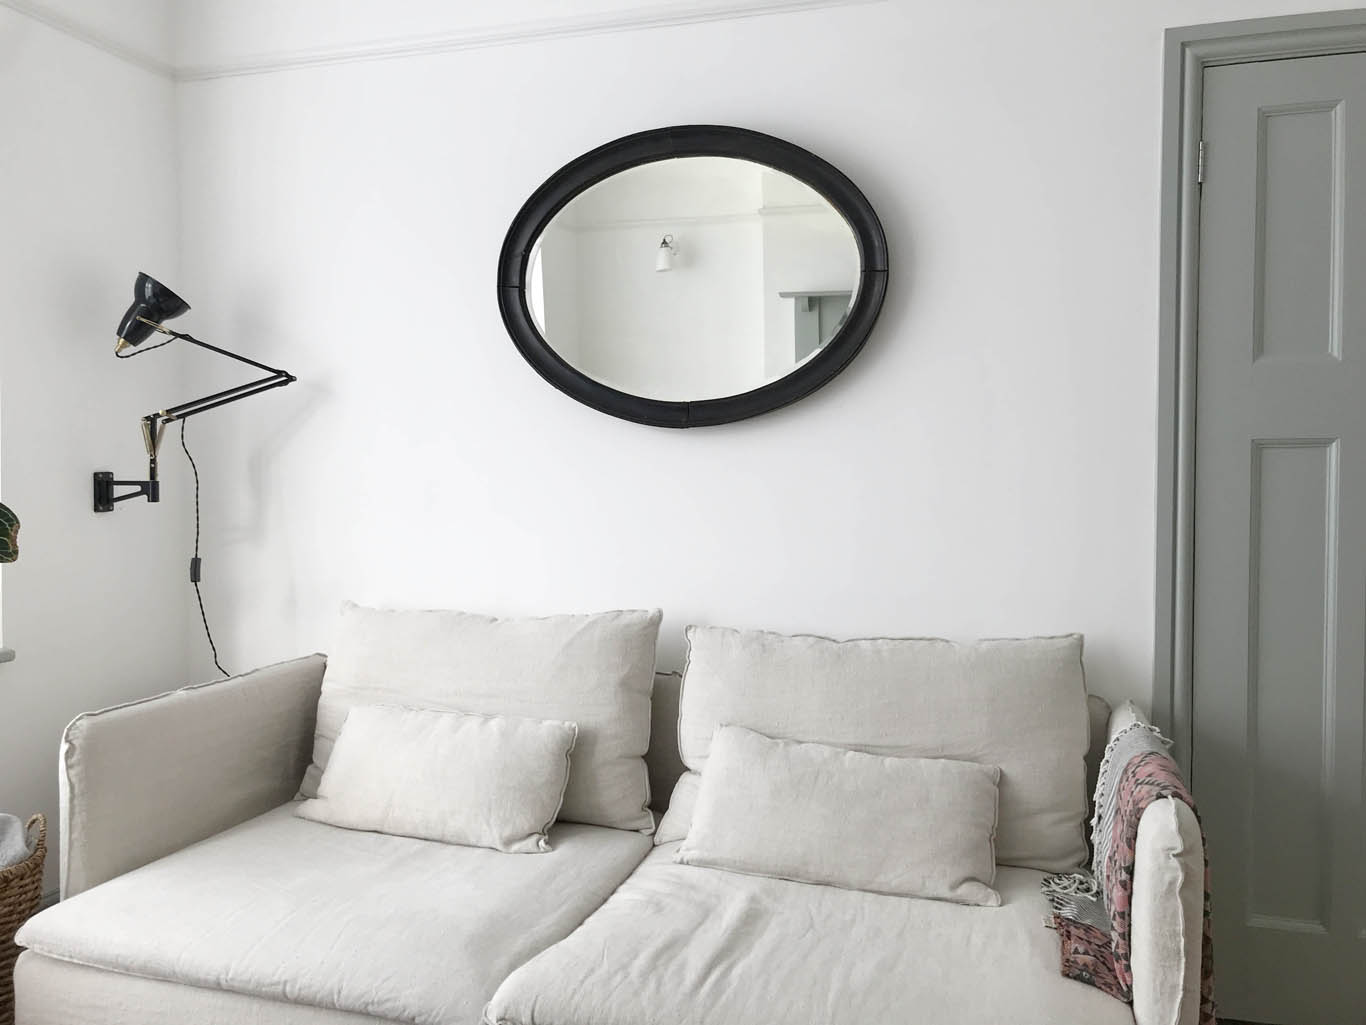
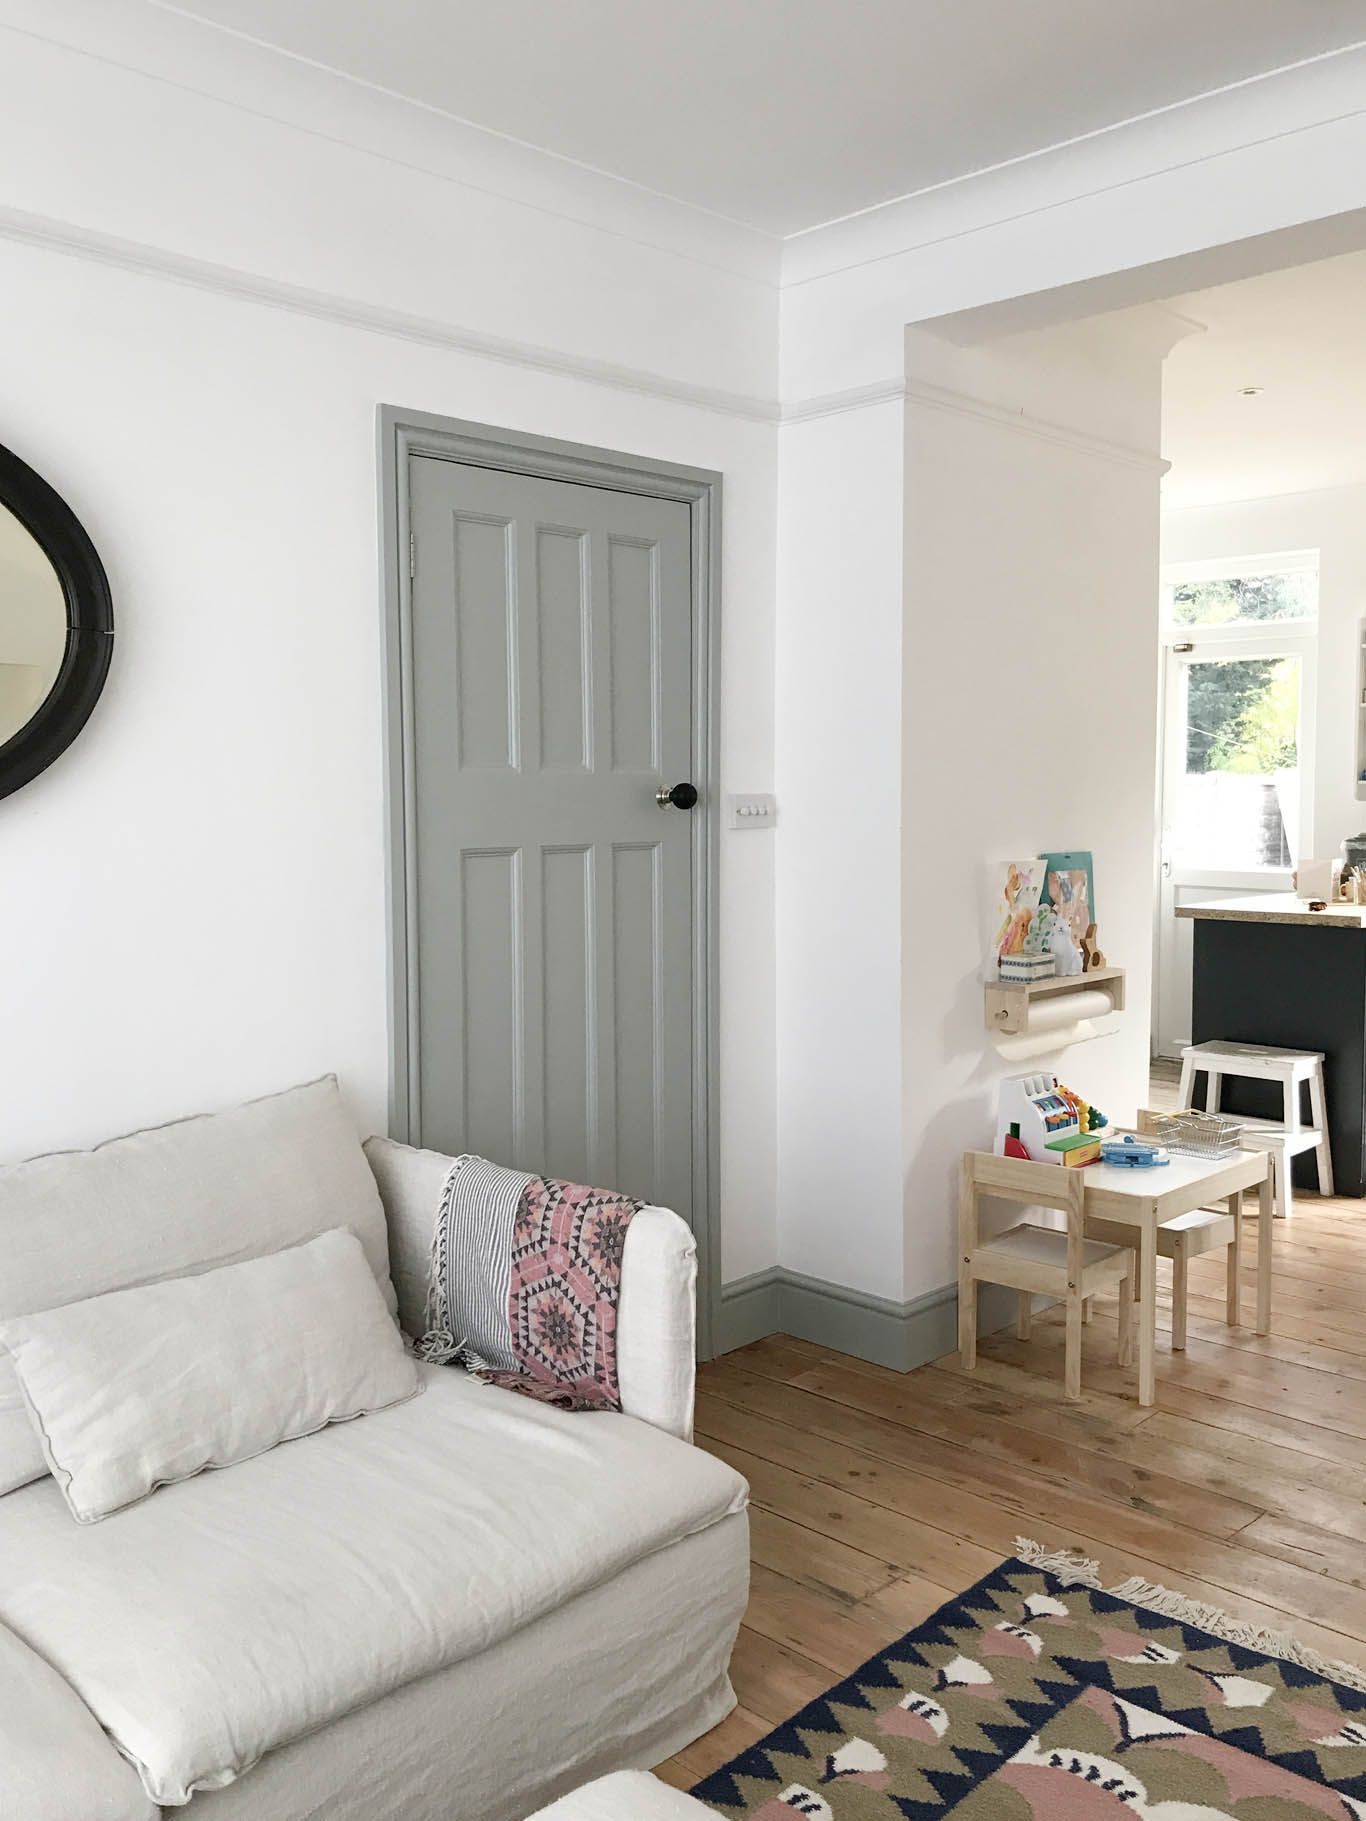
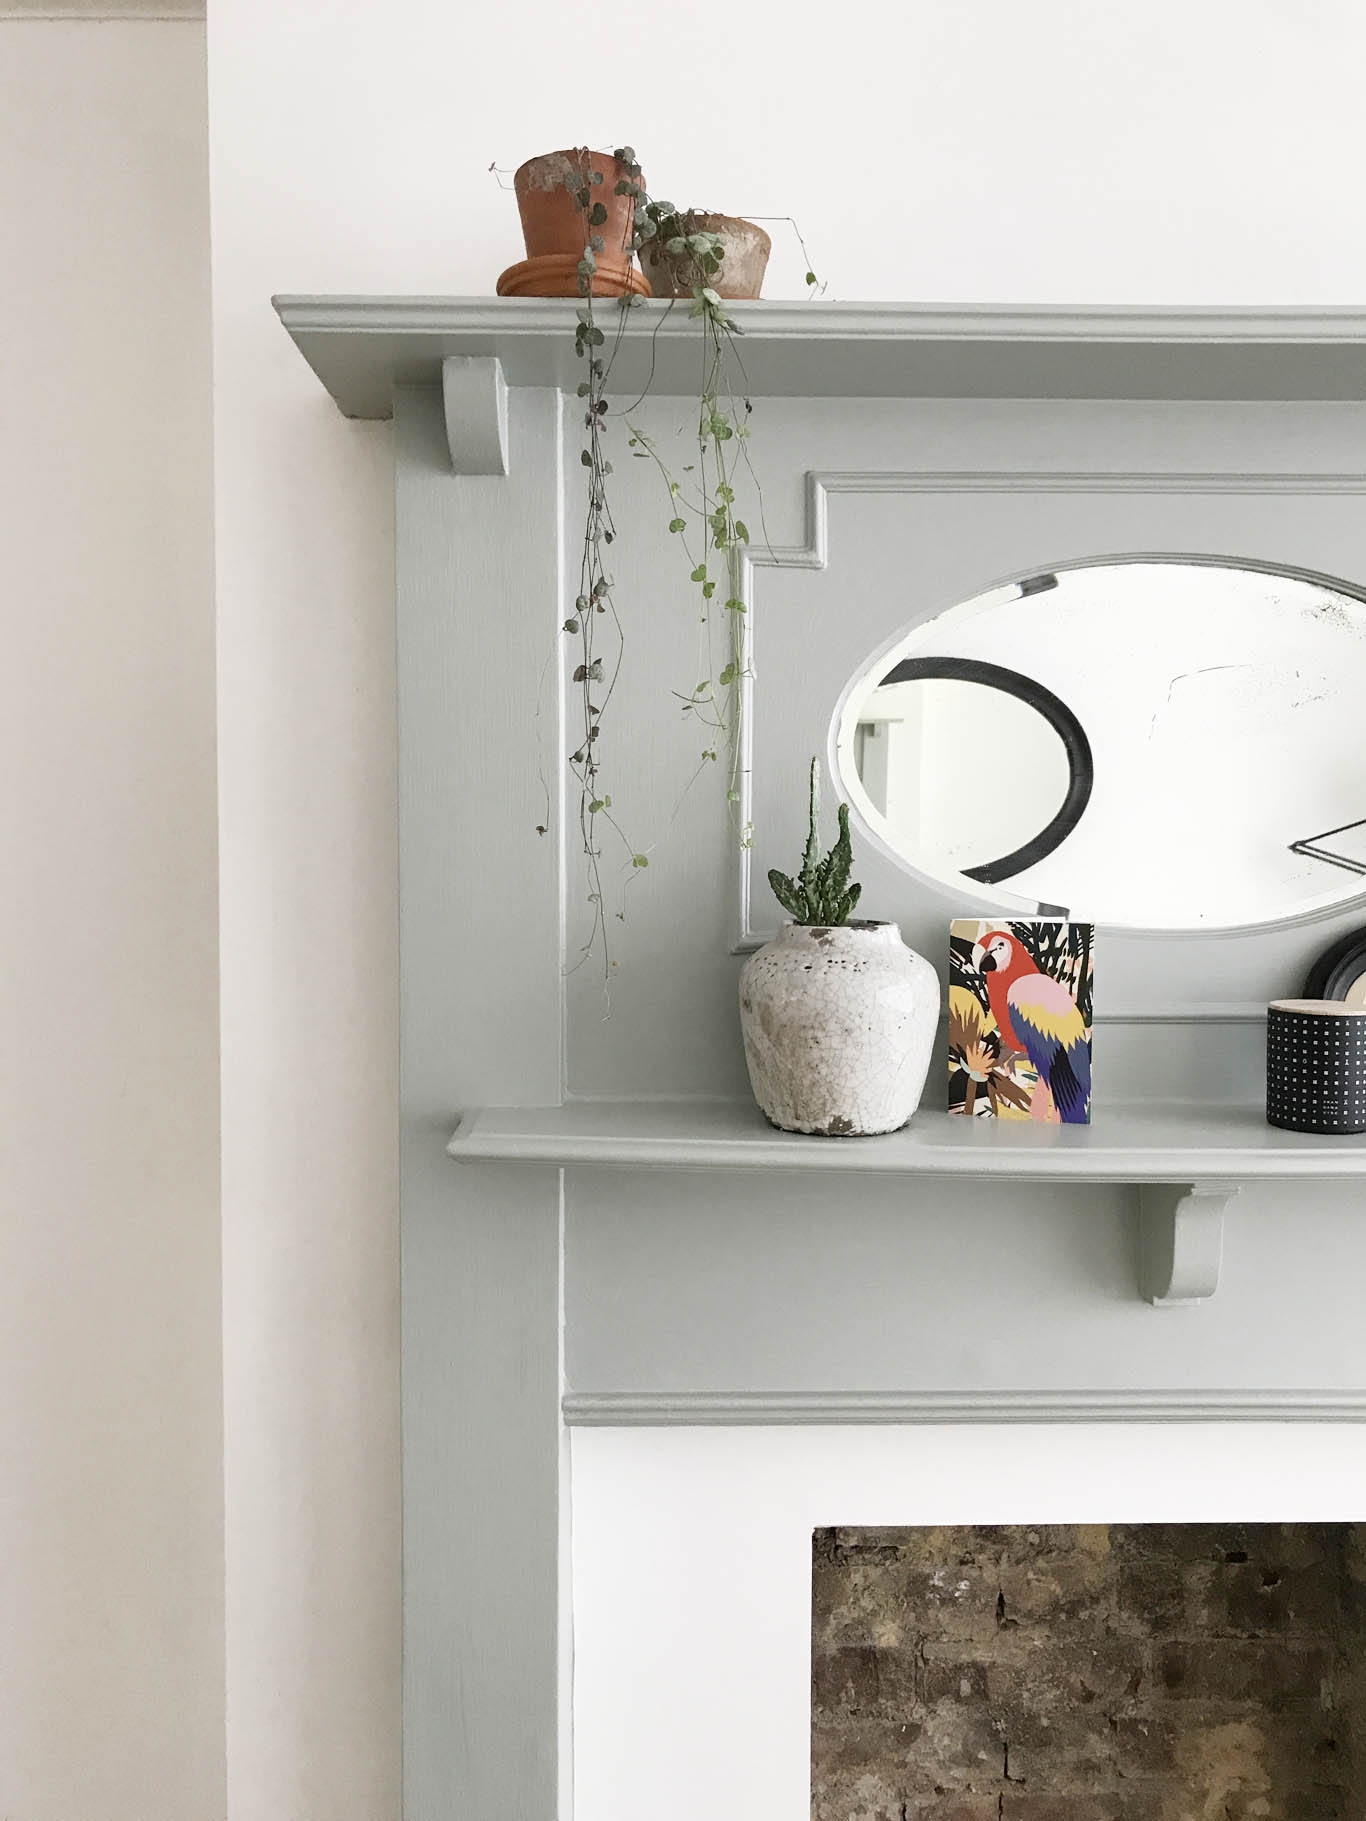
One of the things that I wanted to do to bring some character back to the room was to knock out the fireplace as we uncovered the original tiled hearth when the laminate was removed. I actually got the fire insert from eBay for £30 (it’s Victorian, not 30’s) and didn’t bother with a surround as it’s a small room and the insert did exactly what I wanted without the need for a surround. The room is painted in brilliant white with Light Blue woodwork and the outside of the door is Inchyra Blue. The floorboards were sanded and finished with Osmo Raw oil.
-

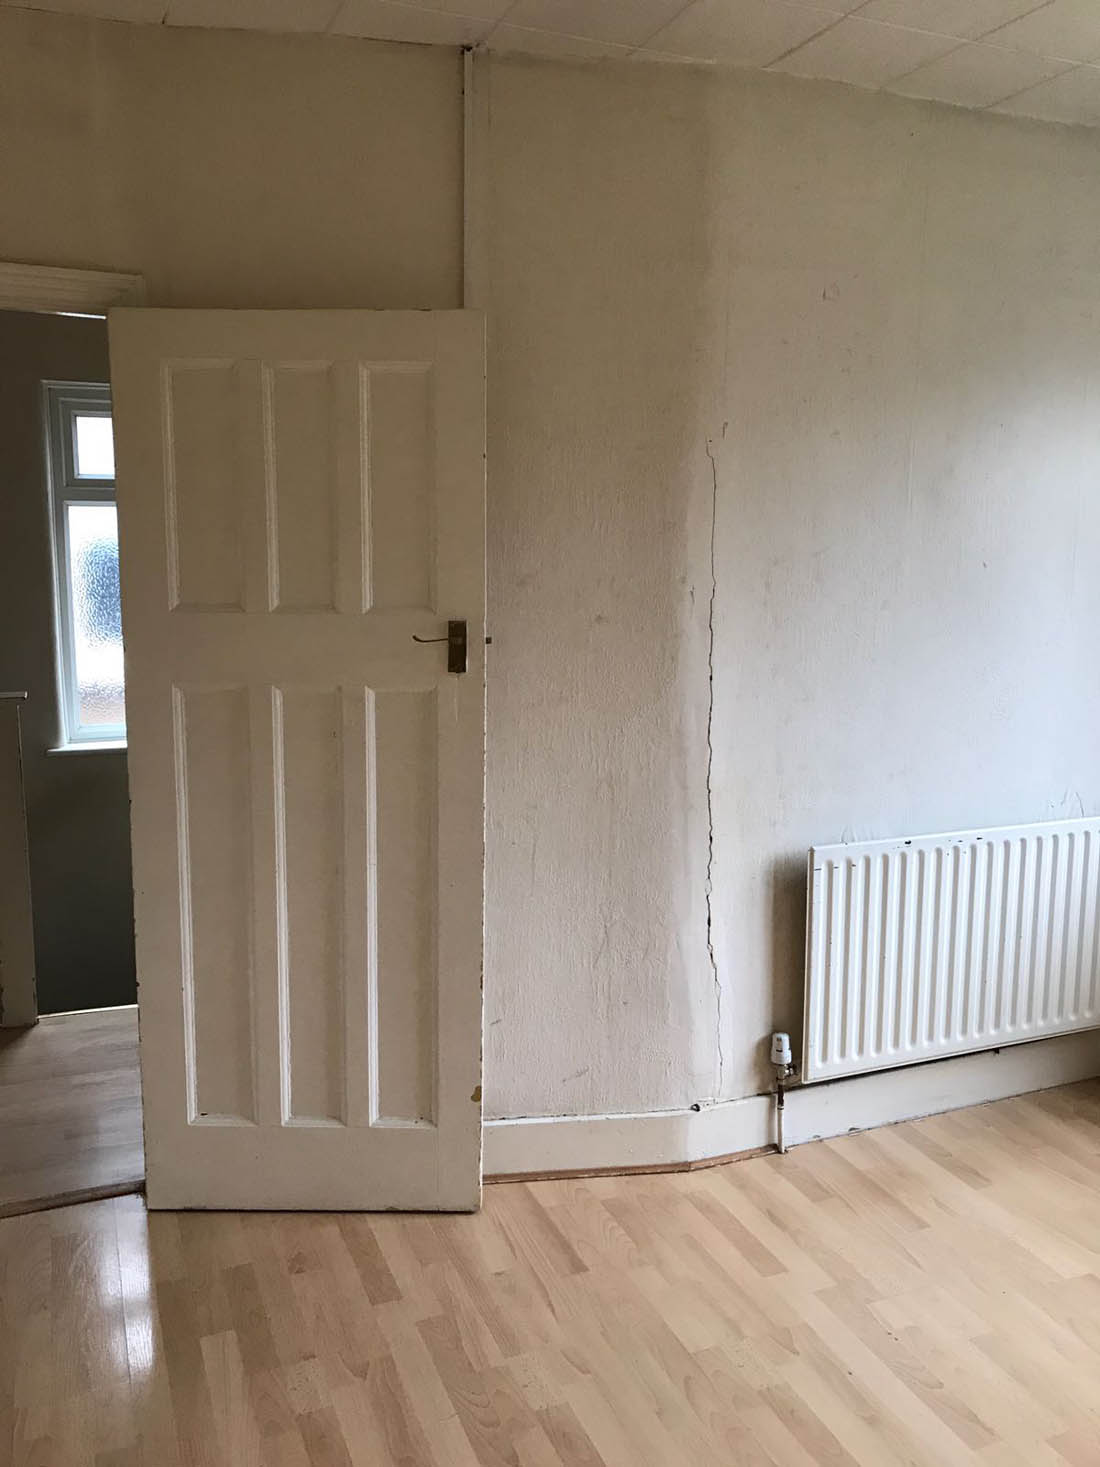
- Before
-

- After
Chest of drawers | Vintage chair | Print | Curtains from our old house – made to measure by John Lewis | Radiator
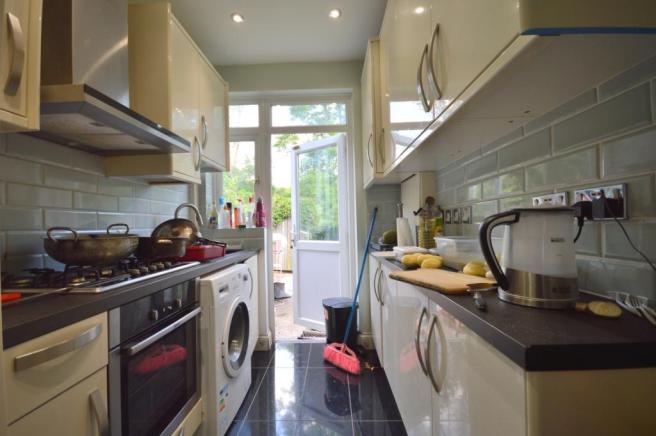
We completely re-plumbed the house and replaced all of the radiators as well as moving them to below the windows. I’m really pleased that we chose to spend the extra for traditional style ones.
-
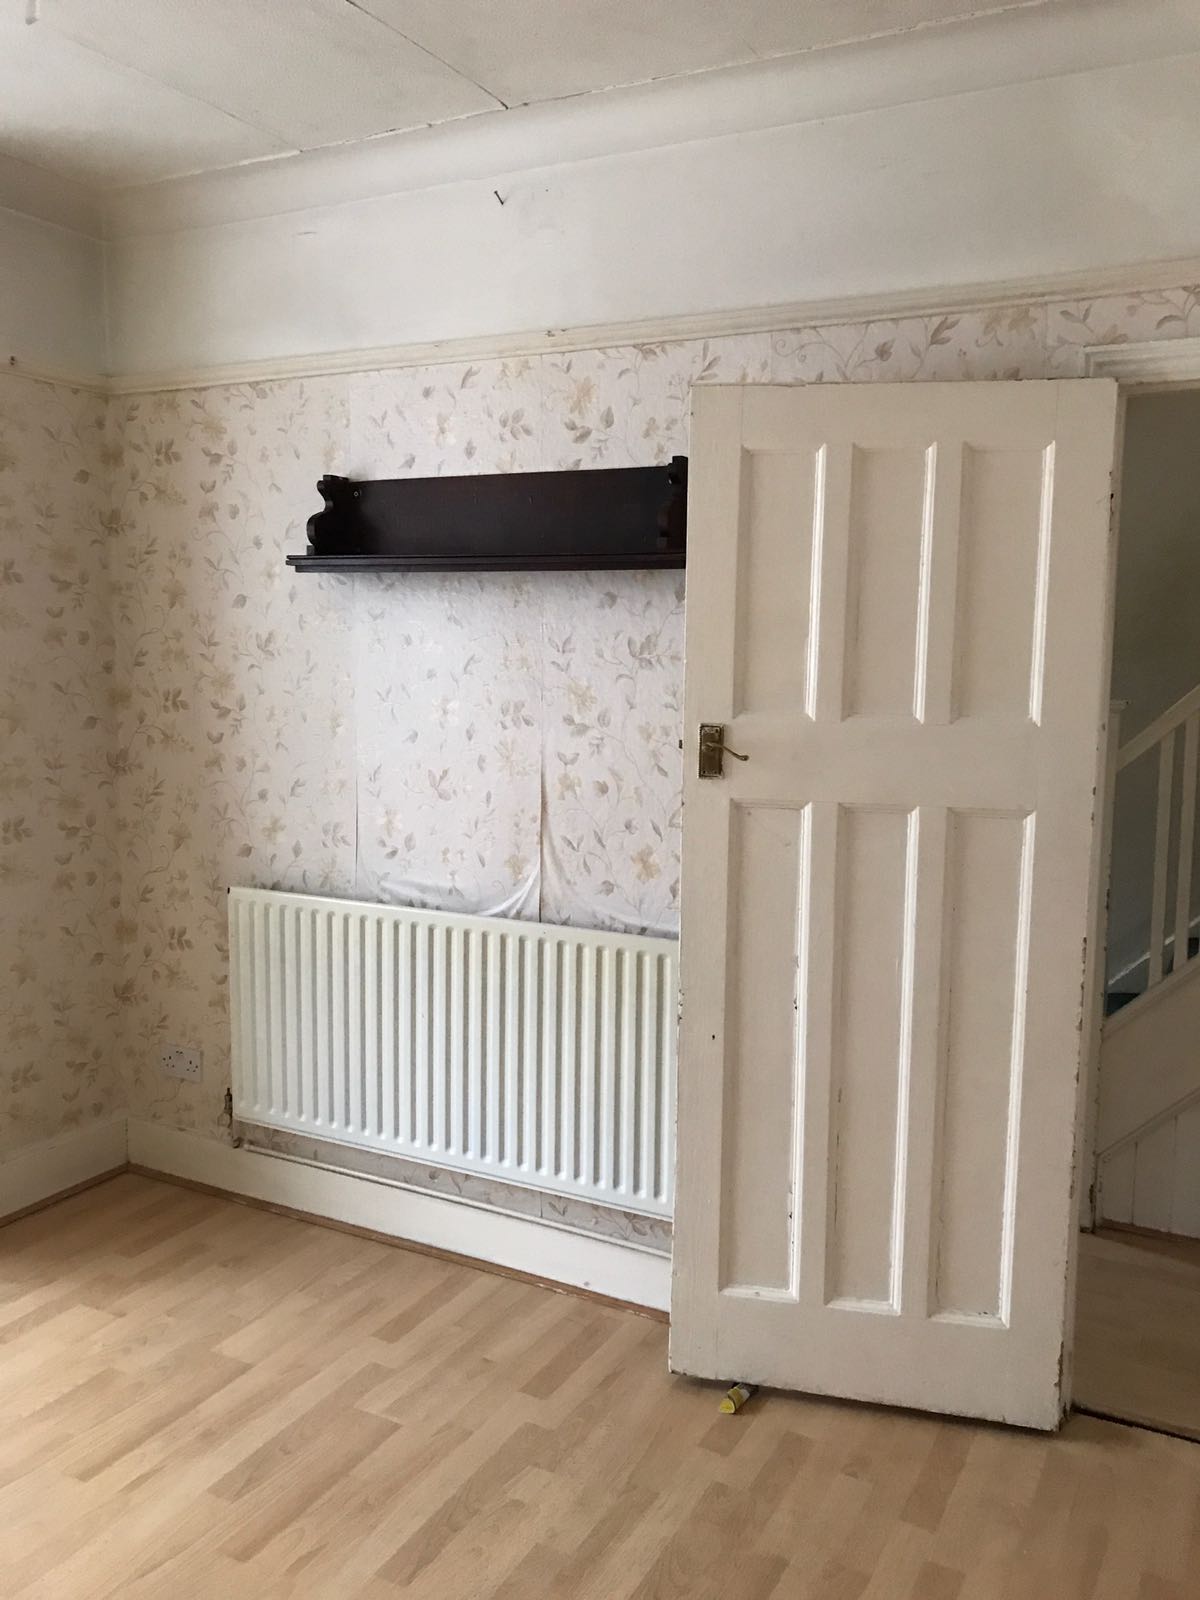
- Before
-
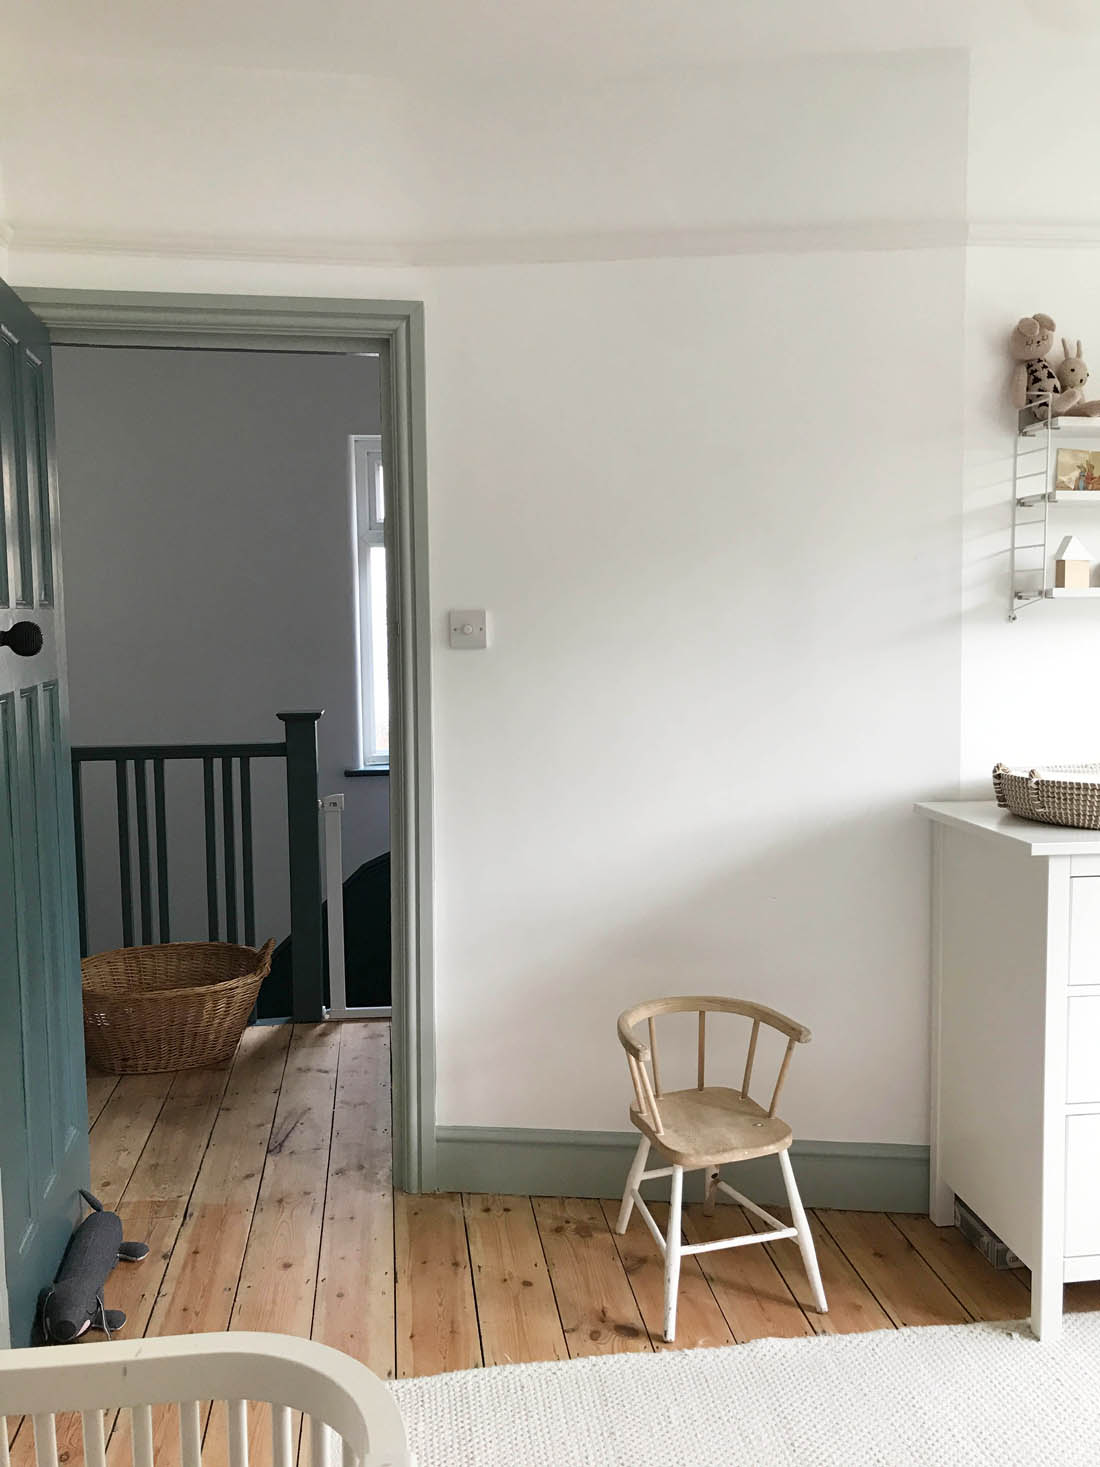
- After
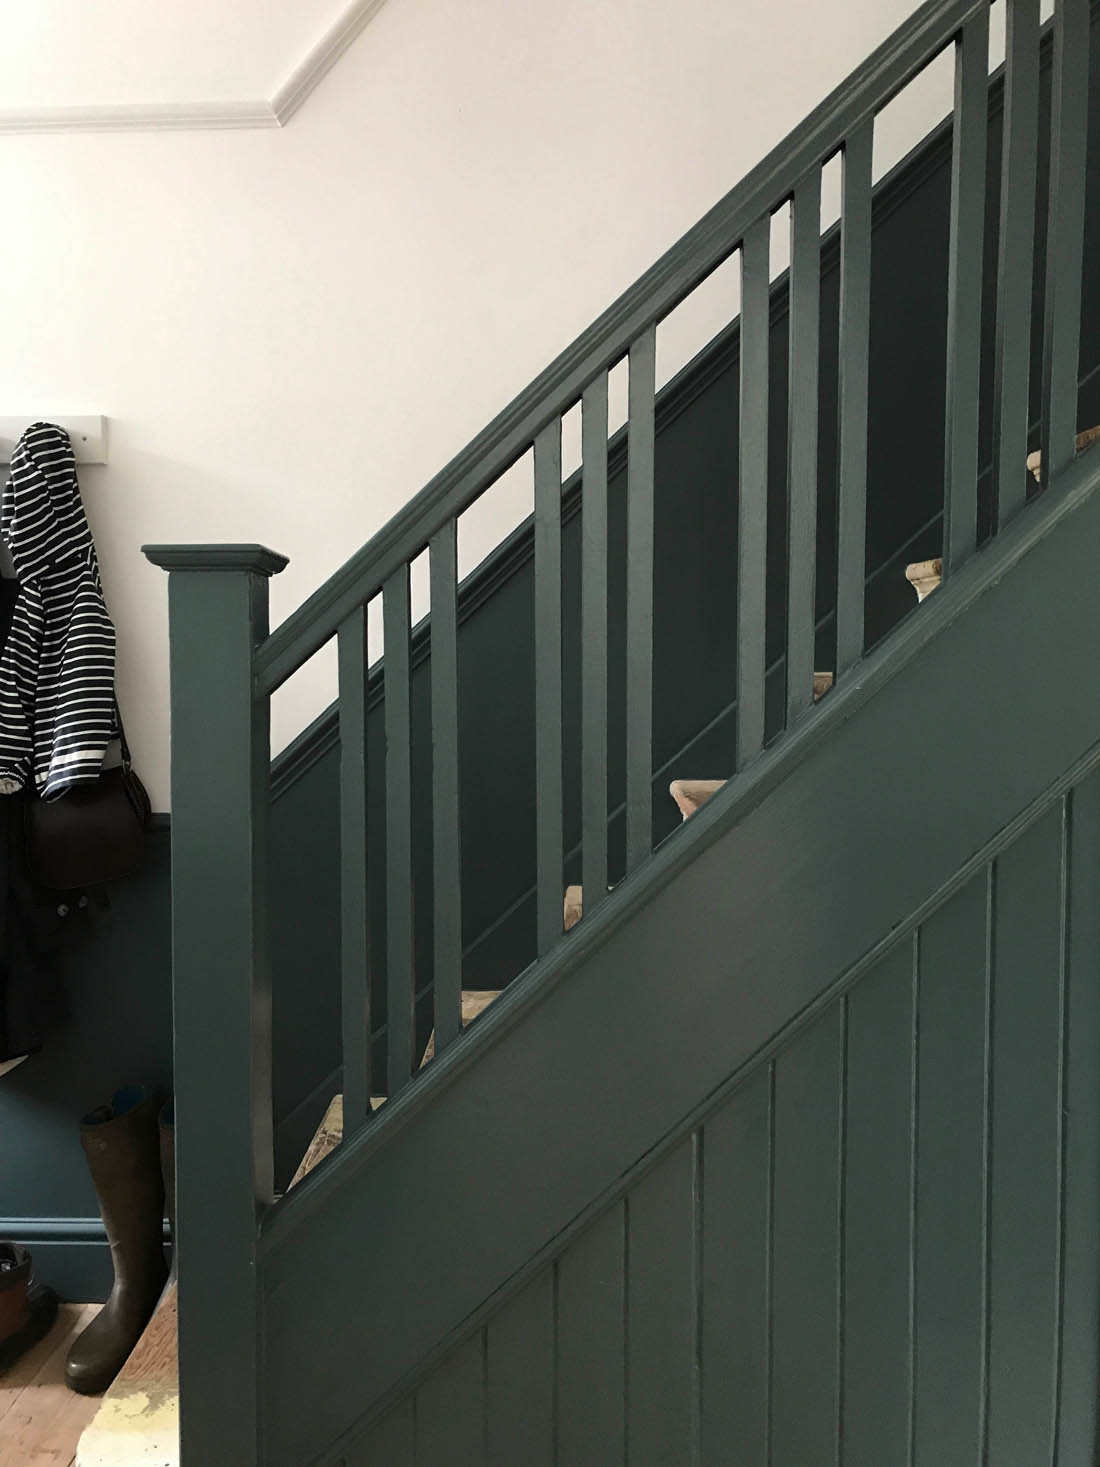
A big difference was made by re-hanging the doors in all the rooms so that they opened onto the walls instead of out into the rooms. I also love that you get a glimpse of the Inchyra Blue from the hallway when the door is open.


Before


Changing basket | Pocket string shelf
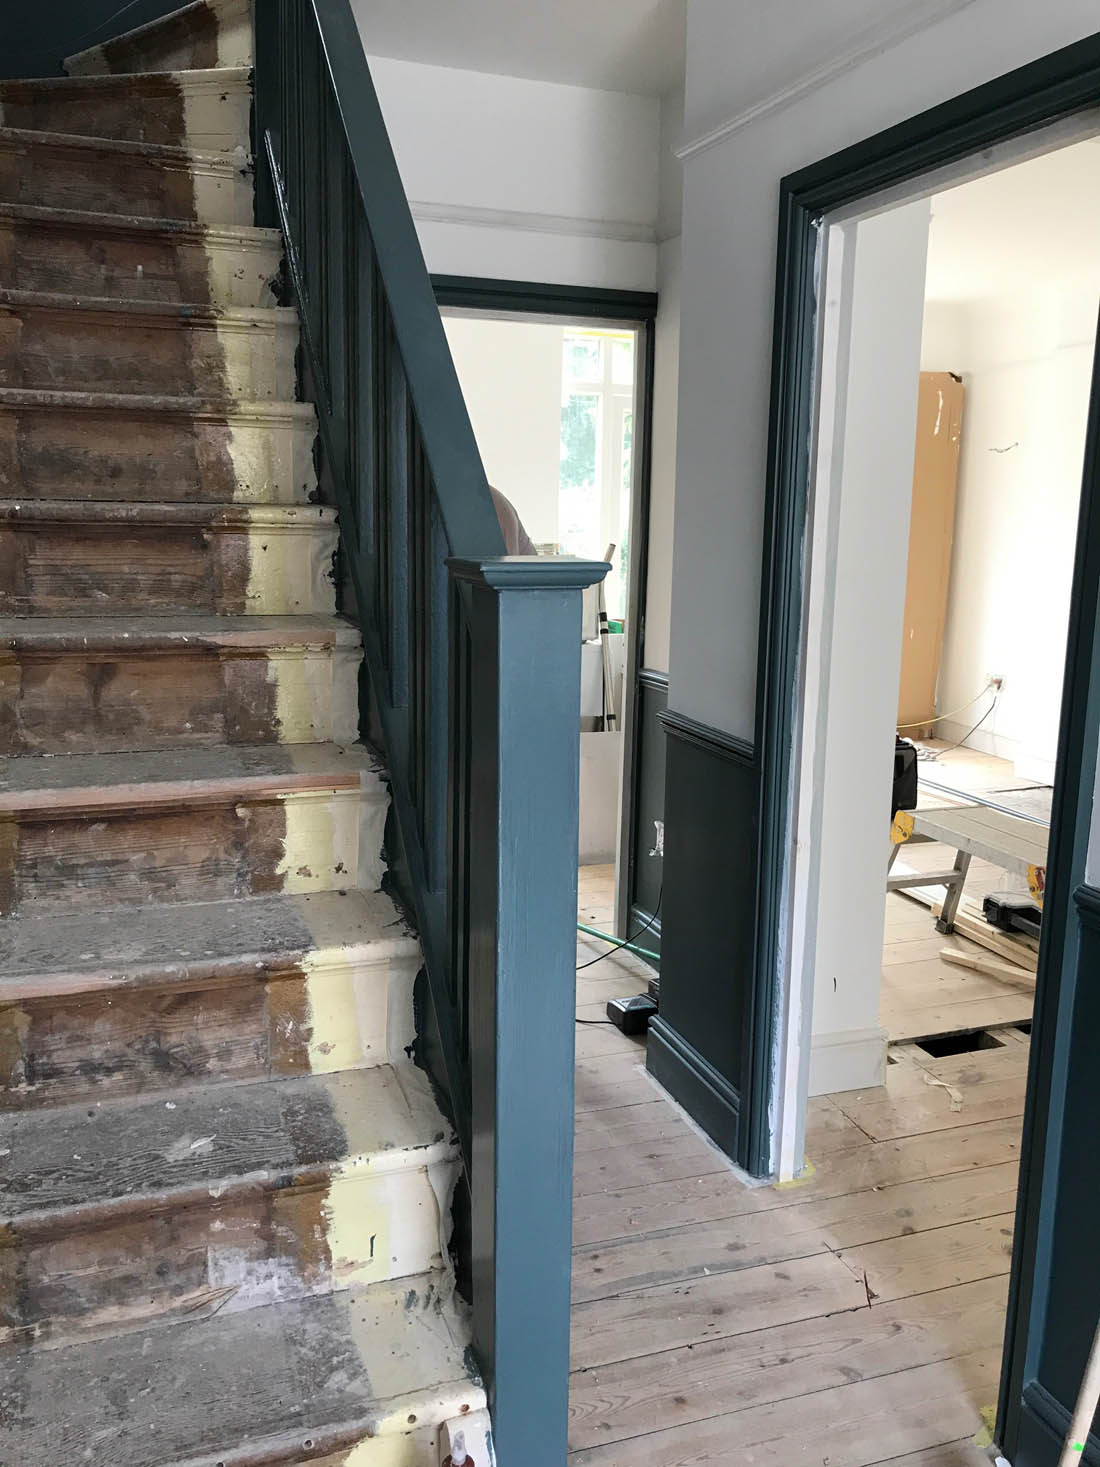
And this is what the room looked like during the works if you are interested. In terms of the structural work we did in here it was taken right back to brick and the ceiling was pulled down. The window lintel had to be replaced, the room was replastered and we replaced the skirting, picture rail and architrave. Take a look…
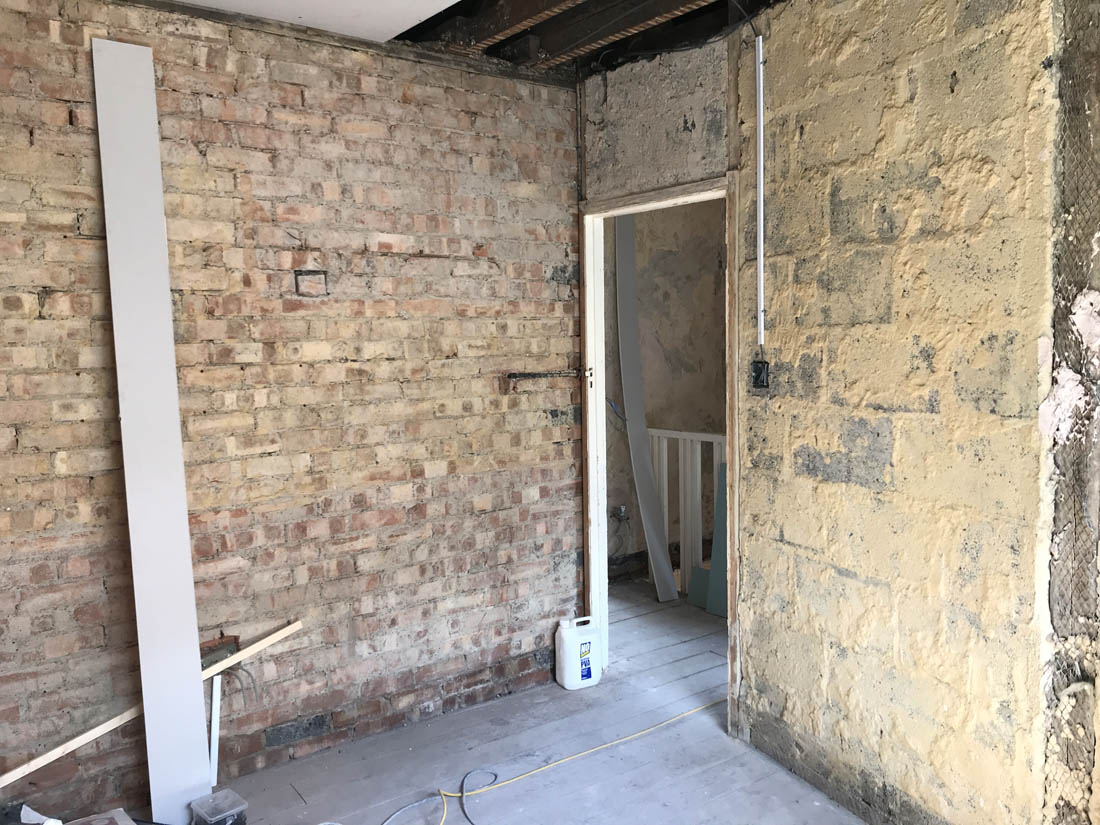
All plaster was removed.
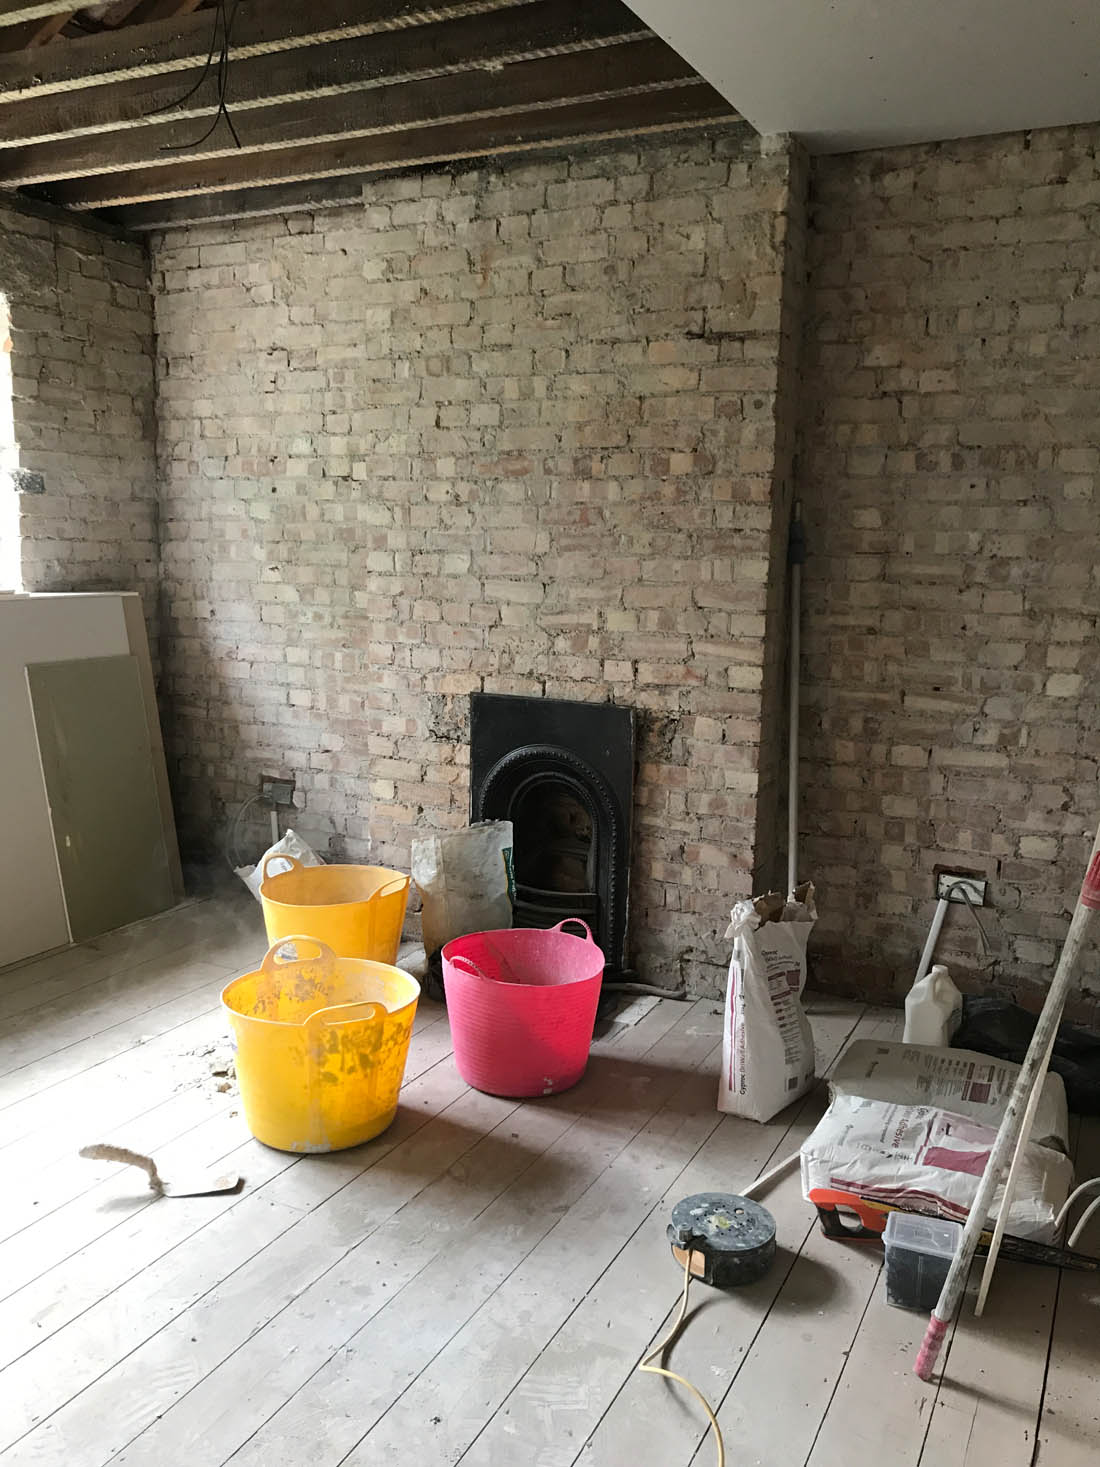
The ceiling was removed and rebuilt and the fireplace was knocked out.
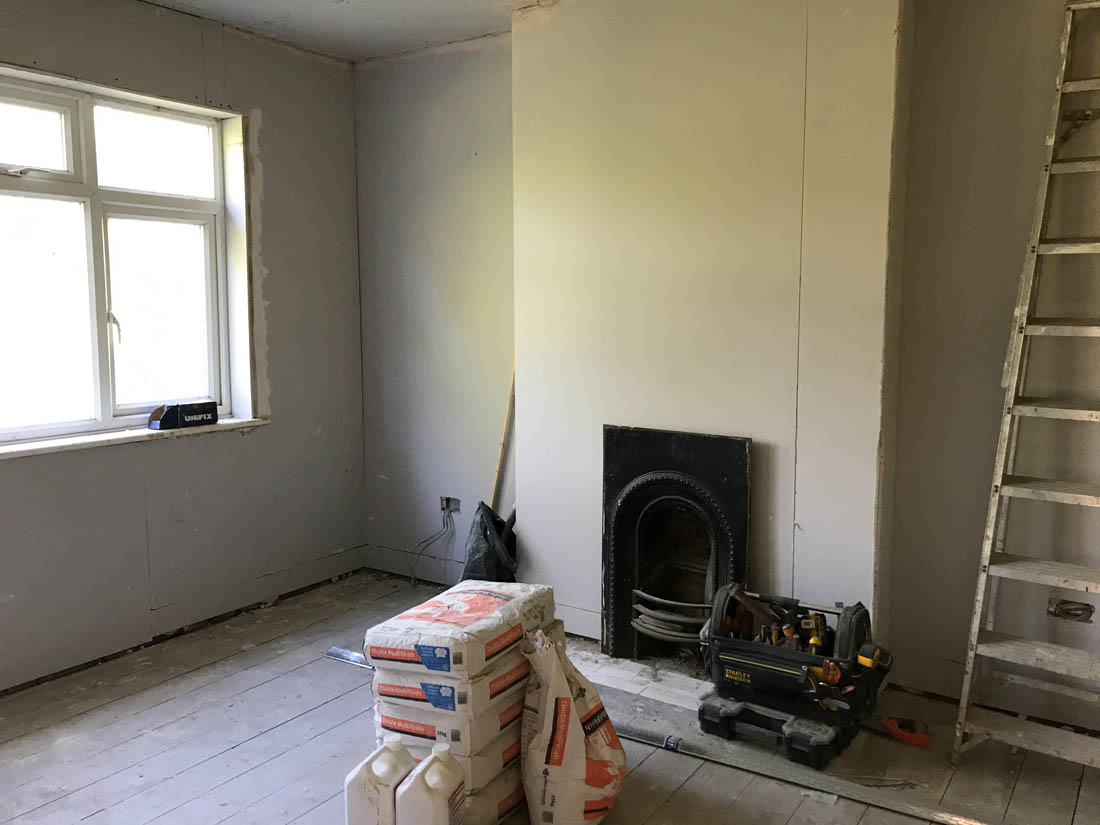
Plasterboard then went up.

The room was then beautifully plastered.

And decorated.

Our builder also sprayed the fire insert with a matt black paint that gave it a really nice finish.
So, there you have our one finished room! Hope you like it.
Katy x