The Welsh House

When I was invited to stay at The Welsh House I could not have been more thrilled as we had such a dreary summer so I saw a long weekend as our chance to get a much needed break and refresh ourselves before slowly creeping into Autumn.

I was immediately drawn to Bryncyn cottage (there are three to choose from) because I was so struck by the modern extension to such a beautiful traditional Welsh cottage, achieved so skilfully by Dorian who owns the three cottages. As I said in last week’s post I am always so torn between the charm of the old and the function and design of the new so Bryncyn seemed to promise the best of both worlds.

And it did not disappoint. We really did have a magical few days in the most gorgeous house, surrounded by still, quiet countryside, sun – yes sun! – to die for, and time.

Traditional Welsh cottage | The Welsh House | Apartment Apothecary

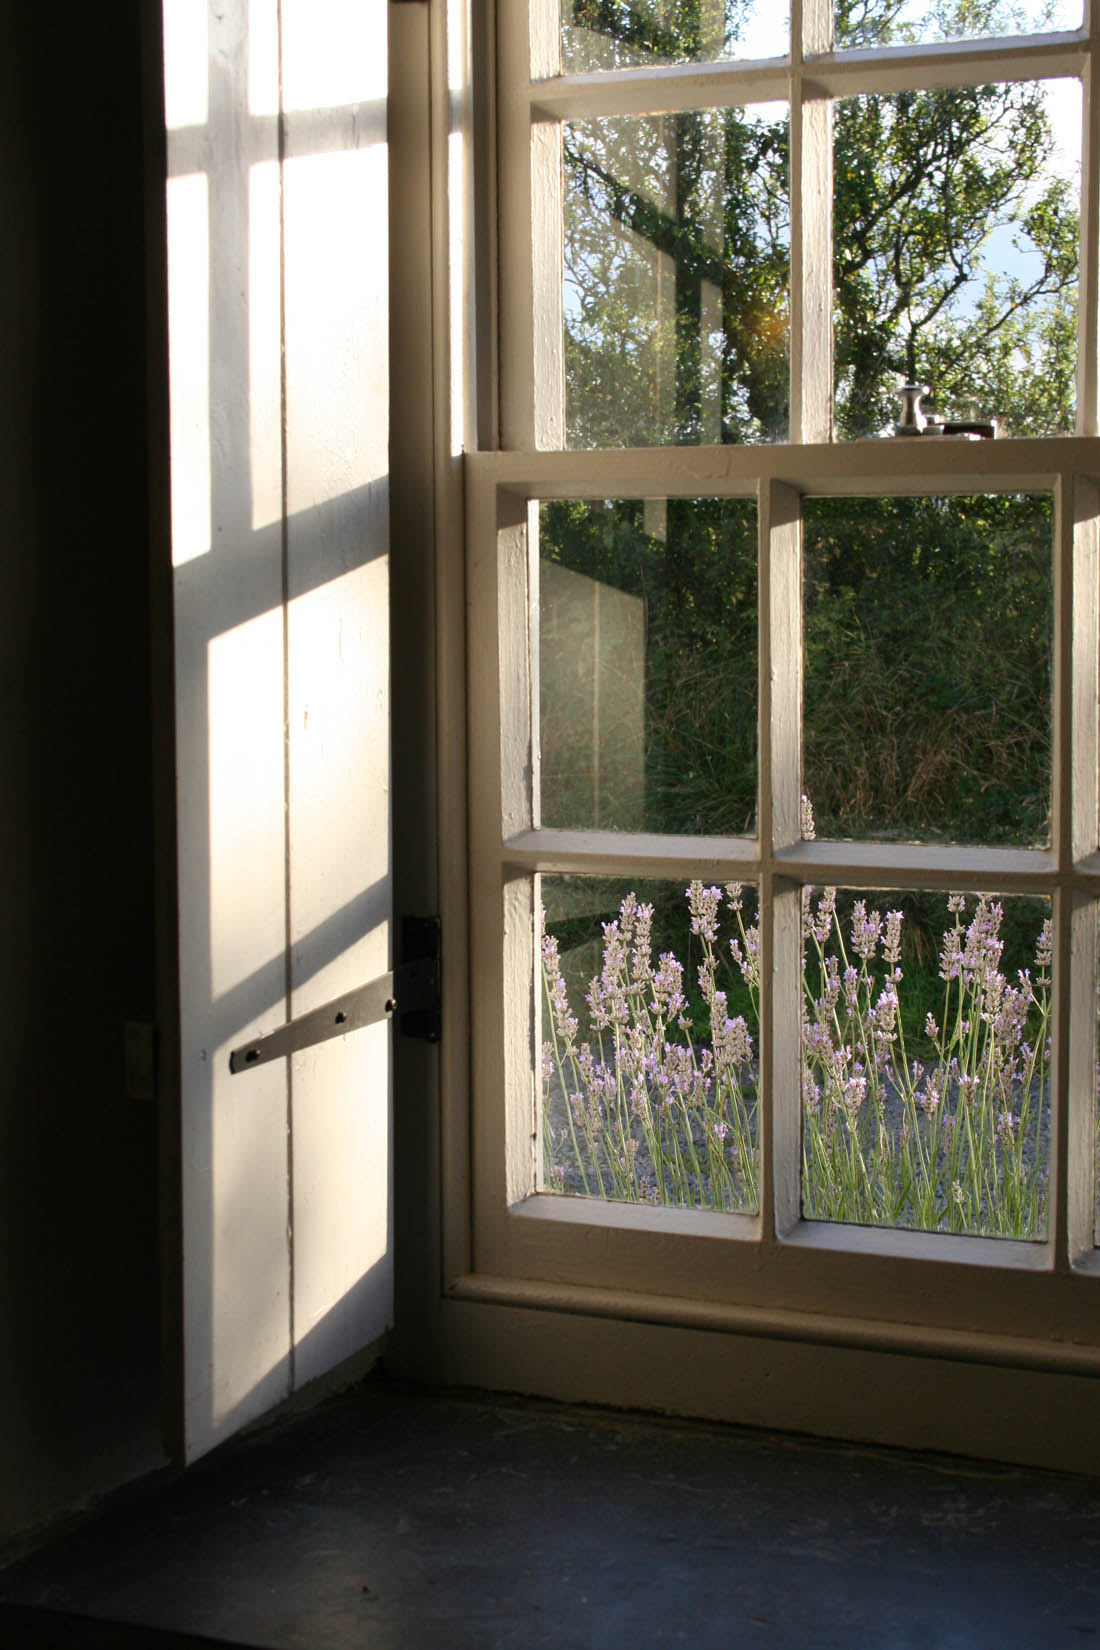
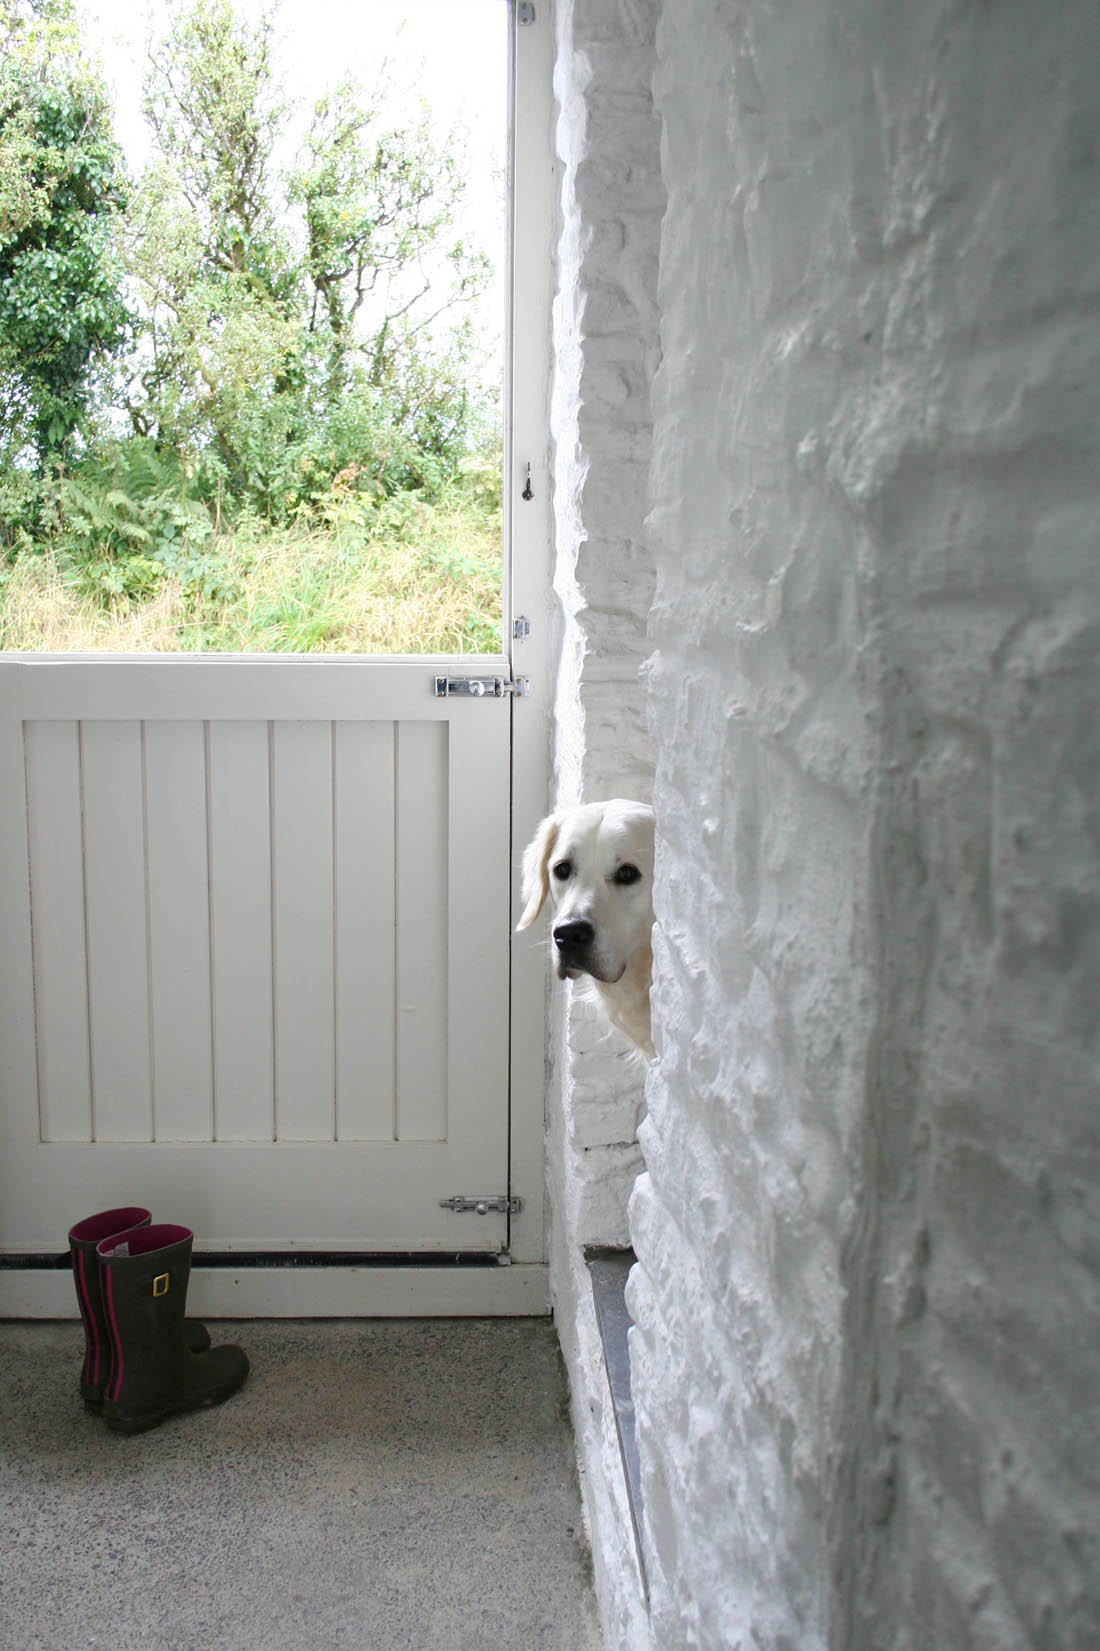
We arrived in the stunning evening light to this perfect looking cottage and the light was streaming into the sitting room from every angle – oh to have sash windows and shutters! After scoffing some Welsh cakes left for us we went for a wander to stretch our legs after a long drive and to take in the beautiful evening and peaceful countryside. Otto discovered some friendly looking cows, although he didn’t like it quite as much when he discovered the next morning that they walked up our drive past the house.

Traditional Welsh cottage | The Welsh House | Apartment Apothecary

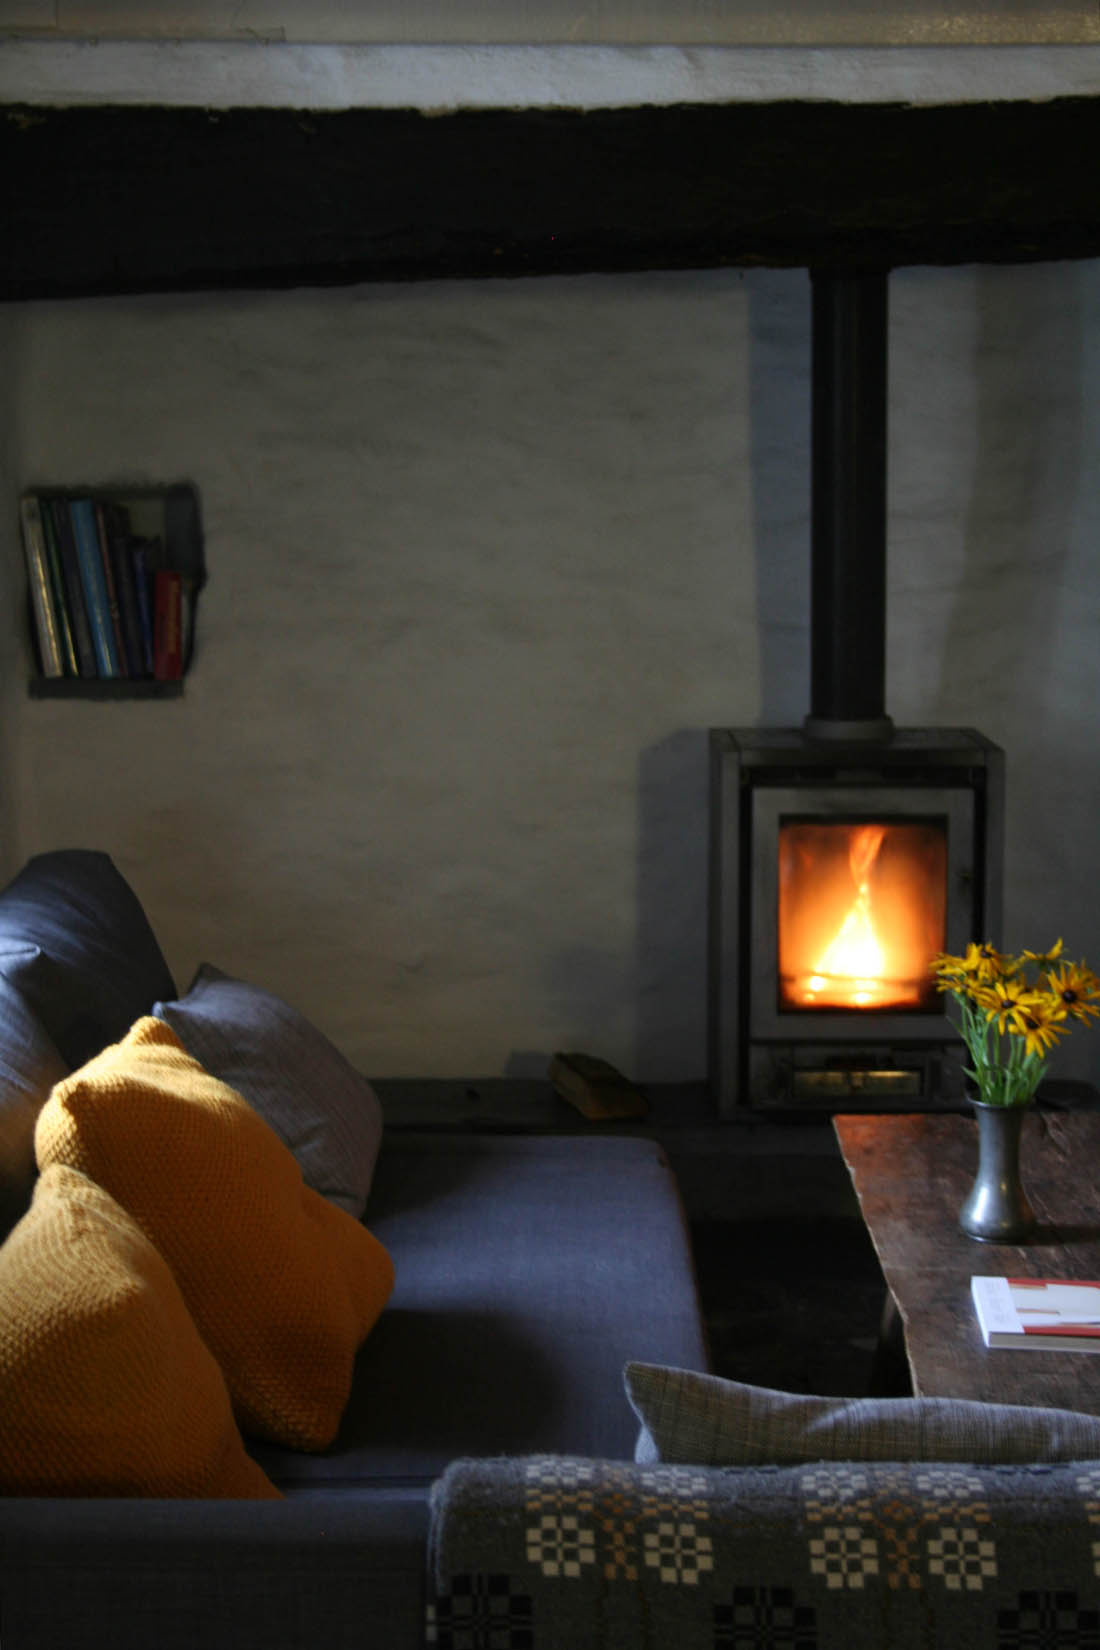
We took our time over making dinner and settled with a glass of wine in front of the wood burning stove, although actually we really didn’t need it because it was so mild. Not having a TV or wifi was replaced with chatting, listening to music and catching up, all of which has been too rare lately.

Traditional Welsh cottage | The Welsh House | Apartment Apothecary

Traditional Welsh cottage | The Welsh House | Apartment Apothecary

The next morning Otto and I climbed to the back of the garden with tea in hand to be greeted by the most amazing sight of what looked like a blanket of cloud covering the valley below: dragon’s breath, so I’m told.

Traditional Welsh cottage | The Welsh House | Apartment Apothecary

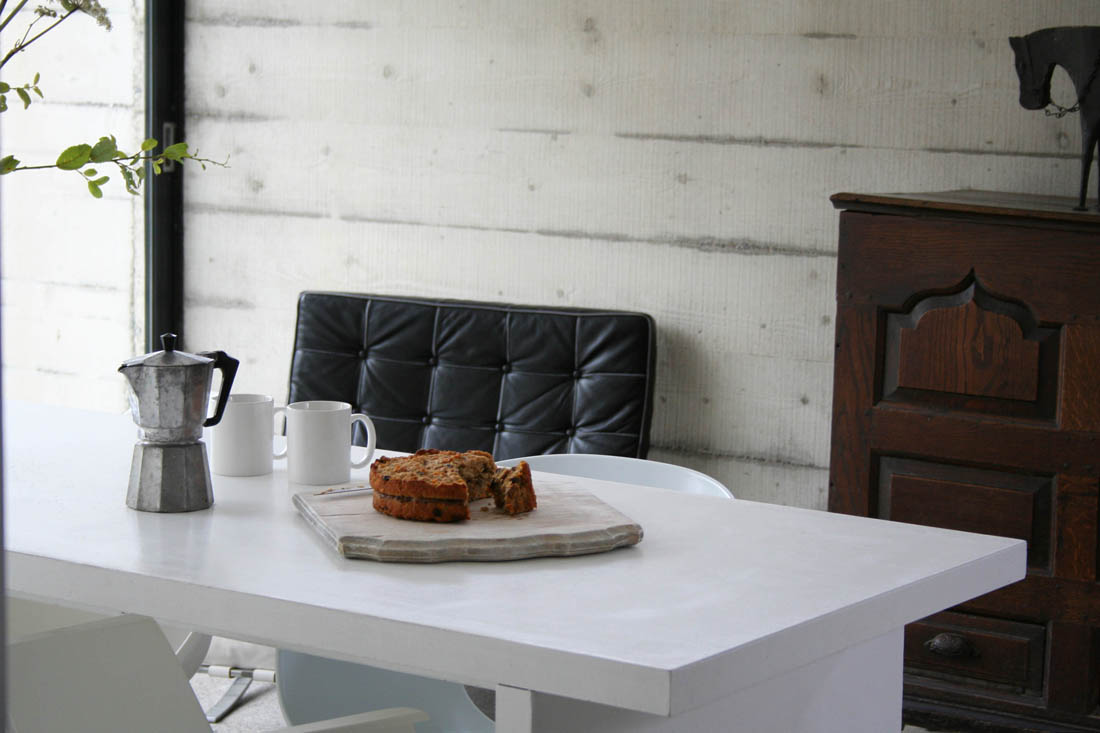
Coming down from a wonderful sleep to the modern extension, with its concrete and glass walls, absolutely filled with light was quite something. I’ve said in the past that I chose my flat because of the floor to ceiling windows and I really do believe that it makes a massive difference to my mood living in a light, bright space. The modern extension at Bryncyn is the perfect antidote to the traditional proportions and typically dark nature of cottages. I loved the contrast of the old against the new and being able to choose which space to be in according to my mood. The hard edges of the kitchen diner were softened by the pond and wild garden that lies beyond the huge sliding glass door. At night when we cooked and ate here with lights on and candles lit it transformed into a warm, cosy space and as we looked in from outside it had become an amazing lightbox in the middle of pitch black countryside (I wish we’d been able to capture this!). Did I mention that there is a hot tub on the terrace? We were so lucky to have a completely clear night on Saturday so we spent part of it in the hot tub star-gazing and I finally managed to see the Milky Way.

Traditional Welsh cottage | The Welsh House | Apartment Apothecary

I love the functionality and space of modern design and it provided just the right balance of ease and convenience for a long weekend away from home. We wanted to spend time cooking good meals so the modern kitchen was perfect.

Traditional Welsh cottage | The Welsh House | Apartment Apothecary

Traditional Welsh cottage | The Welsh House | Apartment Apothecary

Traditional Welsh cottage | The Welsh House | Apartment Apothecary

Traditional Welsh cottage | The Welsh House | Apartment Apothecary

Traditional Welsh cottage | The Welsh House | Apartment Apothecary

I loved the mix of furniture chosen by Dorian that worked so harmoniously together, along with traditional Welsh woollen cushions and blankets.

Traditional Welsh cottage | The Welsh House | Apartment Apothecary

Traditional Welsh cottage | The Welsh House | Apartment Apothecary

The bathroom is also in the modern extension, which worked perfectly for me because I have a thing about needing a good shower.

Traditional Welsh cottage | The Welsh House | Apartment Apothecary

Dorian has opened up the whole top floor of the cottage to make one big bedroom, which was wonderfully simple and spacious, with loads of light and a very comfy bed. Loved the hanging pendants too.

Traditional Welsh cottage | The Welsh House | Apartment Apothecary

The sitting room is so cosy and reading on the big chaise sofa in front of the wood burning stove could not have been more relaxing.

Traditional Welsh cottage | The Welsh House | Apartment Apothecary

Traditional Welsh cottage | The Welsh House | Apartment Apothecary

Traditional Welsh cottage | The Welsh House | Apartment Apothecary

Traditional Welsh cottage | The Welsh House | Apartment Apothecary

I will write another post with some pics of what we got up to during our stay as we had such a great day at the beach. I hope you have enjoyed a little tour of the house and do pop over to Dorian’s site to take a look at the other two cottages. As well as that, take a look at Sara’s beautiful film she made of her stay here – it really is something.

Thank you, Dorian, for creating and sharing this little pocket of heaven.

Katy x


Heart of House

A few weeks ago I was asked to style up a set using the new Heart of House collection available at Argos (sadly, I was away at the time so I couldn’t take part). In the past, if I am being completely honest, I might have thought twice about this because I have never been a lover of Argos. However, I have been following with interest how Argos have transformed itself, firstly stocking Habitat collections and now the new Heart of House collection to make it far more up to date, whilst maintaining great prices.

Glass coffee table | Heart of House at Argos | Home collection

The new collection features natural materials, weathered colours and worn timbers with chunky knits; a relaxed style that is perfect as we creep in to the autumn and winter months. I love the faded coastal hues and I have picked out a few of my favourite pieces.

I have been thinking about getting a new bed and I love the simple design and colour of the Dorset spindle bed frame, which would work perfectly with the Henley lamp (and I can not believe the price!). You know how I have been going on and on about my kitchen makeover and these copper pans would be the perfect addition. I also adore the armless chair – such a great design and would fit so many different types of interiors.

 Shoe rack in hallway

Striped bedding | Nautical bedlinen | Heart of House at Argos | Home collection

What do you think? I love being surprised by a brand and I think the new Heart of House collection is a brilliant addition to Argos.

Katy x


*This post was written in collaboration with Heart of House.

Designing my own home

Although I love period properties, I have always dreamed of building my own home one day. It will be made of wood, have large rooms with huge windows, a simple interior, all the light in the world and be set amongst the trees or next to the sea (probably the sea).

What appeals to me about designing my own home is that I would be able to make the house work for me in a way that period properties just don’t: I really don’t like the small windows, the wonky floors, the cramped spaces, the lack of insulation in period properties. Don’t get me wrong, I love the charm that all of these flaws give to an old house but one thing I can say about new builds (having lived in them for the past ten years) is that they are so easy to manage and maintain. However, even when a new house is built without the specific owner in mind there are things that aren’t perfect like the location of the plug sockets and radiators that restrict furniture placement, the flimsy plasterboard walls that restrict wall mounting pictures, mirrors, hooks with ease and the lack of storage.

Building my own home | House in the woods | Wooden house

This image via Lonely Coast. Featured image via My Scandinavian Home.

I went to a brilliant event this week at the Good House Keeping Institute hosted by George Clarke of Channel 4’s Amazing Spaces. George gave us the low down on a new type of plasterboard called Lifestyle Wall, a product he is really excited about from British Gypsum’s Rooms Made For You range. Lifestyle Wall allows you to fix anything anywhere without any need for drills or specialist fixings: shelves, curtain poles, kitchen cabinets, large pictures, TV’s or mirrors. This plasterboard offers complete flexibility and ease when making a house a home. Gone are the days of wanting to put up a shelf and desperately tapping the walls to figure out where the joists are or traipsing around hardware stores trying to figure out which fixings you will need for your flimsy plasterboard, or going to the cupboard to get out the drill and realising it is not charged and having to hoover the horrible plaster dust after you have used the drill. With Lifestyle Wall a single screw can support 15kg!

A group of us bloggers tested out the plasterboard with George and it really is that easy – no drill, no mess, complete flexibility. I’m pretty sure this type of plasterboard will become standard in new builds but if you are considering a renovation or loft extension I would highly recommend it, having tested it myself.

When we build ourselves a house Lifestyle Wall is exactly the type of thing I would use to make the space my own. Just thinking and writing about designing my own home makes me excited. I might have to wait for a few years yet but in the meantime I have been avidly following this Instagram account of a self-build – it is literally like she has reached into my mind and built my dream home!!!

Katy x


*This post was written in collaboration with British Gypsum.

DIY origami lampshade

I have loads of wallpaper remnants at home and I often think about how to use them so I was excited to be asked by Voyage Decoration to join in with their #VoyageWallArtChallenge (search the hashtag to see the other blogger projects). The challenge was to get creative with their beautiful wallpaper and I chose the Jayin wallpaper in the pacific colour way, which is part of their latest collection, Iridescence. There are so many different wallpaper crafts and DIY’s as it is such a versatile material but I eventually settled on making an origami lampshade as I thought this would complement the inspiration behind the Iridescence collection, which is based on the dramatic effect that light can have on colour.

Before you say it, I know this isn’t technically origami as it involves string and tape but this makes it so much easier for the origami beginners amongst us (me being number 1 in that group!).

How to make an origami lampshade out of wallpaper | Quick and simple wallpaper crafts | Apartment Apothecary

You will need:

– Wallpaper (by the way, Voyage sell their wallpaper by the metre) 29.5 cm x 77.5 cm

– Pencil

– Scissors

– Cord or twine

– Strong tape

– Hole punch

How to make an origami lampshade out of wallpaper | Quick and simple wallpaper crafts | Apartment Apothecary

Step 1

Cut the wallpaper to 29.5cm x 77.5 cm. On the reverse of the wallpaper draw out folding lines. You need thirteen vertical lines spaced 5.5cm apart (black). You then need to add diagonal lines to the left (pink) and diagonal lines to the right (aqua). Follow the pattern below.

How to make an origami lampshade out of wallpaper | Quick and simple wallpaper crafts | Apartment Apothecary

Step 2

Fold the vertical lines first (black) and then fold the first set of diagonal lines (pink) and then the second set of diagonal lines (aqua). You can score the lines first for ease and precision. You need to always fold the paper in on itself so that the right side is always facing out.

How to make an origami lampshade out of wallpaper | Quick and simple wallpaper crafts | Apartment Apothecary

Step 3

Punch holes along the top edge of the wallpaper length. Thread them with twine.

How to make an origami lampshade out of wallpaper | Quick and simple wallpaper crafts | Apartment Apothecary

Step 4

Use strong tape (I have used coloured washi tape just so you can see it) to fix the two ends of the shade together. You must ensure that you overlap the two ends by 11cm so that the diamond pattern is retained.

How to make an origami lampshade out of wallpaper | Quick and simple wallpaper crafts | Apartment Apothecary

Step 5

Stand the shade on its bottom and begin to the pull the two ends of the twine to draw the top of the shade together.

How to make an origami lampshade out of wallpaper | Quick and simple wallpaper crafts | Apartment Apothecary

Step 6

Pull the twine tight, ensuring the shade folds in the right places. Don’t tie it up yet as the flex and bulb need to be put through the top of the shade.

How to make an origami lampshade out of wallpaper | Quick and simple wallpaper crafts | Apartment Apothecary

Step 7

Place the flex through the top of the shade and then screw in a cold bulb (you can’t use a hot bulb as it will be too close to the paper). Now you can tighten the twine at the top of the shade and tie it together.

How to make an origami lampshade out of wallpaper | Quick and simple wallpaper crafts | Apartment Apothecary

You can do the same to the bottom of the shade as you did to the top to make it more of a globe or you can leave it open.

How to make an origami lampshade out of wallpaper | Quick and simple wallpaper crafts | Apartment Apothecary

Switch your bulb on and you are done!

How to make an origami lampshade out of wallpaper | Quick and simple wallpaper crafts | Apartment Apothecary

This is such a quick and easy craft to do and it really does look quite special when the light is switched on. Thanks to Voyage Decoration for the creative challenge and their beautiful wallpaper to play with.

What have you made from wallpaper remnants?

Katy x

*This post was written in collaboration with Voyage Decoration

3D home planner tool

What stops you from making changes to the decor of your home? My answer would always be that I hesitate because it can be difficult to visualise the final look. Well, I have found a very clever tool that will change this. dmlights is an online shop for lighting fixtures, accessories and electrical supplies and they sell and ship worldwide. On their site they have an amazing 3D Homeplanner tool, which is completely free to use.

I decided to give this tool a go to help me plan my kitchen makeover (obviously wish I had the kitchen above but, alas, I do not!). I’ve been struggling with whether or not to remove the cabinets above the worksurface and replace them with open shelves – you can see what my kitchen currently looks like here. With the 3D Homeplanner tool I was able to draw out the exact dimensions of my room, plot where the doors and windows are and then add the wall colour and floor surface (as you can see below). As I was doing this there is a camera tool that I could position so that I could see the room in 3D (top right corner).

3D Home Planner tool | Apartment Apothecary

I could then fill the room with the furniture and lighting of my taste and choose from thousands of existing home products. I found near exact replicas of my kitchen cupboards and sink, as well as open floating shelves that I was able to add to my room layout. I then added three pendant lights from dmlights’ lighting range and the really clever part is I could turn the lights on to see how they would illuminate the room – genius!

After designing the room I was able make a 3D render with realistic lighting effects and the image was emailed to me within a couple of minutes. The first time round I wasn’t completely happy with the pendants I had chosen and how they emitted light so I was able to edit it and get a new 3D render just like that.

3D Home Planner tool | Apartment Apothecary

My ‘new’ kitchen with open shelves and Lightyears Bulb Fiction lights. After seeing this I am now considering removing the top half of the full height cupboard on the left and extending the worktop. This would really open up the space. By the way, the other side of the kitchen has plenty of cupboard space, don’t worry!

This is a game changer for anyone who does not feel completely confident about designing a room from scratch or making changes to existing rooms. It has really helped me to figure out that open shelves will look better than the cabinets I currently have and I love the idea of adding these lights to the room as an added feature; I love their soft, balanced light. It would also work really well for anyone struggling with room layout.

I will warn you though that playing around on this tool can be quite addictive!

Katy x


*This post was written in collaboration with dmlights.