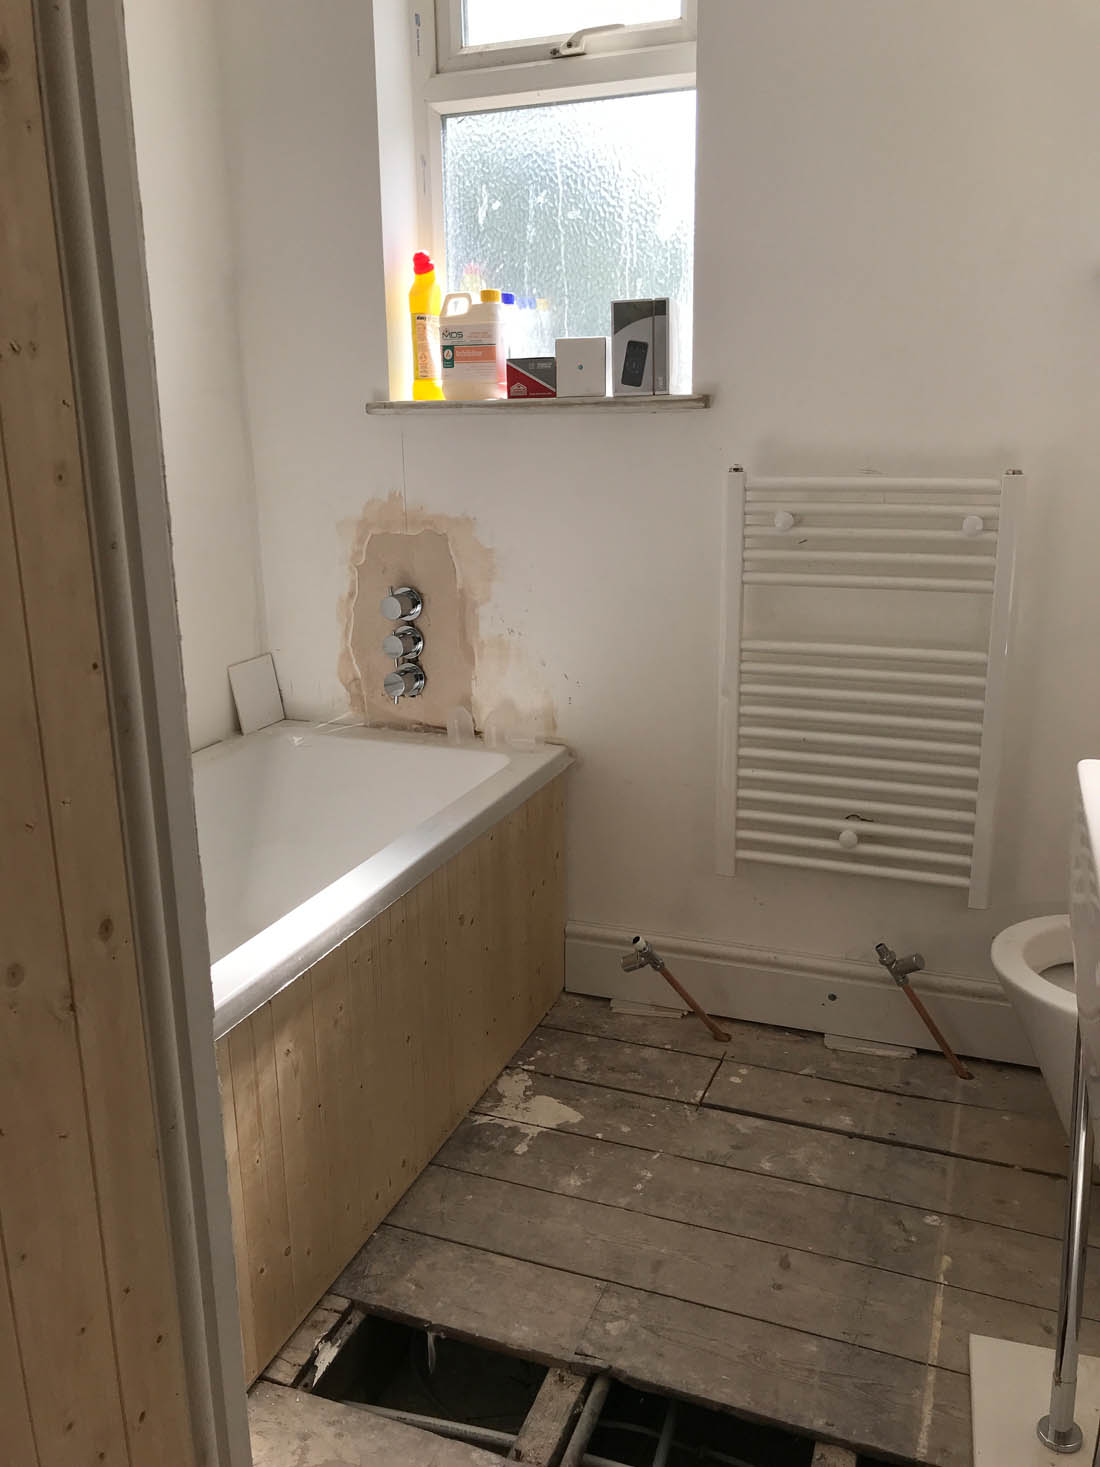
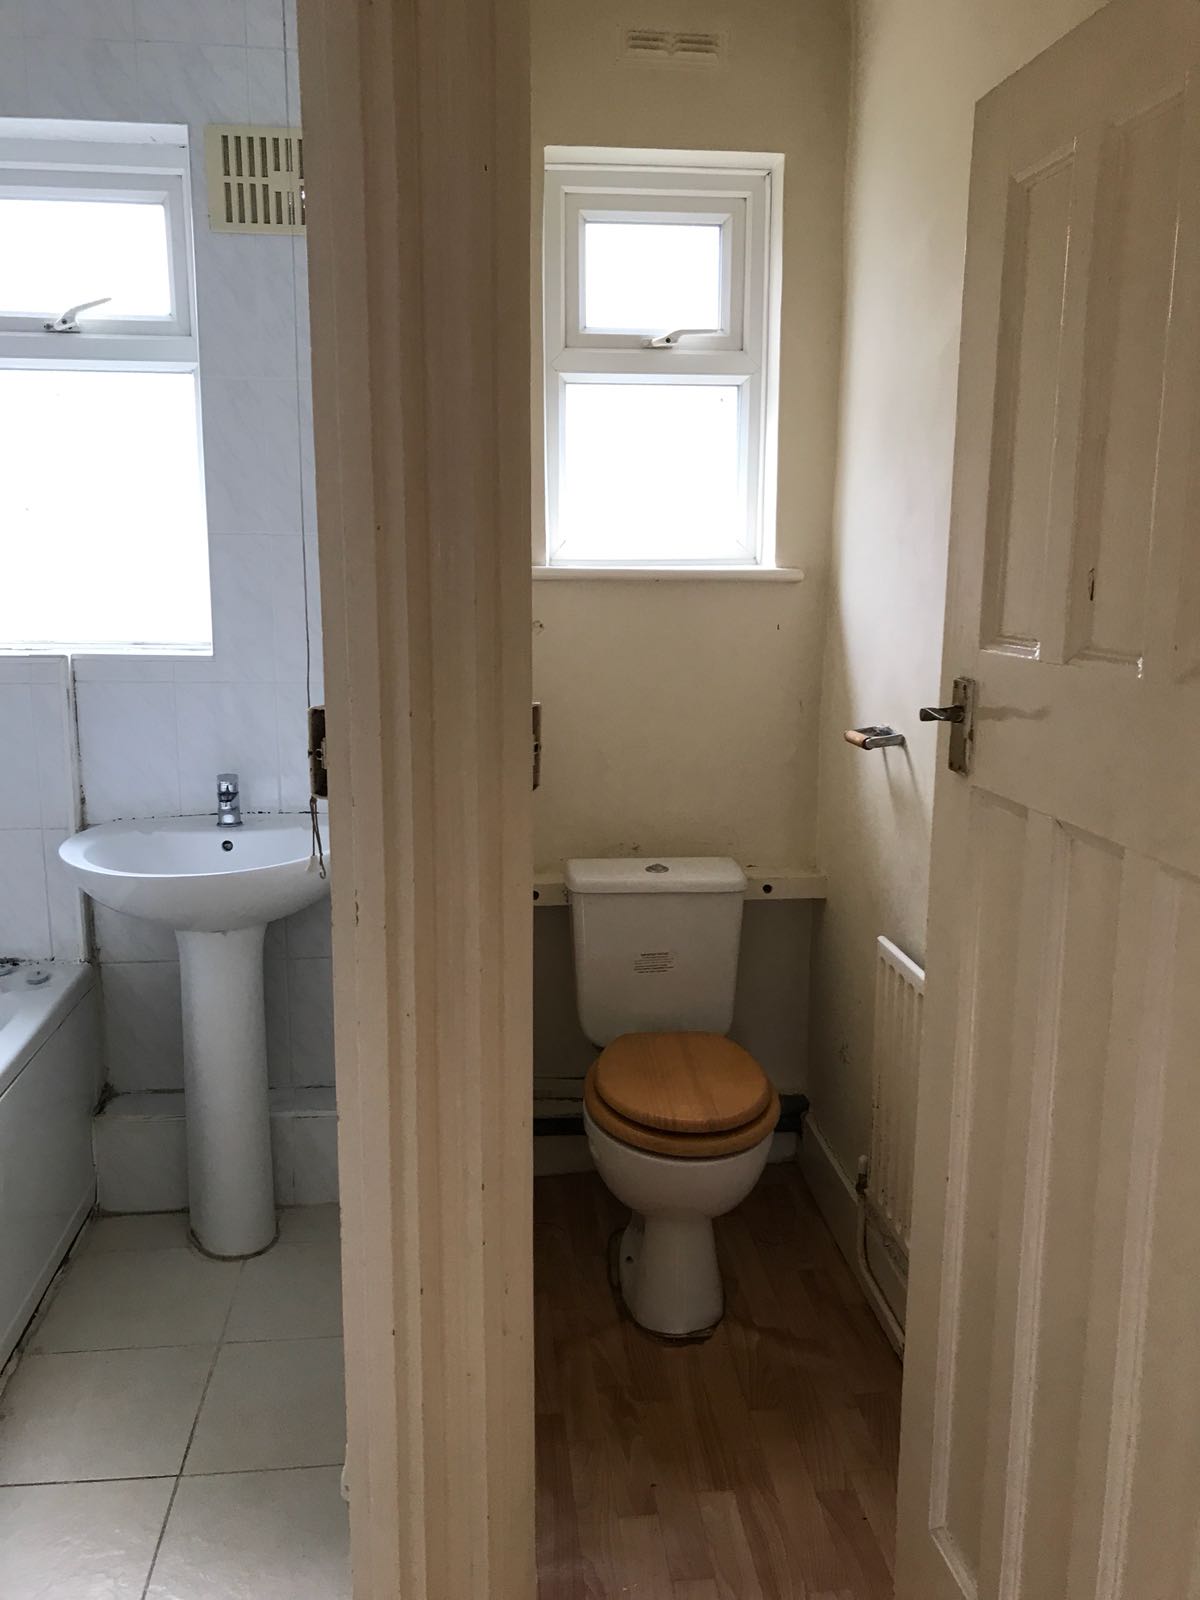
The bathroom in our new house was divided into a separate loo and bathroom when we bought it and not only was it old and very dirty but the two separate rooms were so incredibly cramped and just didn’t work on a practical level.
Therefore, the main aim for our new bathroom was to make the space work with the added challenge of moving the boiler and the washing machine up there (I decided to sacrifice the space for these things in the bathroom rather than in the living area) – in a very small room this really was going to be difficult. You can see more about the finishes I have chosen for the room in this post but here I want to focus on the design of the room itself.
We took a long time over the design process and lucky for us that Jules’s mum was an interior designer who specialised in kitchens and bathrooms at one point so we called on her expertise to help us figure out how to make such a small room do everything we wanted it to do. Once Penny had worked her magic and drawn up her ideas on paper we used Fusion 360 to help us visualise the design. This was the final design we decided on…

The position of the two windows on the outer wall dictated the position of the bath, which will have a shower over it (a bath for Mimi and Otto was pretty important to us), as you don’t really want a shower coming down on a wall with windows. However, we also needed to fit the boiler and washing machine in on the left hand wall so we decided on a short 140cm bath with the shower on a stud wall that backs onto a cupboard to house the boiler and washing machine.

The position of the bath meant we could place the loo and basin on the outer wall under the windows. However, I wasn’t very keen on this option as it meant there would be no proper space for a mirror above the basin and it would have to be pretty small to fit in the space. Therefore, we decided to place the loo and basin on the right hand wall. As this is not an external wall we would need to build out a ledge that would conceal the plumbing and provide the added bonus of a shelf.
You can see how the design is now coming together as the bathroom was installed last week and we are so pleased with how it’s coming along. It feels very workable, not too cramped, everything fits well and no awkward squeezing round sinks or the like.

You can see the bathroom from the doorway here. The ledge that we designed is clad in tongue and groove and hides the plumbing for the basin and loo perfectly.

The small 140cm bath fits well and doesn’t look too small and weird as I had feared. You can just about see the cupboard behind the bath that houses the boiler and washing machine. I’m really pleased with the placement of the heated towel rail that was very kindly gifted to us from PlumbNation as this is the perfect place to hang a towel to warm before grabbing it when you leave the shower/bath. Also, just a small thing but why does everyone put the shower control buttons under the shower head so your arm gets wet when you turn it on? We have put them at the end of the bath so that this is not an issue.

Here you can see the wall that has been created for the shower plumbing to make it possible to fit the cupboard. Great idea, Penny!

The next step is to lay the underfloor heating that we were gifted from PlumbNation. It comes with its own wall mounted thermostat that you can programme to come on in the morning before everyone wakes up so it’s nice and toasty first thing in the morning.
I can’t wait to show you more once the tiles are laid and it is painted. However, I still haven’t decided what colour to paint the tongue and groove ledge, cupboard door and bath panel. What do you think?? I’d like it to tone in with the Inchyra Blue and Light Blue that I’ve used throughout the house – I have a very dark blue in mind but can not for the life of me decide. Help!
Katy x


Your mother in law’s design is very clever.
I have a bathroom makeover planned for the near future and have found your bathroom rejig to be most helpful.
Especially the placement of the bath with the washing machine in the cupboard.
And the smaller bath. It is not something I had thought of to save space.
Your information is very useful. This is an informative post. I want to some idea for my new bathroom. That’s why I was searching for some ideas. Your small bathroom idea is essential for me. Thanks for sharing!
I love this, such efficient but stylish design, especially love the addition of tongue & groove cladding. Another dark blue would contrast nicely but also might be nice to add another colour to your houses pallet. Heated flooring in a bathroom is great, you really appreciate it in the winter months! Looking forward to seeing what you choose & the new tiles X
When we had our waterfall showerhead fitted the one thing I demanded was that the controls were by the door not under the shower. Of course when I went to site the builder had put them….under the shower head! He was then shown the drawings and invited to comply with them (he did, with much grumbling). But it shows how dominant the thinking is.
As to colour, one thing I would mention is that in London with hard water you do get a lot of soap scum and it is mostly white. I think every splash is likely to show up a on a dark blue. Worth bearing in mind given that you have t&g behind the sink. I have a very splashy husband which is why I mention this….
I agree with Sonia, about the splash marks. It can drive you nuts. Although for many years I was so anti white I think it would work in this instance and, of course, the choice of whites now is phenomenal.
I did use F. & B borrowed light in a bathroom and that was lovely.
Good luck! It’s looking very good.
Thank you for sharing. My bathroom is very similar to yours…….. would you mind sharing where you bought the bath, basin and loo from? I haven’t seen a 140 cm bath, that wd be ideal for me too.
Your blog will help many of us to get a unique design of the bathroom. This is a really helpful and timely piece for me – thanks so much
Been trying to find smaller tubs with narrow sides. What brand of tub did you use or where can I find the smaller tubs?
Author
Hi there. I bought this bath: https://www.victorianplumbing.co.uk/kent-single-ended-bath?campaign=googlebase&pagetype=shopping&PS2PVV1=11980&gclid=EAIaIQobChMIi8LSovbD3AIVw7TtCh13_wQsEAQYASABEgJLbPD_BwE&gclsrc=aw.ds You can see more of our finished bathroom here: https://18.200.196.112/our-finished-bathroom/ Hope that helps! x
Hi there,
This is fab, I’m about to embark on upgrading our bathroom and would like to move the loo slightly along the wall in order to have it under the window. All quotes say this incurs a huge unnecessary cost. Can I ask how easy it was to move your loo from an external wall to where it is?
Thanks