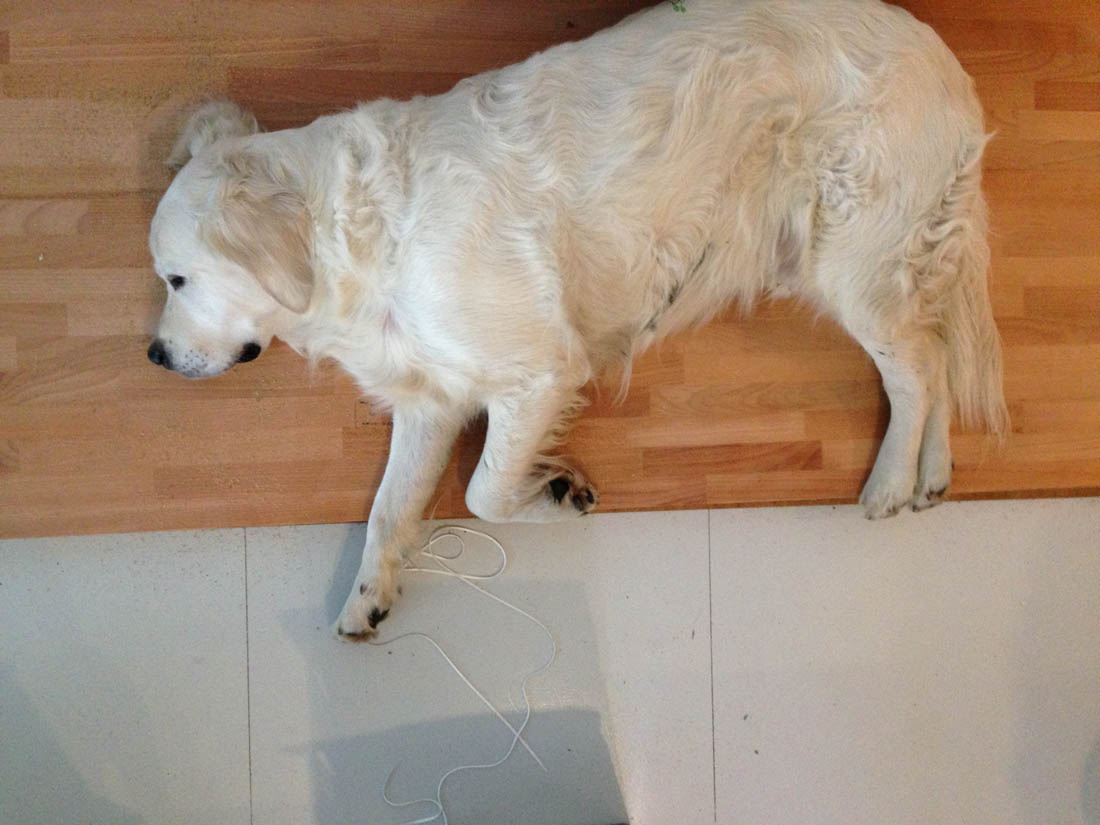
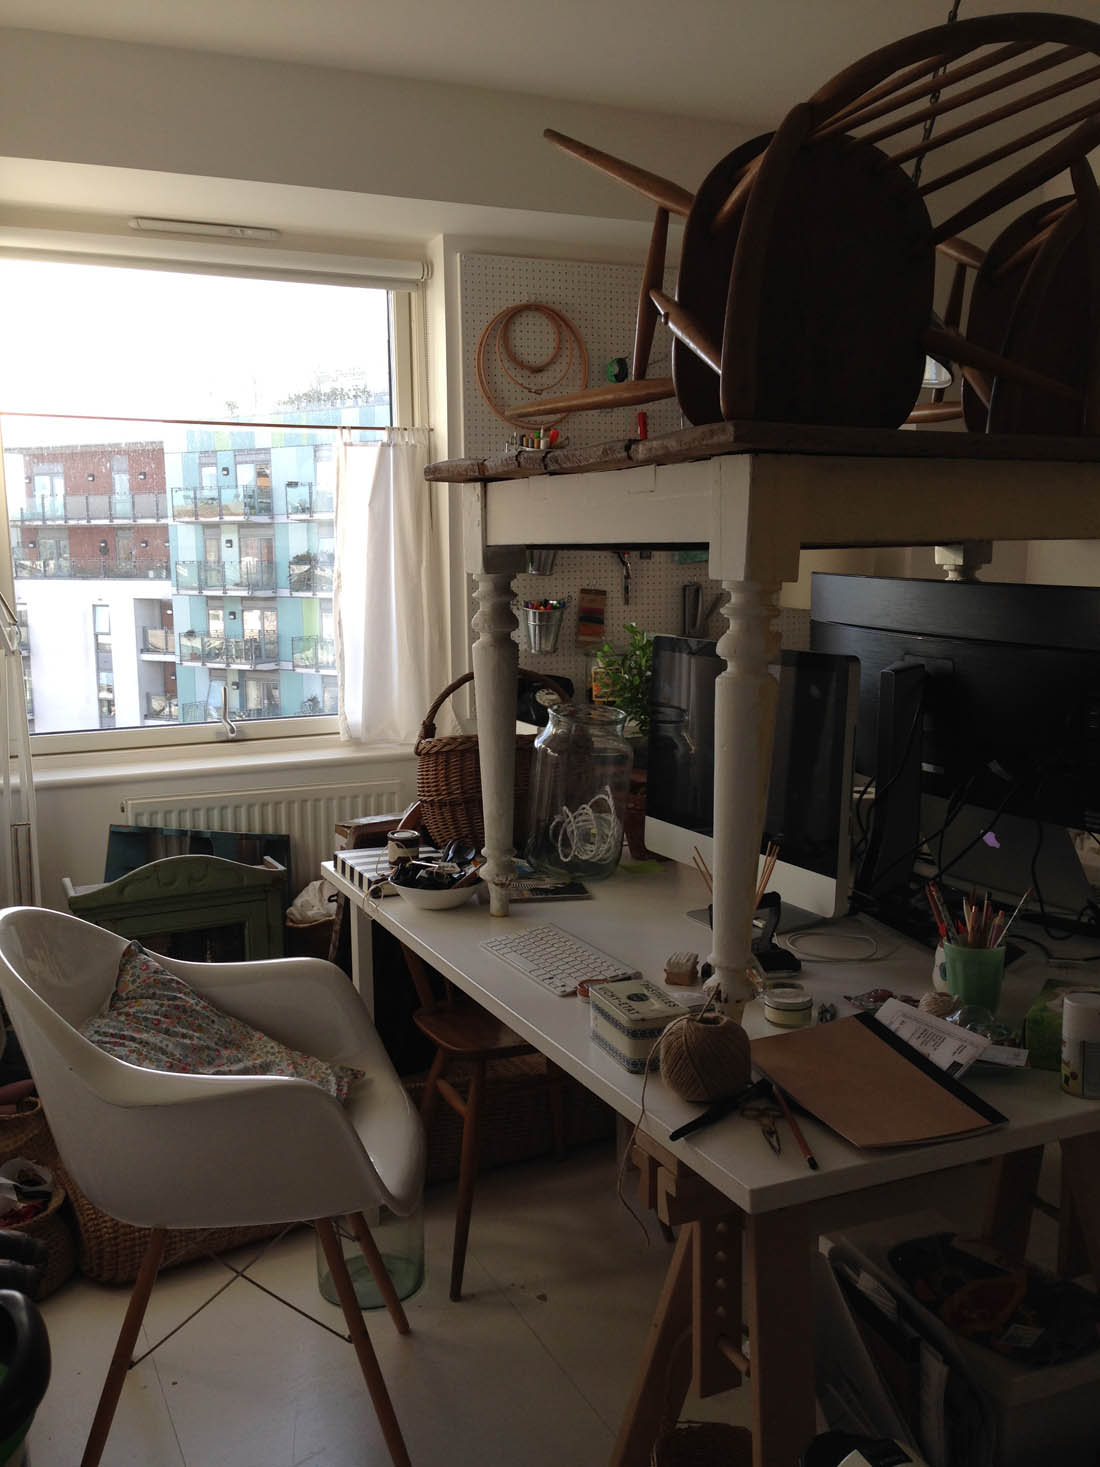
Gah! I am currently sitting on my bed with my iMac precariously balanced whilst trying to type up this post after painting myself in to my bedroom for the next eight hours. Oh, the joys of DIY! I don’t have anything pretty to share this week so I thought I would give you a glimpse into the chaos around here instead – makes for a nice change, no? Kitchen is almost done, just tiling and door handles to change. Sitting room is half painted and floor is half painted, too. Jules and Otto have gone to stay with his mum for a week so I can crack on with it all (floor painting and Otto do not mix, believe me!).
I wish I could afford to pay someone else to do all our home improvements but we are able to do it ourselves, we have the time, we have the flexibility and between us we have the know-how so somehow it seems like a huge luxury to pay someone else to do it for us. However, there are times when I’m covered in paint or the whole flat is filled with sawdust that I wish I was anywhere but here. Although, there are a few things that I have learnt along the way that make DIY so much easier and less chaotic that I will share with you, too.
Are you ready for the ugliest photos this blog has ever seen?
Tip 1: Don’t freak out!
When the new work tops arrived I burst into tears. In isolation and before they had been oiled I worried that the wood looked too pink and I was terrified that I’d wasted a huge amount of money on something I didn’t like. However, as soon as the worktops were installed and I could see them in context they are exactly what I wanted. It is far too easy to panic when you are doing home improvements that something isn’t right. However, until you have put the whole room together it is far too difficult to tell whether you have made a mistake so don’t freak out prematurely!
Tip 2: Prepare practical stuff
I knew that there would be a few days without a cooker, hob, sink, plumbing for the washing machine and dish washer. Therefore, I cooked some meals that could be frozen and then heated in the microwave so we didn’t go hungry. As well as that I did all the laundry before we began and got the bath set up for washing up (back breaking, I tell you!).
Tip 3: Don’t get carried away!
On the first weekend of our DIY endeavours we fitted the smaller of the two worktops. It all went pretty smoothly and without much disruption. However, after waiting until the next weekend to do the other side of the kitchen we both got a bit carried away and rushed into starting the work without preparing as much as we should have done. Jules was ready to get going and asked me to clear out the cupboards and instead of doing that job properly I rushed it and didn’t bother packing everything into boxes. Instead I just heaped it onto our table and onto the floor. Such a silly mistake – the second worktop required far more cutting and the amount of sawdust was out of control! Every single thing that I didn’t bother packing into boxes got covered and very quickly it all became pretty chaotic. Our over exuberance to get started on that second weekend actually slowed us down in the long run.
Tip 4: Plan time carefully
I think it’s best to work back from when you want the room you are working on to be complete. I knew that I wanted everything to be done by the start of March. Therefore, I made sure I ordered new furniture/materials with long lead times before Christmas. I also organised to sell old furniture by the weekend before I planned to paint (the point I am at now). That way it makes painting so much simpler, especially because I have decided to re-do the floors so getting rid of our old sofa and selling our teal loveseat made clearing the floor space so much easier.
Although there is still a fair bit of stuff packed into the office and bedroom!!!
Tip 5: Buy all the materials you will need in good time
I am lucky enough to be trying out one of the nine new Farrow & Ball colours in my sitting room (they launch on February 1st so keep your eyes peeled and try to guess which one I have chosen!). Only problem is I didn’t order quite enough – rookie error! There is nothing worse than having to interrupt DIY because you don’t have the materials you need. We have also had to do an 7.45pm dash to B&Q in a taxi before it closed to buy the correct jigsaw blades. Gah! Waste of time and waste of money so make sure you prepare properly and always get more than you think you’ll need.
I still have a couple of coats of paint left to do before Jules and Otto come back on Friday and then we will do the tiles in the kitchen this weekend. After that I may never do DIY again…until the next time, at least!
Katy x


Oh my gosh…you poor things! I understand the stress of it all completely. Every time we do DIY and make a huge mess we swear that we’ll never do anything again and we’ll pay someone next time, but we always end up doing it ourselves. I’m so with you on points 1 and 5. So many times I’ve got things home or received deliveries and instantly hated them (only to come round to them after it’s finished) and those rushed 7pm trips to Screwfix are always fun! Good luck with the rest. It’ll look amazing and you’ll be planning your next project before you know it!
Wahoo! So exciting, I can’t wait to see it all. Sofa, walls, floors and all! You always forget how much hard work it is and then when everything is half done it feels like it will never be ready. Also seems like us ladies do a lot of floor painting?! 🙂
Our house has looked like this behind the scenes for about two years off and on and still no kitchen! And he wants to build it by hand waaaaa maybe in 2022 you can come around for coffee? xxx
I have to say, this is one of the most useful posts on home DIYing that I’ve seen. Your first tip, don’t panic, is so right on! And thank you for both the examples of planning and of NOT planning that you offer… your honesty is the best teaching tool!
Not that I probably won’t make those mistakes anyway…
LOVE this post! All so so true! We are in a similar position, doing all the work ourselves (except plastering) when and as we can afford it. This means the job takes months, not days as it would getting someone in, but that we can make these changes to our house now and not in ten years! (And afford our wedding in the summer too).
Your pics look exactly like my life right now – we’re working on our home office and soon to start on the bathroom. There is a bath in the spare room, a loo in the hall, and a sink in the dining room, which is temporarily my home office and also has sheets of plasterboard being cut, boxes and boxes of office things and books, and all manner of other stuff which can’t go where it should right now. And the dust from the old black lime plaster is everywhere, no matter how much I clean. I have kind of given up. And we just found out that we have to strip the old plaster off four more walls before we can get it re-done – even more dust, and this stuff is nasty! It gets a bit depressing, but at the end we will have a beautiful upstairs that will add value to our house, but without spending more than we’ve added! 🙂 So it’s worth it. We must just keep remembering that! xxx
I love your honesty Katy! We’ve gone through similar – including a week with no furniture, though it turned out takeaways on floor cushions make from folded-up duvets were quite fun – but it will be worth it in the end! And bless Otto – our old flat had permanent law prints in the hallway… Can’t wait to see the results! x
I love this post. Showing the nitty gritty unglamorous side of home DIY is far more useful to people embarking on the journey than only showing beautifully styled flawless after pictures. At least reading this gives people realistic expectations. I can’t wait to see the outcome of all your hard work.
How exciting! You’re through the worst of it now by the looks of things, you have my sympathies though. Having spent a lot of last year in a state of packed boxes and disruption I’m now gearing up for the projects we plan this year, the kitchen is the worst and the most worth it. You’re very brave doing everything at once. Looking forward to seeing the results x
I have a very unpractical hubby (who swears a lot when DIY is attempted!) so a lot of work we don’t do ourselves. However, we have lots of lovely friends who are in various trades.
This week I handed our key over to a friend and came back from work to new taps and wastes in the bathroom (complete with lovely new fitted bath panel).
We have new fitted wardrobes coming for the bedroom in the next month or so. A friend will plaster but I will re-strip and paint the floor and paint the rest of the room. Now on the hunt for a lovely iron bed, new mattress and chest of drawers!
I would like to paint the walls a soft pale/mid grey. Its a bright, southfacing room – any suggestions for a grey that is warm but not too green/blue? The wardrobes and floor are going to be white, black iron bed and (hopefully) a mid shade of wood chest of drawers.
Very good tips. Preparation is key, otherwise the job will take twice as long and I constantly have to remind myself that, such an annoyance to have everything covered in sawdust like that too – I hate crumbs let alone all of those bits!! The time, the money and stress is all worth it in the end though 😉
The Fairytale Pretty Picture