Today’s DIY is as easy as it gets, but I have not finished it off as I just can’t decide what colour I want it to be, so I want your helps and ideas! However, I sometimes think it’s useful, if you are going to try this yourself, to see the blank canvas so you can make your own decisions about the finish that you want, instead of being influenced by someone else’s tastes.
Last week’s Ask Apartment Apothecary was full of ideas for storage for children’s rooms. I suggested that a crate on castors would make an excellent toy box, especially if it were painted in chalkboard paint so children could scribble all over it. I have made my own crate on castors to store our wellies in our hallway, as we wear them everyday to take Otto for walks. I am trying to decide whether to leave the crate it as it is, paint the inside, paint the outside or line with wallpaper and varnish etc. I need to mull it over for a while longer so I just want to share how to attach the castors and where to source everything.
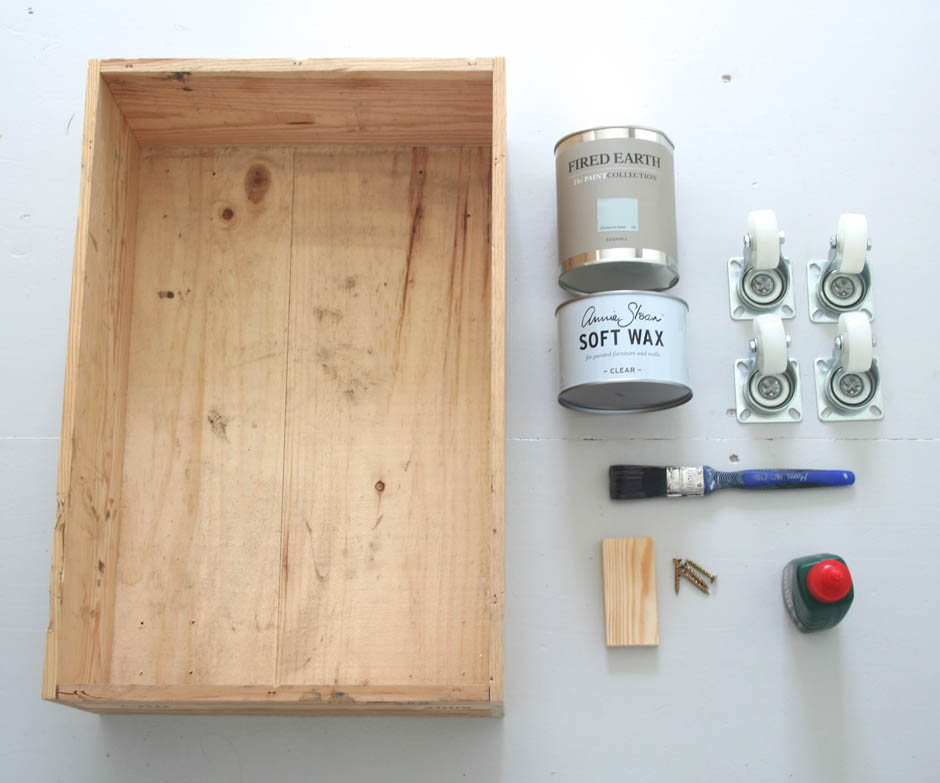
You will need:
Crate – don’t spend a fortune as you can get wine boxes for free if you ask at most wine shops. Generally, wine boxes measure 50 (L) x 38 (W) x 18 (H).
Castors – I chose 41mm light duty swivel castors, which cost £1.29.
Wood glue
Four blocks of wood to screw the castors into (they therefore neeed to be slightly bigger than the castors and deep enough for the screws)
Four screws to fit the castors
Your choice of paint or paper to finish off the crate, or just leave it as it is.
Tutorial:
1. Stick the blocks of wood with the wood glue onto the base of the crate in the four corners.
2. Once the glue has dried, screw the castors into the blocks of wood. You can’t screw the castors straight into the base of the crate because the wood is too thin.
3. Finish as you desire. See, I told you it was easy!


So, how do you think I should finish mine? It’s going to sit underneath our hallway table, that you can see below.
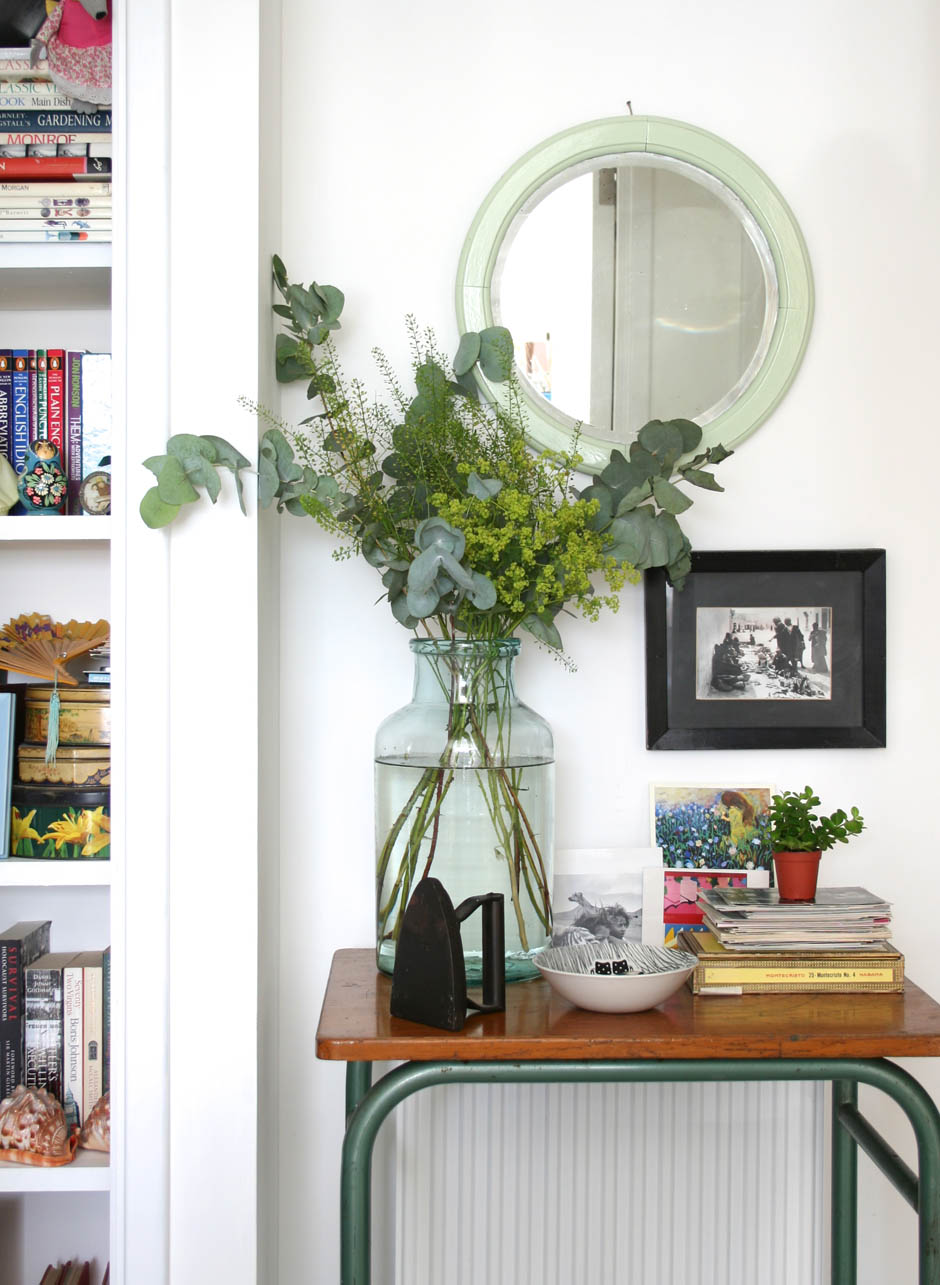
If you’ve got any good ideas, please leave a suggestion in the comments section 🙂
Katy x
Lovely – might have to borrow this idea for our dog walk wellies too 🙂
I would think as it’s about to get very muddy that painting it a dark colour or staining a dark wood colour would be best – otherwise that lovely pale wood is going to look dirty quite quicky. I reckon paint a bright/dark colour like red or navy. x
Gah! I have just seen your dog over on your lovely blog – gorgeous (the dog and the blog!). It is very handy for muddy shoes and boots, especially if you don’t have a porch or boot room, as the mud collects in the crate instead of all over the floor and you can easily tip it into the bin. Also, when I clean the floor, I can just wheel it out of the way x
Thanks – he’s only 11 months so has to be that cute so I don’t go crazy when he chews up the house 🙂 the blog is new pursuit to try and encourage myself to be more creative and I’m in the very beginning stages of trying to set up a little business – scary and exciting!
I love the idea of tipping the mud straight into the bin – going to keep my eyes open for a crate or two 🙂
x
thinking of similar for our wellies after I read that post :0) In the summer, I relined the footbed on a pair of Birkenstock-esque sandals with some Liberty fabric which I stuck and coated with modpodge and sealed with Matt acrylic varnish…it worked really well & they’ve held up to wear so could work & protect the crate from muddy/damp boots. Can’t wait to see what you do with it x
That is such a great idea, Sarah-Lou! I want to see the sandals now! x
Hi Katy, I would paint it! I use Autentico chalk paint, which has a great range of colours. If it has to go with the room in the last photo, I would do a first coat of dark green such as Dry moss or Sea moss, then apply a second coat of neutral – towards grey such as Pebbles or chalk grey. Let dry and with a damp cloth start removing the lighter paint until you see the green coming through. You can distress it a little or lots, I would do quite a lot of distress. Apply your wax as usual , clear and then light brown, not too much. And done! Whatever you do I look forward to seeing the final result!
Lovely ideas, Inma. I did an Annie Sloan paint recently, where I learnt the same sort of techniques. Decisions, decisions!! x
I love the outside with the writing on, so I think I would paint the inside only. I tend to be a form over function kind of girl, but grey is my favourite colour and in this instance it might be appropriate, so that’s what I’d paint it! Great idea by the way xx
I like the ida of grey because the floor is grey too. I shouldn’t have opened it up to ideas – there are too many good ones and it’s made it even harder xx