As you may have seen from my previous post I have been kindly asked by Direct Blinds to join in with their ‘Renovation Sensation’ competition. They gave me £100 to find, buy and renovate a piece of furniture of my choice – the perfect competition!

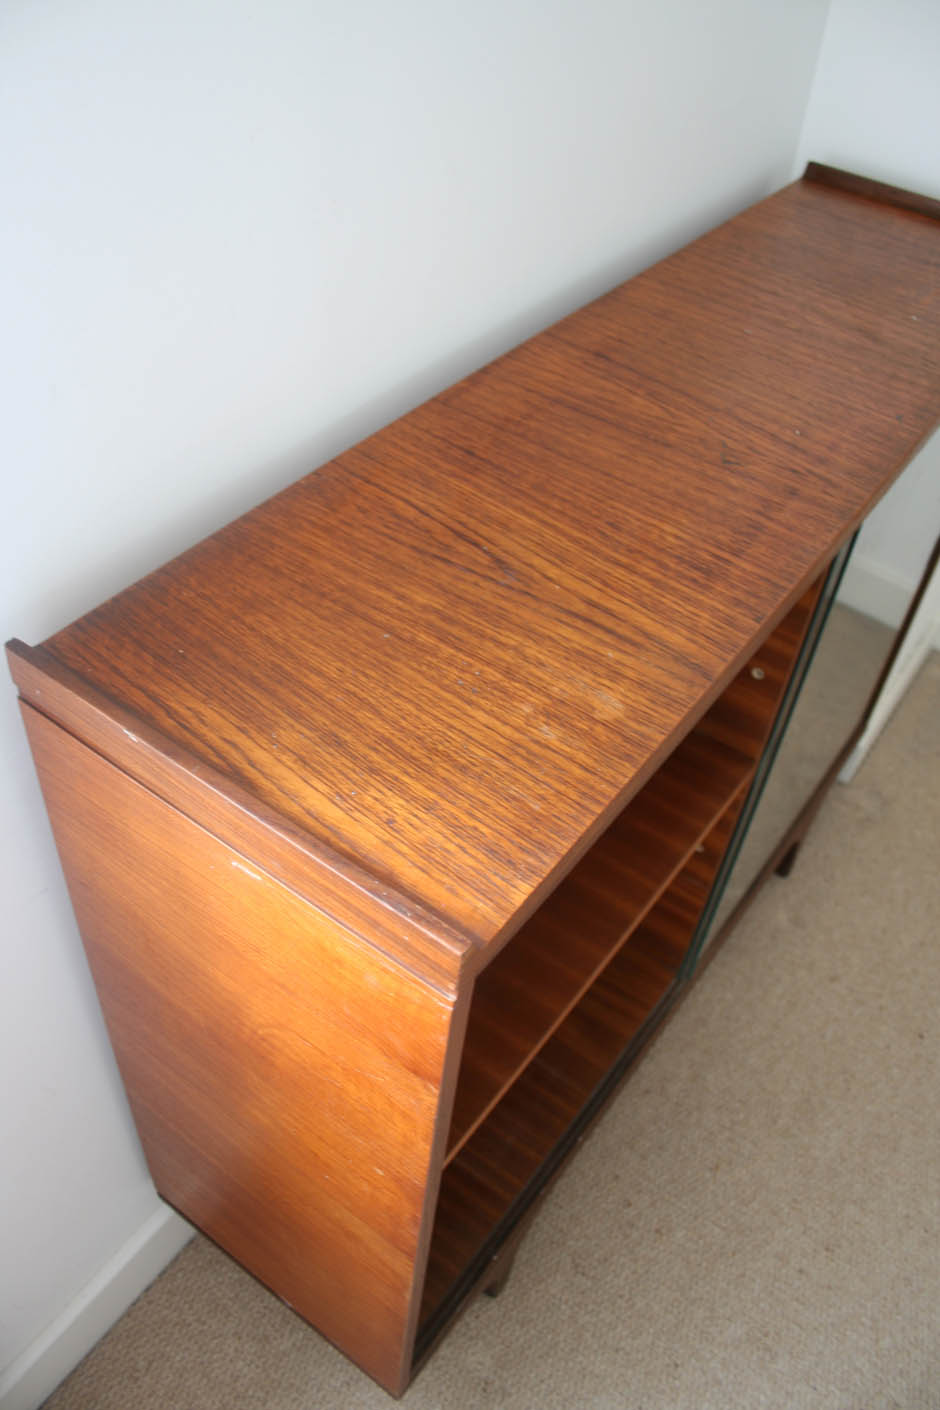
I chose to buy a cabinet from eBay that I need for my new home office. I have taken a lot of inspiration from modern Scandinavian interiors so I want the room to be light, bright and white with vintage touches here and there. The cabinet I bought is a great shape and I love the glass doors but it has a very dark, orangey veneer that is not so pleasant – definitely not the lovely teak of a mid-century cabinet. I tested sanding a patch but it is made of some sort of composite wood so no beautiful grain or colour to reveal. Therefore, my first task was to brighten it so it doesn’t absorb all of the light from the room. I then tried to give it a bit of character and add some more storage to the top for all my craft supplies. Here’s how I did it…

Renovation
What I used (anything with a price next to it I bought for this competition with the £100 budget):
Cabinet £30
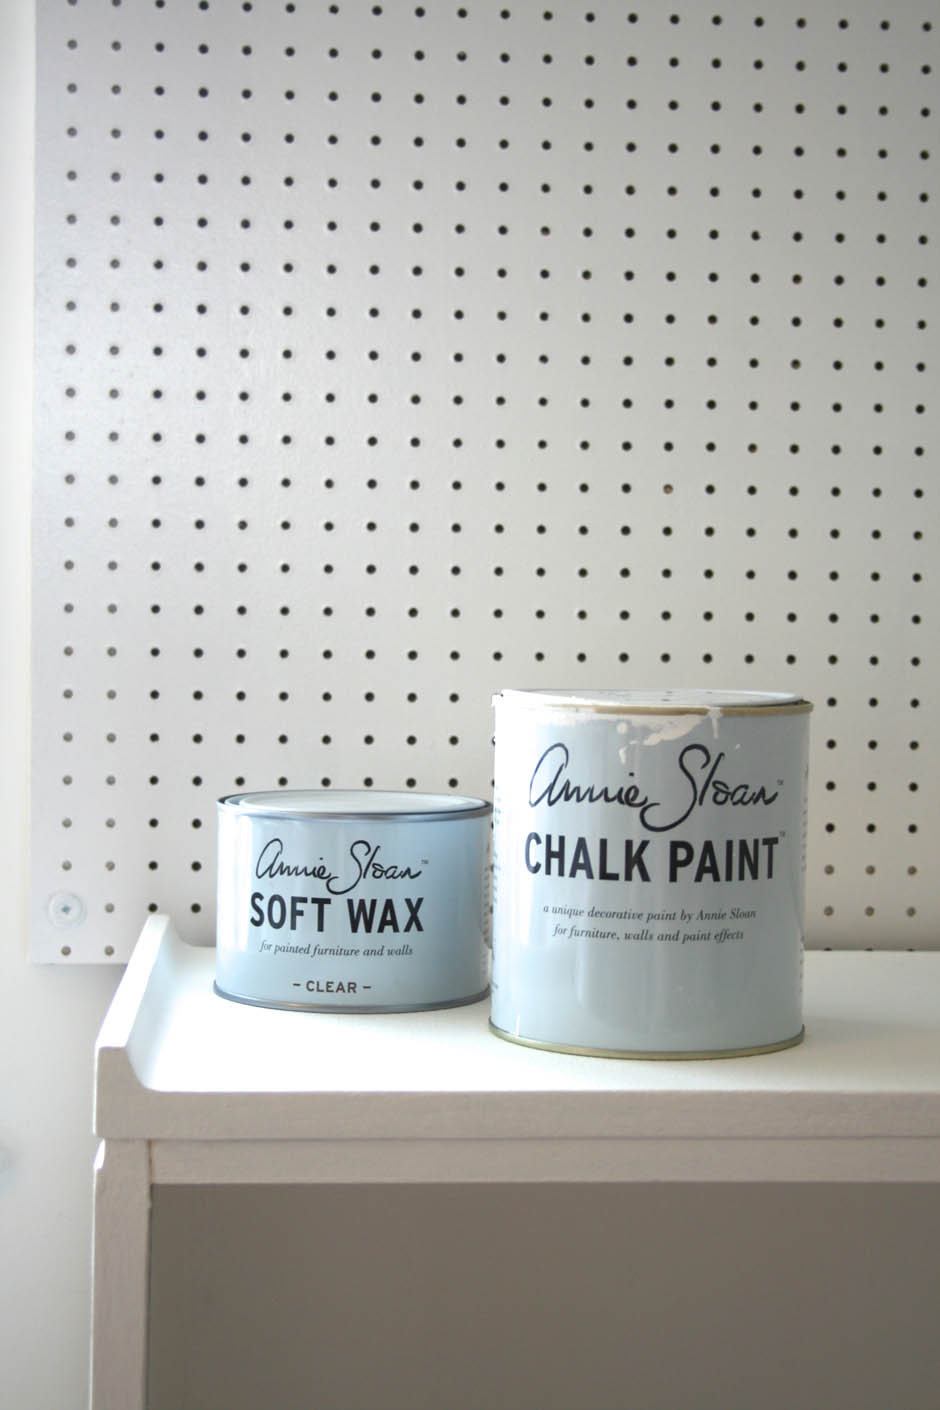
1 litre of Annie Sloan pure chalk paint £18.95
Two sheets of 3.5cm pegboard (60 x 120cm with 1.8cm hole centres) £8 each
Pegboard hooks £13.79
Batons, screws and drill to mount the pegboard
Mini Moderns Snow Peggy wallpaper remnants
PVA glue
Clear varnish
Paint brushes
Clean rag
Scissors
TOTAL: £78.74
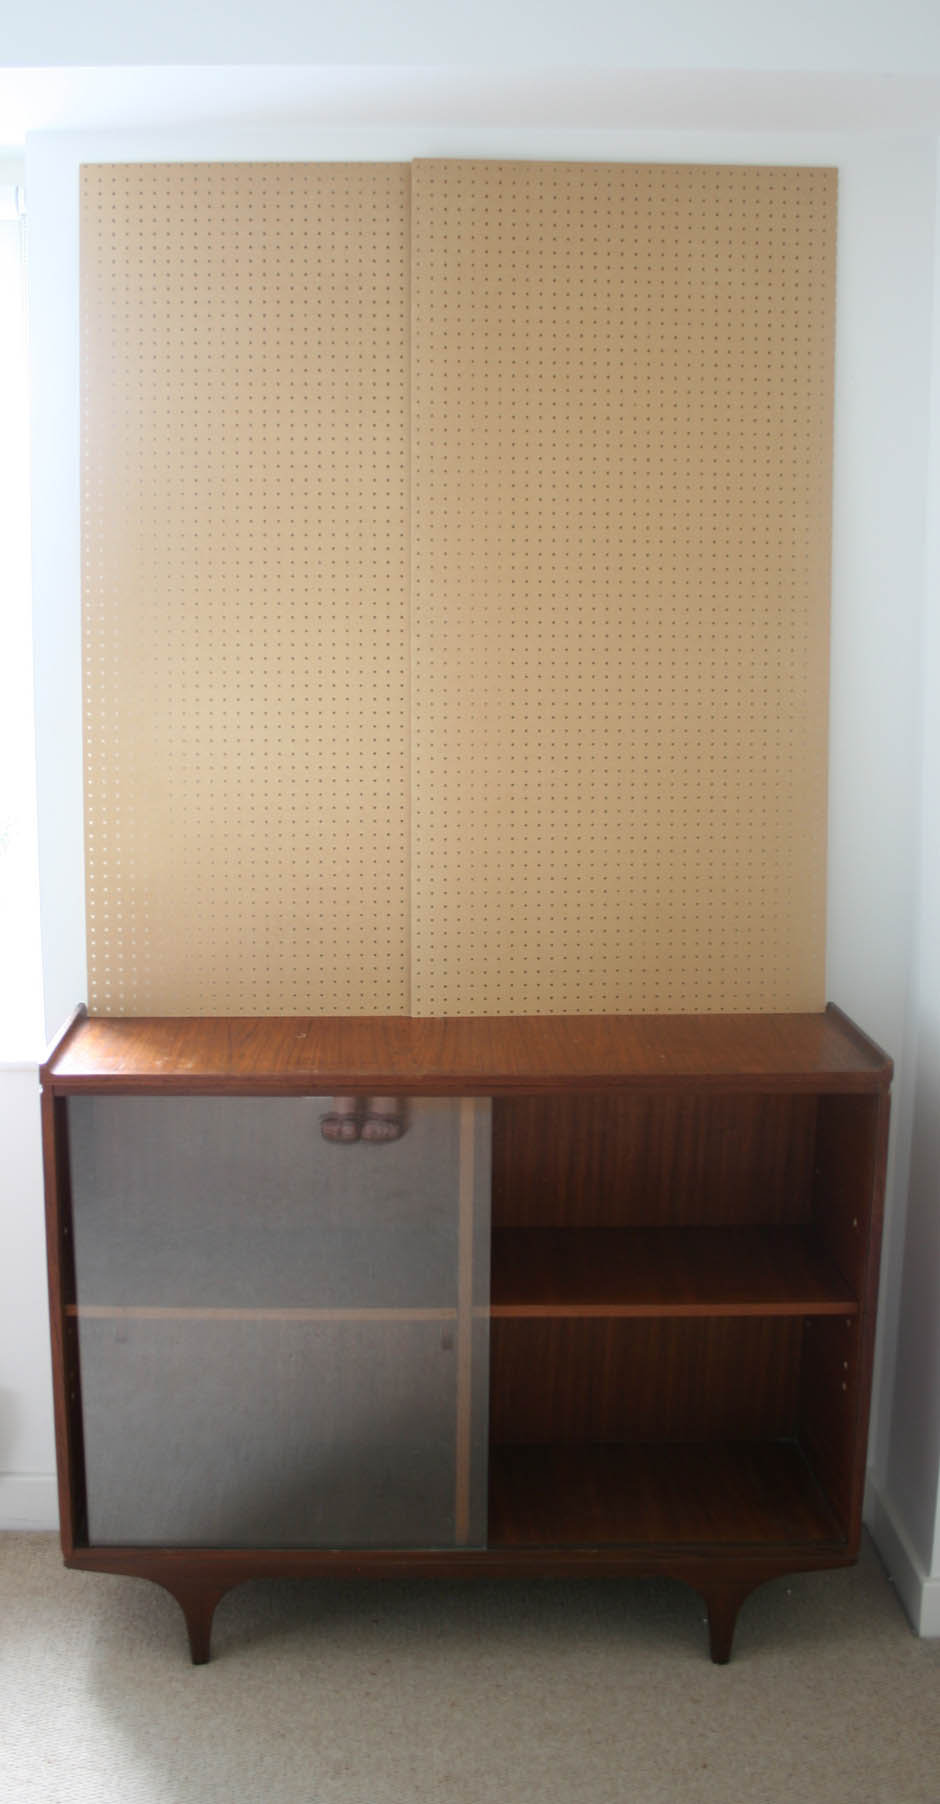
Step 1:
I mounted two sheets of pegboard above the cabinet to add extra storage for my craft supplies.
Step 2:
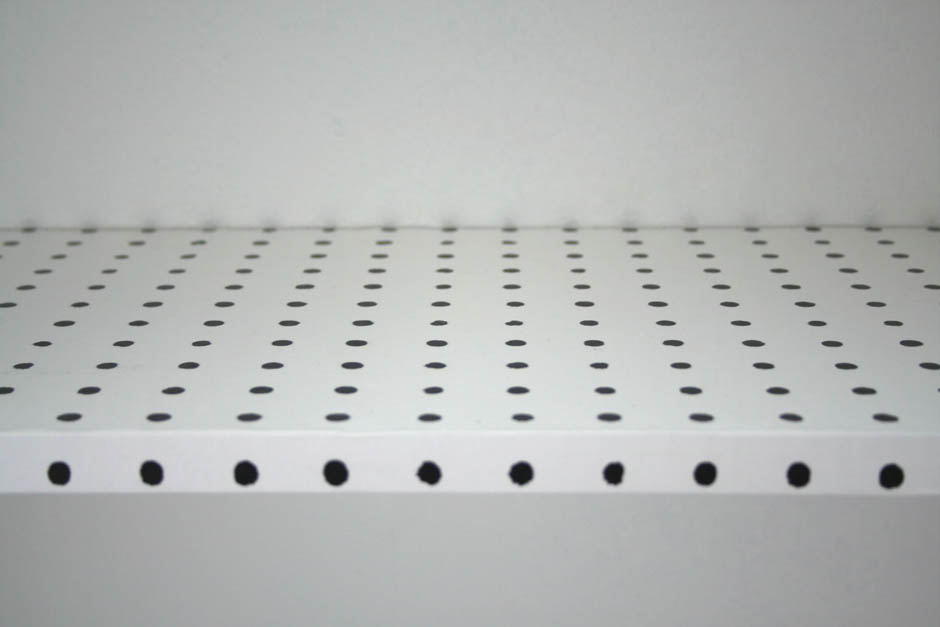
I used pure chalk paint for the cabinet as you can apply this paint straight onto the veneer with no need to sand! Sometimes, with varnished or veneered wood the stain can bleed through the chalk paint so you need to do a tester patch first. If it does come through do a base coat of Zinsser stain blocker. I then used the clear soft wax to add some extra protection to the cabinet. I used eggshell on the pegboard as it needs to be really strong to withstand wear and tear.
Step 3:
I then used Mini Moderns wallpaper remnants to line the shelves of the cabinet and the pattern reflects the pegboard wall. I spread a very thin even layer of PVA glue over the shelf and laid the paper over it very carefully to ensure I didn’t trap too much air. If you don’t have wallpaper you could also use wrapping paper but use a very small amount of glue as otherwise it will wrinkle.

Step 4:
I put the wallpapered shelves into place and then varnished the paper to make it hard wearing and to avoid scuffing.

After…


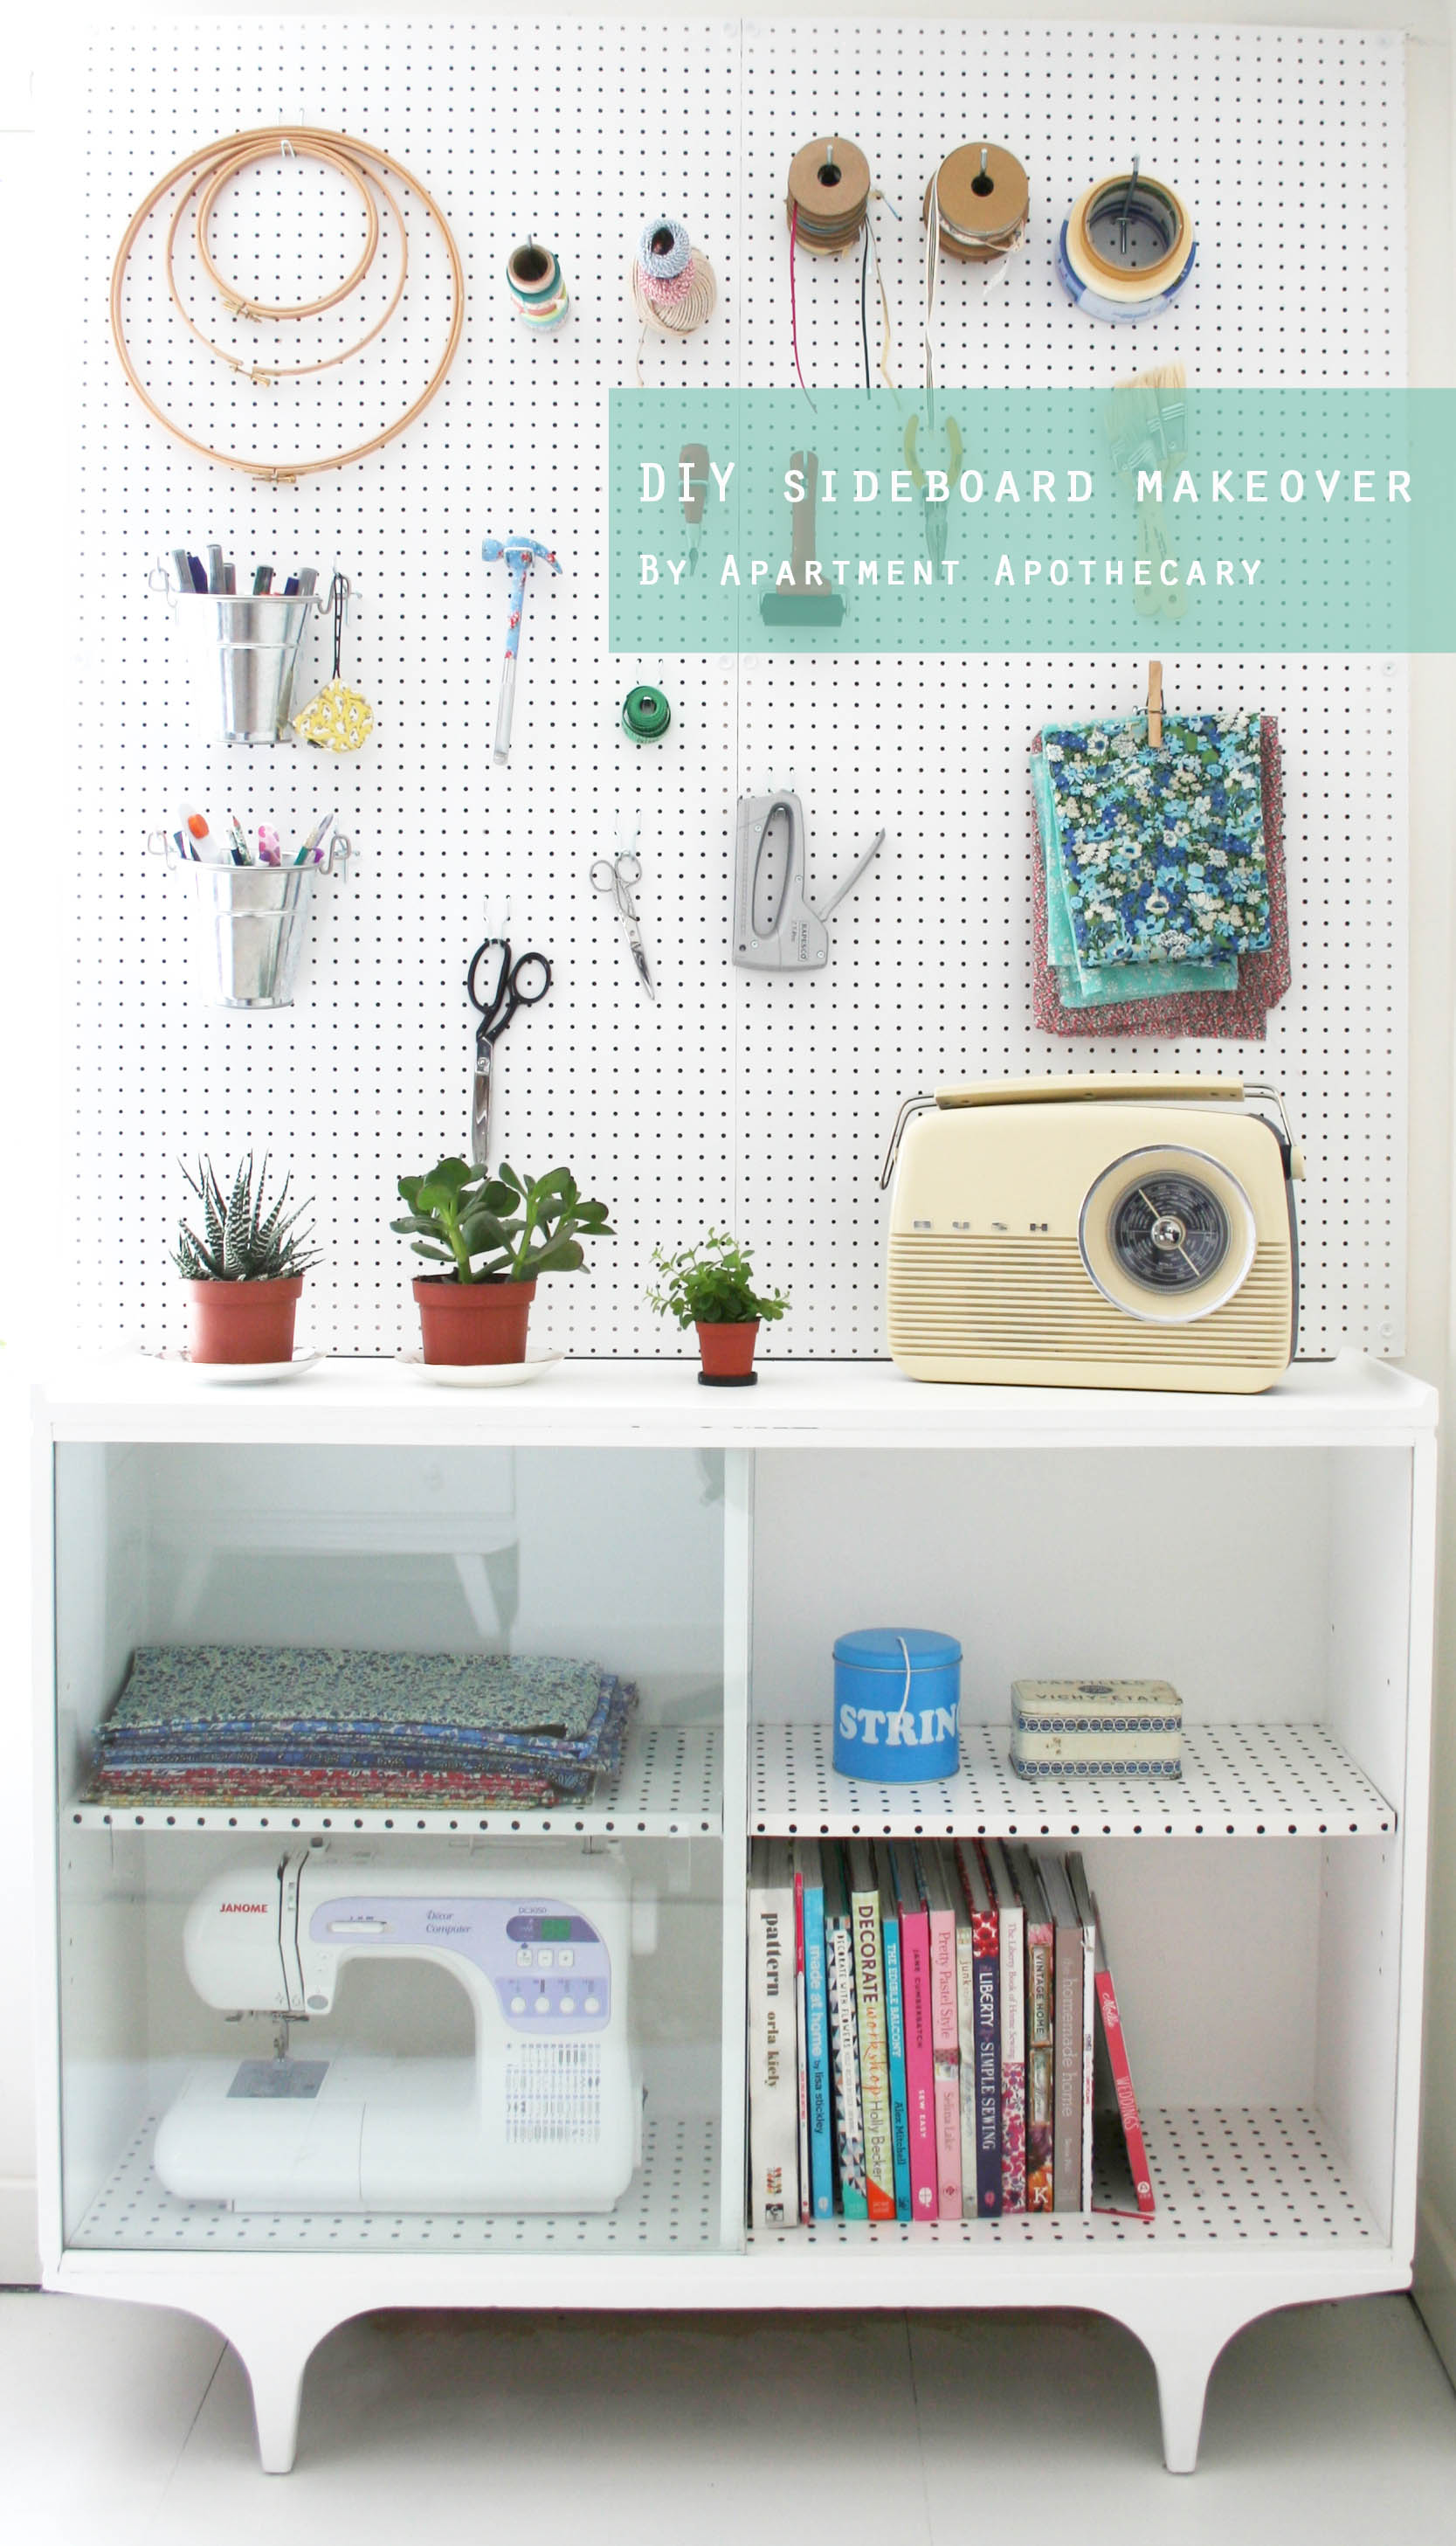
So, I have finished the first corner of my new home office – better start stuffing that cabinet with all my craft supplies and finishing off the floor! Thank you to Direct Blinds and fingers crossed that I win this brilliant competition.
Katy x
the pegboard is genius.
For some reason i always gravitate towards brown and it’s so dark and heavy. Every time i buy something now i scream “stay away from the brown!”
A bit of brown is good but too much in a small space can be too much. Also, it never looks as good in a new build flat – much better in a big period home like yours x
I love this! And I love how neat and tidy it all looks. 😉 Good work, I hope you win. Leanne x
I promise it won’t stay that neat and tidy for long 😉 x
Love it!! Xx
Thank you, Sarah-Lou x
That looks fantastic – I may be revisiting this page when I get my own craft room set up!
I’d love to see what yours looks like, Louise x
Wow! Amazing transformation. Love the Peggy theme. I’m also very excited by the chalk paint and not needing to sand pieces like this! Thanks so much for the great ideas 🙂
Chalk paint has officially changed my life!
Katy this looks amazing- I’m sure you will win! I LOVE the pin board idea for the back – it is completely transformed! x
Didn’t win, Rachael – boo!! Never mind, it spurred me on to get it all sorted so no real loss x
Wow, this is amazing! Great work, & very inspiring.
Thanks so much, Dylan. Means a lot coming from you 🙂
Wow! Beautiful and useful! Such a great transformation!
Thanks so much, Laura x
You are so bloody talented:-)
Love it!!!
*blushes* xx
It looks fantastic, Katy! Great job!!!
Thank you, Judith! Too kind x
This is brilliant! Love the new Peggy!! X
It’s all about Peggy! Thanks, Lori x
Seriously- you are very talented. AMAZING!
Now can you transform a massive chest of boring drawers I have into something amazing.
*blushes again* x
Super project Katy! Love that you have named the cabinet Peggy. Especially as there is a peg board above 🙂
Thank you, Claire xx
Hi, I also entered this comp! Just catching up on what all the other entrants madeover and I love what you did! I’m quite smitten with pegboards 🙂
Antonia x
tidyawaytoday.co.uk
Hi Antonia! I just popped over to your lovely blog and I love your entry – those old school desks are amazing. Look forward to following your blog x
Hi Katy,
sorry for my English, but I’m from Spain and I don´t understand some words very good. So, my question is: What is eggshell? It is not really eggshell, is it? Is it a kind of paint? Did you use the chalk paint on the pegboard?
Thanks!
Regards,
Antonio
Author
Hi Antonio. Eggshell is a kind of paint – is is between matte and gloss. I did not use chalk paint on the peg board because chalk paint gets scuffed too easily as it is matte. I used satin paint on the pegboard as this is harder wearing and does not mark as easily. Hope that helps and hope you understand! 🙂