The lovely Tamsyn, who blogs over at The Villa on Mount Pleasant, very kindly wrote and photographed this guest blog post last year and I just had to share it again in case you missed it the first time round. This is the perfect time to be drying Hydrangeas and Tamsyn’s dried wreath is a must. I followed the tutorial myself last year to make one for my mother-in-law and it was much easier than I expected and the results are beautiful. Over to you, Tamsyn…
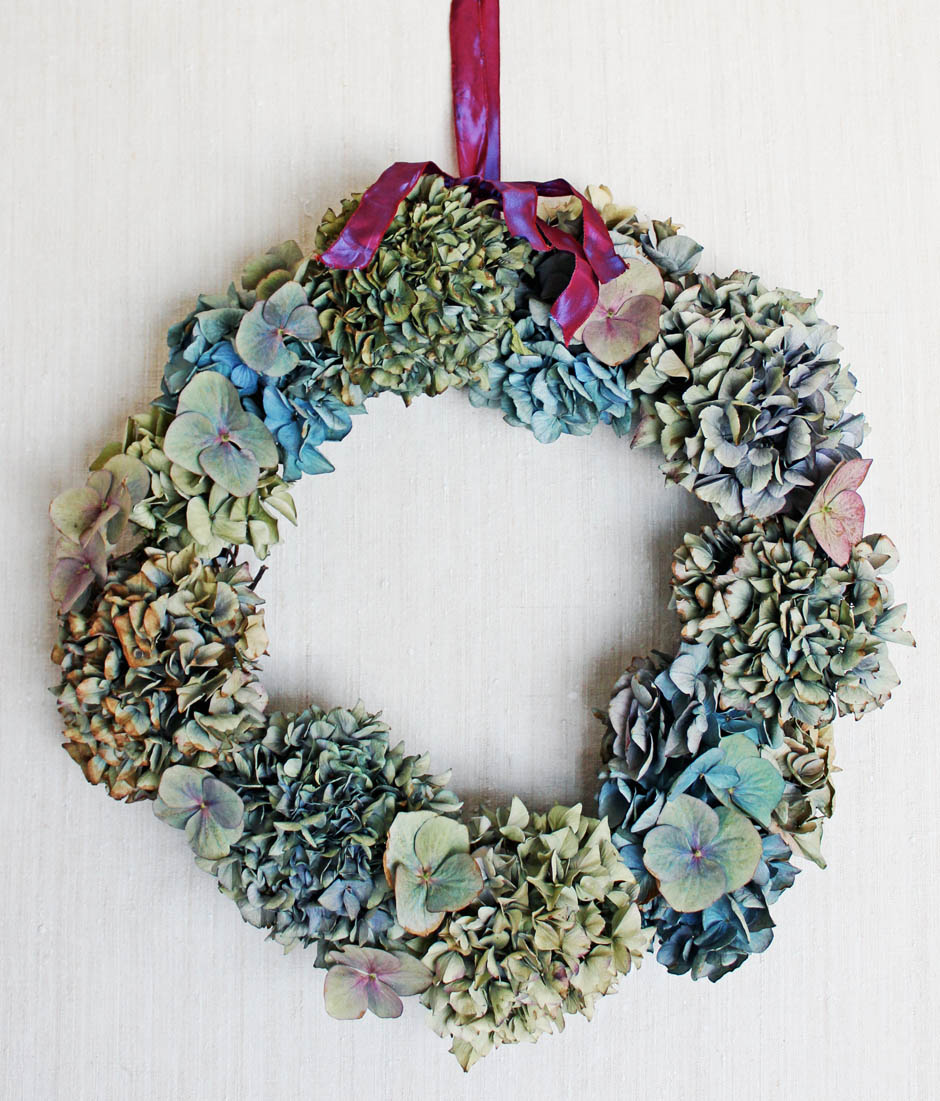
Hello everyone! My name is Tamsyn and I blog over at The Villa on Mount Pleasant. I was so delighted that Katy asked me to write a guest post for Apartment Apothecary, as her blog is such an inspiration to me! Here’s my tutorial for making a hydrangea wreath…
Hydrangeas can be bought cheaply enough from markets or car boot fairs, and it’s worth getting a couple to plant out in the garden, as the flowers turn beautiful faded colours in September, and look fantastic dried and placed in big zinc florist buckets. If you don’t have any dried hydrangea heads, you could use ivy, dried roses, berries, pine cones, seed heads, artificial flowers – anything really!
You will need:
A natural rattan wreath (I got mine from Hobbycraft)
Dried hydrangea heads
Thin pliable wire
Ribbon of your choice
Scissors

Tutorial:
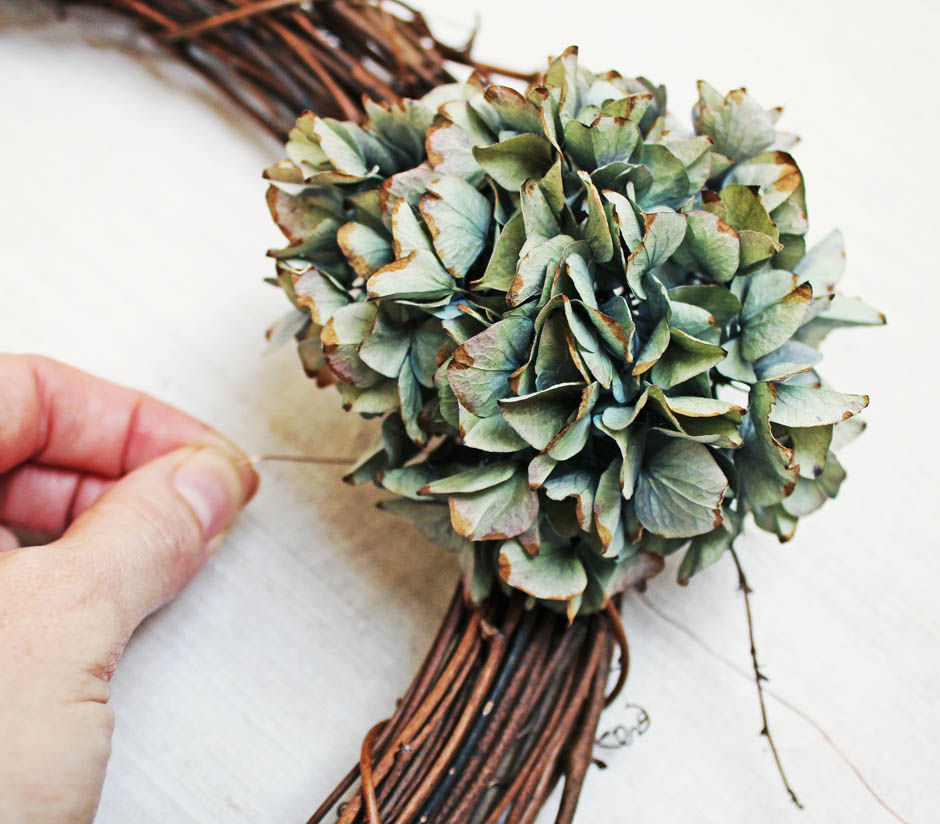
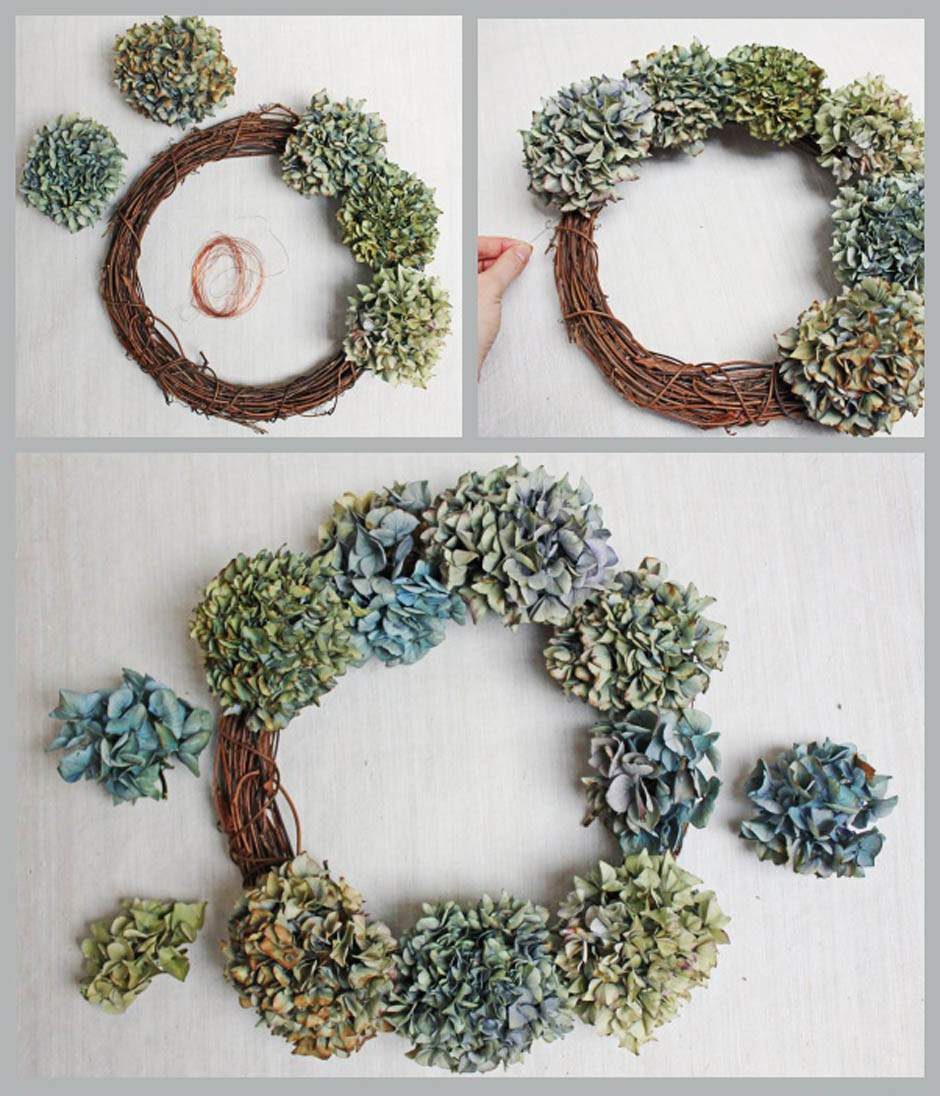
1. Take your dried hydrangeas, and trim the stalks right down to the flower heads. I roughly planned out my wreath by placing the heads on the wreath, and working out where I wanted to put them according to colour and shape.
2. Cut a length of wire approximately 30cm long. Thread it through the flower head just above the cut stalk, and then attach the head to the wreath. Wrap the wire round the wreath and twist it together at the back to fasten it. Don’t trim the wire yet, as you may decide you want to take it off and reposition your flower once you have more heads on.


3. Work your way around the wreath fastening your heads on with the wire. As I didn’t have quite enough full heads to complete my wreath, I used smaller heads clustered together to fill the gaps.
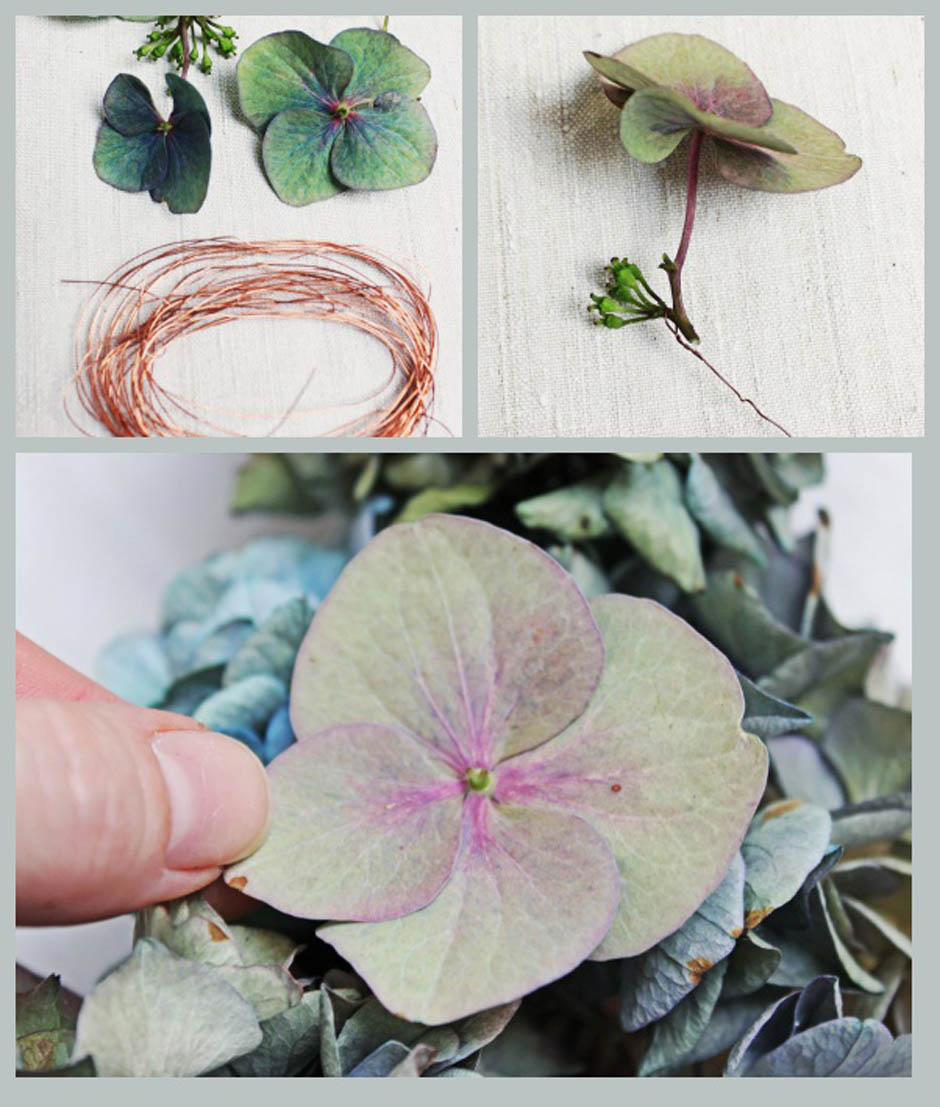
 4. Once my wreath was covered I had some smaller gaps to fill, so I took some of my large individual petals, and twisted the top of a piece of wire approx 15cm long around the stalk. I then threaded the wire through from the top of the wreath through to the back, and fastened by twisting it round the rattan. Berry sprigs would look lovely dotted around too, using this method. At this point, I kept my wreath looking quite rustic – maybe I could have trimmed some of the heads a little to make more of a perfect circle shape, but I didn’t want to get in a tizz about it – rustic is good!

5. Finally, cut a piece of ribbon, and choose where you would like the top of your wreath to be. A wide piece of vintage lace would look lovely too. Thread the ribbon through the rattan and tie in a knot to make a large loop.
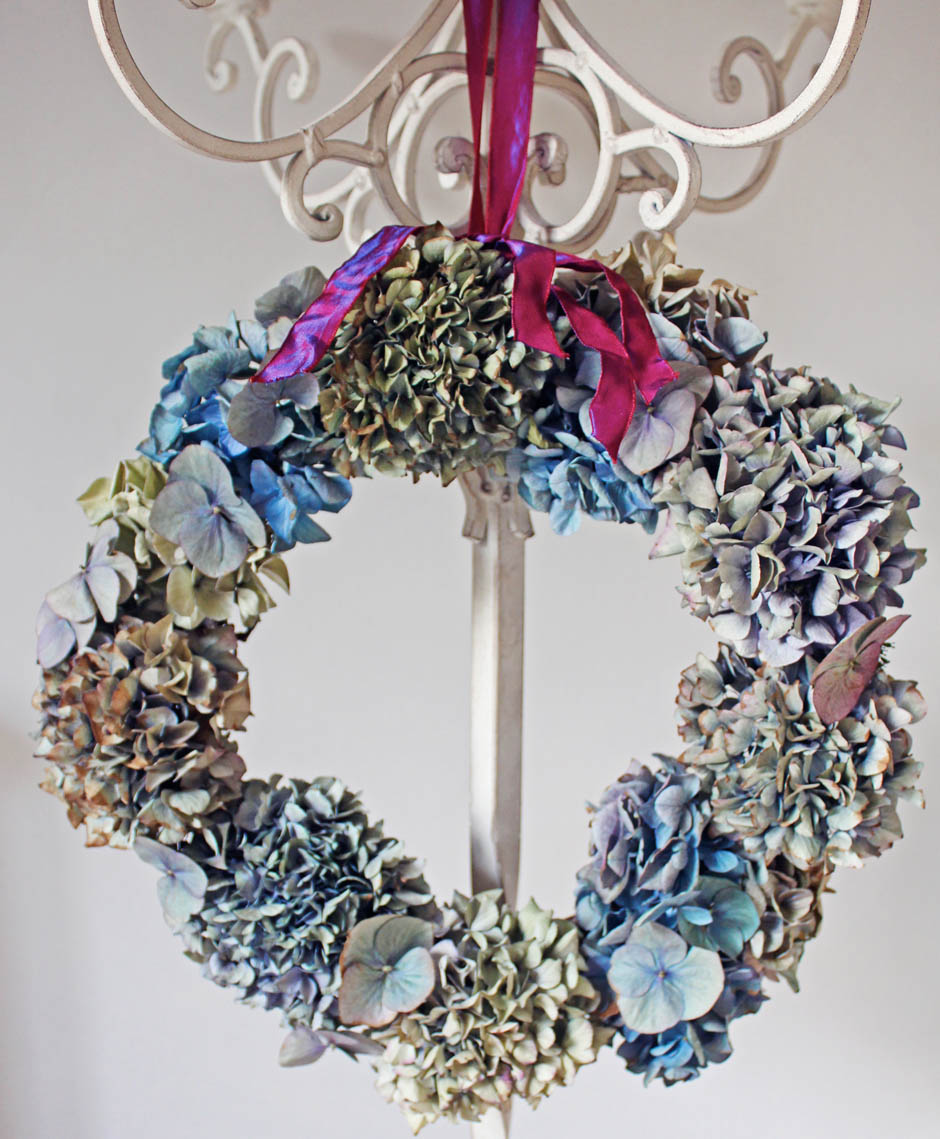
Thank you so much, Tamsyn (again!). Make sure you drop by Tamsyn’s blog for lots of gorgeous vintage inspiration.
Katy x
It’s gorgeous! It ties in with my blog post opal need for Monday too, I might share a link to this post if that’s ok with you? Xx
Of course! I love everything that’s happening over on your blog at the moment, Emma. Exciting times! Xx
Great, thanks Katy, and for your lovely comments about the blog too xx
Oh I love Tamsyns style! This is utterly gorgeous! Will have to have a go when I get a minute.
Emma x
We’d love to see your wreath when it’s done, Emma x
Am so glad you reposted otherwise I would’ve missed this…love it though don’t know if Im going to get one done before Christmas!!
It is so much easier than it looks, Janice. Takes no time. I’m just a bit gutted because my Hydrangea failed this year 🙁