I love the feeling of the coming of Spring and it is the best time to plan new projects. I have a few sewing projects that I would like to get going on once my flat is back to normal (is it just me or is anybody else unable to start something new when the house is in disarray?). In the meantime I thought it would be nice to share the perfect Spring pyjama trousers tutorial that I made for a magazine last year. The template for the PJ’s can be found in The Liberty Book of Simple Sewing (p.118) and I hope my photos of each step will help sewing the pattern together easier. Aren’t these prints so pretty and Spring-like?
You will need
Two trouser leg pieces (one in reverse) – I used Betsy S Tana Lawn
Two cuff pieces in a contrasting fabric – I used Phoebe H Tana Lawn
One waistband piece in contrasting fabric
2cm width elastic for waistband (length will depend on size of child) and large safety pin
Fabric scissors, pins, hand sewing needle and matching thread.
N.B. All seam allowances are 1cm / You can tack the pieces of fabric together at every stage before you machine stitch / I followed the pattern in the Liberty book of sewing for a 7-8 yr old.

Step by step
Step 1 – To make the leg, press a 1cm hem on the bottom edge of the cuff piece. Pin the top edge of the cuff to the bottom edge of the leg piece, right sides facing.

Step 2 – Stitch the cuff to the leg piece and press the the seam allowance over the cuff.

Step 3 – Fold the leg in half lengthways, right sides facing, and pin together up to the crotch.
Step 4 – Stitch the leg piece together.


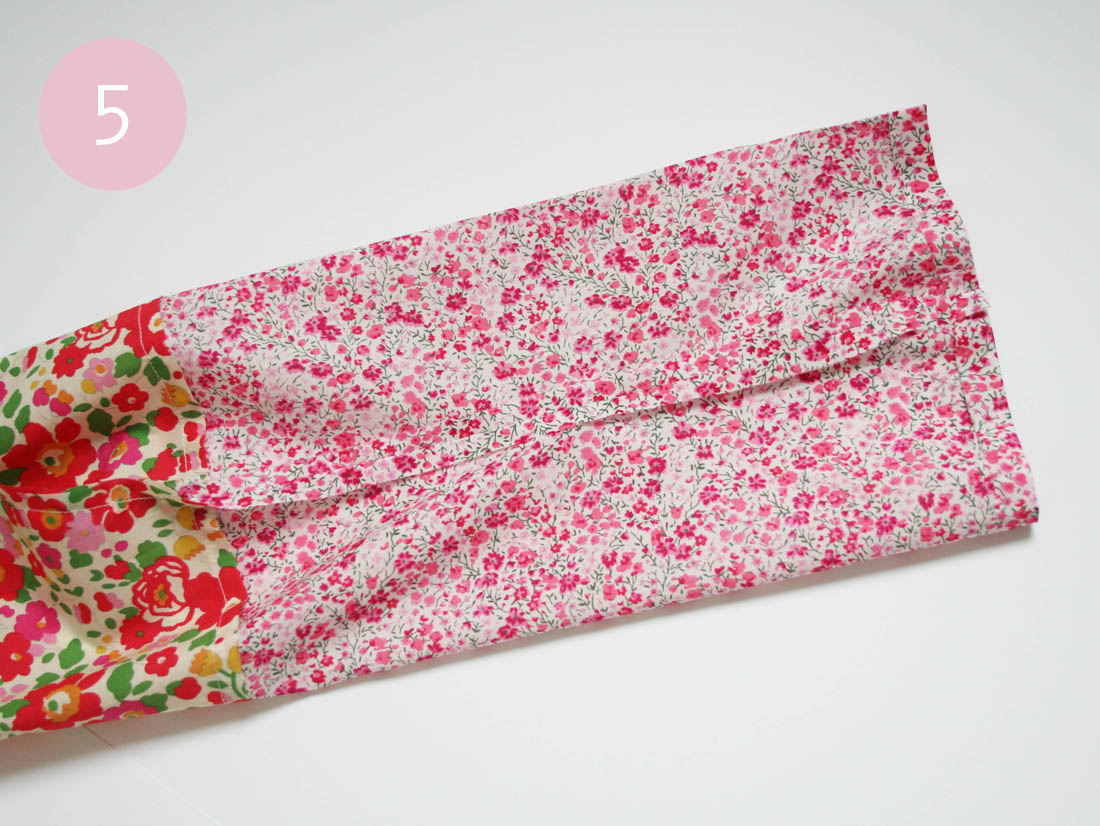
Step 5 – Press open the cuff seam.
Step 6 – Overlock or zig zag stitch the seam allowance of the leg piece.

Step 7 – Turn the cuff up in half so that the hemmed edge meets the seam line. Pin and then stitch about 3mm from the top of the cuff.

Complete steps 1 – 8 for the second leg.
Step 8 – To sew the legs together, pin the two trouser legs together where the two inside leg seams meet, with the right sides facing. Pin the front and back seams together and then stitch. Overlock or zig zag stitch the seam allowances.

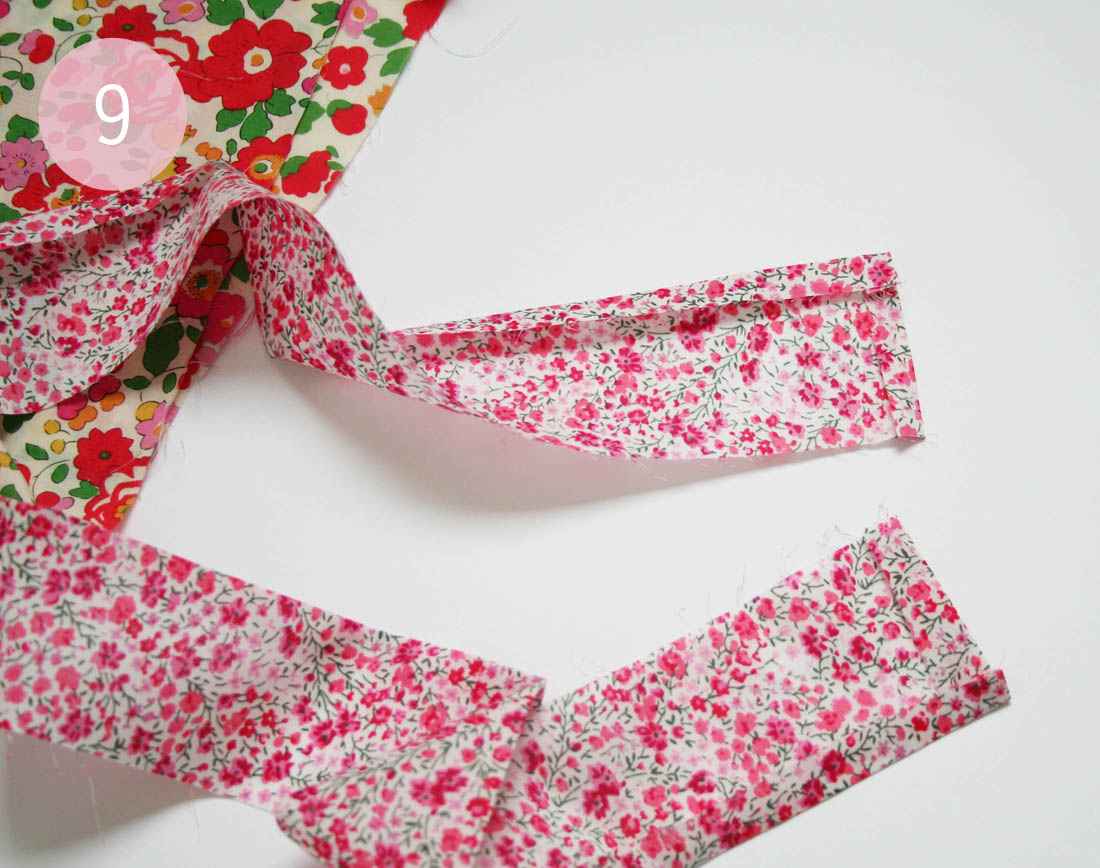
Step 9 – Turn the trousers right sides out and to add the waistband, press a 1cm hem on each end and over the top edge of the waistband (checking that it fits around the waist of the trousers – adjust the hem at either end accordingly).
Step 10 – With right sides facing, match up the raw edges of the waistband and the waist of the trousers. Pin the waistband in place and stitch together.

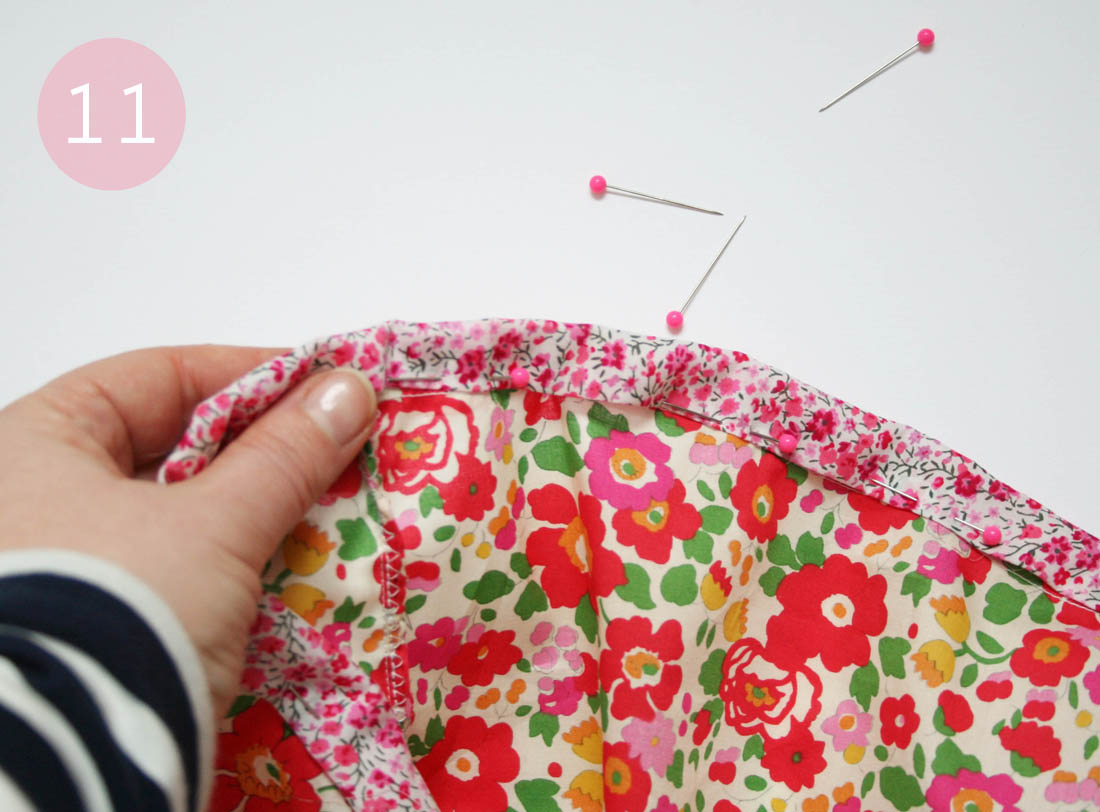
Step 11 – Turn the waistband inside the waist so that it covers the raw edges of the seam allowance. Pin in place and stitch around the waistband as close to the seam as possible.
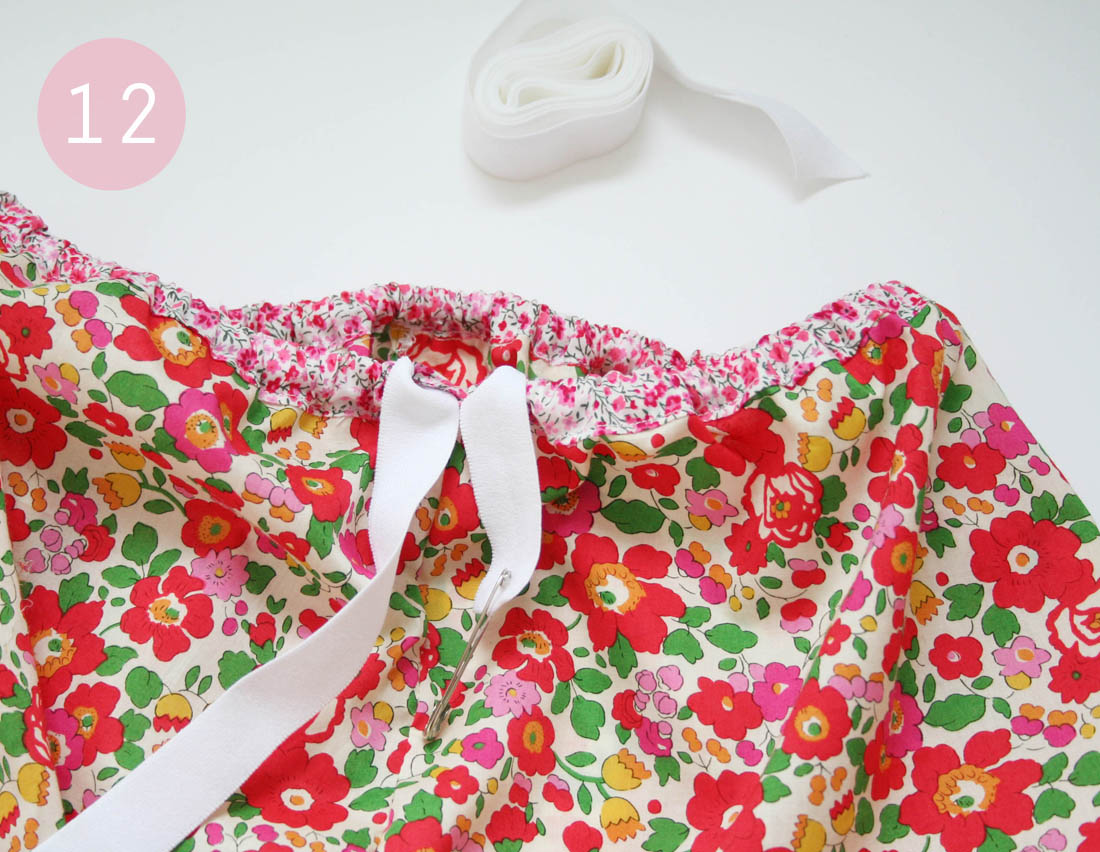
Step 12 – Measure the waist size of your child and mark this on the elastic. Attach a large safety pin to one end of the elastic and thread this through the waistband until it comes out the other side. Find the mark you made and sew the two ends of the elastic together at this mark very securely. Push the elastic back into the waistband and slip stitch the opening closed. You can add a bow if you desire.
All done! This little pair of PJ’s went to the lovely Ella x

What’s next on your sewing list?
Katy x
And the lovely Ella adores her pj bottoms… Really adores them- they are beautiful and light. Such gorgeous fabric and so perfectly made…. She was properly delighted when the parcel arrived through the post. She’s 9 today! And a sophisticated Liberty girl…. Lucky us to have such a talented lady in our lives
Author
Gorgeous girl. Hope she had the best birthday (basically a teenager now, no?) xx
Hi made these last week from the book for my 5 year old son.
He saw them and said he wanted them.
He absolutely loves them and has worn them 5 nights in a row so far. I’ll be lucky if I get to wash them:). Will have to make another pair. I searched them because I wondered why the top part of the trousers didn’t seem to fit the bottom cuff. I had them the wrong way round and saw the correct way from your pictures. Top part was still wider than cuff though but much better fit when I turned them the other way! Thanks for the simple guide:)