Designing a very small bathroom

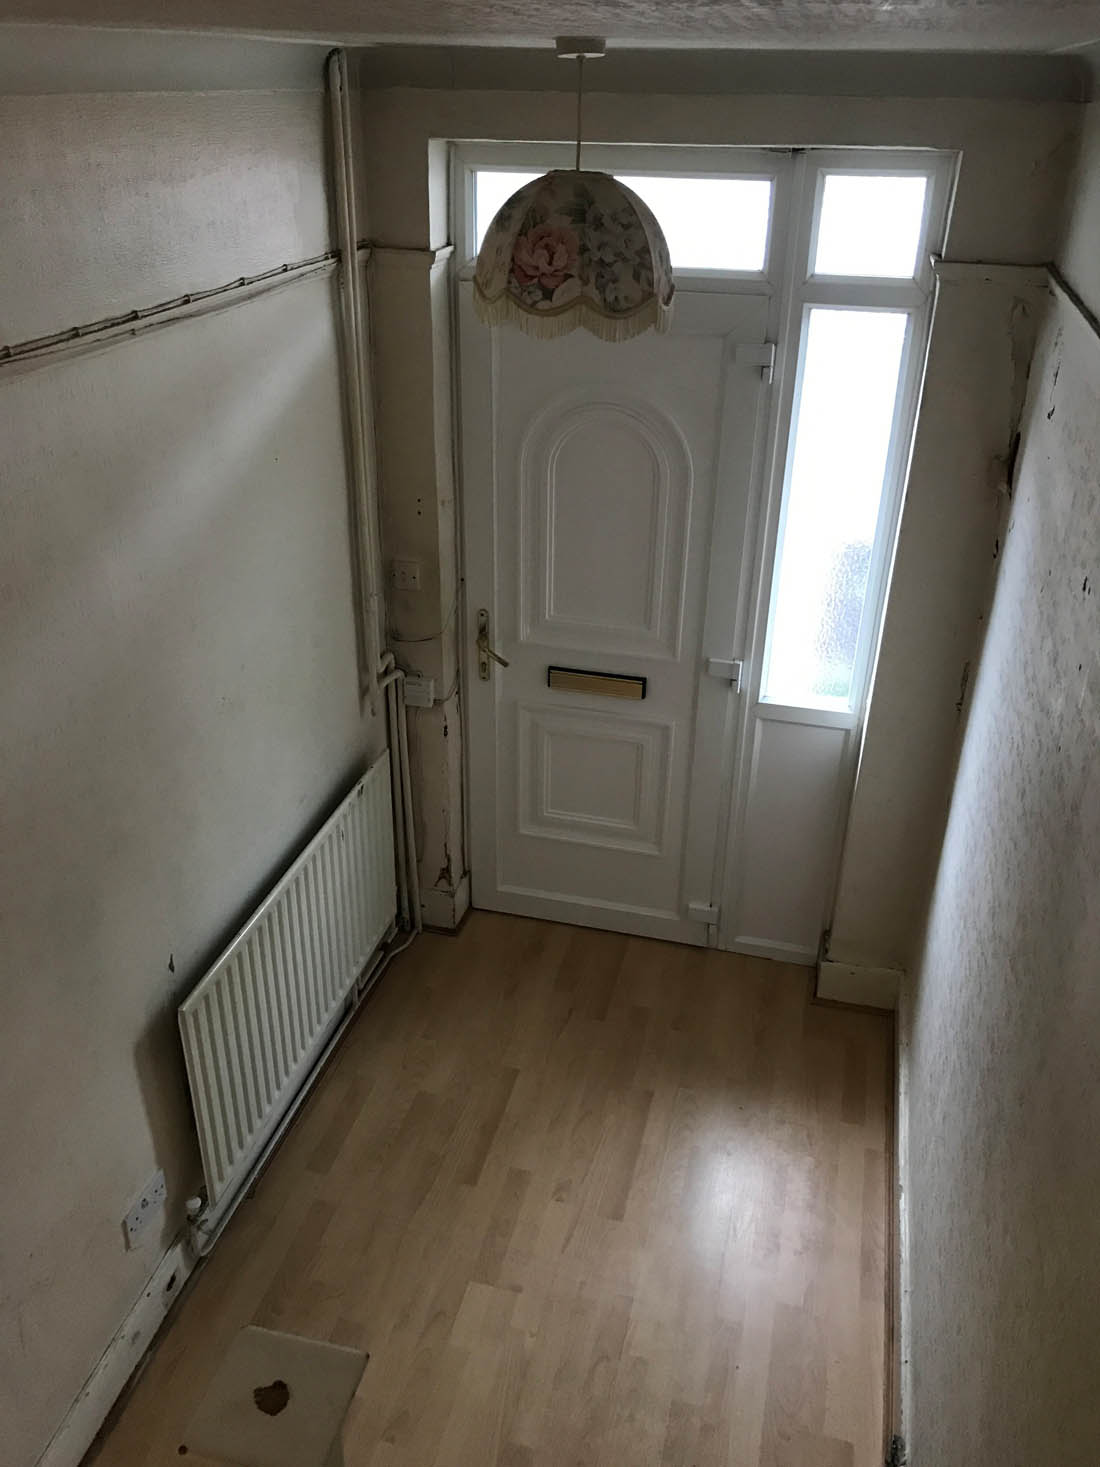
The bathroom in our new house was divided into a separate loo and bathroom when we bought it and not only was it old and very dirty but the two separate rooms were so incredibly cramped and just didn’t work on a practical level.

Therefore, the main aim for our new bathroom was to make the space work with the added challenge of moving the boiler and the washing machine up there (I decided to sacrifice the space for these things in the bathroom rather than in the living area) – in a very small room this really was going to be difficult. You can see more about the finishes I have chosen for the room in this post but here I want to focus on the design of the room itself.

We took a long time over the design process and lucky for us that Jules’s mum was an interior designer who specialised in kitchens and bathrooms at one point so we called on her expertise to help us figure out how to make such a small room do everything we wanted it to do. Once Penny had worked her magic and drawn up her ideas on paper we used Fusion 360 to help us visualise the design. This was the final design we decided on…

The position of the two windows on the outer wall dictated the position of the bath, which will have a shower over it (a bath for Mimi and Otto was pretty important to us), as you don’t really want a shower coming down on a wall with windows. However, we also needed to fit the boiler and washing machine in on the left hand wall so we decided on a short 140cm bath with the shower on a stud wall that backs onto a cupboard to house the boiler and washing machine.

The position of the bath meant we could place the loo and basin on the outer wall under the windows. However, I wasn’t very keen on this option as it meant there would be no proper space for a mirror above the basin and it would have to be pretty small to fit in the space. Therefore, we decided to place the loo and basin on the right hand wall. As this is not an external wall we would need to build out a ledge that would conceal the plumbing and provide the added bonus of a shelf.

You can see how the design is now coming together as the bathroom was installed last week and we are so pleased with how it’s coming along. It feels very workable, not too cramped, everything fits well and no awkward squeezing round sinks or the like.

You can see the bathroom from the doorway here. The ledge that we designed is clad in tongue and groove and hides the plumbing for the basin and loo perfectly.

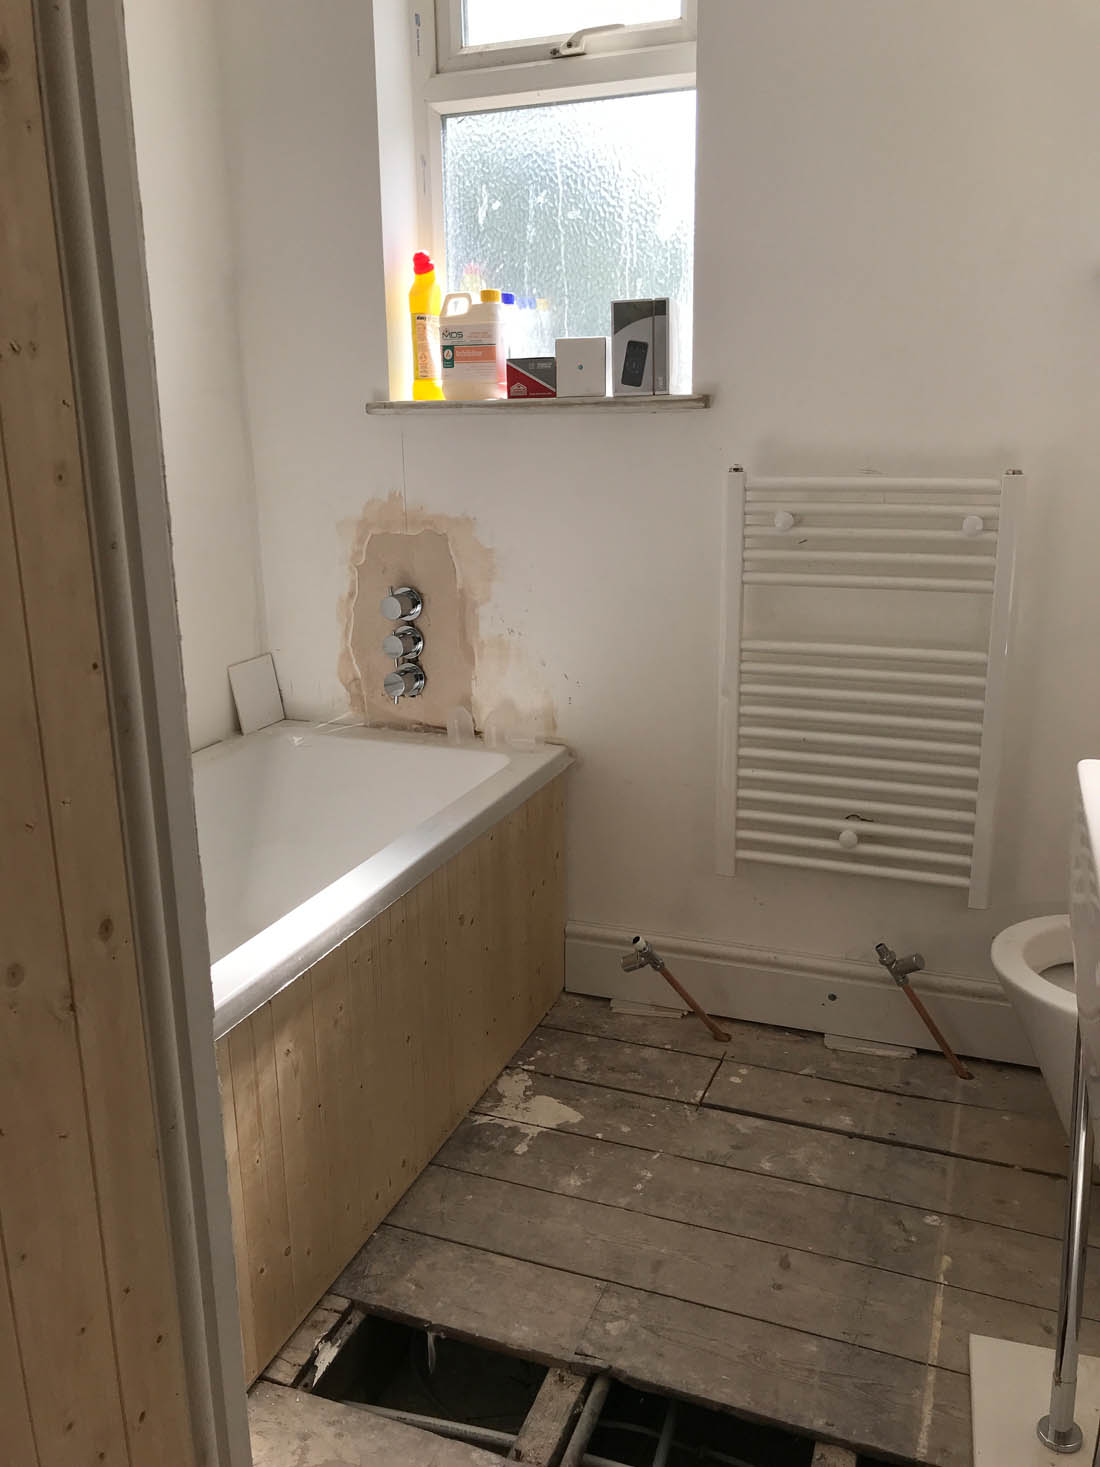
The small 140cm bath fits well and doesn’t look too small and weird as I had feared. You can just about see the cupboard behind the bath that houses the boiler and washing machine. I’m really pleased with the placement of the heated towel rail that was very kindly gifted to us from PlumbNation as this is the perfect place to hang a towel to warm before grabbing it when you leave the shower/bath. Also, just a small thing but why does everyone put the shower control buttons under the shower head so your arm gets wet when you turn it on? We have put them at the end of the bath so that this is not an issue.

Here you can see the wall that has been created for the shower plumbing to make it possible to fit the cupboard. Great idea, Penny!

The next step is to lay the underfloor heating that we were gifted from PlumbNation. It comes with its own wall mounted thermostat that you can programme to come on in the morning before everyone wakes up so it’s nice and toasty first thing in the morning.

I can’t wait to show you more once the tiles are laid and it is painted. However, I still haven’t decided what colour to paint the tongue and groove ledge, cupboard door and bath panel. What do you think?? I’d like it to tone in with the Inchyra Blue and Light Blue that I’ve used throughout the house – I have a very dark blue in mind but can not for the life of me decide. Help!

Katy x

Weeks five and six: Our house renovation

We have just started week seven of the renovation and so I need to update you on week five and six. Week five was crazy! Jules was at the house all week sanding the floors so he could send me update pics every day and with every photo things changed so much and so quickly! The radiators went in, the lights went in and on, the picture rail, coving and dado rail went up, the doors came back from being dipped and were fitted and the whole house was painted. I mean, that’s a lot in one week, right?

If you compare the photos of the house now to my last update you can see just how different it looks…

Painting is almost done and I’m thrilled with the colours. The hallway is painted in Inchyra Blue and the woodwork throughout the downstairs is Light Blue, both by Farrow & Ball.

The downstairs walls have all been painted white and this has made the space feel so much bigger.

The radiators are in and I’m so pleased we went with column radiators. This vertical one is by Myson from PlumbNation and fits really well in the space next to the French doors. The natural wall space for a radiator vanishes when you knock down so many walls so this is a good solution and it’s so slimline I barely notice it. I have bought wall lights for the alcoves that just need to be fitted.

The picture rail, coving and dado rail all went up during week five and they have made such a difference to the feel of the space. The original 30s fire surround that I bought is fitted now and has been painted by mistake- I had said I wanted it white. What do you think? Keep it this colour or go back to white?? We will tile it on the exposed plaster and the hearth.

View Post

Adding character back to a period home

I’ve been getting lots of questions from you lovely lot about what style I am going for in the new house – not so much with the furniture and styling but more to do with the fabric of the house. The short answer is that I am trying to reinstall as many of the period features as possible and replace what we ripped out in the renovation process. I want the house to have a period feel and look whilst being totally modernised.

Therefore, these are the things that we are doing to add some period character back to the house:

1. Re-installing picture rail, dado rail and coving

Jules and I had a bit of a heated debate about whether or not it was worth the cost to reinstall the picture rails, dado rail and coving. I was adamant that it had to happen as these details are so important to bringing a period feel back to the house and without them you end up with a blank white box, which is basically a new build.

2. Sanding and finishing original floorboards

We have been very lucky that the floorboards in the house are in good condition, especially as we have run out of money for carpet upstairs, which is what I had originally planned. Jules has sanded down the boards and we will finish them once all of the building work is complete before we move in. Our contractor, James, suggested using a mixture of white paint and white spirit as a stain to tone down the orange in the wood and then to oil over the top of that for a matt effect. We will try that as it is cheaper than alternatives and resort to Osmo oil (quite pricey) if not happy with the effect of the paint stain.

The boards in their original state.

After sanding – a little too orange for us as they will be much darker than this once they are oiled. Therefore, we need a white stain to neutralise the orange tone.

2. Period style radiators

One of the things I was very insistent on was that we needed to spend the extra to install column radiators, which feel a lot more in keeping with a period home. Downstairs we were faced with the issue of losing wall space for radiators once they were knocked down so we went for a vertical column radiator that was very kindly gifted to us by PlumbNation and is made by Myson. It fits in very neatly next to the French doors as it is surprisingly slim (something Jules was worried about as he though this style radiator would take up too much space) and isn’t a complete eyesore as some radiators can be. We bought the same style radiators for the rest of the house and it really does make a real difference.

3. Doors

Luckily all the original doors in the house were in tact and we had the added bonus of finding another one in the loft. We had them dipped and they look so lovely now! Getting original internal doors back in place is worth the extra effort even if you need to source them on eBay or the like.

4. Emphasising woodwork

The banisters in this house are one of the things that I love most and along with all the other woodwork including the skirting, architraves, dado rail we have painted it in a colour in order to highlight these period features. I love this before and after shot…

6. Fireplaces

I always find that a fireplace adds instant character and charm to a room as well as giving it a focal point and structure. We have put some little fireplaces back into the two main bedrooms as well as a 1930s fire surround in the living room. As well as this we will try to fix the original hearth tiles upstairs and unfortunately the tiles downstairs are beyond repair so we will source some replacements.

7. Replace front door (I WISH!)

Very sadly I have had to concede to replacing the UPVC front door with a reclaimed original 30s door. We just don’t have the budget at the moment and other things have taken priority. However, changing the door would completely transform the hallway so if you have the option, do it!

8. Hardware

The small details that you add at the end of a renovation project make a massive difference and door handles, for example, are one way of adding lots of period charm. I have had such a hard time finding door handles that I like that are within my minimal budget as most are at least £50 for each door. However, I came across these ebonised beehive handles that were only £17 for each door so even though they are not quite of this period the colour works well.

Is there anything that you have done to add period charm back to an old house? I’d love to know about your project or see pics – so many of you have shared pics of your 30s houses with me and it has been so fun seeing the similarities. Do get in touch!

Katy x

Weeks three and four: Our house renovation

I actually can’t believe that our builders have only been working on the house for four weeks as so much has been done already and it kind of feels like they are on the home straight – I mean, the decorating has even started. Not wanting to jinx anything, obviously…

The main progress over the last couple of weeks has been installing the steel between the receptions rooms, replacing the window lintels in the bedrooms and the plaster boarding and plastering throughout the upstairs and downstairs. A lot of upstairs has been painted so it all looks very different now with the bare brick gone.

The steel is now in so we officially have an open plan living/dining/kitchen space. These images show either side of the reception rooms. Jules took these pics in the evening and as it is a south east facing house we get the evening light through the front of the house.

This past week the downstairs has also been plastered so the steel and old doorway into what was the back reception room have now been covered up so it looks like a proper room again rather than a building site…

The fireplace surround has been installed (we will add tiles – I haven’t chosen them yet) and I think it works pretty well in the space and adds the character of the period that I want. I am really trying to avoid the ‘new build’ feeling.

Upstairs the plastering has also been done and they’ve done a brilliant job of it – it shines it is so smooth! I am always tempted when I see fresh plaster to leave it as I love the warm tone of it so much.

However, last week the painting began upstairs and I can see how much bigger the space looks and feels with white walls. The skirting, architraves and picture rails are also going on as we speak and the original doors have been sent off to be dipped ready for painting.

I’m honestly quite gobsmacked at how much has been achieved in just four weeks. The next big job is the bathroom so I’ll keep you posted on that and Jules has taken the week off work to sand and finish the floorboards. He’d better do a good job of it!

Katy x

Bathroom inspiration

We decided as soon as we viewed our new house that we would completely strip out the bathroom and start again, including removing the wall that divided the bathroom from the loo ( you can see how it looked when we bought the house in this post). If there is one thing I can’t live with it is a grungy bathroom so it was always a priority for me.

I love a bright and airy bathroom that feels clean and crisp without feeling sterile and cold. My challenge was to find tiles, a suite and decor that were relatively inexpensive but would  look and feel good.

To give you an idea of my plans for the bathroom here are some of the things that I have chosen and rooms that have inspired me…

1. Image via @bloggaibagis 2. Duravit basin and console from Fountain Direct 3. Stelrad towel rail from Plumb Nation 4. Zenta wall mounted tap from ManoMano 5. Image via Doris Lee 6. Shoreditch House bathroom snapped by me 7. Image via Rock My Style 8. Hexagon floor tiles from Walls and Floors 9. Original BTC wall light from The Conran Shop 10. ProWarm underfloor heating from Plumb Nation 11. Image via Living Etc – white gloss tiles from Walls and Flooring

It is a small room so no space for luxurious free standing baths and separate showers and the like. It is all going to be very practical, squeezing in as much as possible – I will follow up this post with the design we have come up with. The floor is going to be the white hexagonal tiles (super cheap) with mid grey grouting to hide the dirt and although I generally dislike tiled floors as I find them cold and hard we have been gifted some wondrous underfloor heating from the brilliant PlumbNation, which solves those problems. I can not wait for a toasty tiled floor on cold winter mornings! PlumbNation also gave us a lovely white heated towel rail that will keep this room warm too. The other tiles we have chosen are very cheap plain white square tiles (do you know how difficult it is to find true white matt tiles? Well, I’ll tell you it is impossible so we have had to go gloss) which will go round the bath that will have a shower over it. They will be laid in a running bond pattern with white grout (I think I’m the only person in the world that hates dark grout).

The only thing we have spent a chunk of money on in the bathroom is the basin. I would have loved an old cupboard with a counter top basin but there just isn’t space in the room for that so I chose a basin with a metal console instead and I like the slightly industrial feel of it. I really like the way wall mounted taps look and function with the added bonus that there is more space on the basin for stuff like toothbrushes. We were lucky enough to be gifted the Zenta tap from ManoMano and I hope that is going to look sleek and simple.

To soften the space we are going to tongue and groove all the way round the bottom half of the room (except the shower/bath that will be tiled) and paint it Farrow & Ball’s Light Blue with All White on the top half of the walls. I will also find a 1930s mirror to go above the basin to add some character and I have bought an Original BTC wall light to go above that.

The room has already been stripped, plastered and the mist coat was on yesterday when I went over so the installation will be all go next week. SO exciting!

Katy x