I hope you enjoyed having a look at our living room last weekend and as promised I want to show you the hallway today more than anything to gee me up to get this space looking and feeling a bit more finished and homely as it feels neither of those things right now.
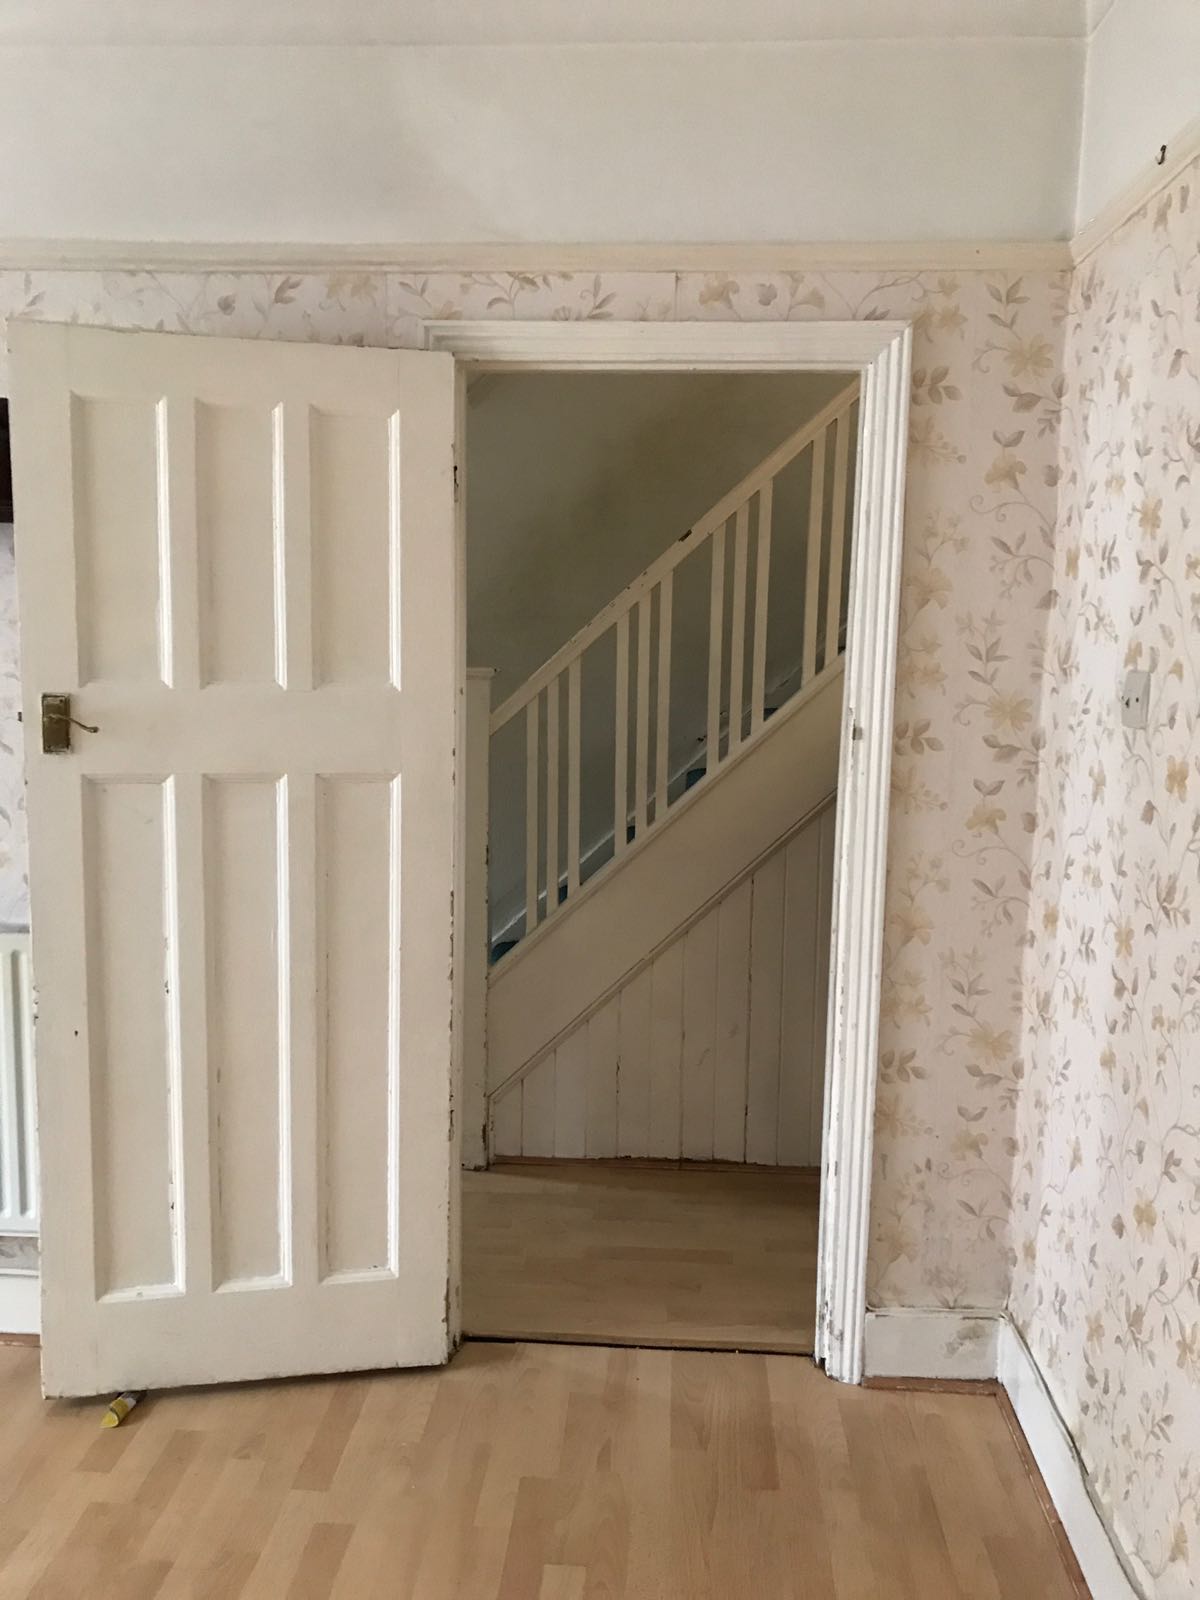
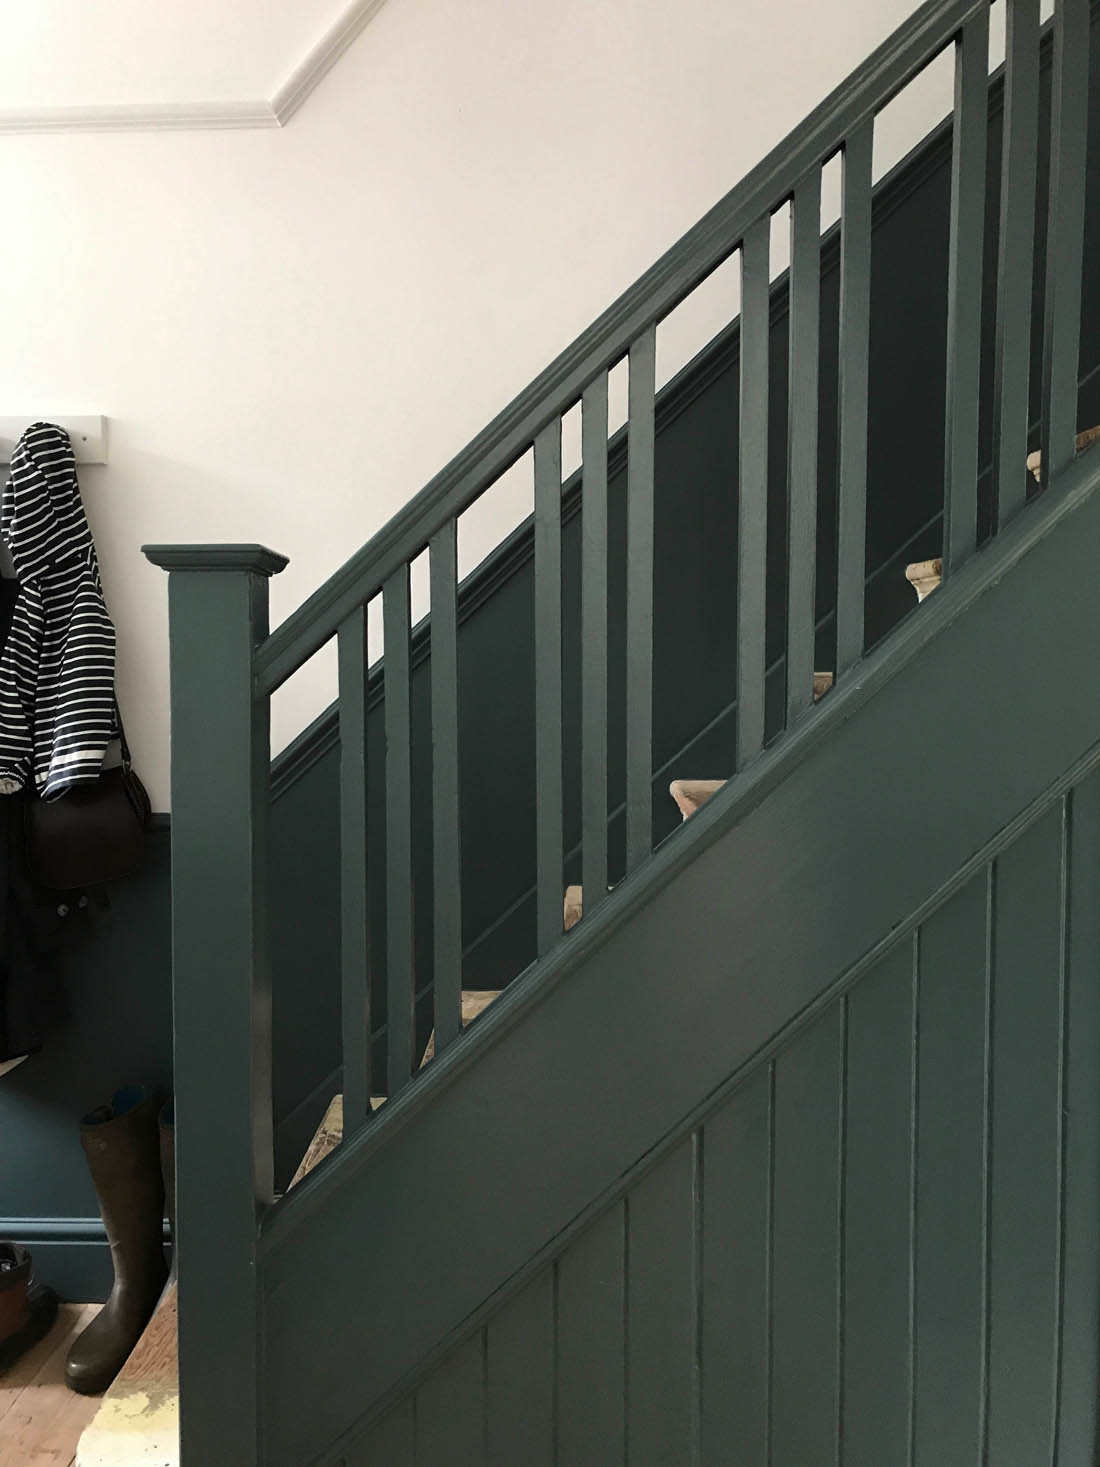
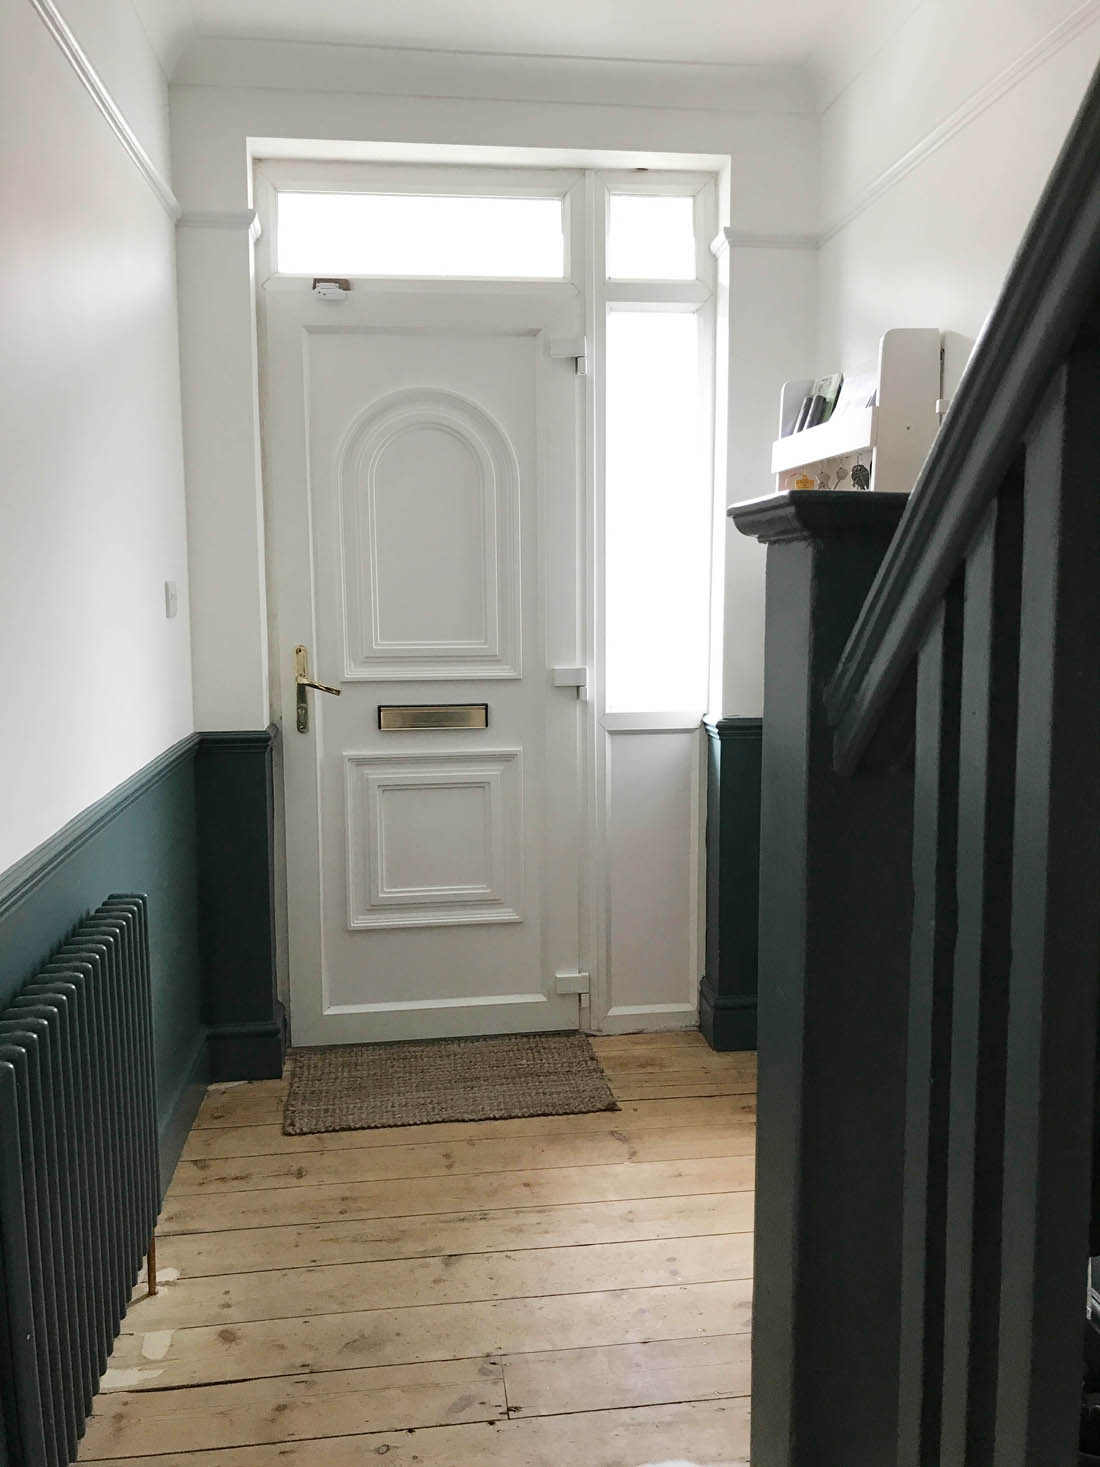
I absolutely adore the colour that I chose for the hallway, which is Inchyra Blue by Farrow & Ball (they kindly gifted us just the paint for the hallway – not the rest of the house) and I love how it emphasises the beautiful original banisters and I chose to install a dado rail, not original to the house, to add even more of the colour (as well as hide mucky hand prints and dog scuffs). I also love the original internal doors that I chose to leave natural and I think the tone of the wood works really well with the blue (actually more green in this space).
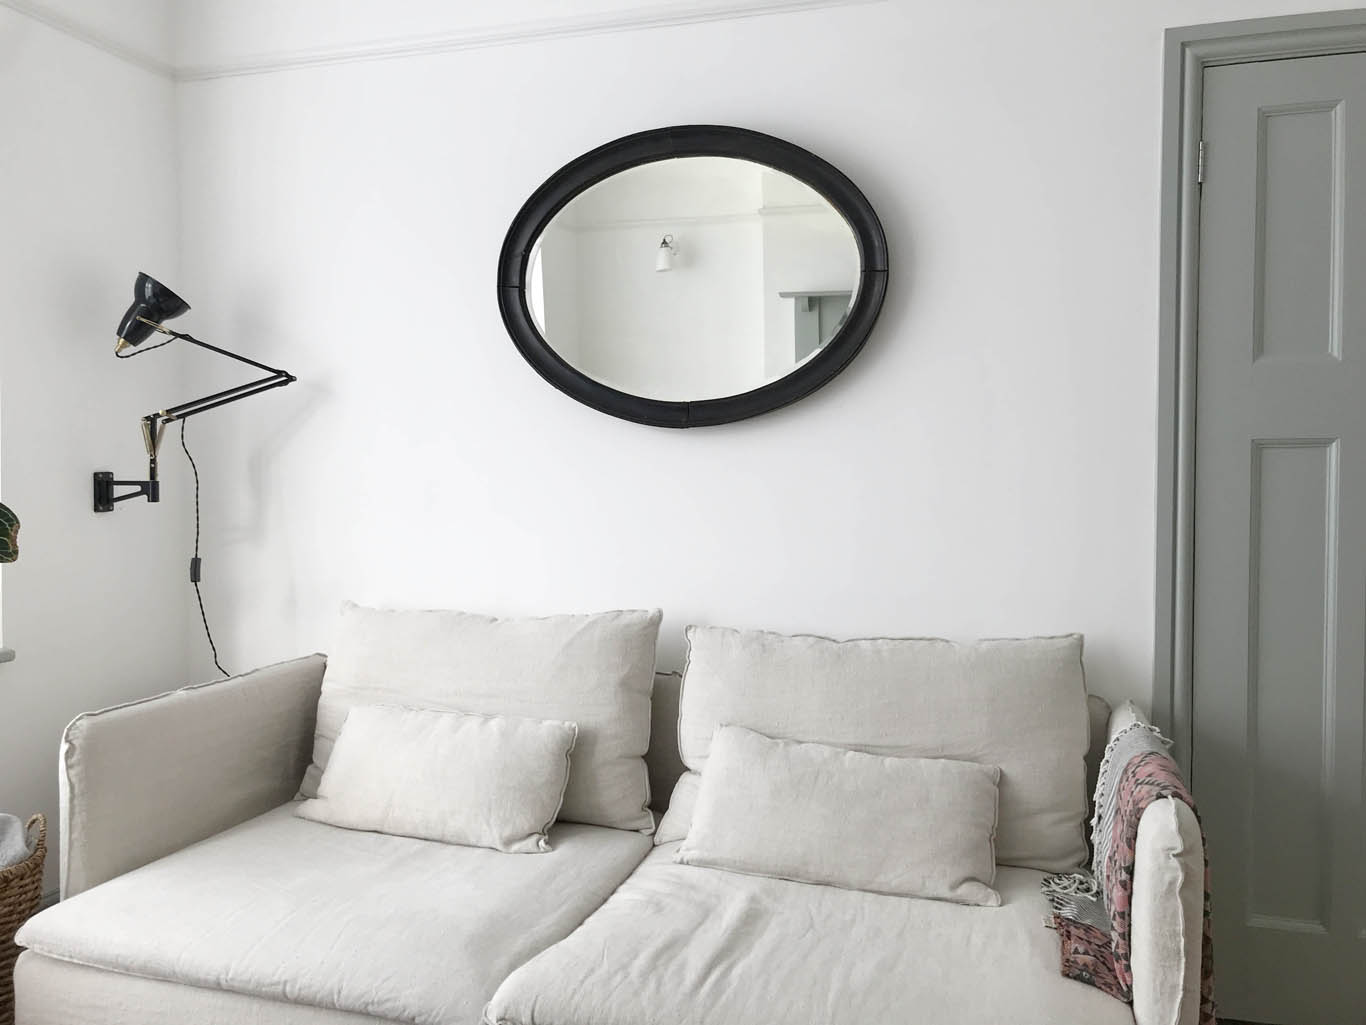
However, the stairs are waiting for a carpet that may be a long time coming as it is SO expensive to carpet stairs and this makes the hallway feel and look very unfinished so I think we will paint them in the meantime (probably Railings, the same colour as our kitchen). Another problem is that we have a lot of shoes and boots to contend with so we are desperate for some storage as all we currently have are some hastily mounted pegs and a shelf from the old flat that don’t look great. A lovely 1930s bevelled mirror and maybe a rug like this one and we’ll all be feeling much better about the space, I’m sure. In the meantime I’m going to show you some storage pieces from the Wooden Furniture Store that would work well in a hallway as they are kindly sponsoring this post.

Before and after
Just to give you an idea of what the hallway was like when we bought the house and how it looks today…
-

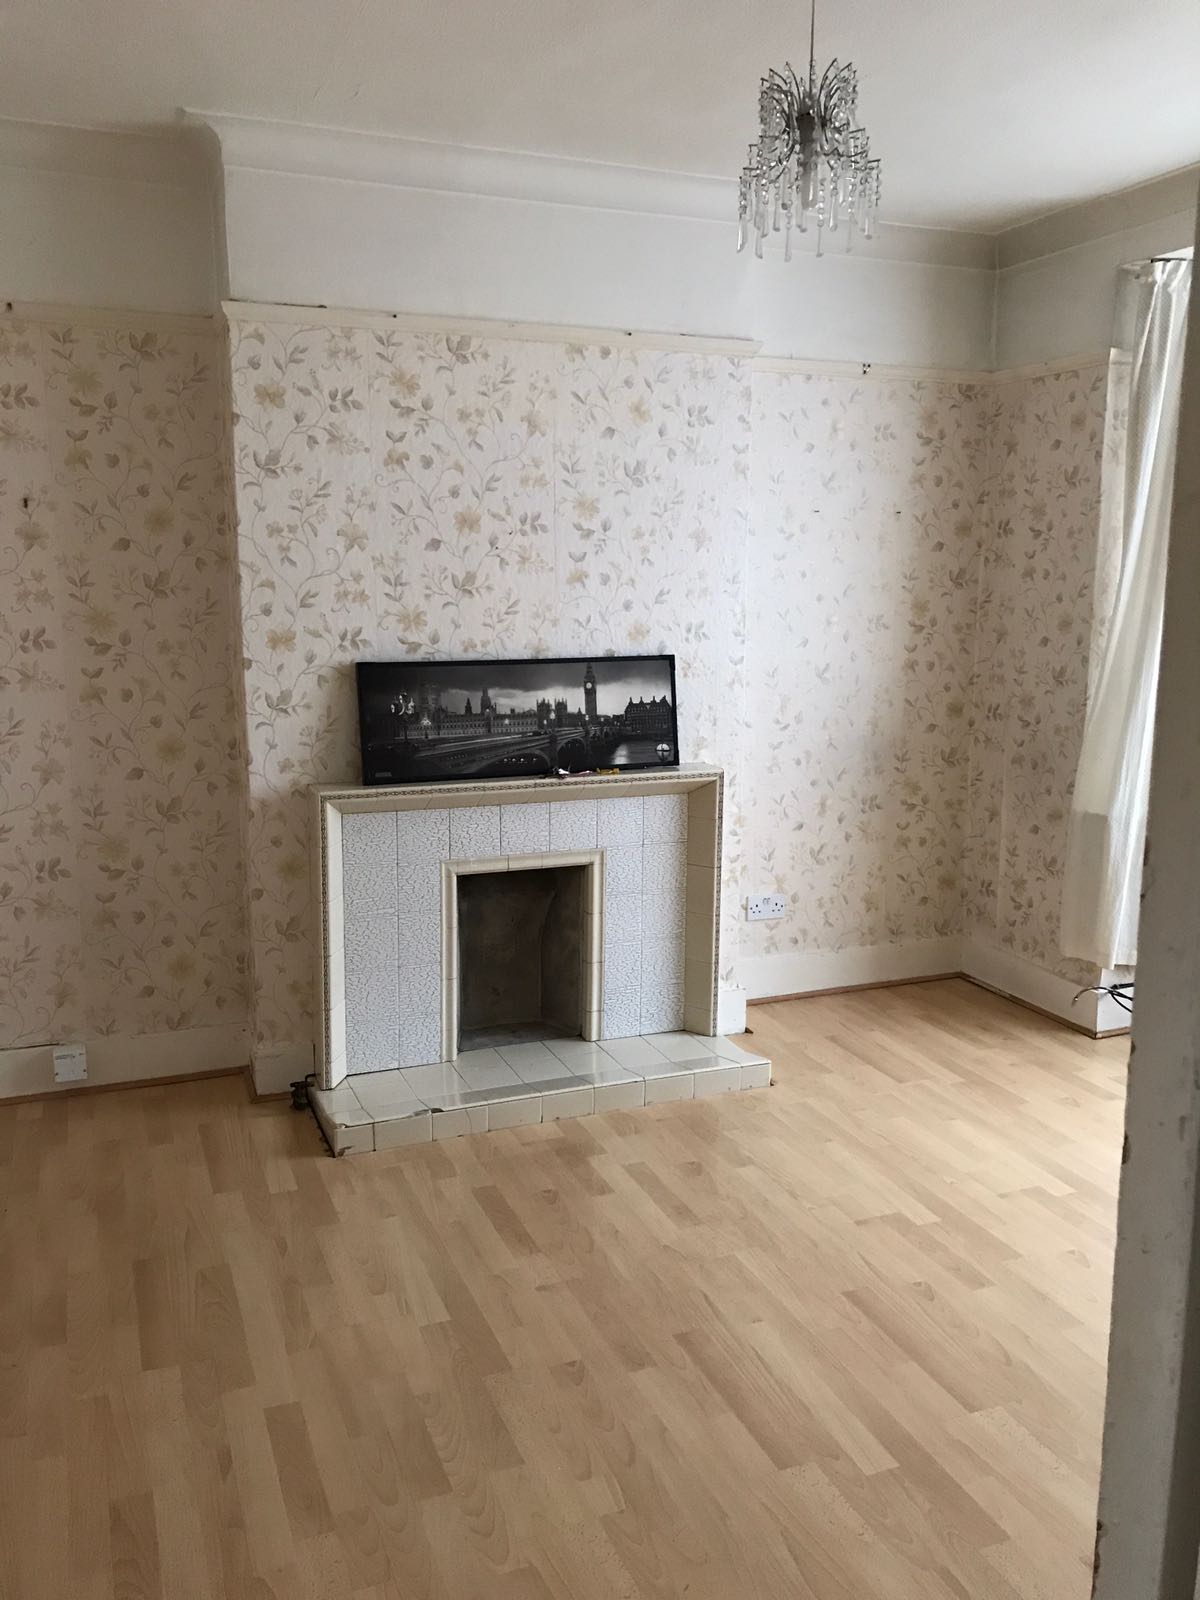
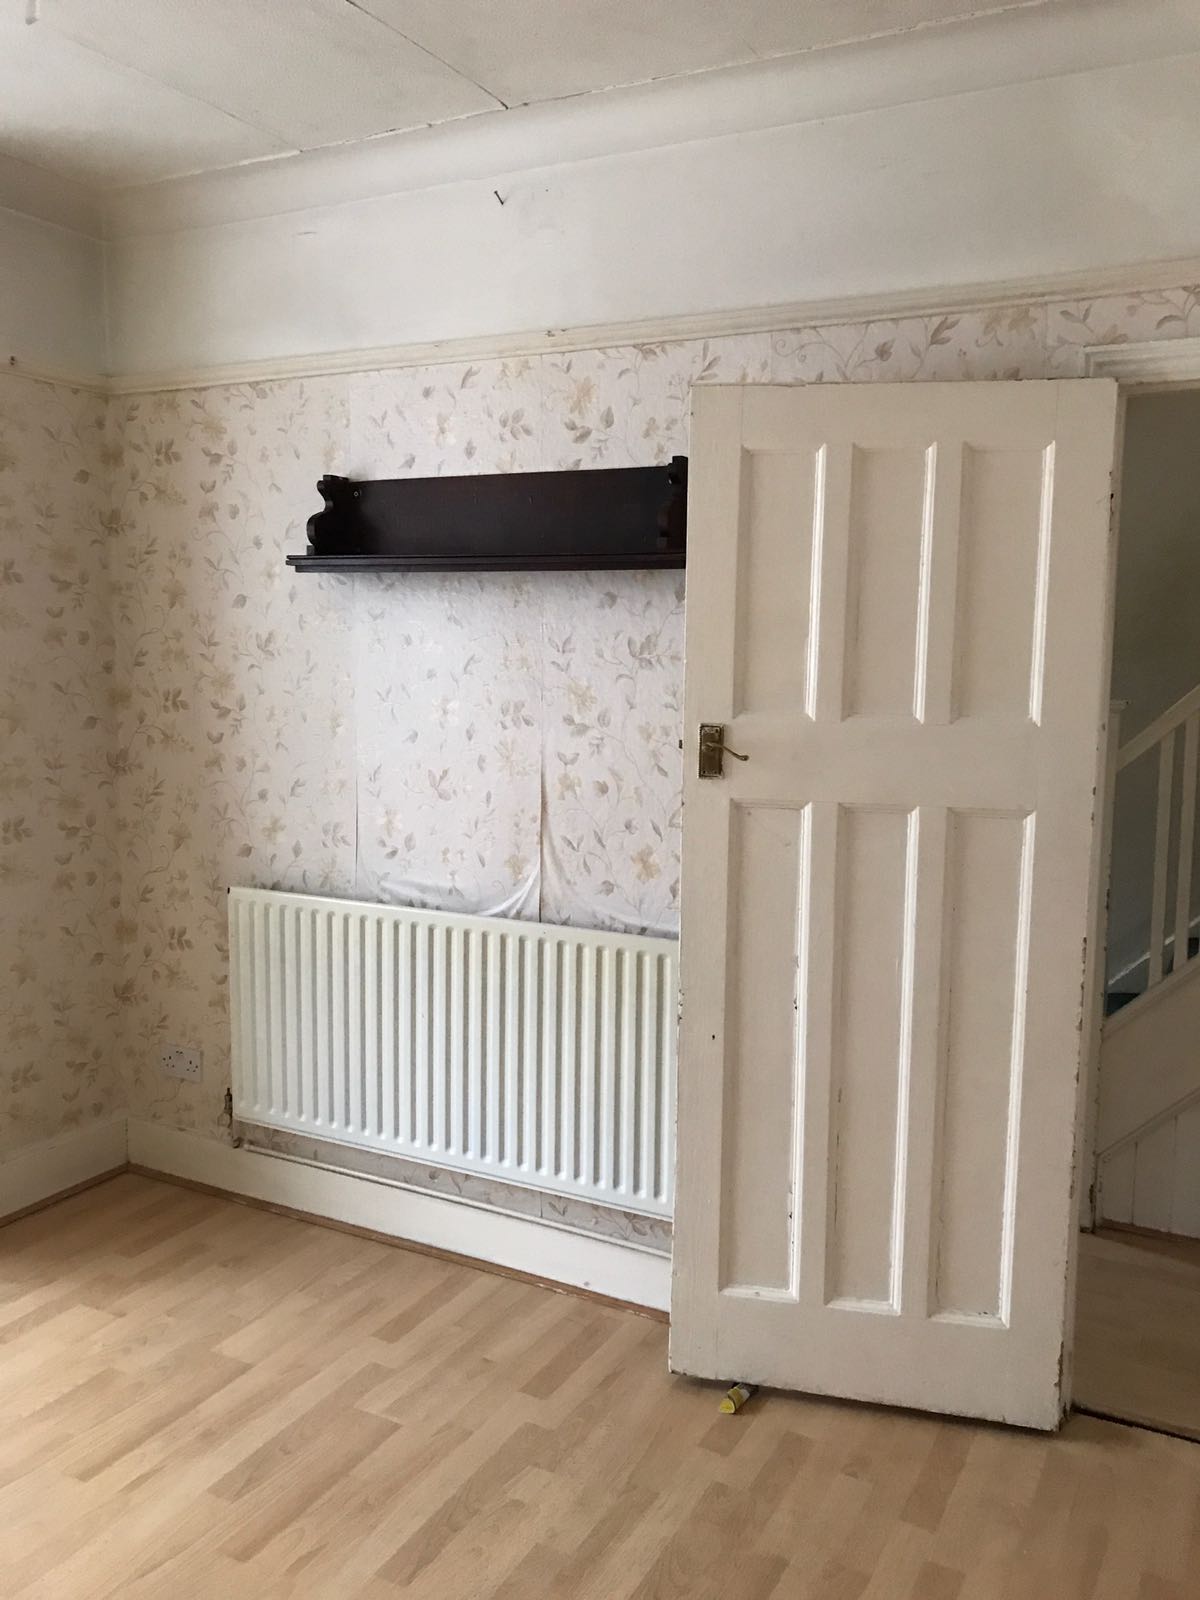
- BEFORE
-

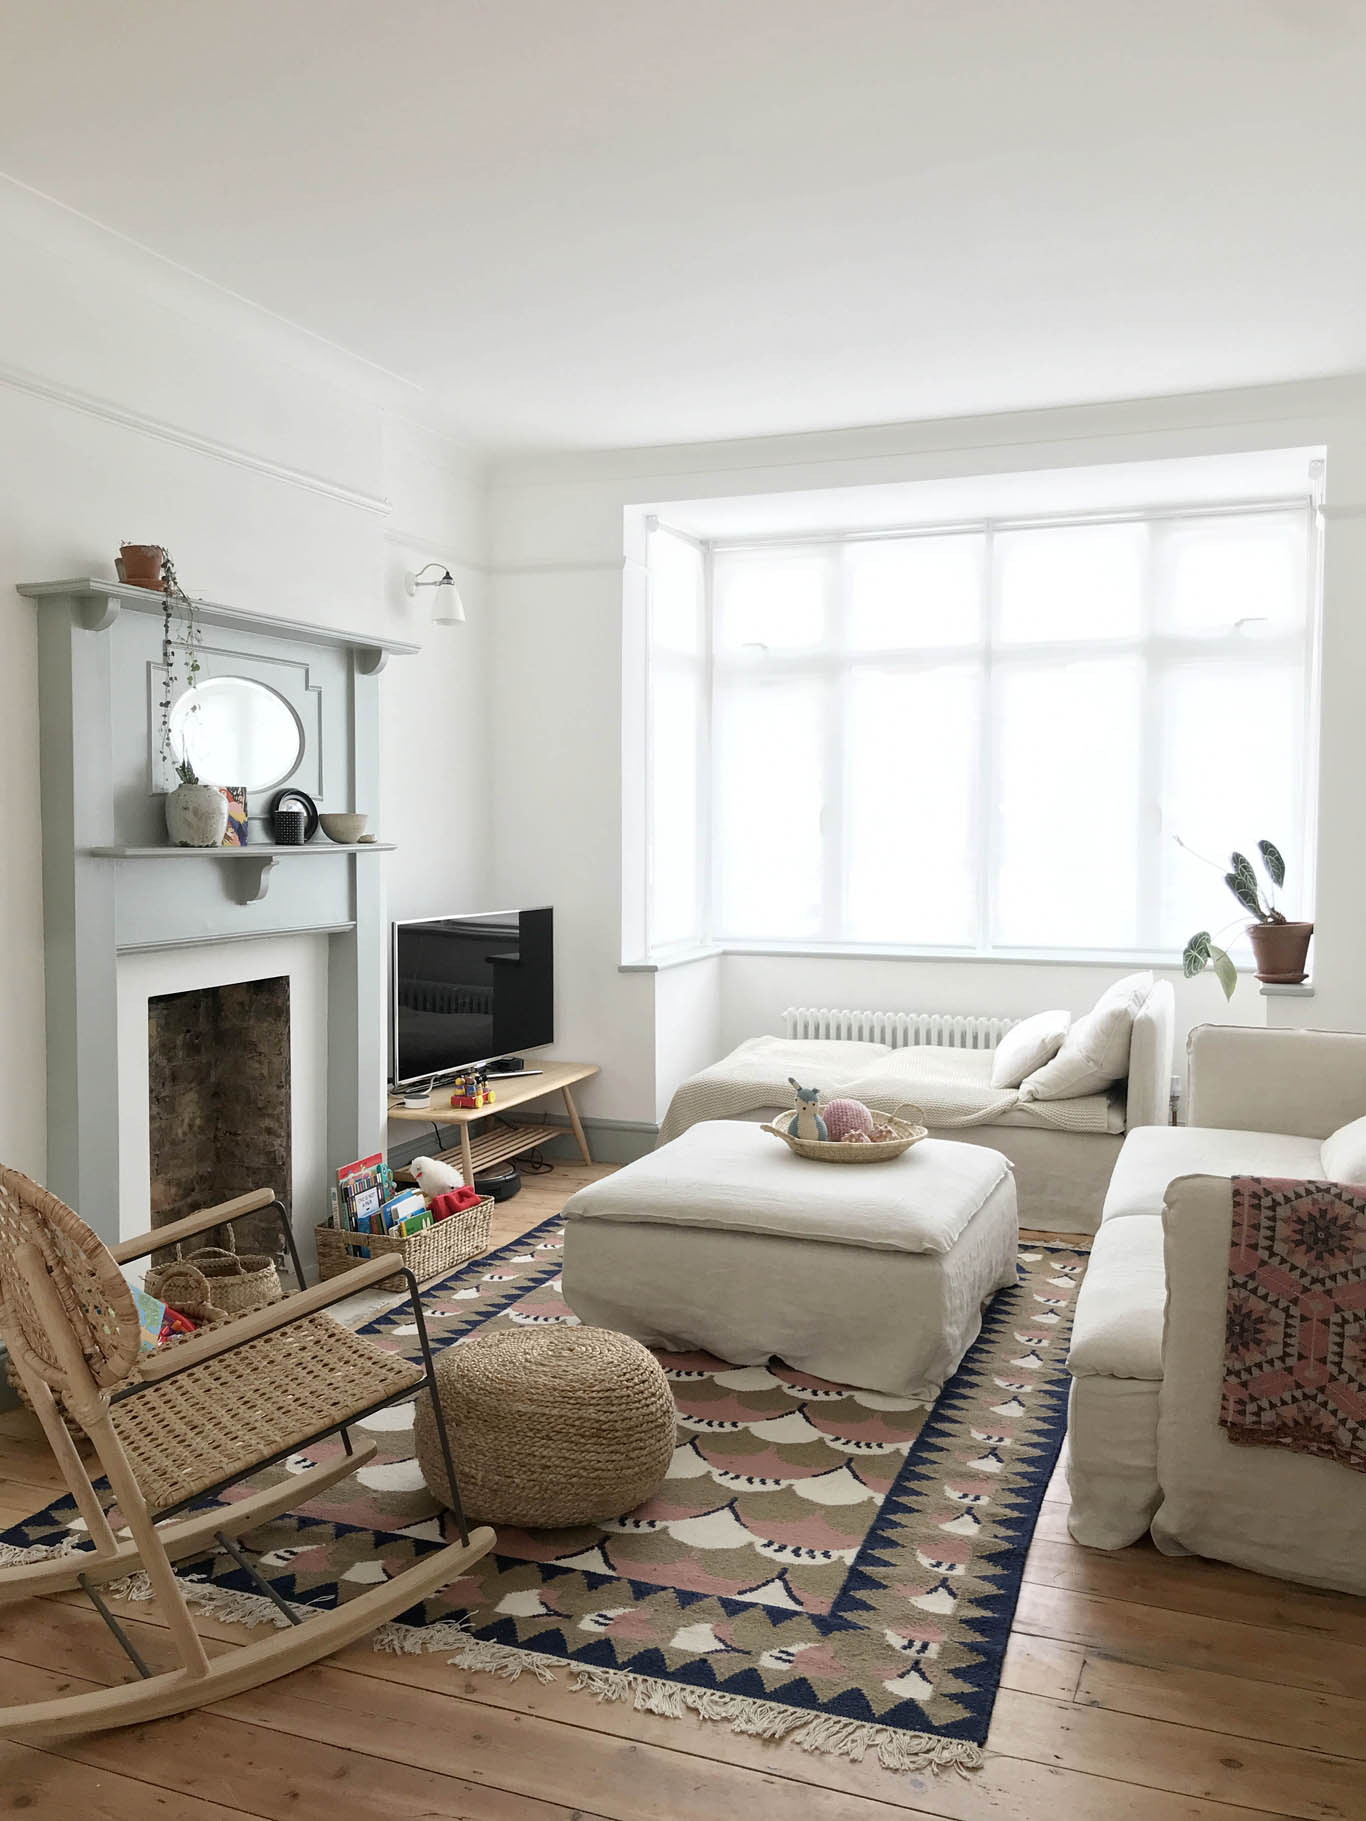
- AFTER
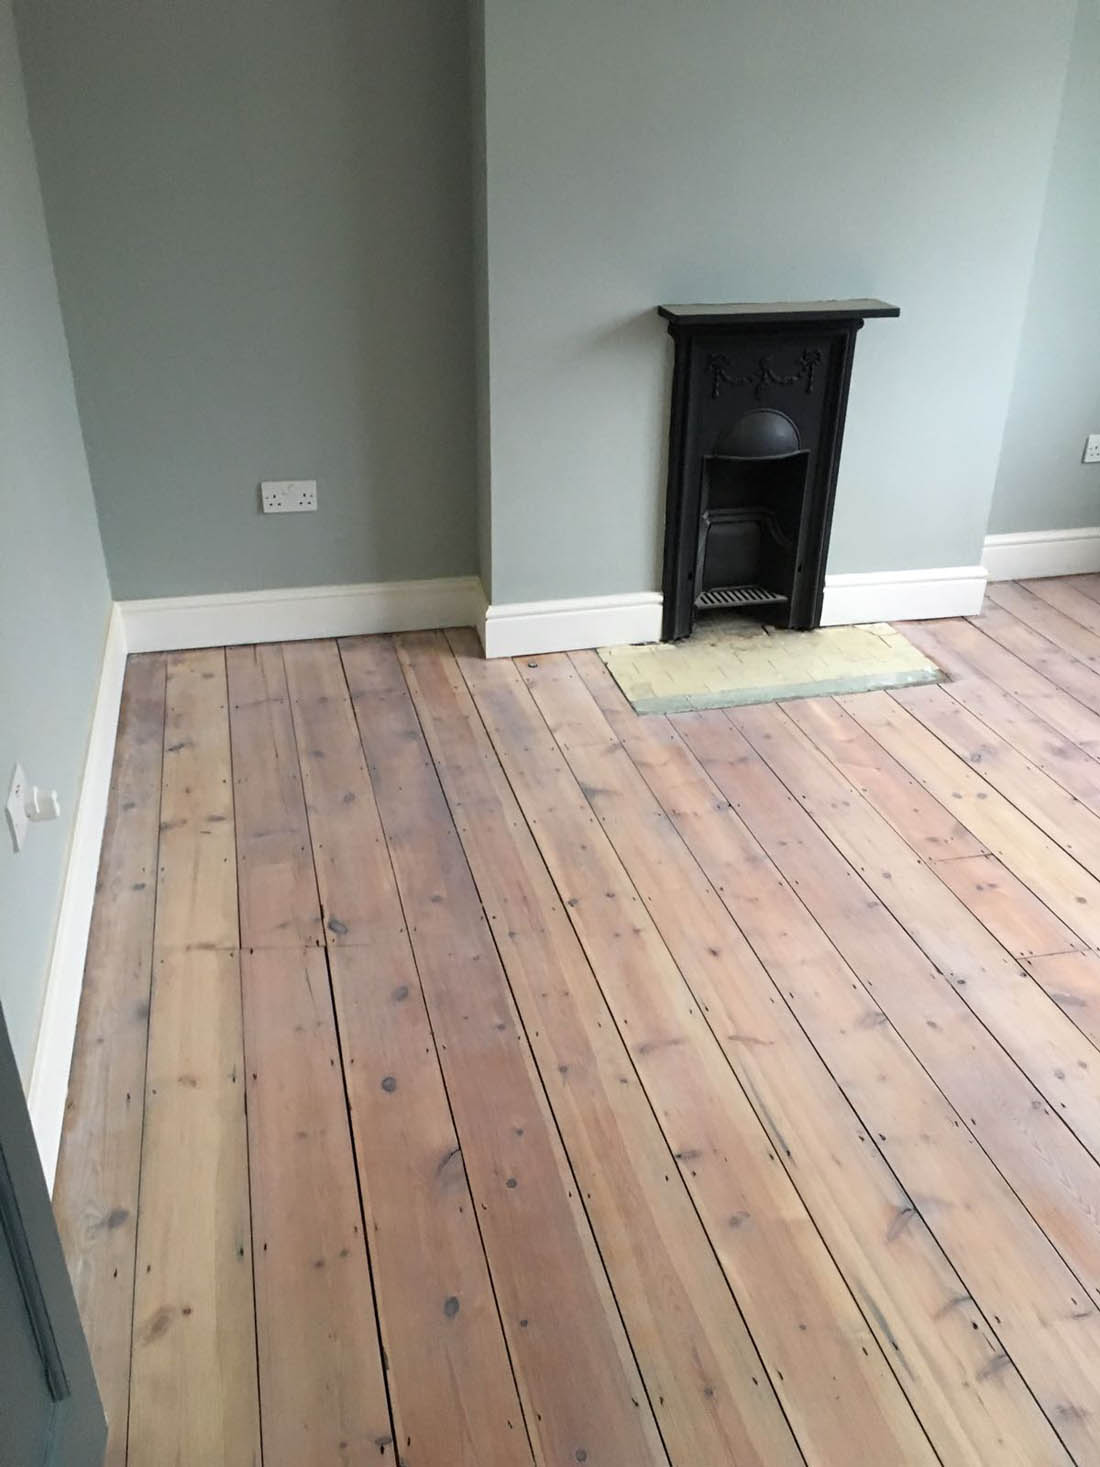
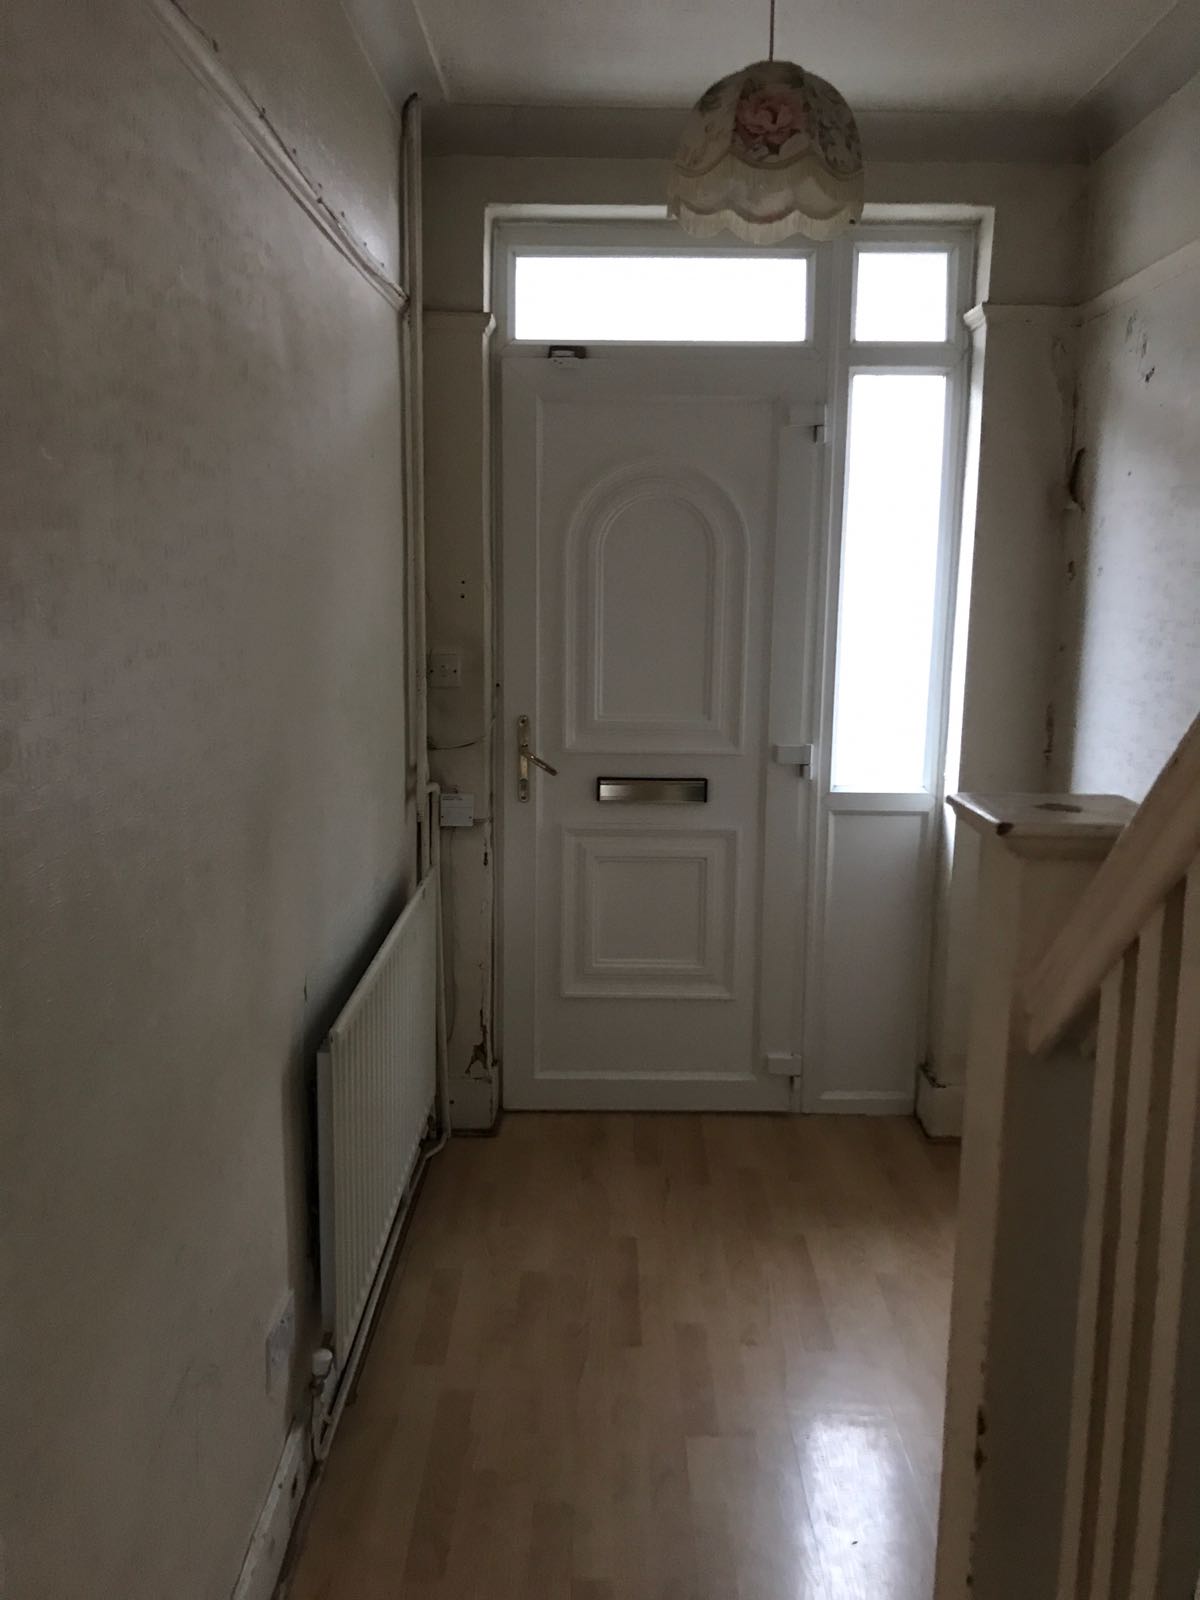
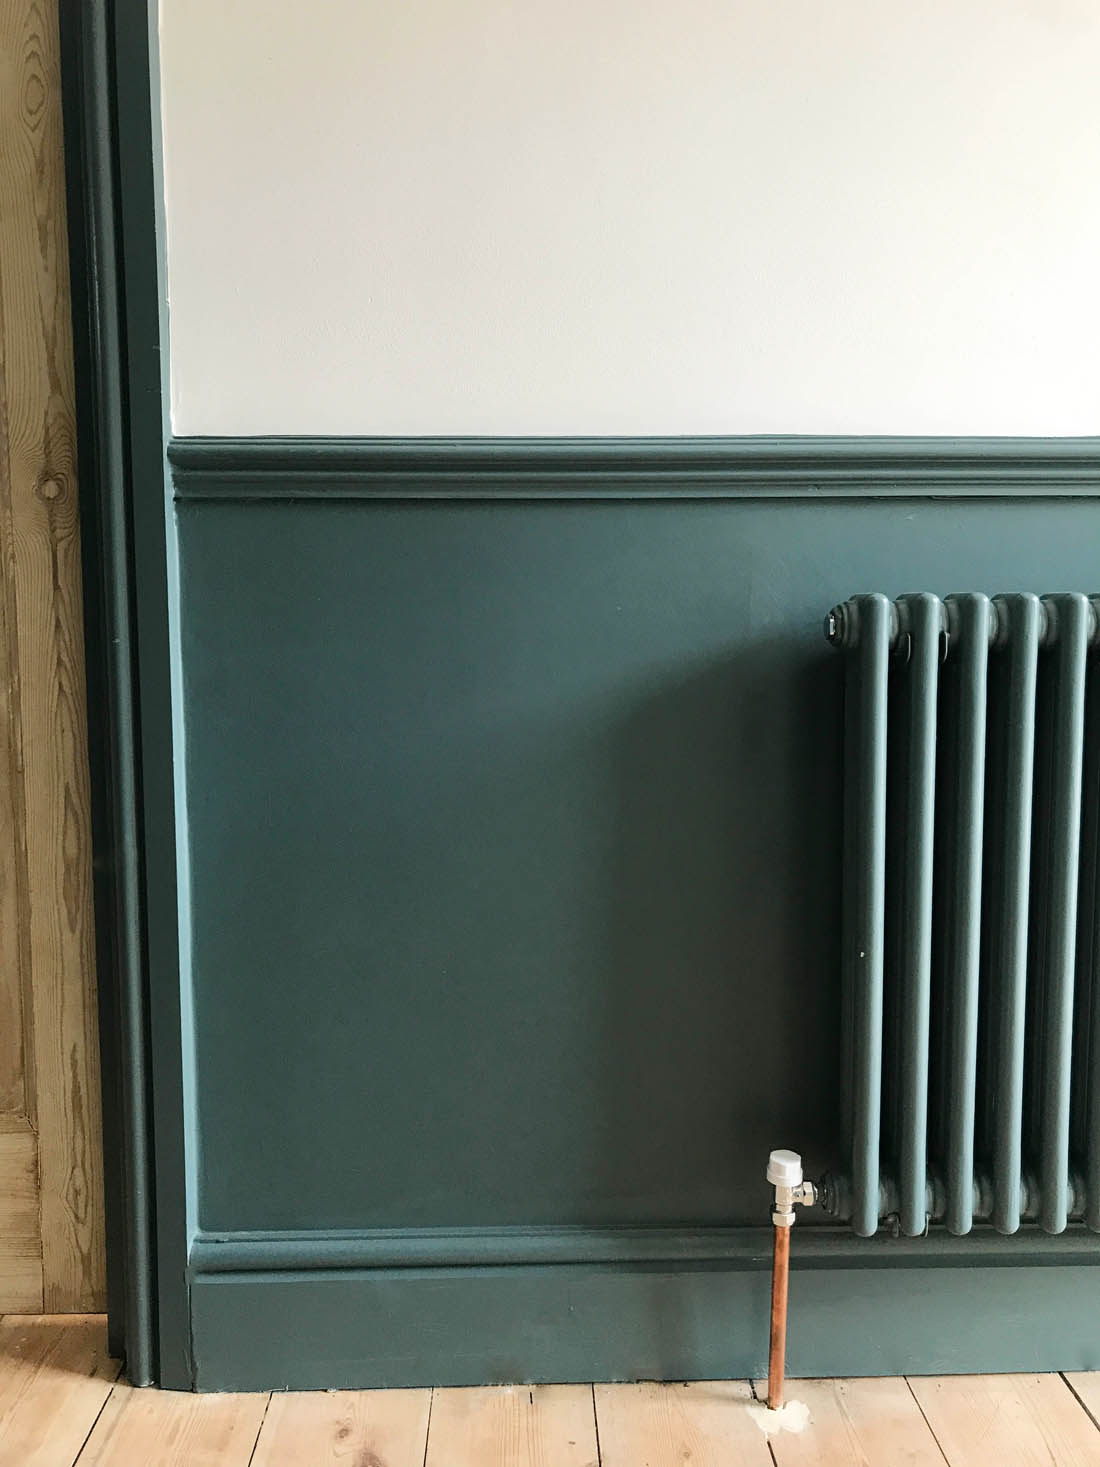
The hallway was very, very tired with peeling wallpaper, a horribly dirty green carpet, the woodwork was chipped and battered, the walls were filthy, the plaster was shot and the doors were painted. We completely stripped the place back to brick, replastered, re-wired with spot lights (which I HATE but we’ll talk about that another time) and re-plumbed and installed a new traditional style radiator that we painted the same colour as the walls. We had the picture rail, architrave, skirting and coving replaced as it was but I also added a dado rail, which I love for the style and practical benefits. The doors were dipped and left natural on this side (they’re painted on the other side in the living room) and I bought new handles.
-

- BEFORE
-
- AFTER
-
- BEFORE
-
- AFTER
My greatest sadness when we bought the house was that the previous owner had taken out the original front door. All of the other period features in the house were left alone and I was fine with the fact that that windows are uPVC but the front door makes me weep. However, as it is purely aesthetic it got pushed to the bottom of the list when it came to how we spent our renovation budget.
Future plans

This is the only storage we have as it stands – just a cheap peg rail and wall shelf that we brought from our flat and nothing for shoes and boots.
We will be carpeting the stairs in this sisal, which from previous experience is amazingly hard wearing and does not show up the dirt and wear like wool carpets can. We will also replace the front door and its frame with an original 1930s one like this, which will totally transform the feeling of the space as well as letting in more day light. For now though we are going to focus on less expensive and more practical pursuits like figuring out the storage, which I know will make this hallway a very useable and useful space.
Taking inspiration from the hallway furniture at Wooden Furniture Store, I am thinking of a storage bench that we will be able to sit on as well as storing shoes and boots. The other option is a dedicated shoe cupboard, which we may be able to fit alongside a bench as very soon Mimi’s buggy won’t be needed (sob!) so we will have extra space and she will no doubt have more shoes.


I really like having a wall mounted set of cubby holes that can be used to store mail, keys, dog leads etc. Even though this wall shelf with pegs isn’t intended for the hallway it would be perfect or a more conventional wall mounted set of coat hooks is very useful, especially if it has a shelf above.

I had ruled out a console table as I had in my mind that it wouldn’t enough storage for us but looking at this one it could work for shoes below and then all those bits that just need to be shut away in a drawer and forgotten about 😉

We will also be painting and organising the under stairs cupboards as our next job so watch this space for progress on that (our weekends are soooo fun at the moment!).
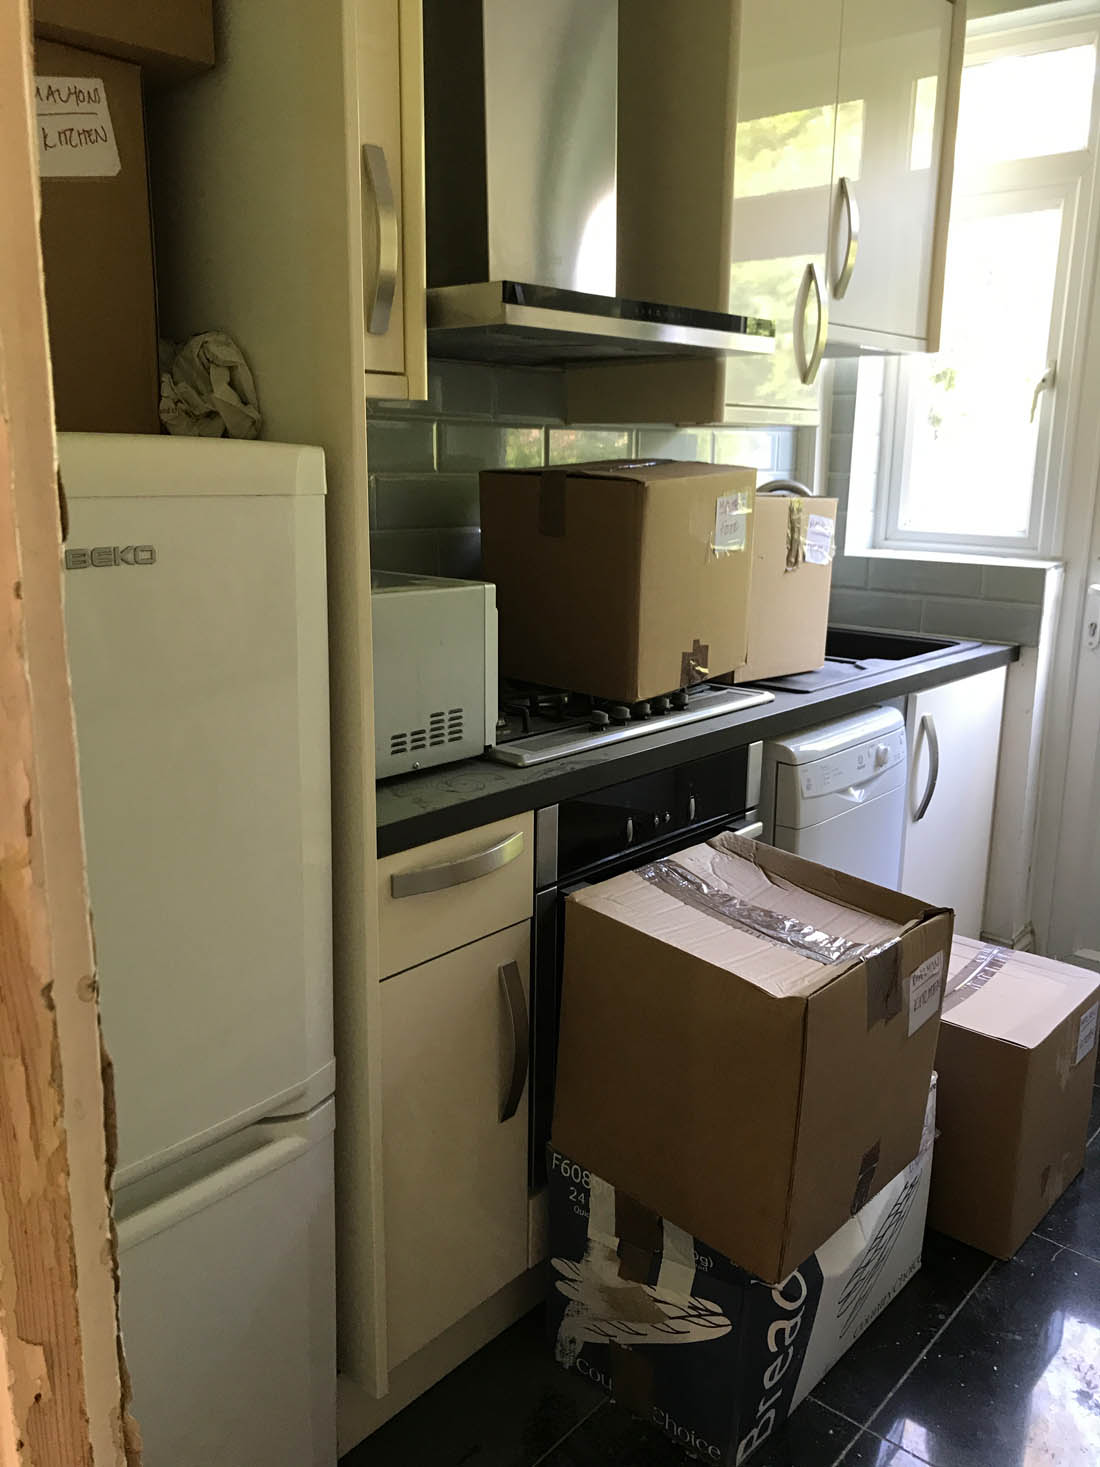
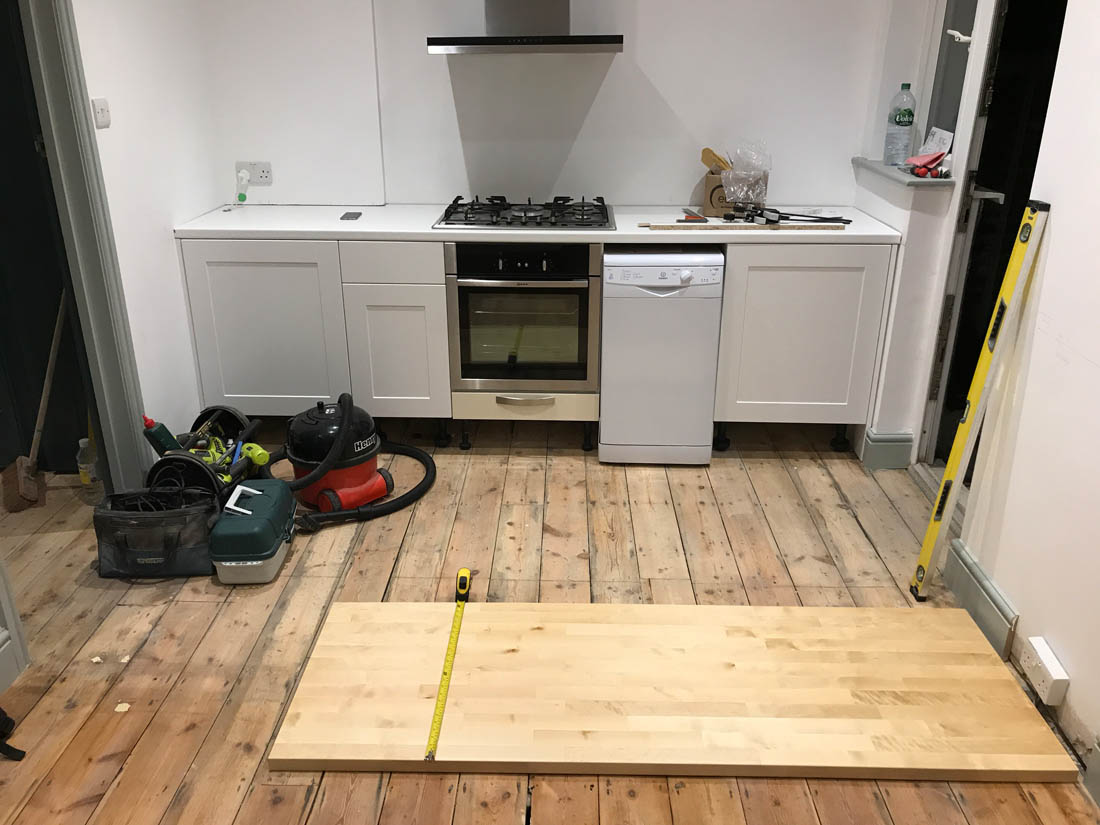
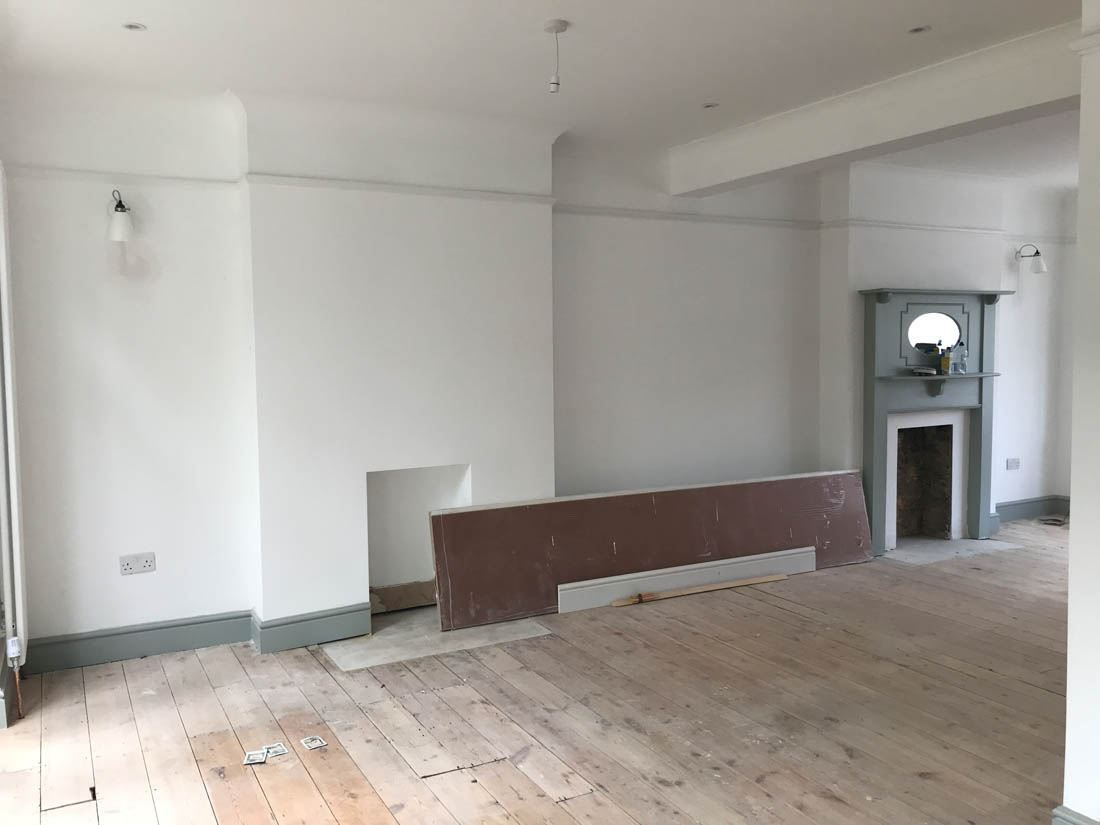
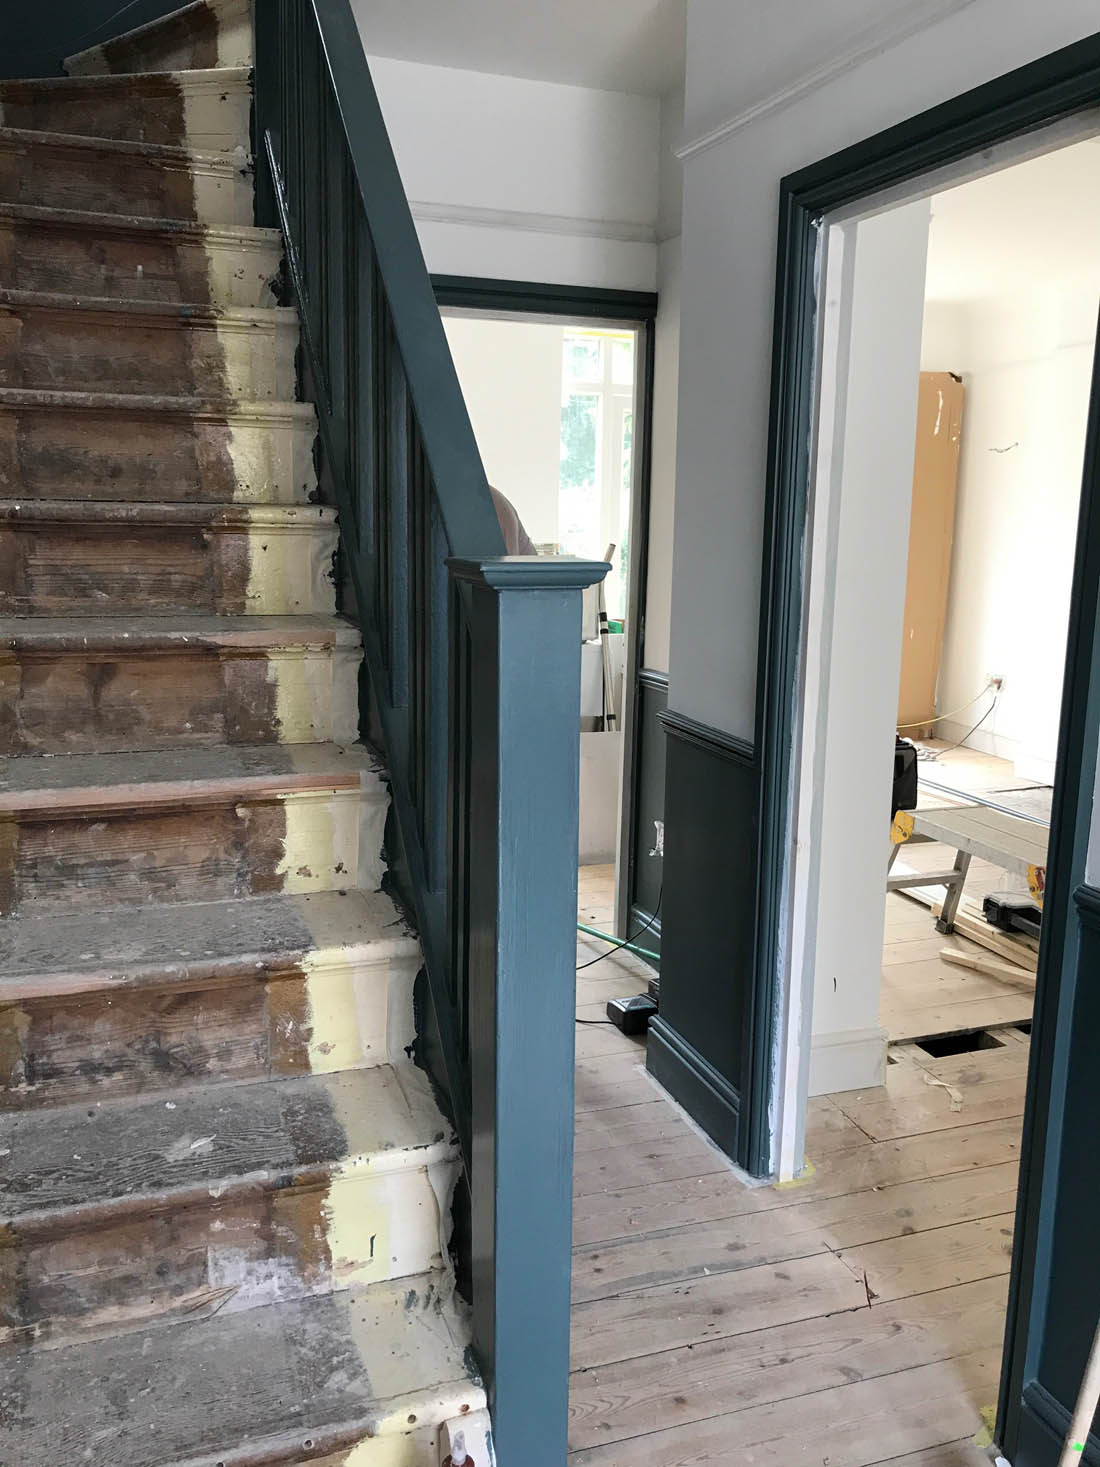
During
And just to give you an idea of what was involved in getting smooth walls, restored doors, a new radiator and re-wired lights in our hallway here are the ‘during’ pics…


So, there you are. If anyone has an extra couple of thousand pounds floating around fling them my way for some carpet and a new front door – ha!
Katy x
*This post was kindly sponsored by the Wooden Furniture Store.