Natural Christmas garland

I used to love tinsel as a child and we would decorate the whole house with it: up the banisters, along the mantelpiece, over pictures hanging on the walls, anywhere and everywhere. It’s definitely festive, but not necessarily particularly beautiful.

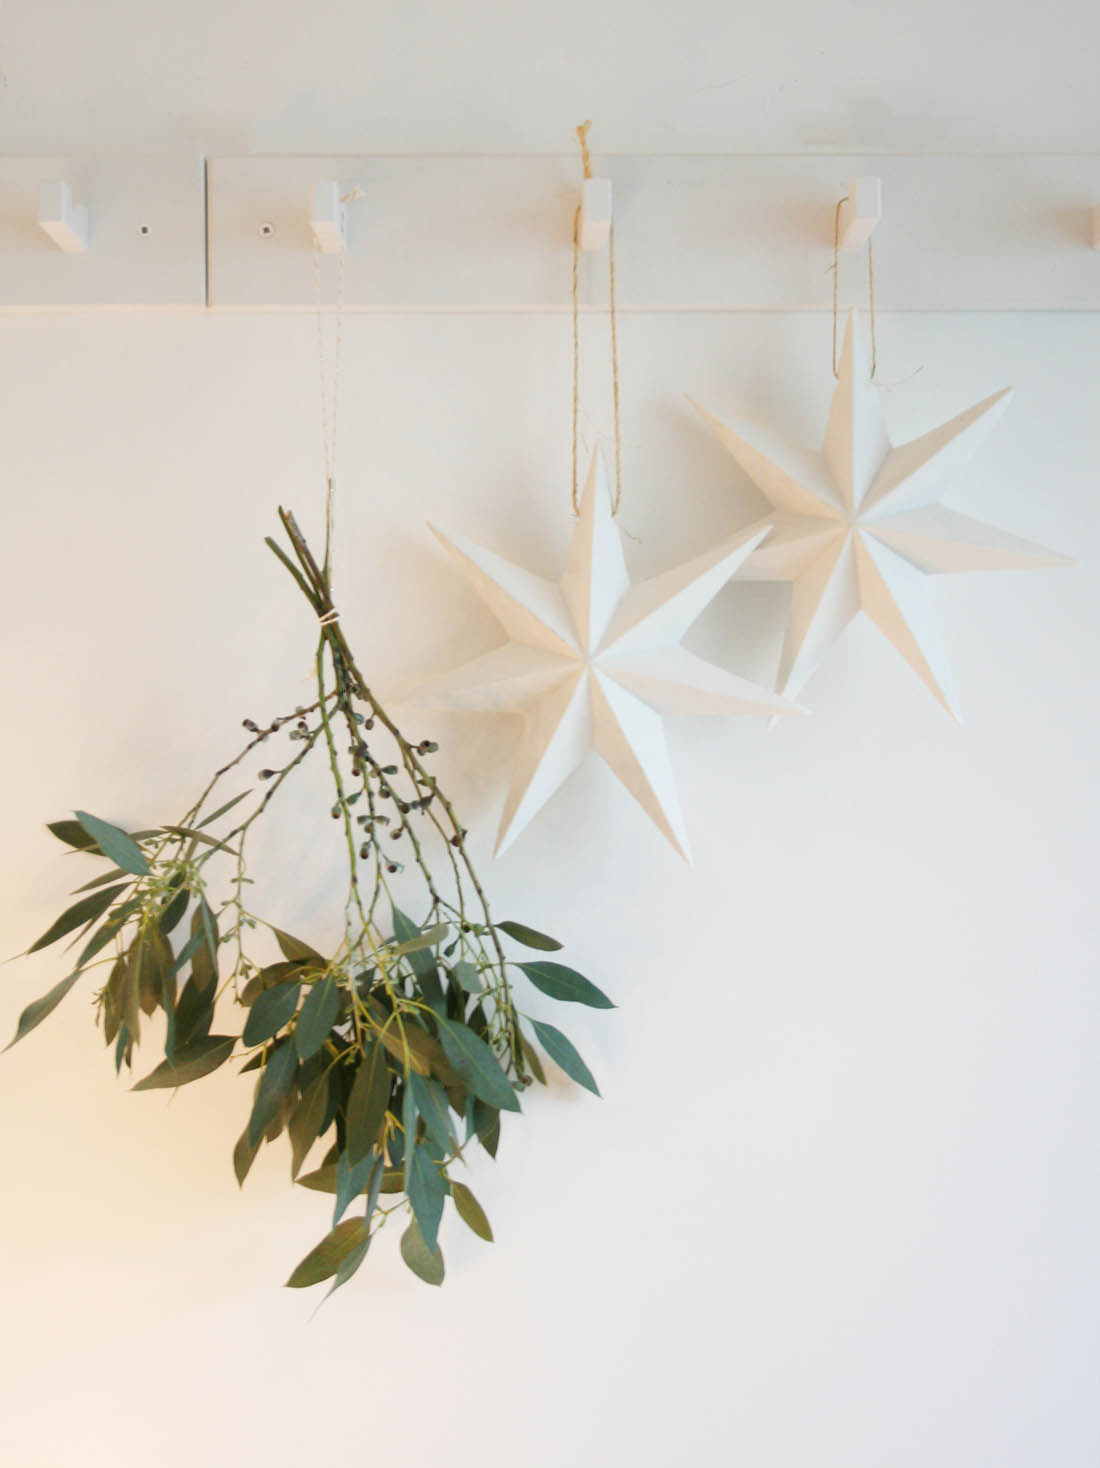
I saw this fabulous Eucalyptus garland tutorial back in November and I was determined to give it a go, having never made a garland before, as it seems like the perfect alternative to tinsel.

This really is as easy as it looks and it can be a last minute decoration that you make to run down the centre of the Christmas table or I think it would look beautiful on a mantelpiece (I wish I had one!).

Natural Christmas garland | How to make a Eucalyptus garland | Apartment Apothecary

You will need:

– Hardy foliage (I bought mine from Columbia Road flower market because I don’t have a garden and very helpfully some lovely people on Instagram were able to tell me that it is called Eucalyptus pauciflora, otherwise known as Snow Gum and it is amazingly hardy!)

Florisrty wire

– Twine

– Scissors

Natural Christmas garland | How to make a Eucalyptus garland | Apartment Apothecary

Step by step:

1. Cut your big branch into smaller pieces around 20cm long.

Natural Christmas garland | How to make a Eucalyptus garland | Apartment Apothecary

2. Unravel 20cm of your twine but don’t cut it, just lay it out on a flat surface. Place one of your pieces of foliage on top of the twine. Cut a 20cm piece of wire and secure the twine to the foliage by winding the wire around and around.

Natural Christmas garland | How to make a Eucalyptus garland | Apartment Apothecary

3. Unravel more twine and place another piece of foliage on to it, slightly overlapping the last piece and secure it with the wire and so on until you have the length of garland that you want.

Natural Christmas garland | How to make a Eucalyptus garland | Apartment Apothecary

If I had a beautiful doorway or fireplace this ‘green tinsel’ would be perfect but I think it will look equally as lovely on the Christmas table.

I’m taking next week off to prepare for January so I will pop in on Christmas day and New Year’s eve to say hello but won’t be back again properly until January 4th with my first Styling the Seasons of 2016. Until then, I hope you all have the most wondrous holiday!

Katy x


DIY feather baubles and my Christmas tree

I have just put my Christmas tree up and I still have glittery fingers from making my one handmade bauble of the year that I always gift to my sister (it’s our little tradition). I love having a mix of old and new in my home and the same goes for the tree; some new, some old and some handmade.

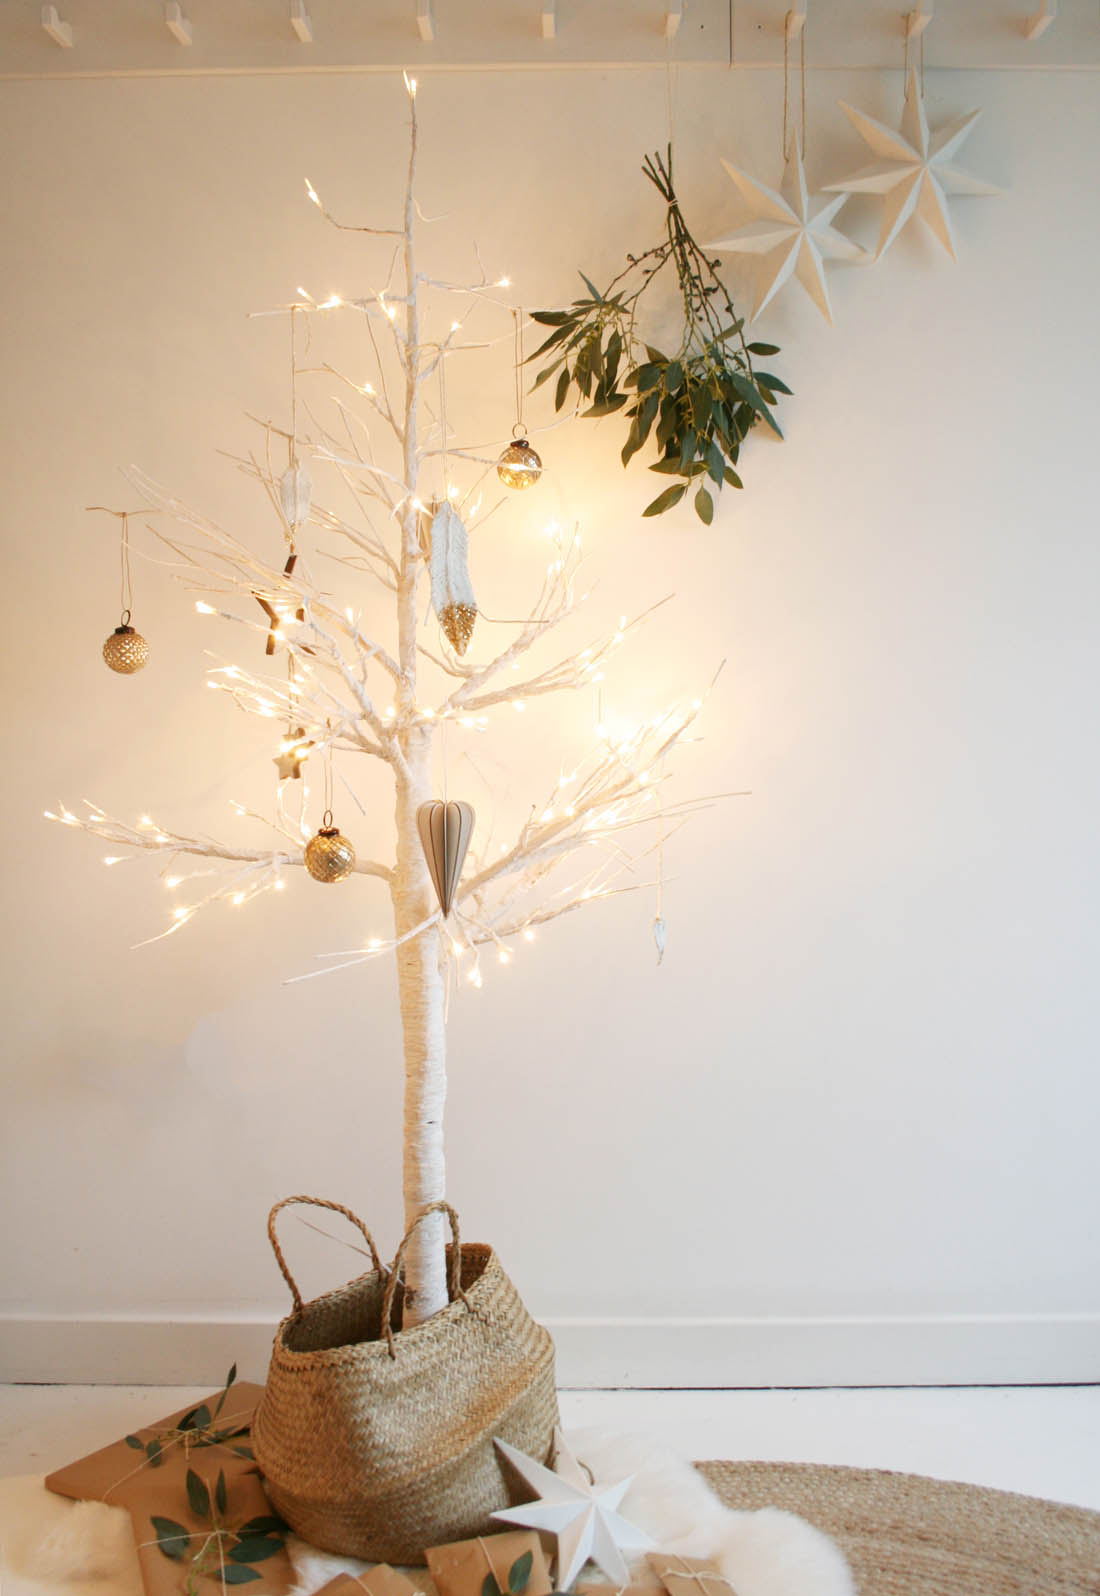
This year we have a beautiful ‘tree’ from Houseology that is perfect for our flat and I love how simple it is. It has LED tips and it looks so, so pretty when it is lit at night. Soooo pretty!

So, here is my little tree and my homemade feather bauble (a stupidly easy tutorial below – it honestly took me five mins to make it) along with a set of new baubles that fit with the Scandi/vintage vibe that you know that I love.

LED Christmas tree from Houseology | Apartment Apothecary

Snow LED Light Branch from Houseology

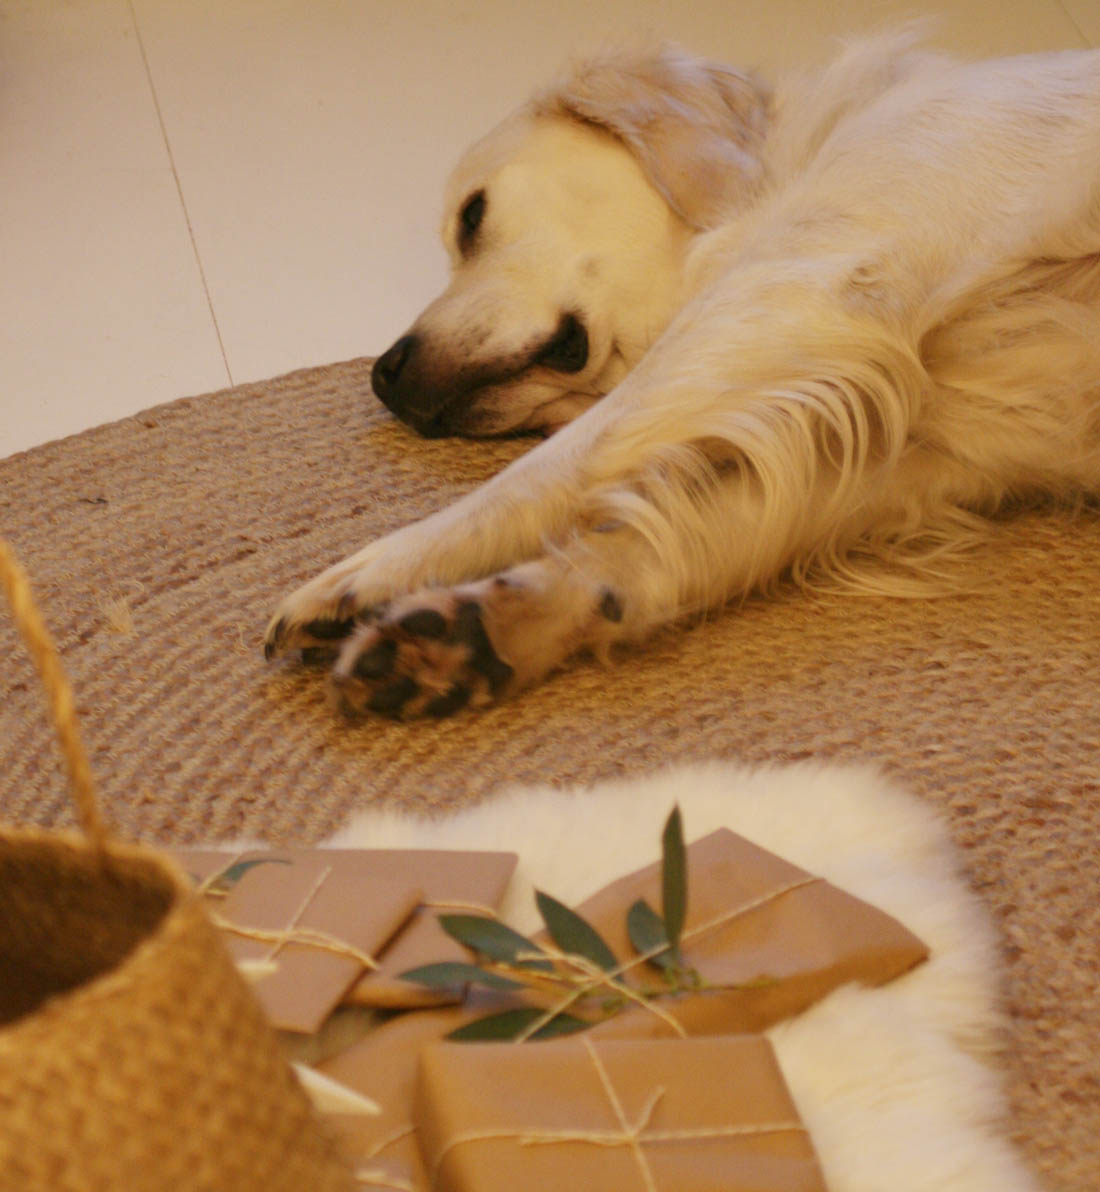
A good dose of brown paper packages tied up with string (and a few sprigs of Eucalyptus for good measure).

IMG_3210 copy

I was spoilt for choice when selecting a new collection of baubles from Houseology. I decided to stick with white and gold and mix the Scandi wooden hanging tall heart decorations and the large wooden star hanging decoration with the more vintage looking harlequin ball baubles.

LED Christmas tree from Houseology | Apartment Apothecary

My handmade feather bauble (tutorial below). When Jules found me a pure white swan feather in the park a couple of months ago I scoured the park looking for more but with no luck. Therefore, I tried to make my own using air dry clay (Jules says it looks more like a leaf, but I hope you think it looks like a feather!).

LED Christmas tree from Houseology | Apartment Apothecary

And this little munchkin eyeing up the presents.

If you would like to make some of my gold-tipped feather baubles here is a little tutorial for you…

You will need:

Air dry clay

– Rolling pin

– Wooden board

– Knife

– Tooth pick

– Paint, brush, glue and glitter to decorate if you want to

– Twine to string it up for the tree

Handmade feather bauble tutorial | Air dry clay project | Homemade Christmas tree decoration | Apartment Apothecary

Step by step:

1. Take a small piece of clay in your hands and roll it into a largish sausage shape in your hands (make sure it is as fat as a large sausage).

Handmade feather bauble tutorial | Air dry clay project | Homemade Christmas tree decoration | Apartment Apothecary

2. Roll out the sausage shape so it is about 5mm thick. Using a knife cut out a feather shape.

Handmade feather bauble tutorial | Air dry clay project | Homemade Christmas tree decoration | Apartment Apothecary

3. Use both forefingers to mould a spine down the centre of the feather. Don’t worry about squishing out the shape of the feather as you do this or leaving finger prints.

Handmade feather bauble tutorial | Air dry clay project | Homemade Christmas tree decoration | Apartment Apothecary

4. Use a toothpick to score lines from the spine tot eh outer edge of the feather at a 45 degree angle. Don’t worry about keeping it neat or blurring the outer edge – a bit of texture will make it look better and more feather like than leaf like.

Handmade feather bauble tutorial | Air dry clay project | Homemade Christmas tree decoration | Apartment Apothecary

5. Once you have scored down both sides use the tooth pick to create a hole for the twine.

Handmade feather bauble tutorial | Air dry clay project | Homemade Christmas tree decoration | Apartment Apothecary

6. Before you leave it to dry overnight, gently manipulate the feather to curl it slightly so it gains the shape of a real feather.

Handmade feather bauble tutorial | Air dry clay project | Homemade Christmas tree decoration | Apartment Apothecary

7. Once the clay has dried overnight, gently rub over the little bits and pieces with your fingers to smooth the surface of the feather. Paint your feather and/or add glitter using PVA glue and then string it up ready for the tree!

Handmade feather bauble tutorial | Air dry clay project | Homemade Christmas tree decoration | Apartment Apothecary

Happy tree decorating everyone!

Katy


*This post was written in collaboration with Houseology.

The magic of baking soda

So, are you ready for the in-laws and your family to descend this Christmas expecting a clean house, pristine beds, comfy sofas and lots of yummy food and drink? No pressure.

I realised recently that both our bedlinen and sofa are getting totally trashed by our dog, to the point where I caught a guest moving to a different part of the sofa after pulling a face at the dog stains she was sitting on – I tell no lie. The next day I immediately pulled off all the covers and stuffed them in the washing machine but they have to be washed at 30 degrees because they shrink and the blue stripes against the white fabric can run. When they came out of the washing machine they looked exactly the same as they had when they went in: mud stains, drool stains and general yellowing – gross!

I don’t want my sofa to be grubby and unpleasant with a house full of people over Christmas, not least because the vast majority of time is spent on the sofa watching Xmas telly and drinking as much as is humanly possible. However, I also couldn’t bear the thought of paying to have my sofa covers professionally cleaned. This is where the baking soda comes in.

Oh my god. This stuff is A-MAZING! Seriously.

Here’s what I did to tackle the sofa covers:

1) 1 cup or mug of baking soda poured into 8 litres of very hot water in a bucket and stirred.

2) Submerge cushion covers into bucket (I did it in three different batches as I only have one bucket, which doesn’t fit all of the covers into it at once. I did try putting them all in the bath and adding more baking soda but it just didn’t work very well at all – no idea why). Stir the covers around in the water and soda solution and then make sure they are all submerged, even if you have to weight them down with something.

3) Leave to soak for 18 hours.

4) Remove covers, wring out and then put into a cold wash in your washing machine.

I did no scrubbing and the baking soda just lifted out these stains as well as the general dirt that had discoloured the covers. I promise you, the results are miraculous considering a conventional wash in the machine had not made any difference at all.

I have done the same to my bedlinen, which works amazingly well as the main reason bedlinen goes past its best is the build up of sweat (horrible, I know). The baking soda break down the oils and sweat build up, which makes whites yellow and robs them of their fresh feeling. My linen is back to its best and ready for ALL the house guests this Christmas.

Keeping your whites white with baking soda | Cleaning sofa covers with baking soda | laundry tricks | Apartment Apothecary

Do it! I promise you won’t be disappointed.

What are you doing to prepare for houseguests this Christmas?

Katy x


Living room makeover plans and a coffee table giveaway

As if embarking on a kitchen makeover in the new year wasn’t enough, I was standing in my living room the other day and made up my mind that I definitely want to completely change my living room at the same time. How on earth can I have a lovely ‘new’ kitchen and not apply the same love and attention to the space we spend most of our time in? Well, that was the argument I used when persuading Jules – he thinks it is a complete waste of money, obvs! The fact is that I have never bought anything for our living room, except for the sideboard and rug, as it all came from my previous flat and the sofa and huge armchair have always been too big for this space. There is just too much going on and it has begun to feel cramped and completely mis-matched to the rest of our flat since re-doing our home office, hallway and bedroom. The rest of flat is all white and pastels and I have gone off all of the colours in this room and the mix of patterns. It all has to go!

Living room makeover plans and a coffee table giveaway with Houseology | Photography by katharinepeachey.co.uk

The only things that I plan to keep in this room are the dining table and Ercol chairs. Everything else has to go as it feels too cramped, heavy and mis-matched in this room. The kitchen is just round the corner to the left so I would like the two spaces to both be light, bright and a bit more sophisticated. Photo by Katharine Peachey

Living room makeover plans and a coffee table giveaway with Houseology  | Photography by katharinepeachey.co.uk

I would love a new coffee table instead of my mum’s old school trunk as this feels too heavy and large for this space. Photo by Katharine Peachey

A new sofa and chairs are on order (I’m so flipping excited I might internally combust!), a new rug has already arrived (I do LOVE my kilim rug but Otto has begun to destroy it so it needs to be saved before it is completely ruined), my sideboard has been sold and I am lusting after a new coffee table. I want to go for more of a Scandi vibe with a bit of mid-century flavour in my living room so it feels less cluttered, calmer and more in keeping with the rest of the flat. I have got a firm eye on one of these tables and guess what?! The lovely folks over at Houseology would like to celebrate Christmas by giving away a coffee table to one of my readers. It can be any coffee table of your choice up to the value of £500. Wowzers!

These are my favourite picks (can you guess which one I want for my new living room?) but you get to choose whichever one you like up to a value of £500. Have a look at the full collection here – decisions, decisions! And as if that wasn’t enough my lovely blogger friends Lori, Amanda and Rachel all have £500 Houseology vouchers to give away at the same time but on different types of homewares so make sure you visit their blogs – you could end up with a whole living room of new stuff, too!

– Pop over to Ana Mum Diary to win £500 to spend on side tables.
The Ordinary Lovely has £500 to give you to buy yourself a new table lamp.
– Over on Wild & Grizzly grab £500 to spend on pendant lights.

All you have to do to enter my giveaway is complete the Rafflecopter below before midnight on December 22nd and the winner will be randomly generated and announced here on December 23rd. Good luck x

a Rafflecopter giveaway

T&C’s: Giveaway ends at midnight on Monday December 22nd; You must be a UK resident to be eligible for this competition; This voucher code is valid on items within the Houseology Coffee Tables category only; Free UK delivery will apply for your purchase; Voucher code is valid for one single transaction only, even where the full available balance is not met. Any value not used within one transaction will be forfeit; This prize is non-transferable and cannot be exchanged for monetary value; No cash alternatives to the stated prize will be offered; Valid until 31st December 2016.

Twelve styled days of christmas: day 5

I’ve gone a bit gaga for Christmas this year and it all started with a project that Teri from The Lovely Drawer conjured up back in September. Along with eleven other bloggers we have all come together to style twelve different Christmas tables with lots of lovely West Elm goodies. You can follow all twelve days on Teri’s blog and and West Elm’s Front + Main blog.

As a child the thing I looked forward to most about the festive season were the mornings; I would jump out of bed every morning, so excited to see what picture was behind the door of my advent calendar and don’t even get me started on the excitement levels of finding and opening our stockings on Christmas morning itself.

Therefore, I had to choose an advent breakfast table with hot cinnamon rolls and a special homemade advent calendar present. Being a cold, dark December morning there are plenty of homemade candles and twinkly lights and a cosy blanket so everyone can stay in their PJ’s all morning.

Twelve days of Christmas with West Elm | How to style your Christmas table with dusty pink | Apartment Apothecary

Cosy texture throw from West Elm

I have never been a big fan of the traditional red, green and gold so I always opt for soft pinks, white and lots of natural green. To make it feel more festive you just need a good dose of Christmas lights and candles, which also really help to make the dark mornings at this time of year feel more cosy.

Twelve days of Christmas with West Elm | How to style your Christmas table with dusty pink | Apartment Apothecary

My homemade advent calendar is simply two pieces of wallpaper (or you could use brown wrapping paper stamped with Christmas images) sewn together with a chocolate coin or two popped inside. You could even put a little note inside with a different Christmas related activity to be revealed each day.  Such a lovely thing to find every morning.

Twelve days of Christmas with West Elm | How to style your Christmas table with dusty pink | Apartment Apothecary

I made delicious Christmas scented cinnamon candles in small vintage cake tins (or patty pans), which work perfectly with the fresh cinnamon rolls. You can find the recipe for the rolls in this post and the tutorial to make the candles here.

Twelve days of Christmas with West Elm | How to style your Christmas table with dusty pink | Apartment Apothecary

Twelve days of Christmas with West Elm | How to style your Christmas table with dusty pink | Apartment Apothecary

I really can not explain to you how excited I used to get about my advent calendar, although we had a very strict ‘no chocolate’ rule in our family; it was all about finding the most beautiful calendar with the most beautiful illustrations. I think if there had been an advent present for me every morning on our breakfast table I would have internally combusted with excitement!

Twelve days of Christmas with West Elm | How to style your Christmas table with dusty pink | Apartment Apothecary

This Christmas we are spending the day in London with my family. We take the dogs for a walk in the morning and then have drinks with friends. We then walk through the quiet streets of London to a special restaurant for lunch – no cooking or washing up for us! Then home for lots of Christmas telly and more drinking and eating. I can not wait.

Pop over to Teri’s blog to see day 1, Heather’s blog to see day 2, Ruth’s blog to see day 3 and Fran’s blog to see day 4 – all completely different Christmas tables and different traditions, which makes it such a lovely project. Thank you so much to Teri for bringing us all together and the folks at West Elm for the perfect Christmas tableware (although I snuck a blanket in there as we all know you can never have enough blankets, especially when they are so soft and pink). Don’t forget to follow the remaining seven days on the Front + Main blog – there are some amazing tables coming up so you’d be a fool to miss it!

Katy x