The Shopkeeper’s Home

One of the most common questions I get asked is where do I find interiors inspiration and my answer is always the same: real homes, styled interiors and shops. Last winter I visited a homewares shop that I had admired on social media for a while and I found it so inspiring that I came home and completely restyled my whole kitchen that same evening! There are so many ideas to take away from beautifully styled shops that can translate to a home; a constant source of great inspiration.

When I found out about lovely Caroline Rowland‘s first book, I knew immediately that I was in for a treat. Along with a whole host of interesting lifestyle shop interiors, The Shopkeeper’s Home also gives us a peek into the real homes of their owners – being the nosiest person in the world and loving nothing more than a good house tour, it doesn’t get better than this. Except it does, because Caroline also pulls together practical ideas that we can all take away from some of the beautiful lifestyle stores featured in the book.

The Shopkeeper's Home by Caroline Rowland | Apartment Apothecary

I’m thrilled to be part of The Shopkeeper’s Home blog tour this week (see Holly’s post here, Yvonne’s post here and Jeska’s post here) because I know you will enjoy perusing this book as much as I have; there is so much to look at and so many wonderful details to discover. I immediately honed in on The Hambledon, which is the most gorgeous shop in Winchester. I have long cooed over the perfect styling of the shop (featured on the front cover of the book) and how they use the beautiful building as the stunning backdrop for their much coveted stock. The simplicity of the shop’s interior and styling really appeals to me and even their shelving has provided inspiration for my own plans to install open shelving in my kitchen. I was very excited to discover more about the owner of The Hambledon, Victoria Suffield, and take a look inside her home, which is perfectly curated. Caroline also explores the connection between the shopkeepers’ personal and professional spaces, which is really interesting.

The Shopkeeper's Home by Caroline Rowland | Apartment Apothecary

Home of Victoria Suffield, owner of The Hambledon.

The Shopkeeper's Home by Caroline Rowland | Apartment Apothecary

Home of Victoria Suffield, owner of The Hambledon.

So, if you want practical tips taken from beautiful lifestyle shops on how to use lighting, displays, colour and textiles as well as finding out more about the shopkeeper at work and at home, this is the perfect book for you. It is also a great directory for amazing shops to visit and I know that many are going on my list of places to go. Congratulations, Caroline – I loved every page!

Katy x

The Shopkeeper’s Home by Caroline Rowland, published by Jacqui Small.

P.S. Watch out for more sneak peeks of the book on the blog tour…

The Shopkeeper's Home by Caroline Rowland | Apartment Apothecary

Bringing colour into your home

As you may have noticed, I am quite keen on white. My whole flat is painted in Dulux Brilliant White and I love it that way; it’s the perfect colour to bounce the light around the flat and it feels fresh, contemporary and complements everything and anything.  Honestly, I’ve always been a bit too scared to add colour to the walls as there are no features, cracks or rough plaster to absorb the colour because it is a newly built flat so I worry it will look too stark. I know that as soon as I own a period property I will definitely use more colour; I already know exactly which ones I will use!

However, I often get a craving to experiment with colour and I have realised that a really good way to bring it into my home, whilst maintaining a white canvas, is to paint pieces of furniture. This is also an ideal way for renters to add colour to their home if their landlords won’t allow them to paint their walls.

Now, there was a time when the craze to paint every single piece of furniture that came through the door was strong: chairs, tables, bedside tables or sideboards. Personally, I think too many painted pieces of furniture can be a bit of overkill. Instead, I really love the idea of picking one main piece of furniture per room and painting it a colour of your choice. This can add the burst of colour you can lack in a white room and if you ever get bored it is so easy to change.

Here are some fabulous examples of using a painted piece of furniture to bring colour into a home…

Image via: BoligLiv

Image via: Yvestown

Image via: Decor8

You can choose a bold, bright colour for a large piece of furniture that really draws attention like the turquoise, pink and yellow cupboards above. Alternatively, you can choose something more subtle and subdued like the pale pink cupboard below or use glances of colour with pastel coloured dining chairs.

Image via: Yvestown

My home office is completely white: walls, floor, desk, sideboard, drawers and chair. I have decided to take my own advice and inject a bit of colour by painting a set of drawers using the Dulux Visualizer App – it’s free and you can download it on iTunes or Google Play. I will be back tomorrow to show you the results!

Katy x

Our vintage jumble sale

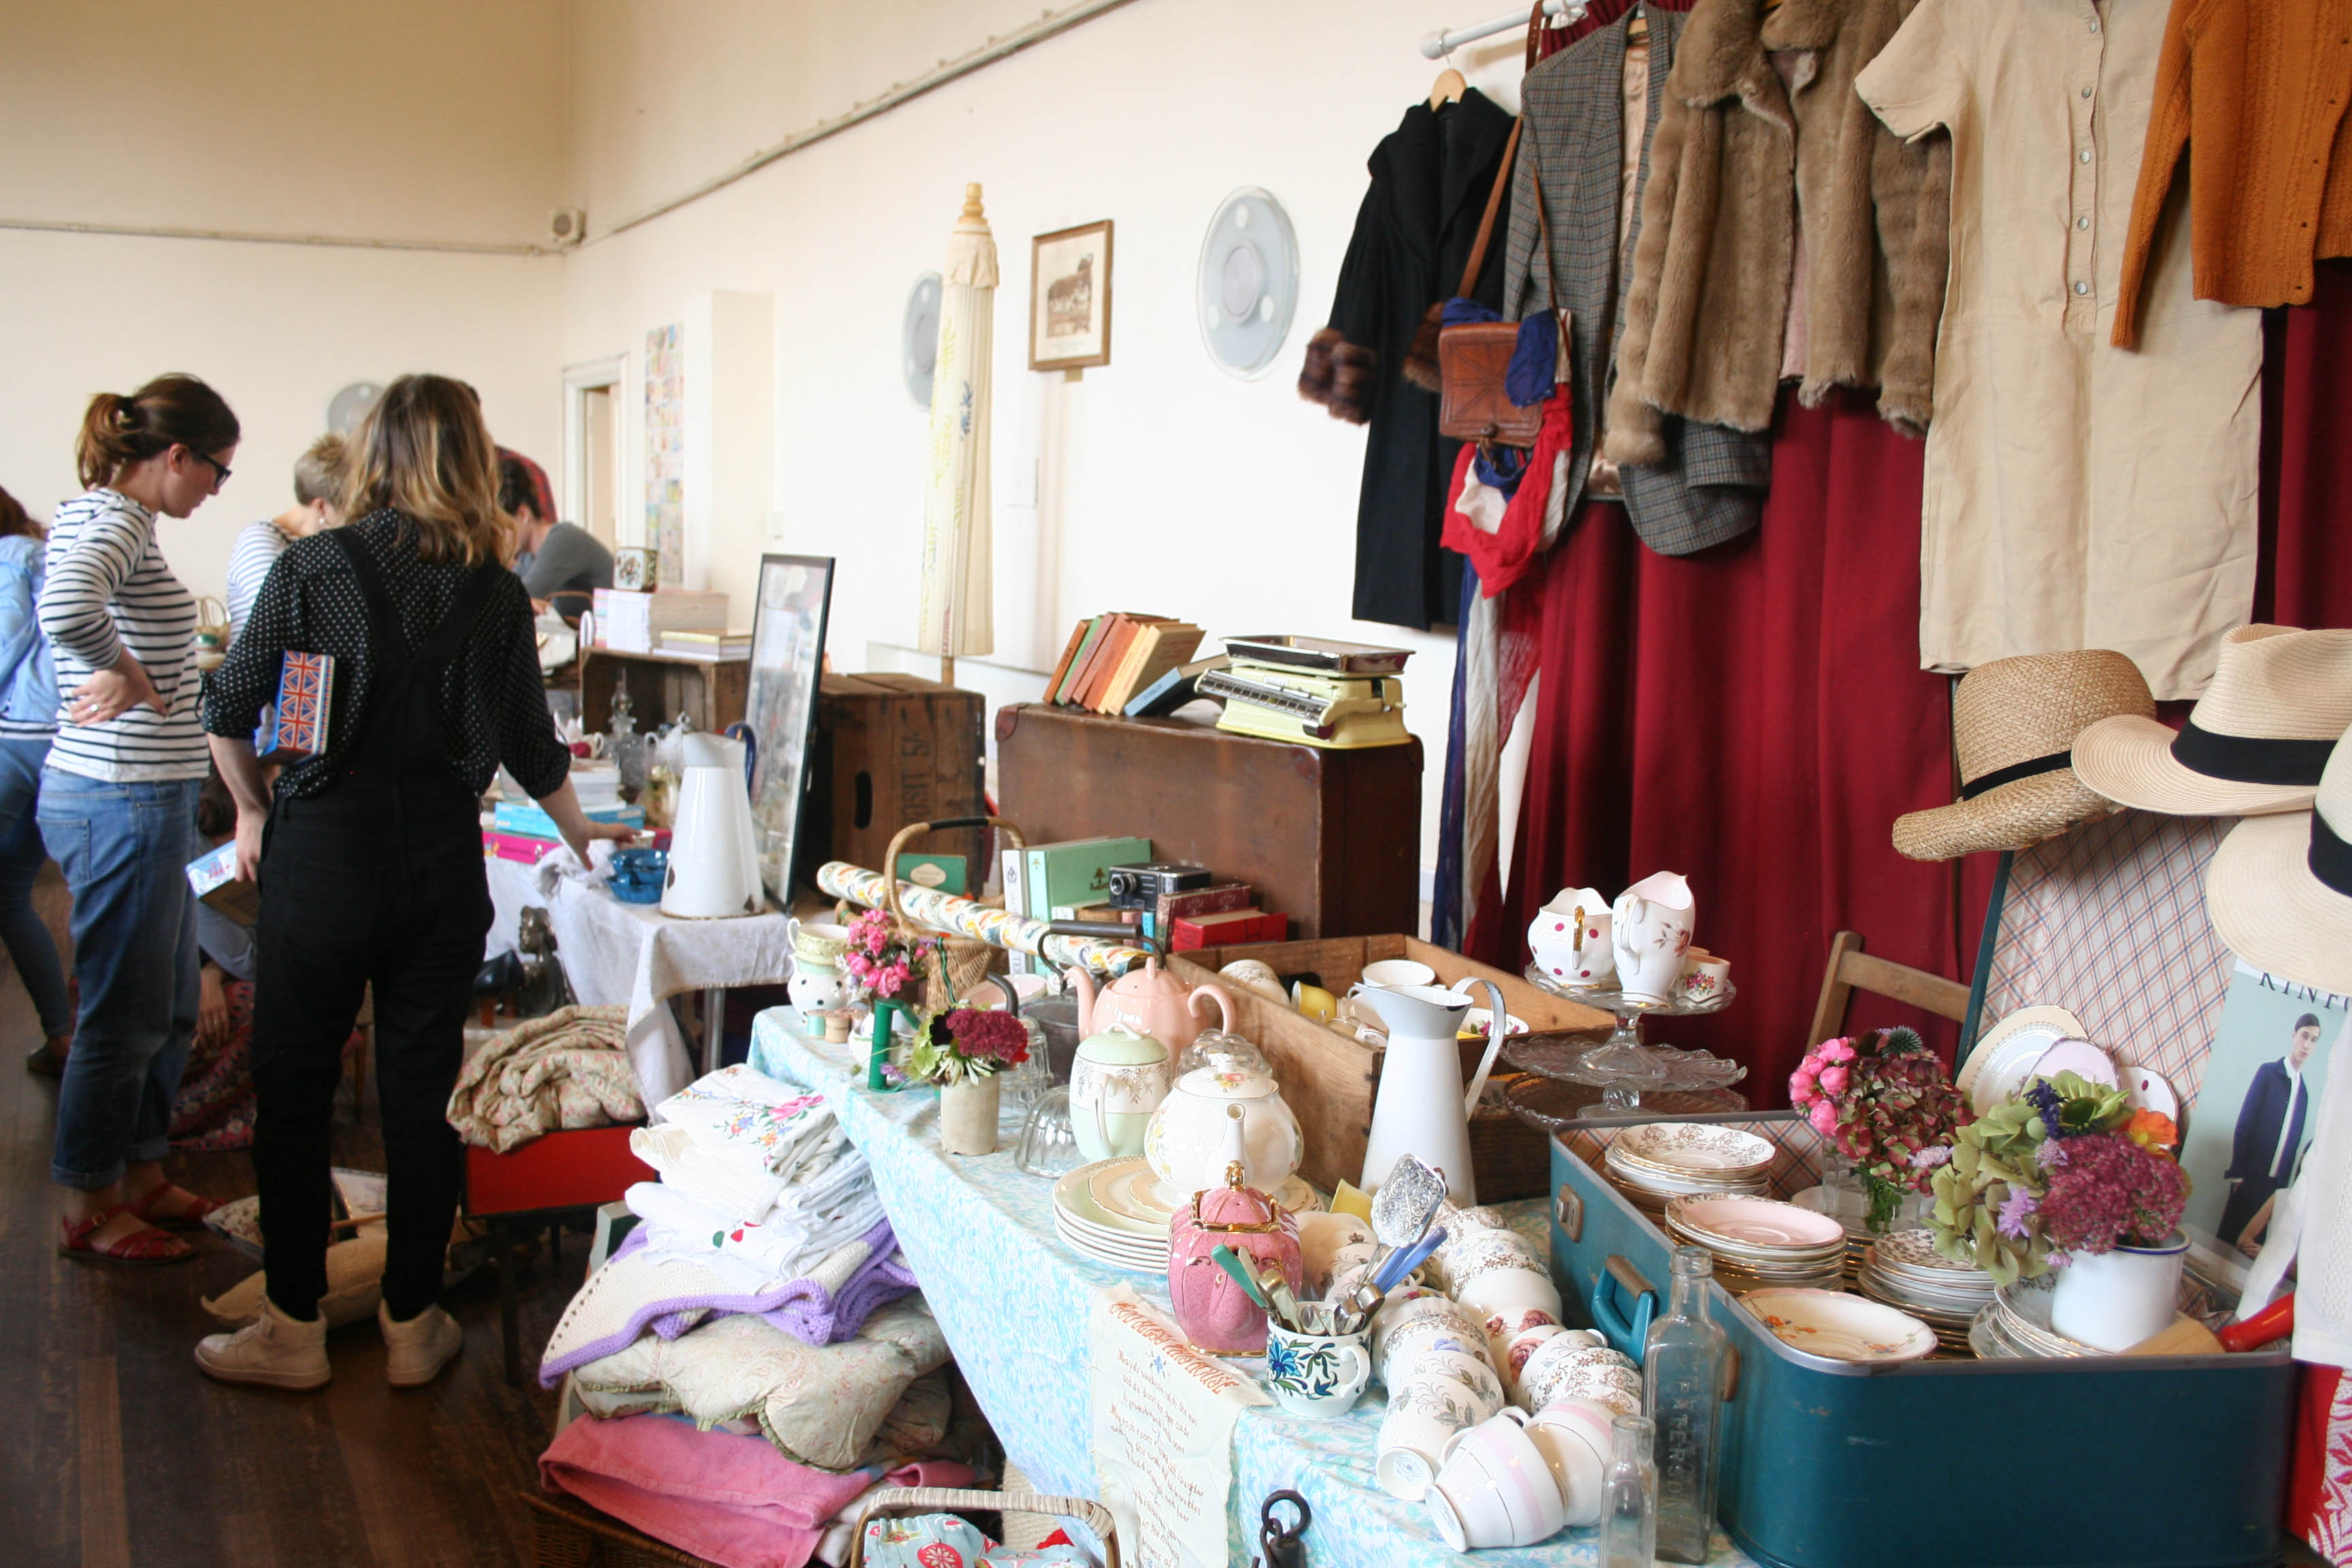
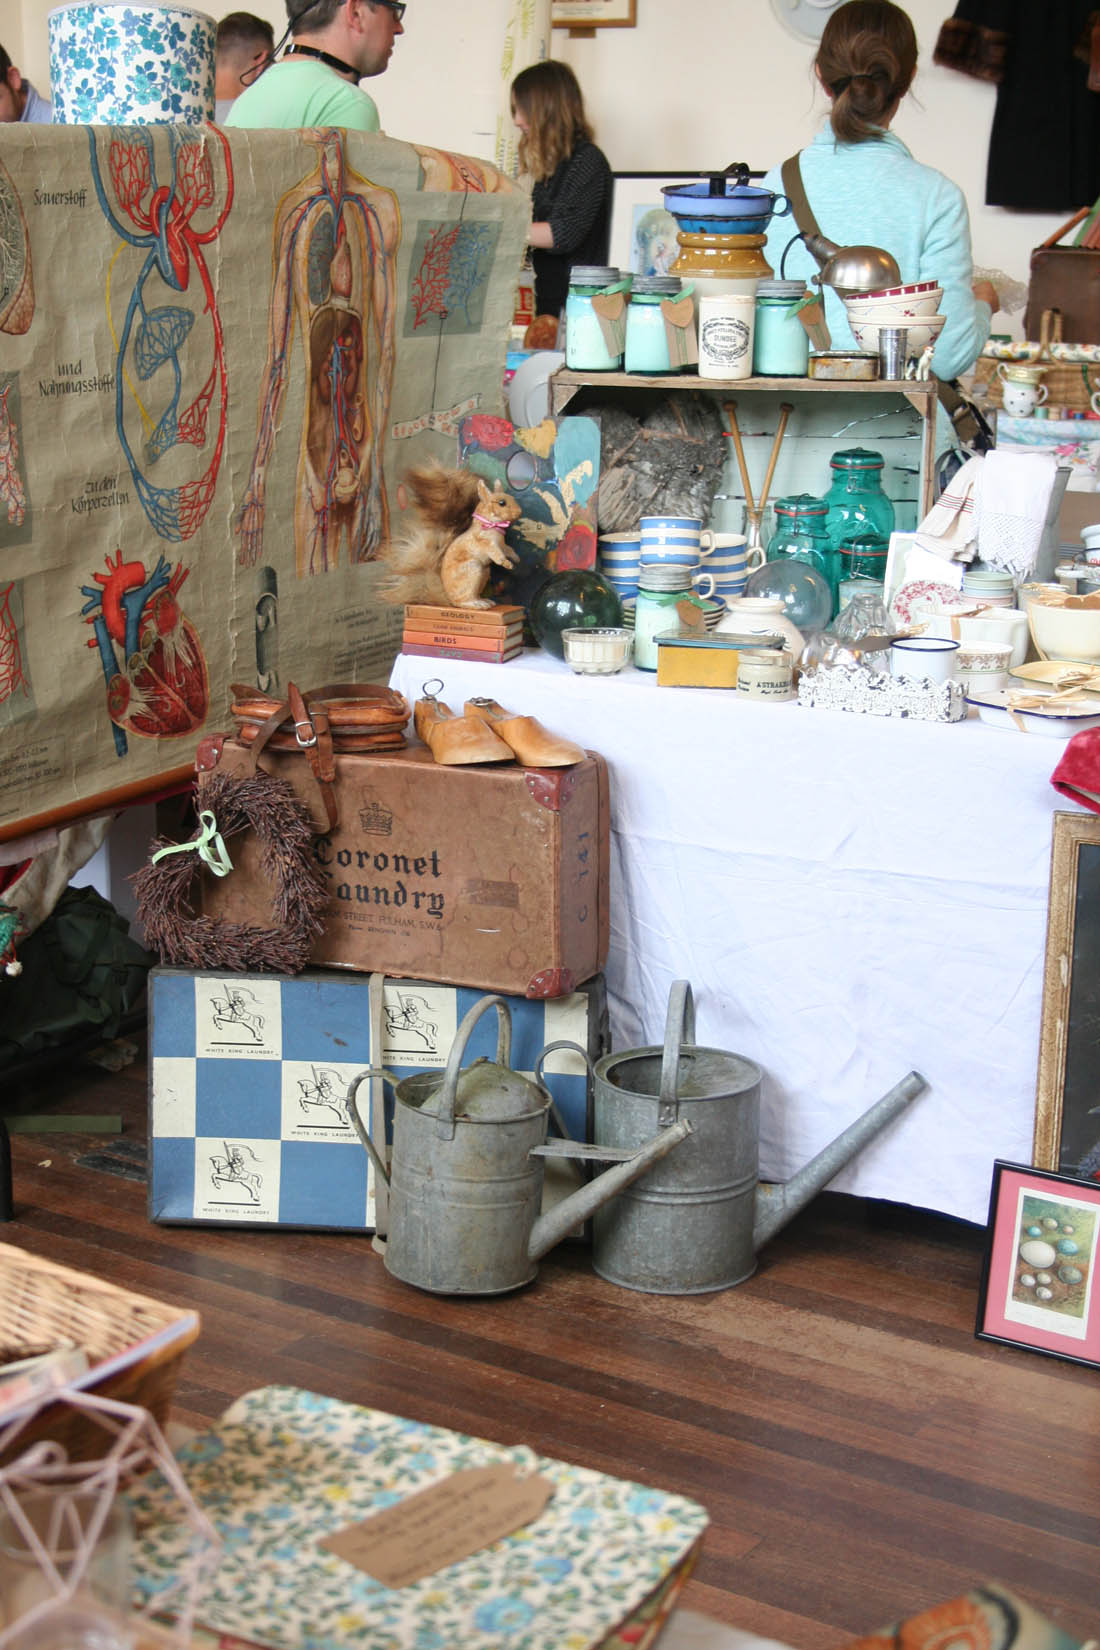
It’s 10am and I am still very much in my pyjamas, totally exhausted after our Vintage Jumble Sale yesterday. It was so wonderfully busy and buzzy and we loved meeting everyone – such a fun day, set in the most perfect village (I’m totally moving there) and with a gorgeous vintage tea prepared for us by Petal & Feast. Thank you so, so much to everyone who came, bought, drank tea, ate cake and said hello. I desperately tried to take some photos to capture the lovely day but it was too busy most of the time so here are a few (bad) snaps, mostly taken whilst we were setting up, just to give you a taste…

Vintage Jumble Sale | Lindfield, Sussex | King Edward Hall

Vintage Jumble Sale | Lindfield, Sussex | King Edward Hall

Vintage Jumble Sale | Lindfield, Sussex | King Edward Hall

Vintage Jumble Sale | Lindfield, Sussex | King Edward Hall

Vintage Jumble Sale | Lindfield, Sussex | King Edward Hall

It was quite amazing how within an hour King Edward Hall (the perfect village hall and the stewards were so helpful and accommodating) was full to brim with so many gorgeous vintage homewares and jumble. All of our lovely sellers had so much amazing stuff – I’m almost in disbelief that I managed not to buy anything. I popped round to all the stalls a couple of times when I got a chance and kept on stopping and biting my lip and stuffing my hands firmly in my pockets. So much temptation (I’m totally regretting not having bought a jug from Michelle’s stall, wire baskets from Laura’s stall, some very cute French jars from Amalia’s stall and another jug from Jeska’s stall!).

Vintage Jumble Sale | Lindfield, Sussex | King Edward Hall

Vintage Jumble Sale | Lindfield, Sussex | King Edward Hall

Vintage Jumble Sale | Lindfield, Sussex | King Edward Hall

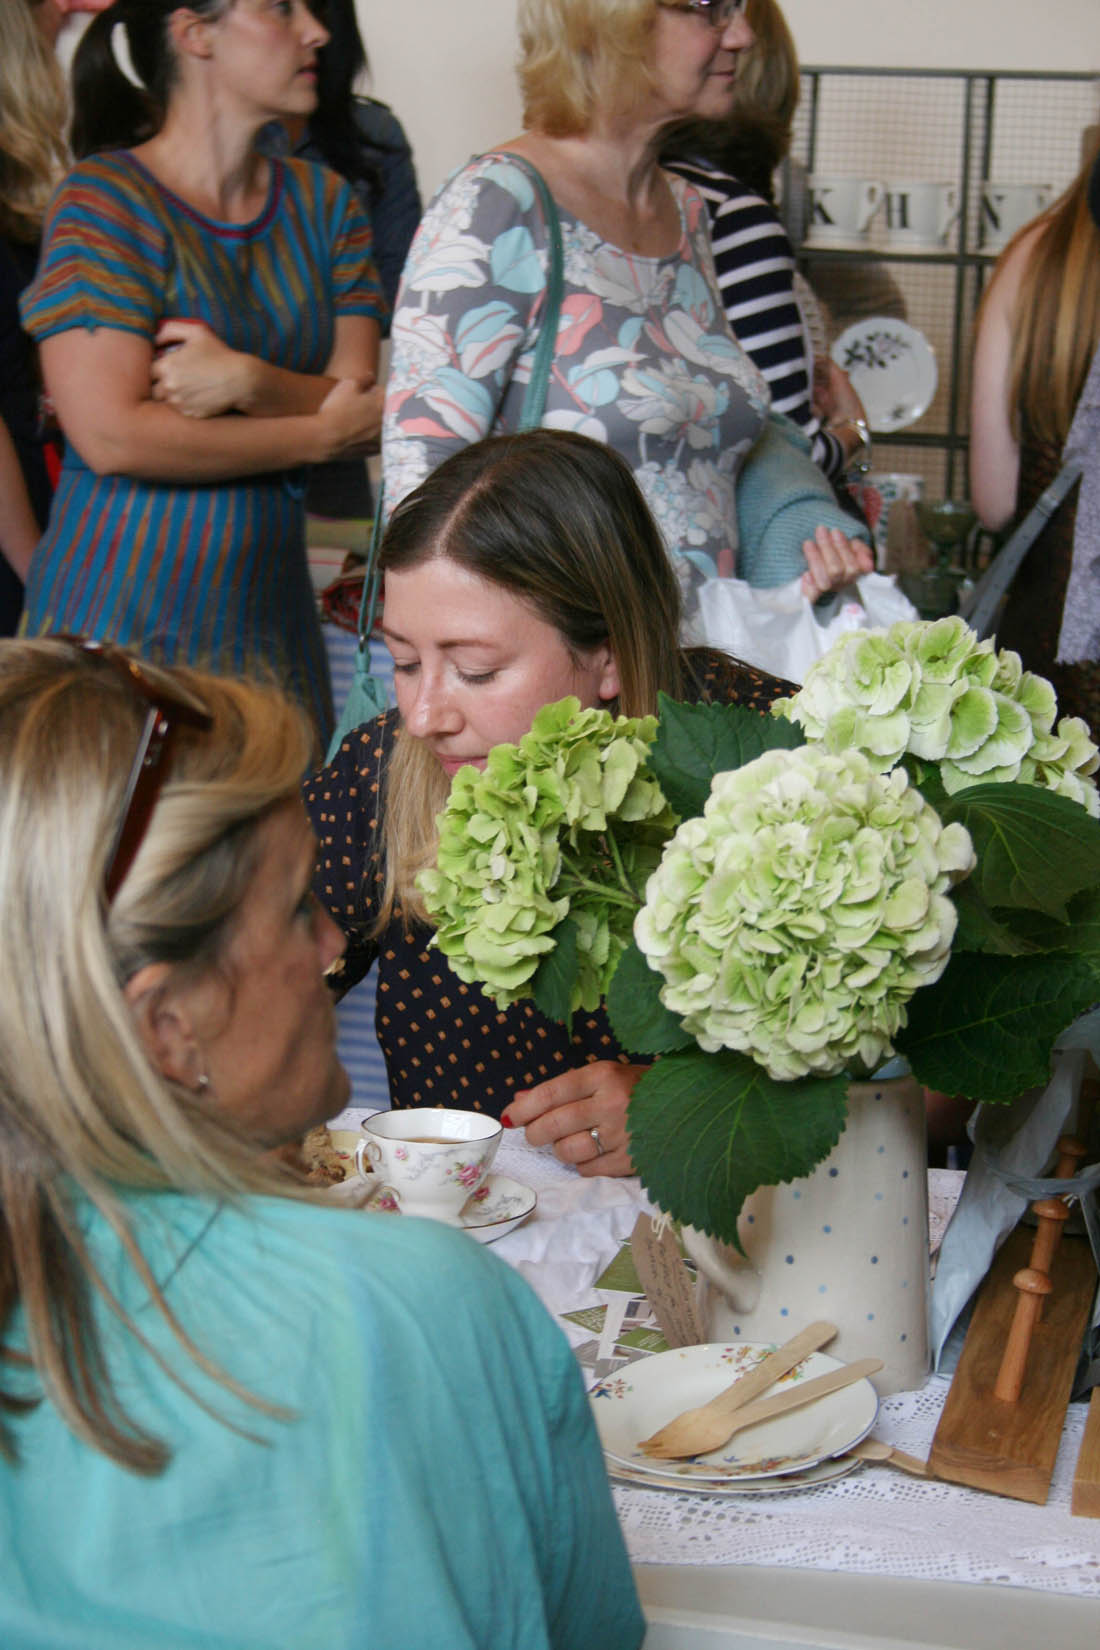
Petal & Feast did the most incredible job of putting on the most wondrous vintage tea for everybody and it all looked so beautiful! Total vintage heaven and many happy cake eaters.

Vintage Jumble Sale | Lindfield, Sussex | King Edward Hall

Vintage Jumble Sale | Lindfield, Sussex | King Edward Hall

Vintage Jumble Sale | Lindfield, Sussex | King Edward Hall

Vintage Jumble Sale | Lindfield, Sussex | King Edward Hall

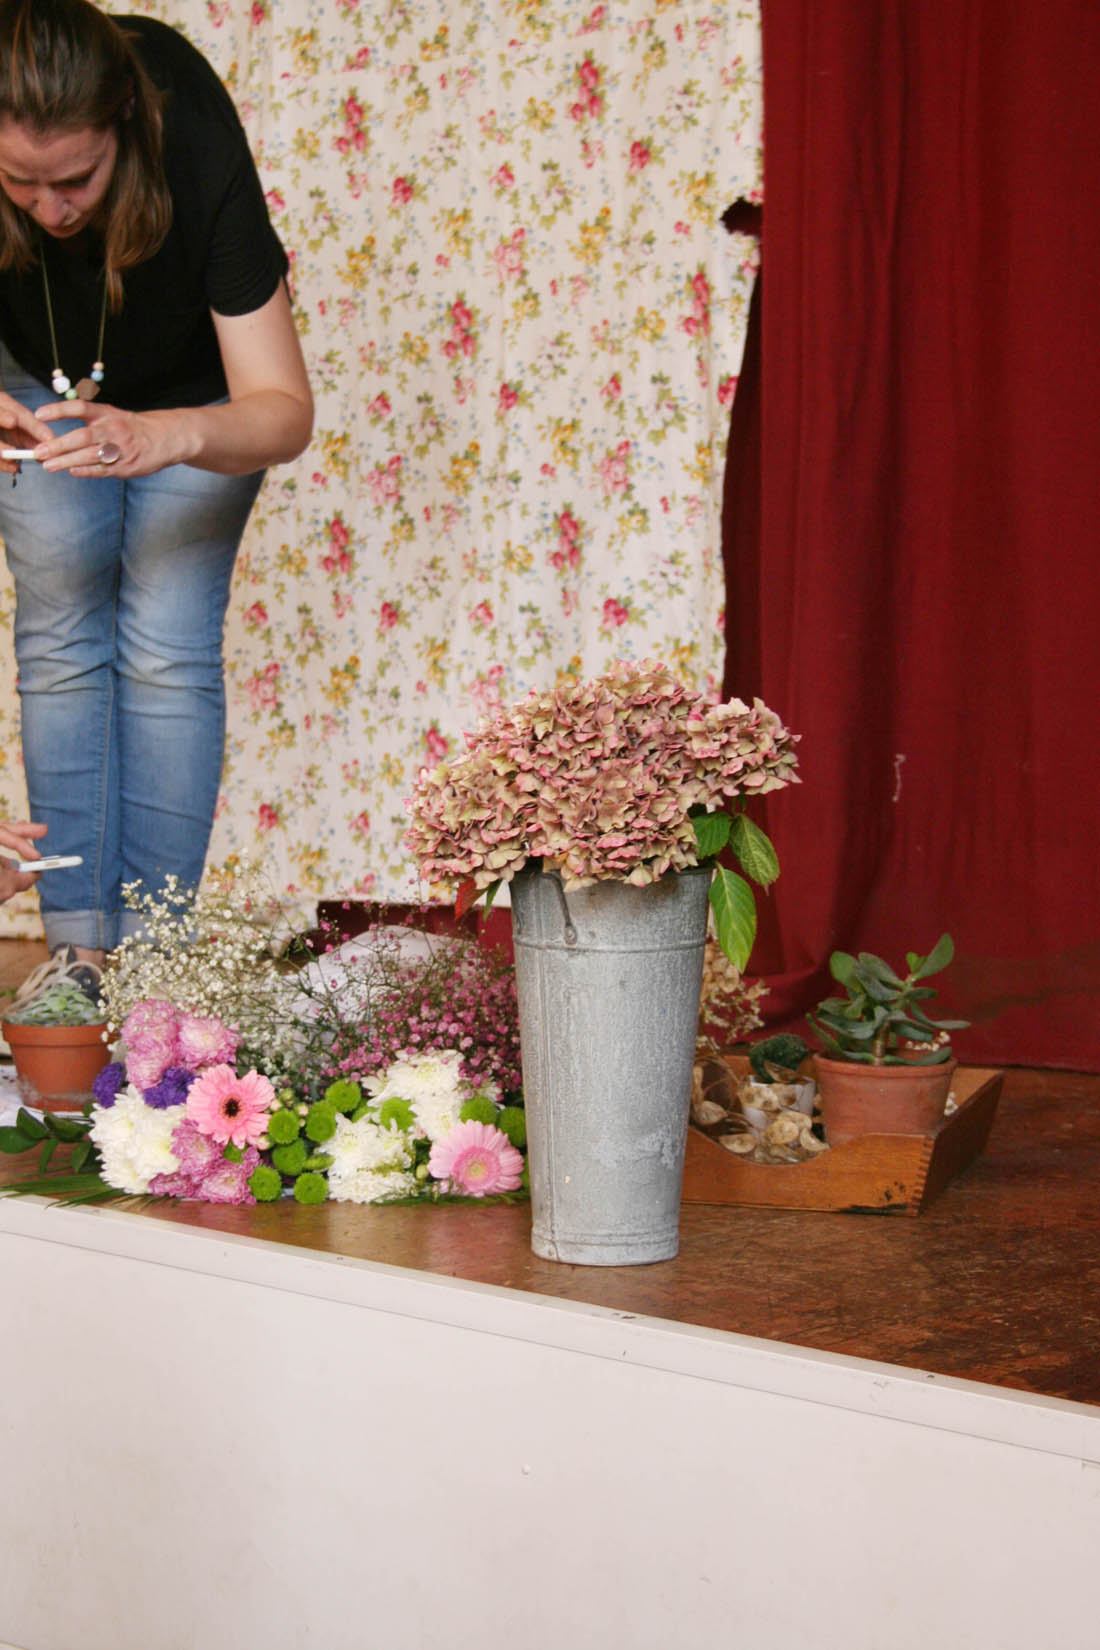
And, of course, there had to be some sort of floral faffery and Instagram larks going on at a blogger event…

Vintage Jumble Sale | Lindfield, Sussex | King Edward Hall

Vintage Jumble Sale | Lindfield, Sussex | King Edward Hall

Vintage Jumble Sale | Lindfield, Sussex | King Edward Hall

Vintage Jumble Sale | Lindfield, Sussex | King Edward Hall

Lastly, a massive thanks to our brilliant sellers who were all so wonderful: Laura, Amalia, Eva, Michelle, Hannah Jessica, Tori, Emily, Bianca, Renie, Eloise and Zoe.

I managed to sell soooo much stuff; I arrived home with just a tea cup and jug left over and a teeny tiny pile for the charity shop and my flat already feels better for it. Hurrah for #BloggersVintageJumble!

Katy x

P.S. Thank you to Dean for being on the door for us and collecting a £1 entry fee that we are going to send off to Save the Children.

P.P.S. It’s now 11am and I am still in my pyjamas and have no plans on getting out of them. Who knew running a stall could be so exhausting?!


Postcards from Wales and The Cotswolds

I don’t normally share photos of us out and about but we managed to capture a couple of days of sunshine and joy so I couldn’t help myself. Although, if you’re not keen on the outdoors or dogs, this probably isn’t the post for you – no offence taken 😉

So, on our recent trip to Wales we woke up on the Saturday morning and the beautiful kitchen was completely bathed in sun so we asked Dorian, who owns The Welsh House, which beach he would recommend for the day. He immediately suggested Barafundle Bay so we jumped in the car and an hour later there we were, coats abandoned in the car in favour of bare feet and t-shirts. It’s a National Trust sight and there are two beaches that you can walk to from Stackpole Quay, as well as a sweet tea room and garden (Barafundle Bay is the first and it is only about fifteen minutes walk from where you can park your car and then there is another larger beach if you carry on walking or you can drive to it).

The blue sky, bright, clean water and soft, fine sand were all heavenly and it could not have been more perfect – other than Otto drinking so much sea water that he vomited all over the floor of the tea room on the way home!

Barafundle Bay | Apartment Apothecary

Barafundle Bay | Apartment Apothecary

Barafundle Bay | Apartment Apothecary


Barafundle Bay | Apartment Apothecary

Barafundle Bay | Apartment Apothecary

On our way down to Wales we decided to break the journey in half and stay at a dog friendly B&B for the night in Didmarton, in The Cotswolds. We had been here before a couple of years ago when we stayed at The Folly and it was then that we discovered the most amazing walk from the gatehouse in Didmarton down a three mile long avenue towards Badminton House. It was even better at this time of year with the sun shining and the grass long and green. We seem to always think in terms of finding the best dog walks these days and it doesn’t get much better than this. Total and complete freedom and so much joy. I think I’ll always remember this moment in time.

Didmarton, The Cotswolds | Apartment Apothecary

Didmarton, The Cotswolds | Apartment Apothecary

Didmarton, The Cotswolds | Apartment Apothecary

Didmarton, The Cotswolds | Apartment Apothecary

Didmarton, The Cotswolds | Apartment Apothecary

Didmarton, The Cotswolds | Apartment Apothecary


Happy weekend!

Katy x


DIY air dry clay hanging planter

So today’s craft project wasn’t really intended for the blog (it was more of an experiment) but I took some step by step photos just in case it turned out ok. I’ve been wanting to make another hanging planter for ages and had thought about trying my hand at macrame but I got all over ambitious and decided to make my own planter instead.

I’ve been wanting to try out air dry clay since I saw this project a few years ago so I suppose this was my inspiration along with my love of a hanging planter (see my other planters here and here).

Anyhoo, I learnt a lot from this first project and although the planter did turn out ok, there are things I could improve next time – I’ll tell you about them as I go along. These are brilliant to make to brighten a corner, for herbs in the kitchen or even for lovely homemade gifts (Christmas gifts – yup, I said it).

DIY air dry clay hanging planter tutorial | Pegboard | Home office | Craft room

You will need:

FYI, I have no ‘proper’ equipment i.e. moulding knife.

Air dry clay (I used about 500g for my pot, which is £2’s worth)

– Rolling pin

– Knife

– Template (I used a plant pot)

– Ruler

– Protection for the surface you work on (parchment paper worked well)

– Bowl of water

– Cord

– Kebab stick

– Sand paper

– Scissors

– Paint ( I used white gloss spray paint but you can use any paint you have at home or just a small sample pot), decorator’s tape, cardboard box – if decorating

Step by step

Step 1 – Roll out all of your clay evenly to about 70mm thickness. Cut out a disc for the bottom of the planter using a template. I had a plant in mind for my planter so I used the top of its pot as a template, which measured 9cm in diameter.

DIY air dry clay hanging planter tutorial | Apartment Apothecary

Step 2 – Cut out a rectangular collar, which will form the sides of the pot. Mine measured 9 x 27cm. Make sure there is o.5cm overlap where the collar will join together.

DIY air dry clay hanging planter tutorial | Apartment Apothecary

Step 3 – Using your hands roll out a ‘snake’ of clay the same length as your collar and about 70mm thick.

DIY air dry clay hanging planter tutorial | Apartment Apothecary

Step 4 – Place the disc on a flat surface and wrap your collar around it (don’t place it on top of the disc).

Step 5 – Using your fingers smooth the collar together and use some water to make it stick.

Step 6 – Place the ‘snake’ of clay around the inside of the pot where the disc and collar meet.

DIY air dry clay hanging planter tutorial | Apartment Apothecary

Step 7 – Using your fingers and water (you’ll need to have short nails – this is where better crafters than I would use a moulding knife) smooth the ‘snake’ into the join. At this point the sharp, crisp lines of my pot quickly disappeared as I had to manhandle it so much – hence the need for a proper moulding knife. I should have trimmed the top of my pot at this point as they became a bit wonky, but I’ll know for next time.

DIY air dry clay hanging planter tutorial | Apartment Apothecary

Step 8 – Stick a kebab stick, or anything similar, through the four sides of the planter to create holes for the cords that it will hang from. Wiggle the stick around so that the hole is big enough for your cord.

DIY air dry clay hanging planter tutorial | Apartment Apothecary

Leave your pot to dry for 2-3 days. There really is no point rushing this stage if you want it to last.

Decorating

You can leave your pot undecorated or you can varnish it, which is advised if it is going to come into contact with water. I decided to spray paint mine with some white gloss paint that I bought for another project. I have so many beautiful half glazed pots, cups and vases so I decided to try to achieve anywhere close to that look. I’m pretty pleased with how it turned out actually, although it is pretty difficult to see in theses pics – I really like the idea of using a pastel blue, pink, green or grey, too.

Step 9 – Lightly sand your pot once it is dry to remove any bumpy edges. If you want to try the half glazed look use decorator’s tape to cover the bottom half of the bottom.

Step 10 – Place your pot in a cardboard box, if you are using spray paint, and take it outside to spray. Do many thin layers, allowing each one to dry before starting another.

Step 11 – Cut four pieces of cord of equal length.

DIY air dry clay hanging planter tutorial | Apartment Apothecary

Step 12 – Thread the cord through the holes and tie a knot on the inside of the pot. If you have difficulty getting your cord through the holes burn the ends of the cord so that it melts hard and won’t fray as you thread it. Tie all four lengths of cord into a knot at the top.

DIY air dry clay hanging planter tutorial | Apartment Apothecary

If you look really closely you can see the half glaze effect – it looks great in real life, trust me!

Half glaze

I decided to hang mine on my pegboard to brighten up my workspace.

Pegboard and planter

Pegboard

DIY air dry clay hanging planter tutorial | Pegboard | Home office | Craft room

I like this air dry clay game…I’m thinking Christmas could become air dry clay filled 😉

Katy x

P.S. If you would LOVE your own hanging planter without getting crafty I can help with that, too. Check out these beauties from my shop