My home

The beautiful, creative and amazingly talented Katharine Peachey of  www.peacheyphotography.co.uk came to take some photos of my apartment (very exciting). My apartment is in Bermondsey, which has recently become quite a trendy spot right next to the river Thames, east of Tower Bridge.  Bermondsey itself used to be an industrial area and a rail track runs through it with amazing arches, which is the home to Maltby Street Market.  There are also lots of perfectly restored factories and warehouses, which is my dream home.  However, my apartment is one of the many brand new developments in this area.  Whilst new homes have their advantages, one of the major problems is that they can end up feeling soulless and clinical due to the hard edges, white walls and box-like rooms. I have loved the challenge of trying to fill my home with furniture and possessions that reflect both the newness of the building whilst also combining the old and the longed for period home I desire.  I have also had to work with limited funds as moving house is so expensive; I’ve used furnishings from my old studio apartment, updated them or picked up bargains where I could. Hopefully, you will like the results.

My apartment has lots of windows, which is a rarity in new builds. I have tried not to include any furniture that absorb too much of the light otherwise an already smallish property becomes very small, very quickly. I decided to use the large teal loveseat as a basis for the colour scheme.

Lloyd Loom chair

I’ve tried to fill the sitting room with a combination of old and new. This antique chair was an ebay bargain at £20 and helped to emphasise the teal colour of the loveseat but this looks more incidental than planned as these pieces of furniture are from toally different periods.

School trunk

I upcycled my mum’s school trunk to make a coffee table.

Habitat lamp

This Habitat spindle lamp is one of my favourite purchases of all time. It can be used in any room because of the colour and style. The silk shade emits a beautiful soft light, which is so important in a stark, white apartment.

Balcony planting

I have filled my balcony with potted plants and they sit in vintage crates to add to the old and new theme I have in my apartment. I always think of my balcony as an extension to my sitting room so it is important I style it as I do the interior.
Ercol dining chairs

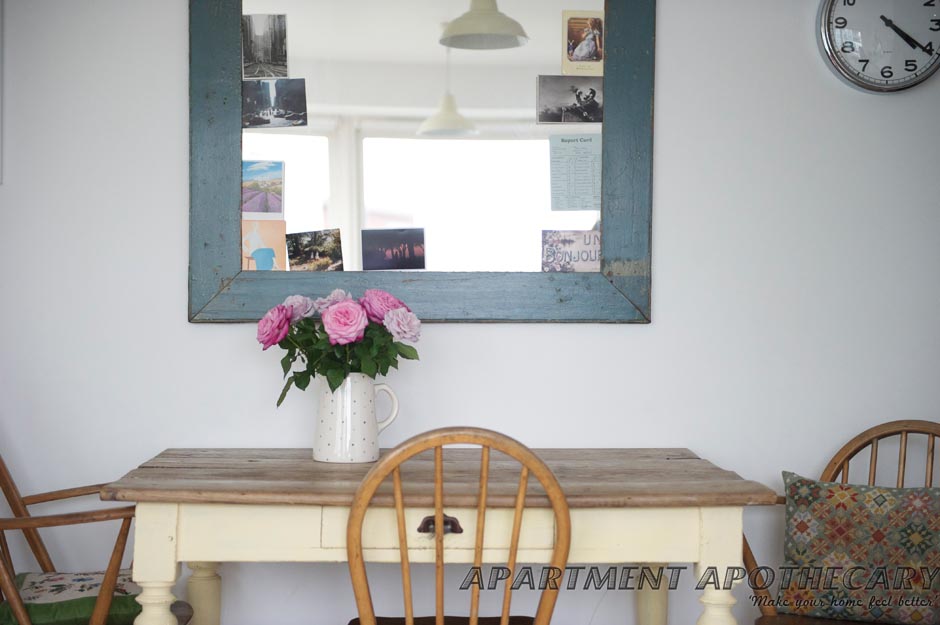
I picked these Ercol dining chairs off the street (so lucky!) and the nineteenth century table is from a French flea market. Mid-century furniture, like Ercol, can blend with older furniture, as well as new. Ikea cushions on the chairs don’t even seem out of place.

Postcards on mirror

I bought this antique mirror from Camden Passage and this also picks out the teal from the chairs in the room. I use postcards to add interest.

Kitchen

I’ve tried to soften the hard edges of a new, modern kitchen with vintage finds like the Bush radio, old tins, saltcellar and glassware.

Old jelly mould and glass bottles are perfect to sit on the kitchen window sill as they still allow the light to come through.

Kitchen

Whilst wanting to display vintage finds it’s also important to not overcrowd a small kitchen and valuable workspace.

A collection of different storage pots breaks up the uniformity of a modern kitchen.

Bush radio

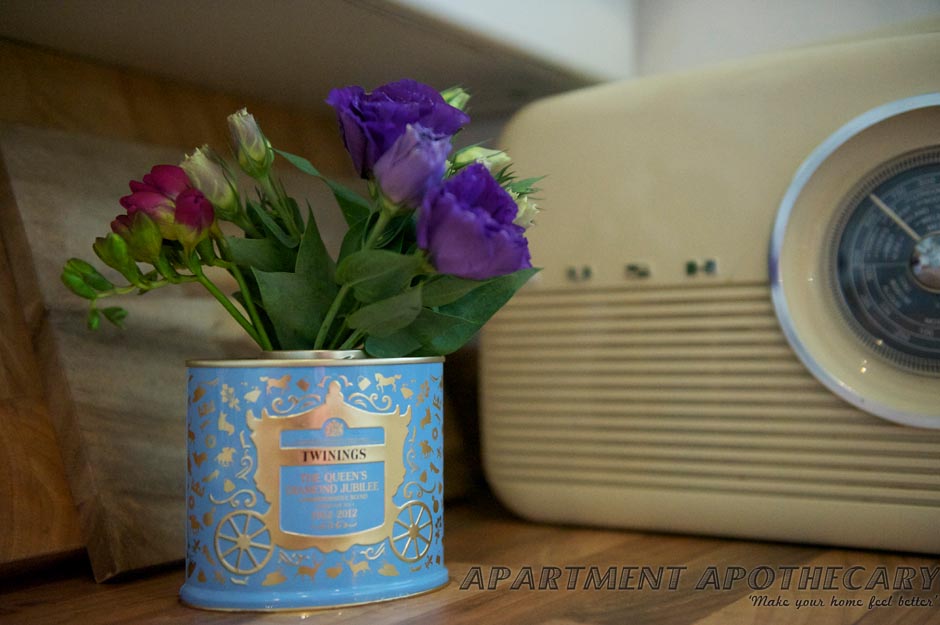
I love vintage tins and and this one makes a perfect vase.

Crockery

I removed the kitchen cupboard to show off the crockery that I love.

Framed family photographs are hung above an antique writing desk that I was given for my seventh birthday.

work space

I made the pinboard above the desk for inspiration and I made sure the computer is the only sign of modern technology as I didn’t want this to feel like an office with a bed in it.

Old books, flowers and childhood pots personalise the room.

Bakelite telephone

A functional Bakelite phone ensures modern technology is not overbearing in this room.

I have used duck egg blue as the accent colour in the master bedroom. It is picked up in the stripes of the bed linen, the mirror, the cushion, the framed print and the stripes of the curtains.

I can get away with using £6 Ikea steps as a bedside table because the Roberts radio and my late grandmother’s 50 year old silk lamp draw all the attention.

The bed was one of the new purchases I made. It is a clever mix of old and new from Loaf, which I love.

My late grandma’s chair that she covered in Sanderson fabric sits proudly in the window of my bedroom. The tailor made curtains were one of my splurges (I don’t think I can admit how much they cost!) but they tie in with the colours of the chair perfectly. An Ikea cushion looks as old as the chair itself.

Pine antique chest of drawers

I bought these antique Victorian pine drawers from ebay for £100. The family photographs and my parents’ old mirror add to my bedroom’s antique feel.

Polariods

I always cover mirror in photos or postcards as this makes them more personal.

Fresh flowers in a house are transformative.

I removed the door from this cupboard and put up shelves. I stuff these with all my knick knacks which adds character to a new build.

TIPS to help you make a new home feel old:

1. Don’t be afraid to combine styles e.g. modern, mid-century, Victorian.

2. Add colour as a totally neutral palette adds to that ‘brand new’ feeling.  However, try not to to colour coordinate in an obvious way e.g. buy one new item and an antique item in the same colour so they don’t ‘match’.

3. Personalise your home with photographs, postcards, possessions, paintings.  Without these things there can be no soul in your home.

4. Use vintage finds and vintage textiles to soften the hard edges of a new home.

5. Make the most of any outside space to prevent your home feeling soulless and sterile.

6. Use soft lighting to help warm up stark white walls; always use table and standard lamps rather than ceiling lights.



Chateau love

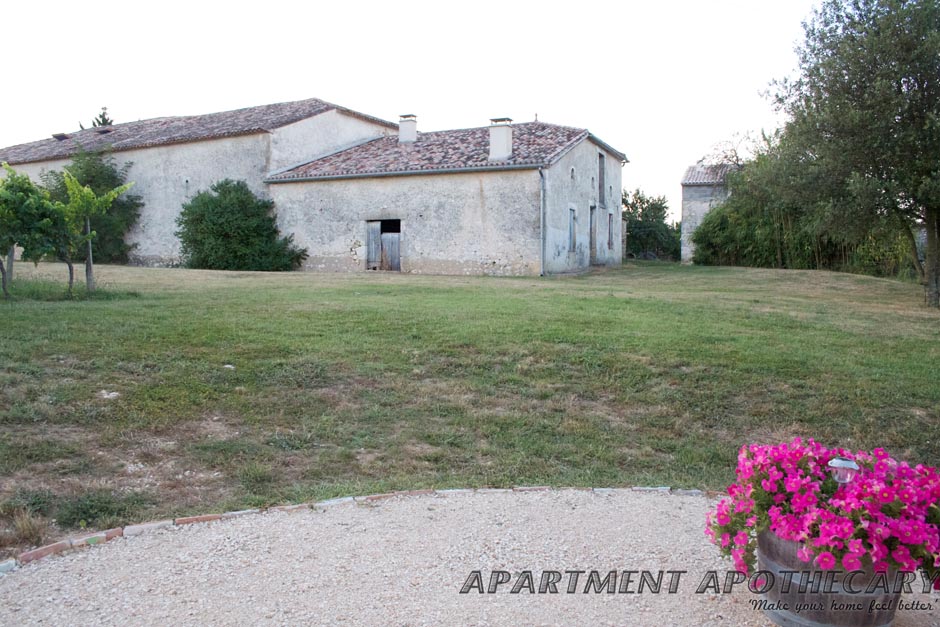
Last summer we went on a road trip through France.  We ended up at a vineyard called Chateau de Claribes near Bordeaux, that makes delicious wine.  It was French heaven and our gite was a beautiful example of sympathetic restoration.  I hope this post shows you how a very old building can be modernised without losing any of its charm or character.

French gite

The gite at the Chateau de Claribes.

French gite and chateau

Surrounding barns ready for restoration.

Our trusty mode of transport.

French gite with wood burning stove

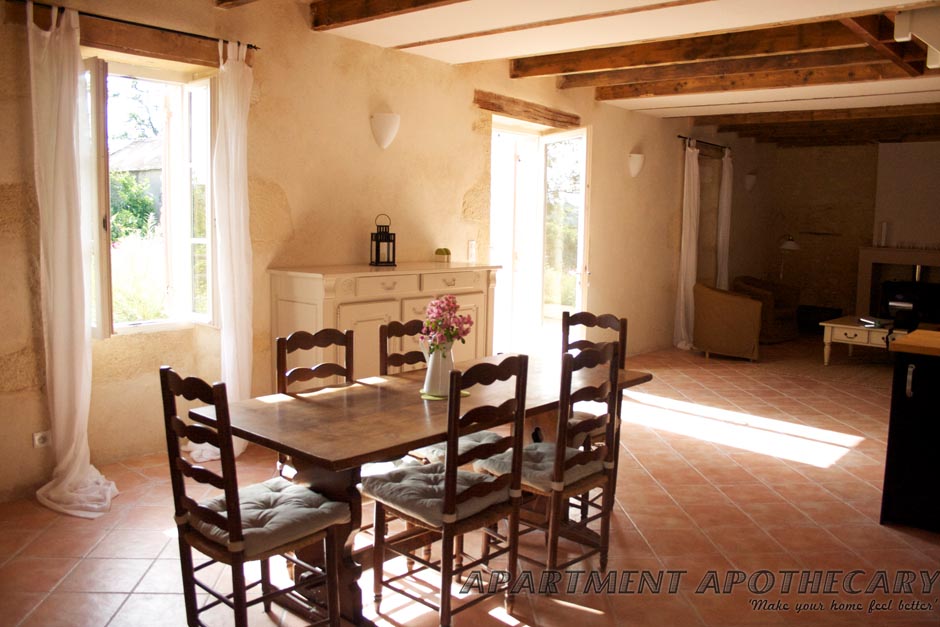
The sitting room has exposed stonework and beams, a wood burning stove and a cool tiled floor. The warm but neutral colour palette allows the original features to be the main focal points.

French gite with wood burning stove

The open-plan layout downstairs enables light to flood in. The furniture and curtains have been kept minimal and simple so as not to take away from the wonderful interior.

Ikea kitchen in french chateau gite

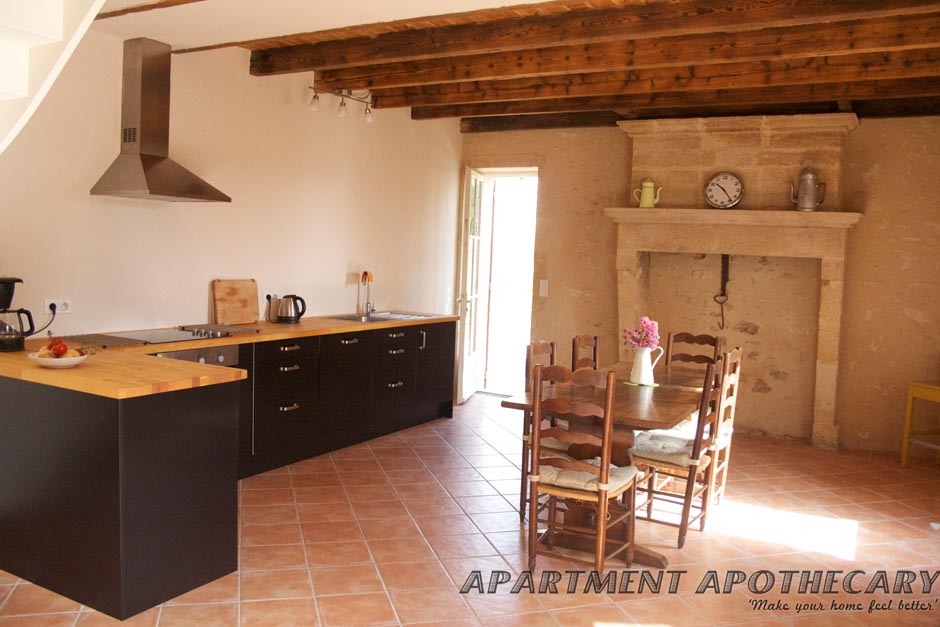
A simple Ikea kitchen, though modern, works well in this old building as the wooden work top ties in with the exposed beams and old wooden dining table and chairs.

Fireplace in French chateau

Beautiful exposed fireplace and stone wall with vintage jugs as ornaments.

Fireplace in French chateau

The exposed beams add character to the kitchen.

Fireplace with wood burning stove in French chateau

Wood burning stove looks lovely but also very functional in the cold, French winters.

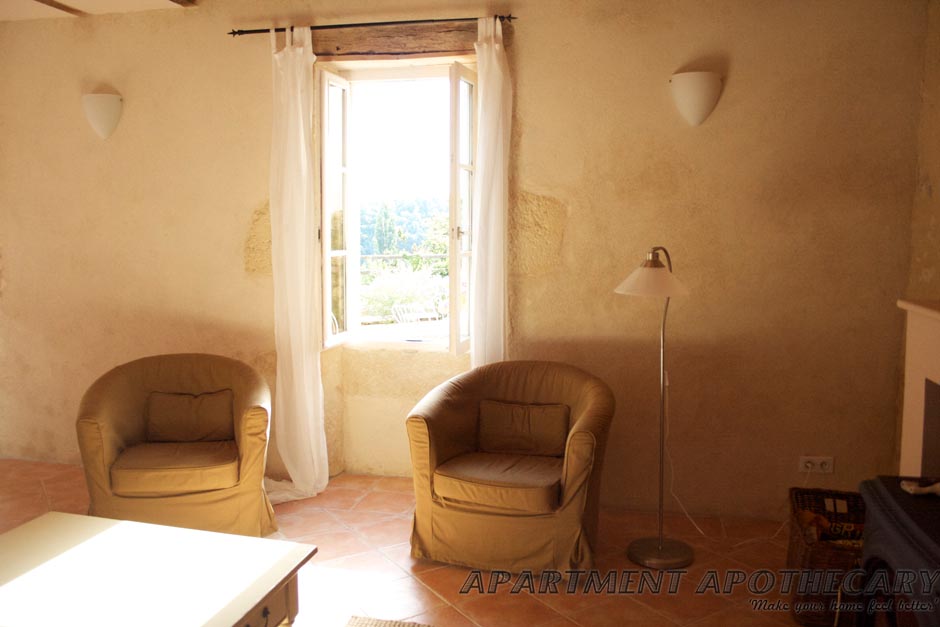
Simple furnishings and wall sconses let the beautiful building shine.

Fireplace in French chateau

The warm, neutral colours create a wonderful ambience.

Exposed beams in French chateau

The bedrooms are just as characterful as the downstairs due to the vaulted and beamed ceiling.

Exposed beams in French chateau

The Ikea furniture is simple with clean lines.

Exposed beams in French chateau

The exposed brick of the chimney comes up from the kitchen into the bedroom creating a wonderful original feature.

Exposed beams in French chateau

With such wonderful period features you can get away with a simple Ikea bedframe.

This wardrobe tones in with the paintwork so it doesn’t dominate.

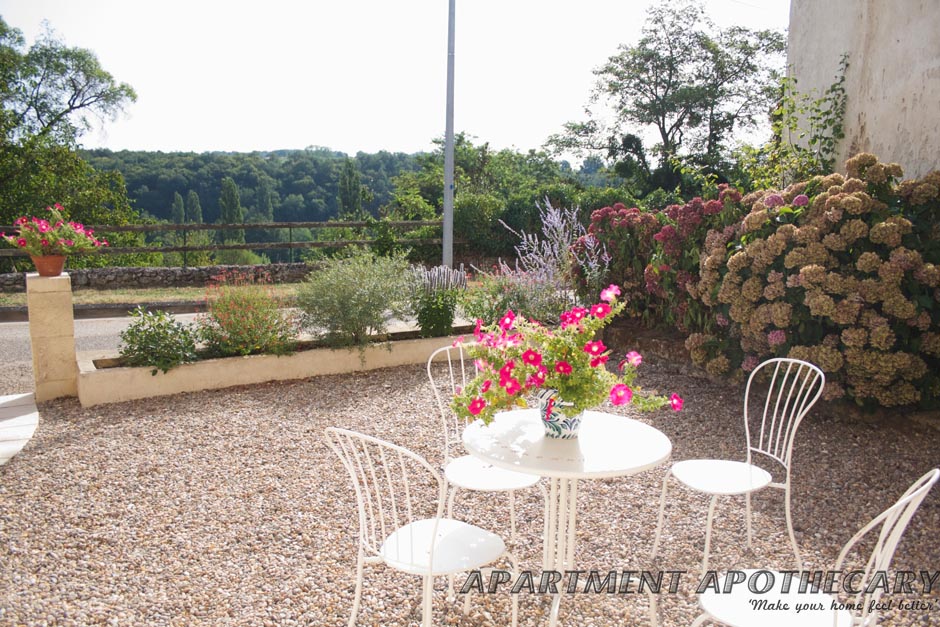
French garden

The house looks out over a valley of vineyards.

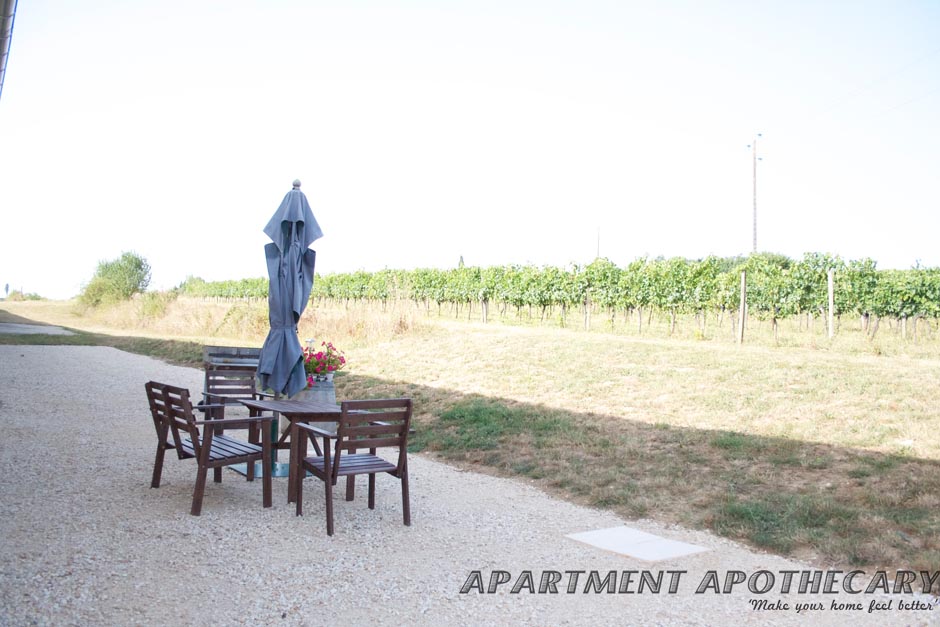
French vineyard

The vines continue at the back of the house, which is perfect for barbeques.

French vineyard

The delicious wine at Claribes is well worth a taste!

I wish I was there now…

Hat wall

I’ve never created a hat wall myself simply because I’m not a ‘hat person’. However,  I’ve seen others do it to great effect and what could be easier or cheaper? Hats have an instant impact and you can bargain that by the end of a party or dinner at your house everyone will have helped themselves and have turned it into a hat party.  Before hanging hats you just need to consider what type of hats you intend to hang and in what formation.  Have a look at the following examples for inspiration.

Hats, rather than art, add to the relaxed vibe of this readng nook.

Vertical hat display

Vertical line of overlapping hats hung on a gap between two doors in a hallway.

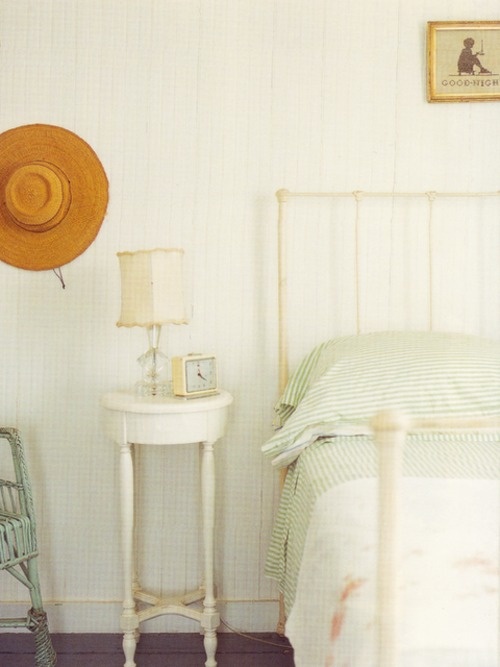
Hat hanging on bedroom wall.

A single hat can make an impact.

Hat wall

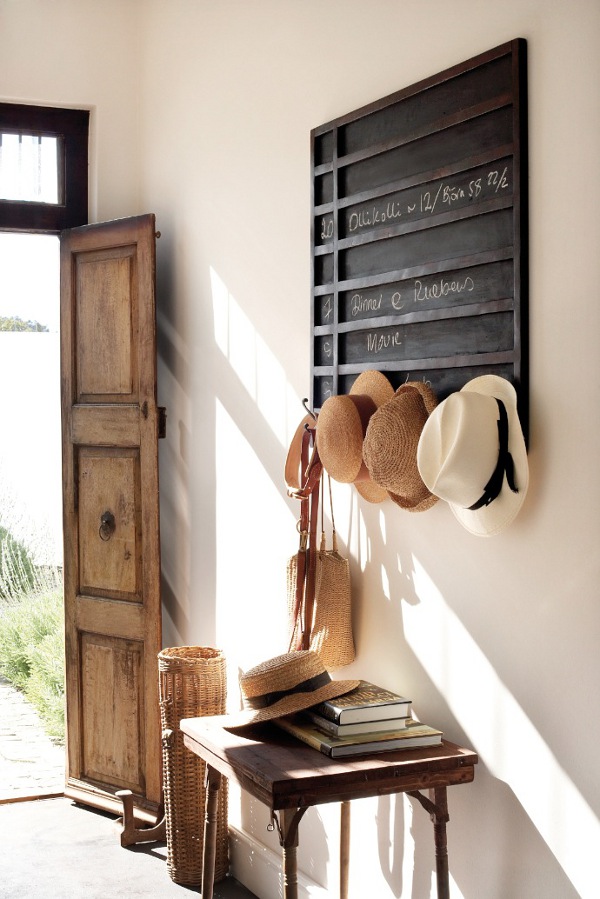
These hats become ornaments in this hallway.

I love this simple, horizontal line of straw hats.

A hat display

An eclectic mix hung in a planned formation adds interest to a blank wall.

Hat display in hallway

Use hats to decorate a blank stairwell, hanging them in a random formation.

Hat wall display

Hats can soften hard lines or dark furniture.

Hats hung in hallway

You can hang a row of hats on hooks.

Woven straw baskets hanging on wall

Not quite hats but these baskets have the same effect.

I might need to buy myself some hats.

Liberty and Lloyd Loom loveliness

I have an original Lloyd Loom laundry basket that used to be my grandmothers and some beautiful Liberty of London ‘Poppy and Daisy’ fabric (I really can’t get enough, I think it’s becoming an addiction).  My grandmother covered the lid of the basket in beautiful Sanderson ‘Chelsea’ fabric, probably about fifty years ago.  Needless to say it began to look more shabby than chic. So I decided to rejuvenate it so that it can also be used as a seat. The beauty of this tutorial is that there are so many possibilities as you can tailor it to your exact needs: Change the colour of the basket using paint, use any fabric of your choice, use a different piece of furniture like a toy chest.

You will need:

1. Lloyd Loom basket, ottoman or similar piece of furniture that needs new upholstery (if you search for Lloyd Loom on ebay you will see you can pick up a bargain for around £25)

2. Fabric (strong enough to withstand being pulled and stapled – cotton will do but if you want to make a toy chest/seat for a child’s nursery you may want upholstery fabric to withstand the wear and tear)

3. Foam cut to size (I bought it from efoam, which is really simple as they will cut it to size for you – just tap in the dimensions you need on their website and they will give you an online quote)

4. Dacron (widely available on the internet, very cheap and it can also be used as wadding for quilts)

5. Scissors

6. Tape measure and pencil

7. Staple gun

You will need: Staple gun, foam, dacron.

Lloyd loom laundry basket and Liberty Tana lawn fabric

You will need: Lloyd Loom basket and fabric.

I’m using Liberty Tana Lawn Poppy and Daisy cotton.

TUTORIAL:

Lloyd Loom basket and foam top

1. Place the foam on top of the basket.

Lloyd loom basket with foam and dacron cover

2. Place the dacron over it. Make sure you have enough so that it can be pulled over the underside of the lid and stapled.

Using a staple gun

3. If there is someone to help you for this stage the better. If one of you pulls the dacron over the sponge (as taut as possible) and the other staples the dacron to the lid of the basket.

Lloyd Loom laundry basket

4. Once you have stapled the dacron all the way round the lid cut away as much excess as possible.

Reupholstering of Lloyd loom laundry basket

5. Now you are ready to cover the seat in fabric.

6. Measure the fabric so that there is enough excess to be pulled and stapled onto the underside of the lid.

7. Just as you stapled the dacron complete that step with the fabric (and with help if you have it). Start at the sides and then do the front of the lid. At the corners make neat folds in the fabric, like hospital corners on a bed.

8. Leave the material at the back of the basket hanging down.

9. With the lid closed draw a V-shape on the fabric below each hinge: the top of the V should be as wide as the hinge and the point of it should meet the edge of the fabric. Pull the remainder of the fabric through and staple as before leaving the Vs hanging down the back of the basket.

10. Cut along each V and pull the resulting triangles around either side of the hinge. They can then be stapled along with the rest of the fabric.

Ta da! This can be used as an occasional table, laundry basket, storage or seat.

Next time I am definitely going to do a toy chest, which will double as a low seat for children.


Bermondsey roof terrace

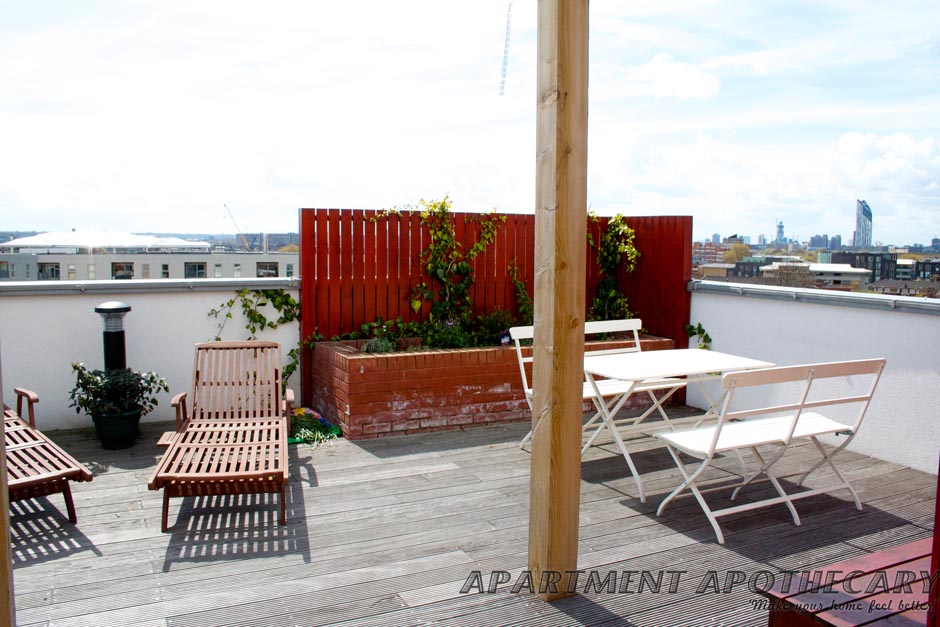
I do not know anything about gardening. However, I really want to learn, not least because we are lucky enough to have the most amazing roof garden that looks out over London as far as you can see.  This is rare in London so it seems stupid not to make the most of it.  It’s a really large space but lacks any colour, interest or beauty.

The developers decked the terrace, which is fine, but they used a horrible red coloured stain for the fencing and a different colour wood for the pergola. It would be best if this mis-matching wood could be covered with climbing plants.

Roof terrace pergola

The pergola could be absolutely stunning if over the next couple of years we could cover it in climbing plants entwined with lights.

Sunbathing up here is blissful.

The roof garden has 360 degree views of London. I just love it up here.

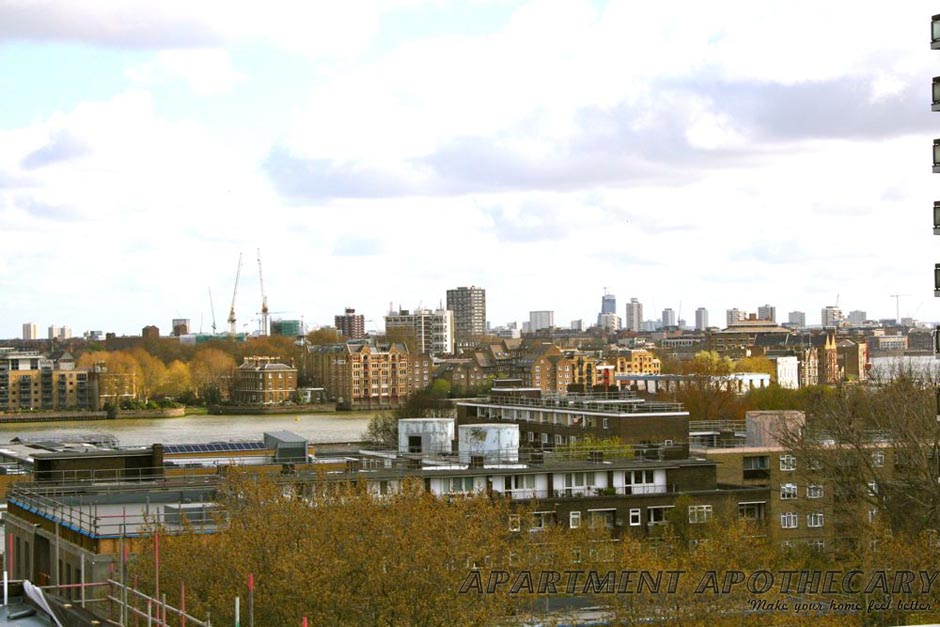
View towards the north looking over the river Thames to Wapping.

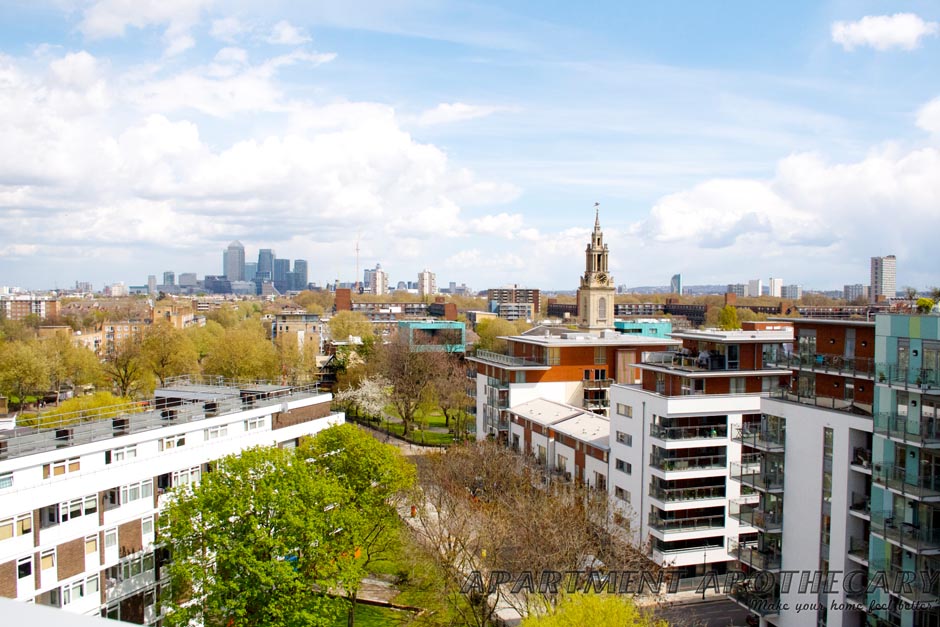
View to the east out towards Canary Wharf.

View to the west over London Bridge station and the Shard.

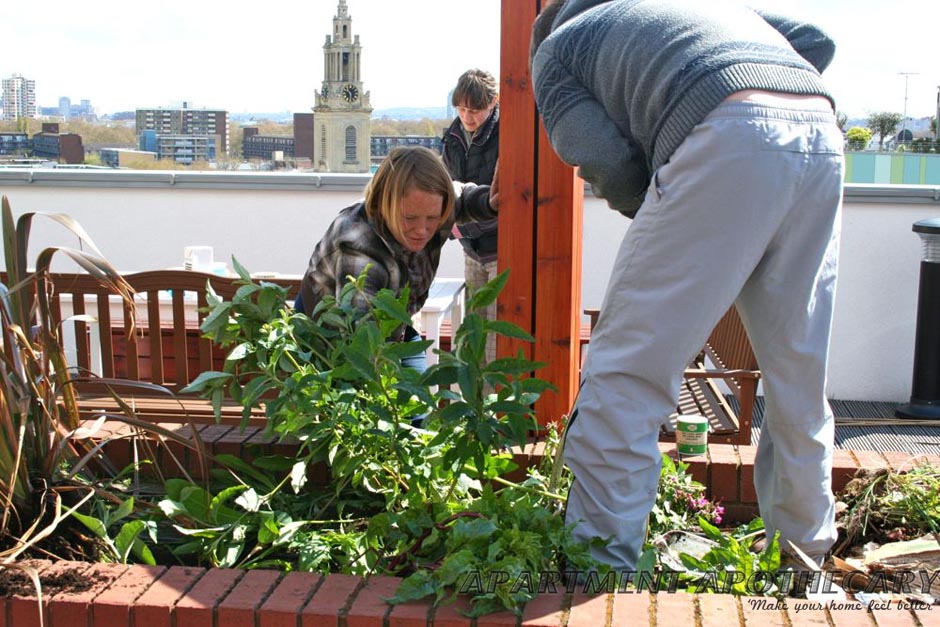
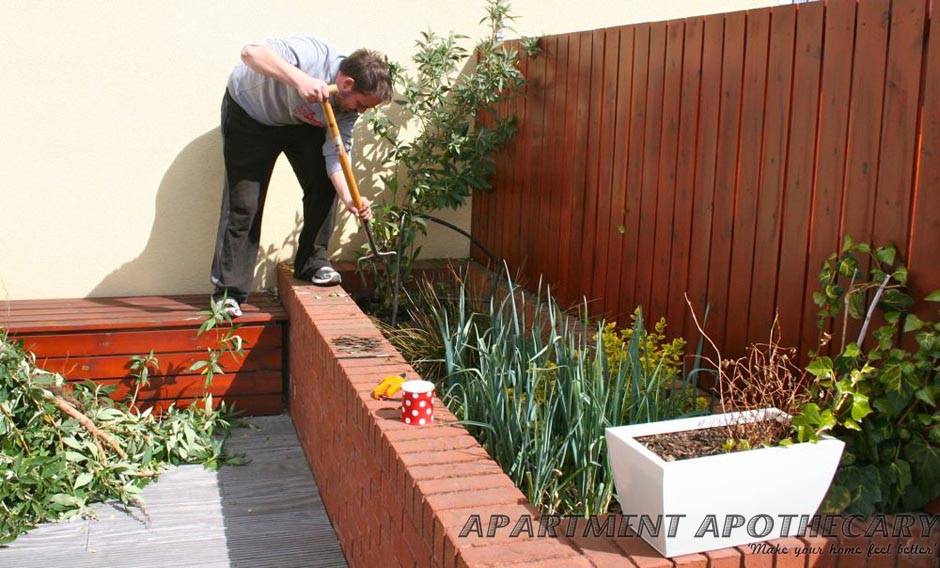
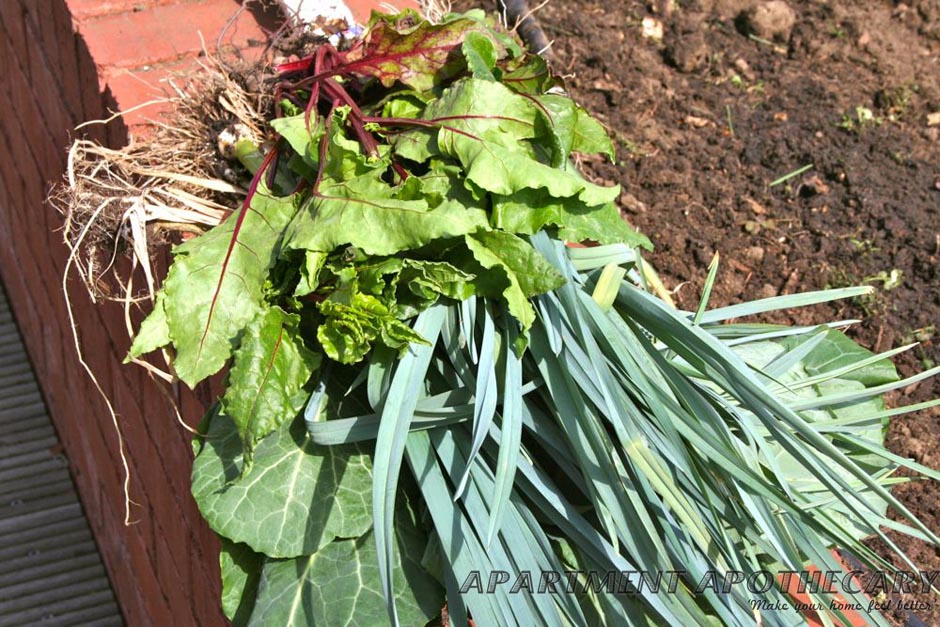
Our first step is to join with some of the other residents from our apartment block to form a ‘gardening club’. We apply for some funding from ‘Capital Growth’ and a three hour gardening session, which we do on lovely Sunday in February, one of the first bright days this year. The planting that was done by the developers is so boring looking so we begin by pulling up all the plants, potting some of the nicer looking ones and destroying others like the buddleia plants, which get everywhere.

There are eight of us working together to transform out roof garden.

It was really important to dig up the numerous buddleia plants that can become a pest as they grow so large, spread very easily and develop huge roots. Very large plants are not suitable for the raised beds we have as they will dominate too much.

Another reason for trying to clear the beds was we needed to try to improve the soil as the developers had used very poor quality, sandy soil that is not conducive to lush growth.

We had planted a few food plants last winter and these are out inspiration to try to make the majority of our planting edible and any crops will be shared amongst the residents in our block.

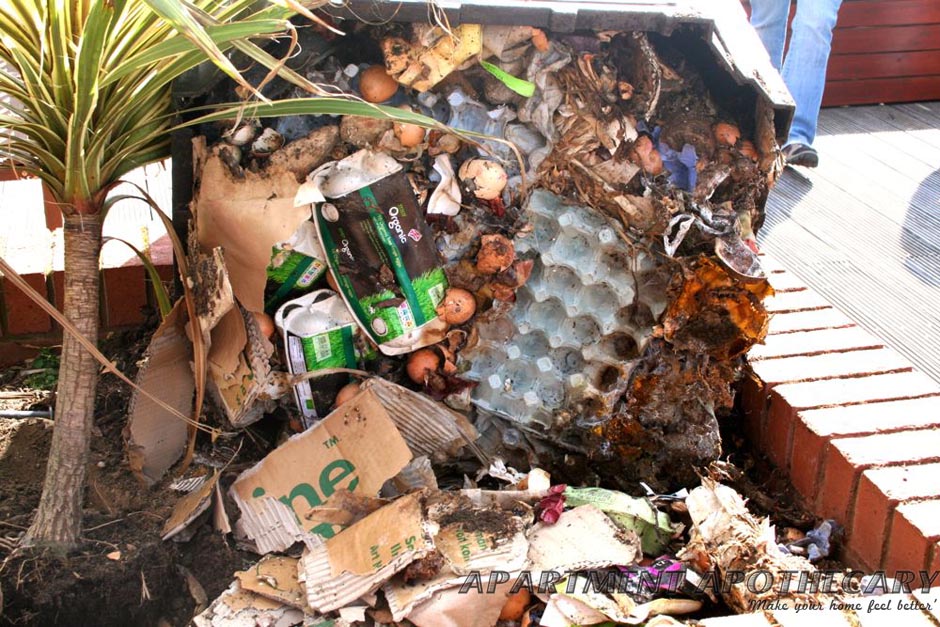
The next step is to move the compost bin we set up last year. At the moment it is slap bang in the middle of the biggest bed and very un-sightly. So we move it to a corner, turn it, and use what compost has been made to enrich the soil in each bed.

Compost can be made by adding food waste (uncooked is best, especially if you don’t want it to smell) and cardboard and turning it every now and then.

The bits of waste that have not turned into compost yet will need to be ripped up into smaller pieces and added to the compost bin again.

We then decide what to grow and where.  The ladies from ‘Capital Growth’ talk us through lots of different varieties of salad leaves, vegetables and flowers that will work well together and they give us a quick lesson about the best type of compost to use and how to look after soil.

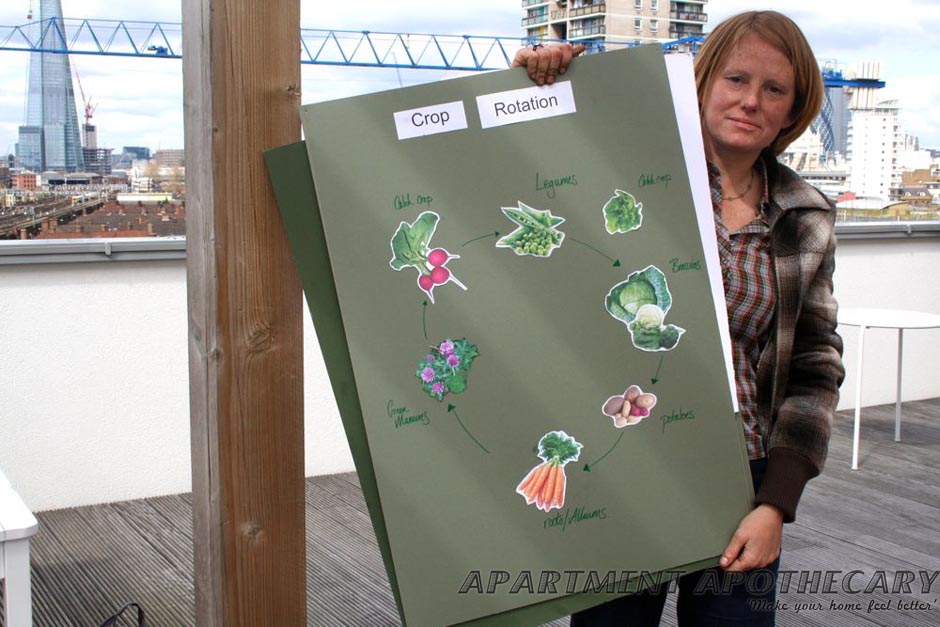
Rotating crops enables the plants to grow as well as possible as each plant uses different nutrients.

Leaf mulch, coconuts husks, food waste compost.

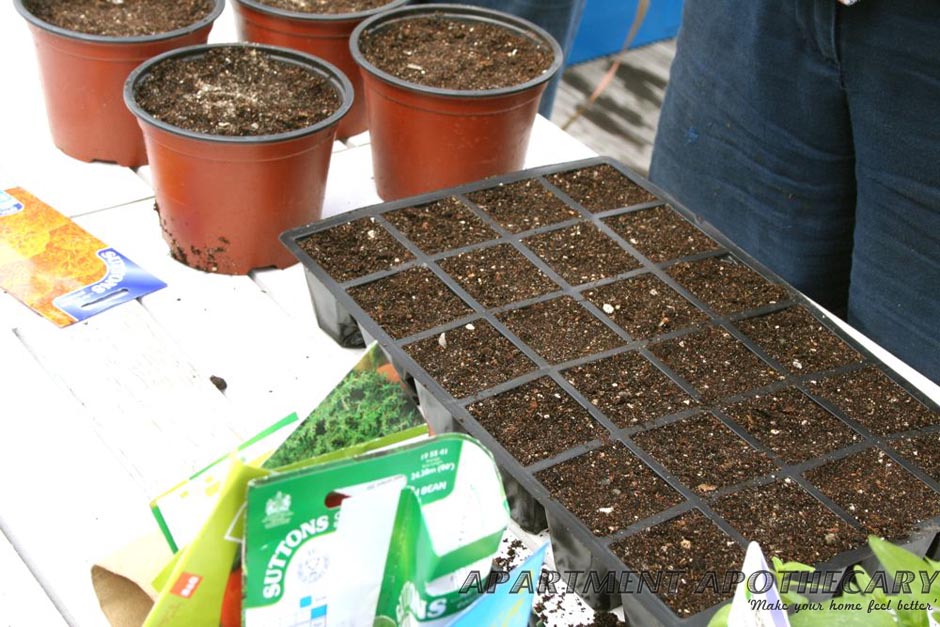
We decide to have herb, wildflower, vegetable and lettuce beds and other various flowers to make it look pretty and to attract certain pests so they do not ruin the food crops. We then learn how to sow seeds.

We try to choose plants that will complement each other for example, we plant nasturtiums that will attract black fly away from our food crops.

We will buy a cheap cold frame to keep these seeds in until they are ready to plant out.

I also plant a few flowers to get us started. I put some sweet peas at the back of a couple of the beds as I’ve learnt they grow very tall and like to trail up or along whatever is there.  I also put in some geraniums and snap dragons for a bit of immediate colour.

Geraniums.

Geraniums will add colour to the corner of the beds..

A row of sweet peas will grow tall and cover some of the ugly red fencing. They also smell divine.

What have I learnt so far?

1) Plants need to be re-potted or fed (once or twice a year) to remain healthy as it is just as important to look after soil as it is to look after the actual plant.

2) Leaf mulch makes excellent compost.

3) Flowers and food plants should be mixed together as this prevents pests (I need to find out more about this).

4) Plant bulbs at the beginning of the autumn.

5) If you don’t harvest the food that you grow it will flower (otherwise known as bolting).

6) You can sow lettuce seeds in the spring and as long as you continuously harvest the outer leaves they will last the summer long.  There are varieties that you can then plant at the end of the summer that will last throughout winter (names of these varieties to follow).

7) A perennial plant is a plant that lives for more than two years so these are easy to maintain. They will usually die back over the winter and then return in the spring from their root-stock rather than going to seed as an annual plant does.

8) Once bulbs, such as daffodils, have faded you don’t have to have an empty pot or bed.  If you have planted the bulb deep enough you can plant perennial bedding plants (such as snap dragons, geraniums, pansies) on top of the bulbs.  This creates a very easy to maintain and pretty bed or pot that does not require planting every year.

9) Compost needs turning regularly.

10) You should try to recreate the wild as much as possible, which means you should combine as many different types of flowers and plants as possible. For example, a lot of flowers keep away pests from vegetable plants and vice versa.


I will keep you updated over the next few months on how much progress we make.  Hopefully, Bermondsey will be in bloom soon.