Crafting the Seasons at Liberty

I have just had my dream day. It actually happened! Liberty of London, Liberty fabric, crafting, so many talented and creative ladies, a beautiful room, tea and lots of chat. My dream day.

Charlotte and I wanted to do something really special to thank the group of bloggers, that we contacted way back in August, who helped us launch Styling the Seasons in September. They wrote and styled beautiful blog posts and encouraged so many others to do the same. Charlotte and I would love to do another event in the future, open to others who have taken part in our monthly style challenge, as it’s so lovely to come together and be inspired by each other. We’ve got lots of ideas for the next event but more about that next season!

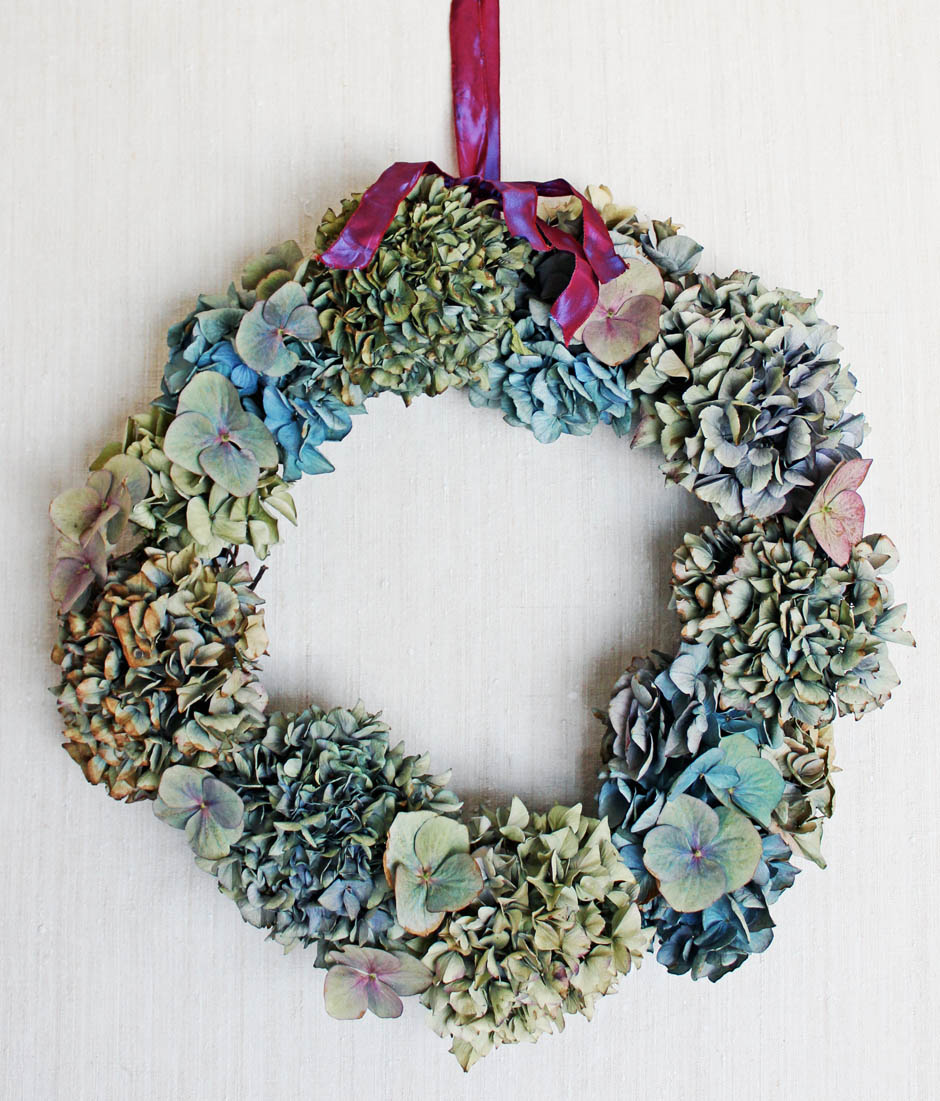
Our Liberty print creations will feature in our December Styling the Seasons posts, hence the Christmas theme, but in the meantime, I thought you might like to see some photos from the day photographed so beautifully by Katharine Peachey

Crafting the Seasons photographed by katharinepeachey.co.uk

Crafting the Seasons photographed by katharinepeachey.co.uk

Crafting the Seasons photographed by katharinepeachey.co.uk

Crafting the Seasons photographed by katharinepeachey.co.uk

Crafting the Seasons photographed by katharinepeachey.co.uk

Crafting the Seasons photographed by katharinepeachey.co.uk

Crafting the Seasons photographed by katharinepeachey.co.uk

Crafting the Seasons photographed by katharinepeachey.co.uk

Crafting the Seasons photographed by katharinepeachey.co.uk

Crafting the Seasons photographed by katharinepeachey.co.uk

Crafting the Seasons photographed by katharinepeachey.co.uk

Crafting the Seasons photographed by katharinepeachey.co.uk

Crafting the Seasons photographed by katharinepeachey.co.uk

Crafting the Seasons photographed by katharinepeachey.co.uk

Crafting the Seasons photographed by katharinepeachey.co.uk

Crafting the Seasons photographed by katharinepeachey.co.uk

Crafting the Seasons photographed by katharinepeachey.co.uk

Crafting the Seasons photographed by katharinepeachey.co.uk

Crafting the Seasons photographed by katharinepeachey.co.uk

Crafting the Seasons photographed by katharinepeachey.co.uk

Crafting the Seasons photographed by katharinepeachey.co.uk

Crafting the Seasons photographed by katharinepeachey.co.uk

Crafting the Seasons photographed by katharinepeachey.co.uk

Crafting the Seasons photographed by katharinepeachey.co.uk

Crafting the Seasons photographed by katharinepeachey.co.uk

All photographs by Katharine Peachey.
 

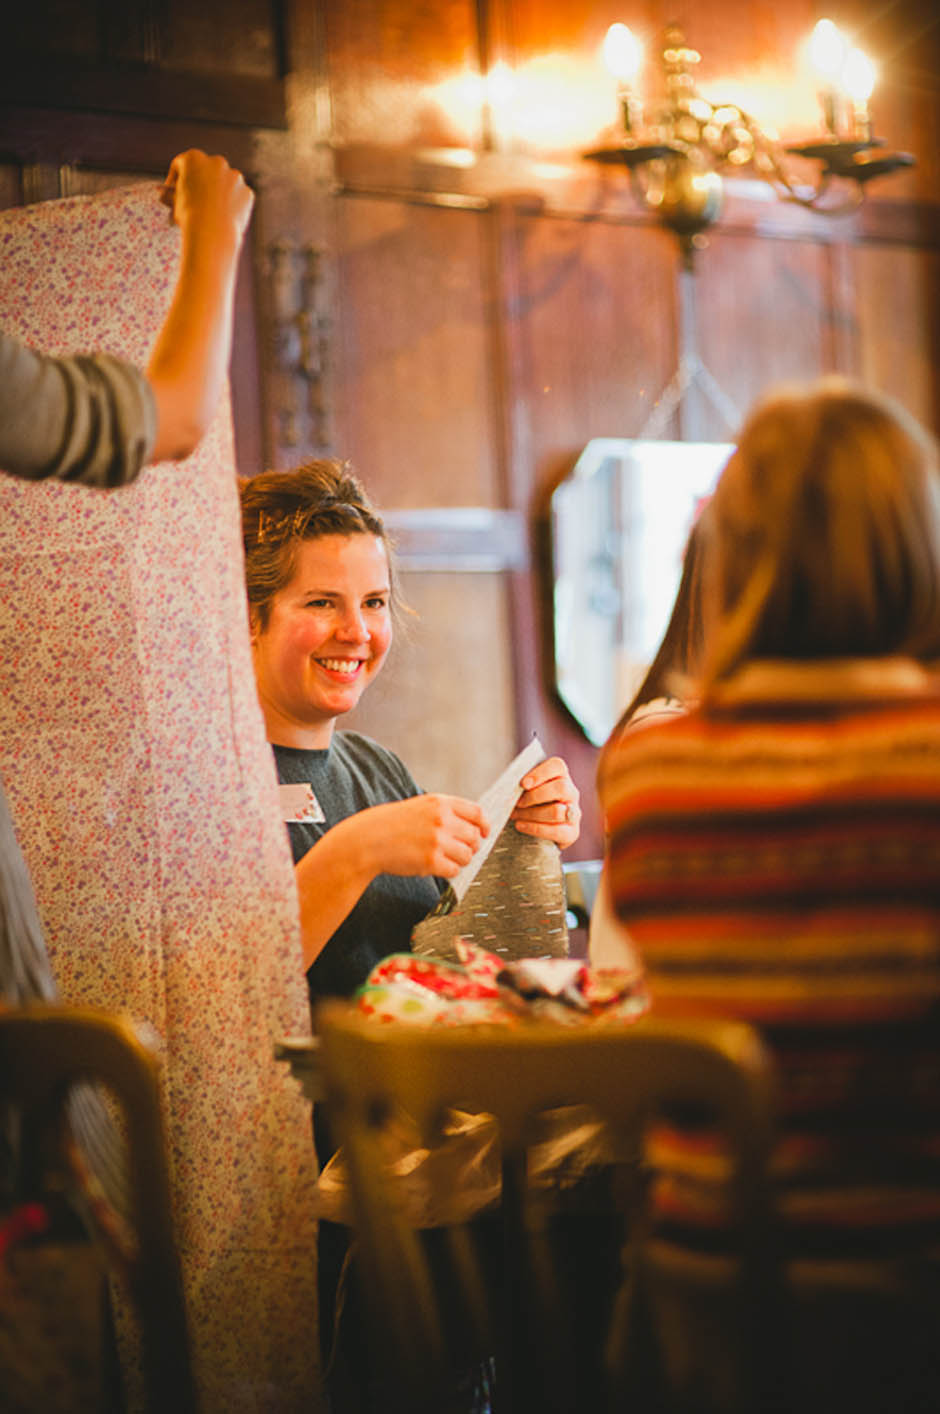
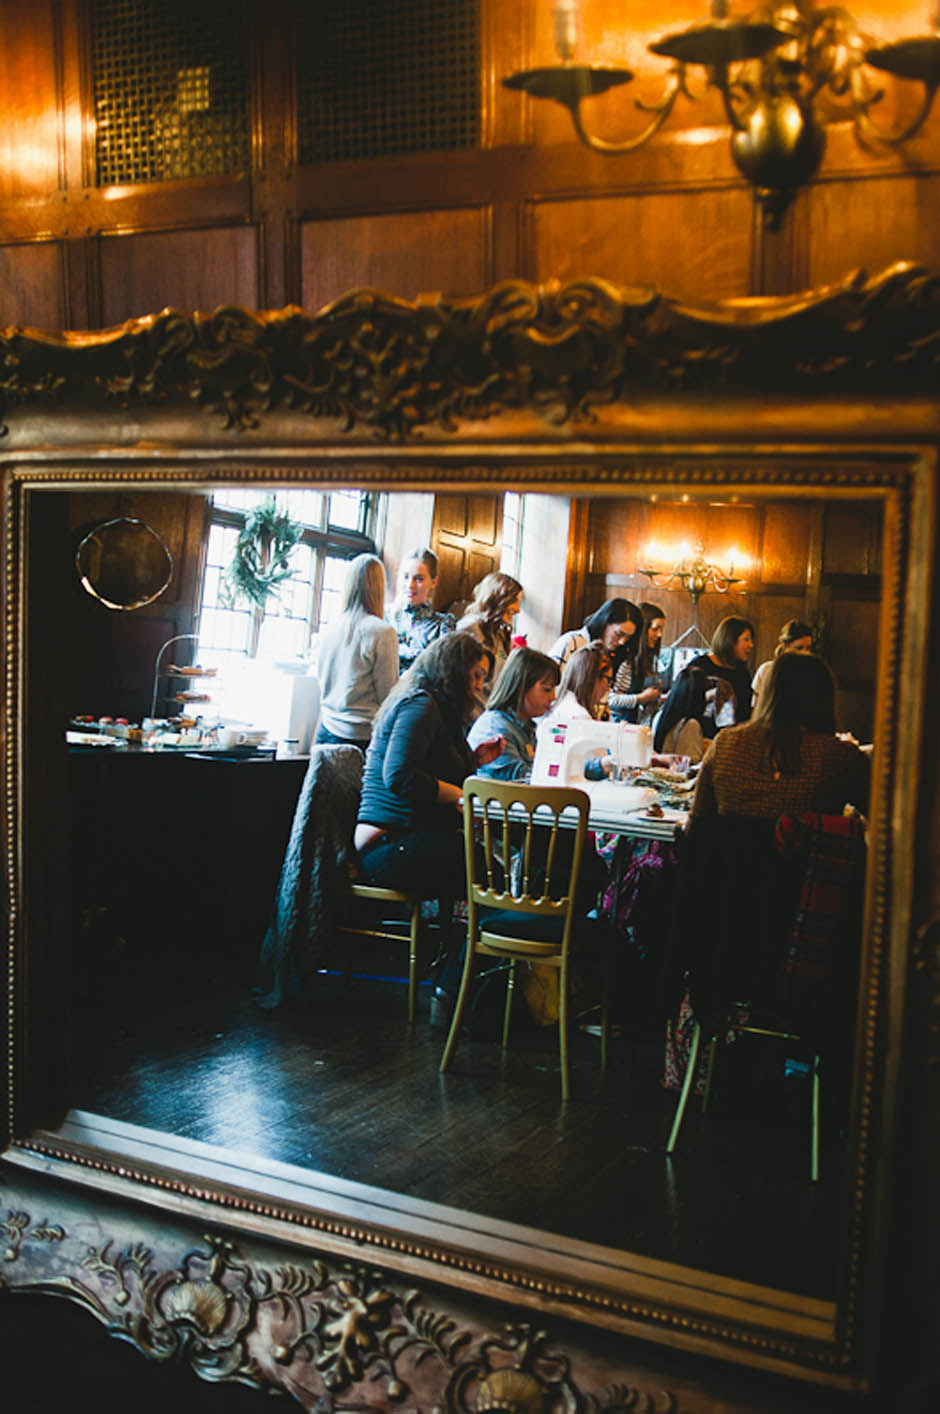
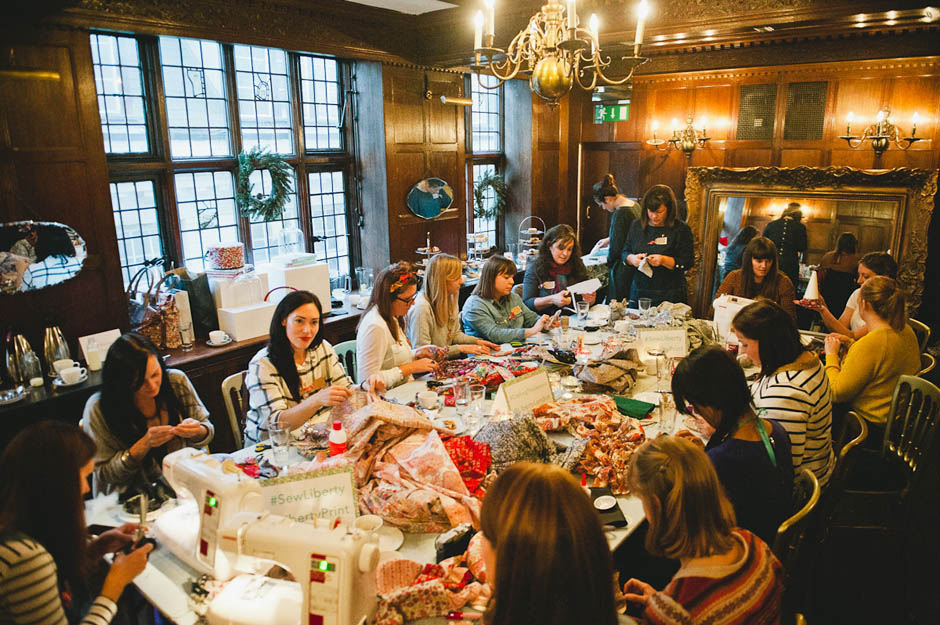
Thank you so much to the the lovely bloggers who came and made the day so special and a big thank you to Hannah and Anna at Liberty for their generosity and hosting us on the day in the beautiful Heritage Suite. Thank you, also, to Kate at The Homemakery for bringing along lots of lovely craft materials for us to play with.

This is a list of all the lovely bloggers who helped us launch Styling the Seasons in September. Make sure you check out their December posts to see their Liberty print makes…

Jeska at Lobster and Swan/ Lisa Levis at Betty and Walter / Emily Quinton at Makelight / Lou at Littlegreenshed / Sarah-Lou at Lapin Blu  / Heather at Growing Spaces / Teri at The Lovely Drawer / Hannah at Hannah in the House / Tamsyn at The Villa on Mount Pleasant / Ruth at The Planned Adventure / Soumaya at Made By Molu  / Emma at A Quiet Style / Amy at Daisy Fay / Lori at Wild and Grizzly / Melanie at  Geoffrey and Grace / Tina at Colourliving / Jo at The Only Place / Laura at Circle of Pine Trees / Alexis at Something I Made

Katy x

P.S. If you would like to join in the Styling the Seasons fun, all you need to do is style a surface in your home to represent what that month means to you. Share a shot of your styled surface on any day of the month, tag me and Lotts and Lots so we can see and use the hashtag #stylingtheseasons. Maybe we’ll see you at our next event!

Craft party inspiration

We are so excited that Sunday sees the first Styling the Seasons event to thank the gorgeous bloggers who helped us launch the monthy styling challenge in September. And what could be better than a craft party at Liberty of London? Eeeep! So excited.

Charlotte and I have decided  to challenge our guests to make some Liberty print Christmas decorations that they can then feature in their December Styling the Seasons posts. So, I have been trying to find some inspiration today to help me decide what to make and I had to start with the Liberty Craft Blog, obvs.  There are going to be lots of crafty bits and bobs from the wonderful The Homemakery, as well as a big pile of Liberty fabric, so the possibilities are endless. I contributed to Liberty’s Christmas campaign last year (I made this advent calendar bunting) and there were also some other really beautiful projects so I’ve pulled them together for a bit of inspiration…

Liberty christmas decorations | Apartment Apothecary

Style the door with a beautiful wreath? Liberty print Christmas wreath tutorial 

Liberty print Christmas decorations | Apartment Apothecary

An easy sewing project to style the mantelpiece? (I wish I had that fireplace!!) Liberty print Christmas stocking by Sania Pell

Liberty christmas decorations | Apartment Apothecary

My advent calendar bunting to style the wall (that totally counts as a ‘surface’)? Liberty print advent bunting by Apartment Apothecary

Liberty print Christmas decorations | Apartment Apothecary

These really sweet Christmas tree decorations would look lovely on any surface in the home – hallway table, dining table, sideboard, windowsill. Liberty print Christmas tree decoration by Sew Magazine

Liberty print Christmas decorations | Apartment Apothecary

Something to style the Christmas table like this Poinsettia tea cosy? Liberty print Poinsettia tea cosy by Deedrie La Follette

Liberty print Christmas decorations | Apartment Apothecary

What about crafting some beautiful present tags and wrapping? Furoshiki Japanese fabric wrapping technique by Sew Magazine

What would you make? I might wait until tomorrow to decide and get some inspiration from the ridiculously talented group of ladies who will be attending. Watch out for the hashtag #craftingtheseasons to see photos of the day and we are very lucky to have Katharine Peachey photographing the event, too, so there will be plenty of lovely photos to follow.

Have a lovely weekend everyone!

Katy x


How to make a dried Hydrangea wreath

The lovely Tamsyn, who blogs over at The Villa on Mount Pleasantvery kindly wrote and photographed this guest blog post last year and I just had to share it again in case you missed it the first time round. This is the perfect time to be drying Hydrangeas and Tamsyn’s dried wreath is a must. I followed the tutorial myself last year to make one for my mother-in-law and it was much easier than I expected and the results are beautiful. Over to you, Tamsyn…

Hello everyone! My name is Tamsyn and I blog over at The Villa on Mount Pleasant.  I was so delighted that Katy asked me to write a guest post for Apartment Apothecary, as her blog is such an inspiration to me! Here’s my tutorial for making a hydrangea wreath…

Hydrangeas can be bought cheaply enough from markets or car boot fairs, and it’s worth getting a couple to plant out in the garden, as the flowers turn beautiful faded colours in September, and look fantastic dried and placed in big zinc florist buckets.  If you don’t have any dried hydrangea heads, you could use ivy, dried roses, berries, pine cones, seed heads, artificial flowers – anything really!

Dried Hydrangea wreath tutorial | Made by Tamsyn Morgans | Apartment Apothecary

You will need:

A natural rattan wreath (I got mine from Hobbycraft)

Dried hydrangea heads

Thin pliable wire

Ribbon of your choice

Scissors

Dried Hydrangea wreath tutorial | Made by Tamsyn Morgans | Apartment Apothecary

Tutorial:

1. Take your dried hydrangeas, and trim the stalks right down to the flower heads.  I roughly planned out my wreath by placing the heads on the wreath, and working out where I wanted to put them according to colour and shape.

2. Cut a length of wire approximately 30cm long.  Thread it through the flower head just above the cut stalk, and then attach the head to the wreath.  Wrap the wire round the wreath and twist it together at the back to fasten it.  Don’t trim the wire yet, as you may decide you want to take it off and reposition your flower once you have more heads on.

Dried Hydrangea wreath tutorial | Made by Tamsyn Morgans | Apartment Apothecary

Dried Hydrangea wreath tutorial | Made by Tamsyn Morgans | Apartment Apothecary

3. Work your way around the wreath fastening your heads on with the wire.  As I didn’t have quite enough full heads to complete my wreath, I used smaller heads clustered together to fill the gaps.

Dried Hydrangea wreath tutorial | Made by Tamsyn Morgans | Apartment Apothecary

Dried Hydrangea wreath tutorial | Made by Tamsyn Morgans | Apartment Apothecary4. Once my wreath was covered I had some smaller gaps to fill, so I took some of my large individual petals, and twisted the top of a piece of wire approx 15cm long around the stalk.  I then threaded  the wire through from the top of the wreath through to the back, and fastened by twisting it round the rattan.  Berry sprigs would look lovely dotted around too, using this method.  At this point, I kept my wreath looking quite rustic – maybe I could have trimmed some of the heads a little to make more of a perfect circle shape, but I didn’t want  to get in a tizz about it – rustic is good!

Dried Hydrangea wreath tutorial | Made by Tamsyn Morgans | Apartment Apothecary

Dried Hydrangea wreath tutorial | Made by Tamsyn Morgans | Apartment Apothecary

5. Finally, cut a piece of ribbon, and choose where you would like the top of your wreath to be.  A wide piece of vintage lace would look lovely too.  Thread the ribbon through the rattan and tie in a knot to make a large loop.

Dried Hydrangea wreath tutorial | Made by Tamsyn Morgans | Apartment Apothecary

Thank you so much, Tamsyn (again!). Make sure you drop by Tamsyn’s blog for lots of gorgeous vintage inspiration.

Katy x


Pumpkin tea light holders

As the end of the month approaches, the clocks go back and the darker evenings close in, I am becoming obsessed with burning candles around my home (even during the day, which makes a dreary, rainy day that much cosier). These mini pumpkin tea light holders could not be more seasonal, would make a great decoration for halloween parties and they are so simple to make. They will last about two weeks before they start to decay. This is going to be the briefest of posts as we’re into the sixth day of no internet here so I’m tethering from my phone and there’s barely any 3G! Grrrr!

Anyhoo, here’s how I did it…

You will need:

Mini pumpkins (they are available from supermarkets but you can find a much better range at local markets or florists)

Tea light candles

Sharp knife

Tutorial:

Pumpkin tea light holders | Apartment Apothecary

Step 1: Choose pumpkins that will stand up by themselves and not roll onto their sides.

Pumpkin tea light holders | Apartment Apothecary

Step 2: Start carving out a hole at the top. Start with a small hole and use the tea light to figure out how much more to cut away. Be careful not to make the hole too big, gradually carve away as much as is needed, otherwise your tea light will not be supported.

Pumpkin tea light holders | Apartment Apothecary

Step 3: Scoop out the inside of the pumpkin as this will help to delay the decaying process.

Pumpkin tea light holders | Apartment Apothecary

Step 4: Wedge your tea light into the hole (it should be a tight fit so it doesn’t slip around inside).

Pumpkin tea light holders | Apartment Apothecary

All ready for an Autumnal candle-lit evening at home. I love this little jar lined with old pics of my mum, granny and uncle. The Physalis (or I’ve always known them as Chinese Lanterns) always makes me think of October and Halloween and looks so striking when displayed at home.

Pumpkin tea light holders | Apartment Apothecary

Pumpkin tea light holders | Apartment Apothecary

Happy Autumn evenings.

Katy x


DIY crate on castors

Today’s DIY is as easy as it gets, but I have not finished it off as I just can’t decide what colour I want it to be, so I want your helps and ideas! However, I sometimes think it’s useful, if you are going to try this yourself, to see the blank canvas so you can make your own decisions about the finish that you want, instead of being influenced by someone else’s tastes.

Last week’s Ask Apartment Apothecary was full of ideas for storage for children’s rooms. I suggested that a crate on castors would make an excellent toy box, especially if it were painted in chalkboard paint so children could scribble all over it. I have made my own crate on castors to store our wellies in our hallway, as we wear them everyday to take Otto for walks. I am trying to decide whether to leave the crate it as it is, paint the inside, paint the outside or line with wallpaper and varnish etc. I need to mull it over for a while longer so I just want to share how to attach the castors and where to source everything.

You will need:

Crate – don’t spend a fortune as you can get wine boxes for free if you ask at most wine shops. Generally, wine boxes measure 50 (L) x 38 (W) x 18 (H).

Castors – I chose 41mm light duty swivel castors, which cost £1.29.

Wood glue

Four blocks of wood to screw the castors into (they therefore neeed to be slightly bigger than the castors and deep enough for the screws)

Four screws to fit the castors

Your choice of paint or paper to finish off the crate, or just leave it as it is.

DIY crate on castors |Apartment Apothecary

Tutorial:

1. Stick the blocks of wood with the wood glue onto the base of the crate in the four corners.

2. Once the glue has dried, screw the castors into the blocks of wood. You can’t screw the castors straight into the base of the crate because the wood is too thin.

3. Finish as you desire. See, I told you it was easy!

DIY crate on castors |Apartment Apothecary

DIY crate on castors |Apartment Apothecary

So, how do you think I should finish mine? It’s going to sit underneath our hallway table, that you can see below.

Vintage school desk as hallway table | Apartment Apothecary

If you’ve got any good ideas, please leave a suggestion in the comments section 🙂

Katy x