The first week of living as a freelancer is at an end and it has been a complete delight! I’m in the middle of doing a house makeover and a sewing commission for a magazine, as well as organising a lovely event for the gorgeous bloggers who are helping to launch Styling the Seasons this month. I definitely can’t complain, although I have begun to wonder how on earth I ever had enough time to squeeze in a full time job on top of blogging, social engagements, dog walks, cooking, events, appointments and housework. There still aren’t enough hours in the day! I hope your first week back to work has been good, too 🙂
Weekends give us all a bit of time to breath and think – I’m going to have to make sure I am strict with myself and try not to work over the weekend as it is such an important time to switch off and free the mind to think of new things and reflect, a bit like when you go on holiday, which is always when I do my best thinking. So, if you have a bit of free time and brain space this weekend, I have rounded up some of the blog posts I have enjoyed most this week and hopefully will provide you with a bit of inspiration, that isn’t always top of the priority list during the week…
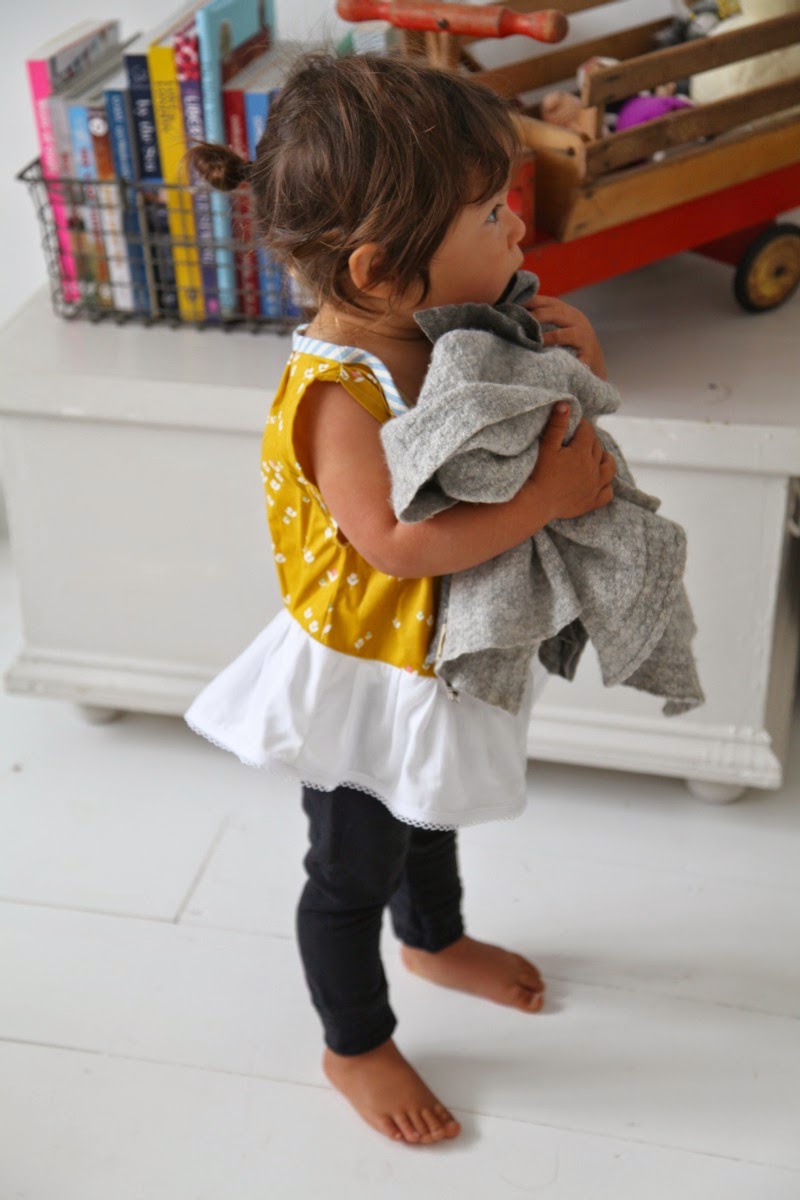
Junkaholique
Artemis, a bit of a style guru to me, made the most delicious clothes for her gorgeous daughter over on her blog this week. The pictures alone are to die for, let alone the beautiful fabrics she has used. Pop over to read Sewing September Blue.
Littlegreenshed
Lou has been driving me crazy with bedroom decor ideas over on her Pinterest account. I now want to change everything about my own bedroom! Check out her inspiration in her bedroom renovation post – she has such good taste.

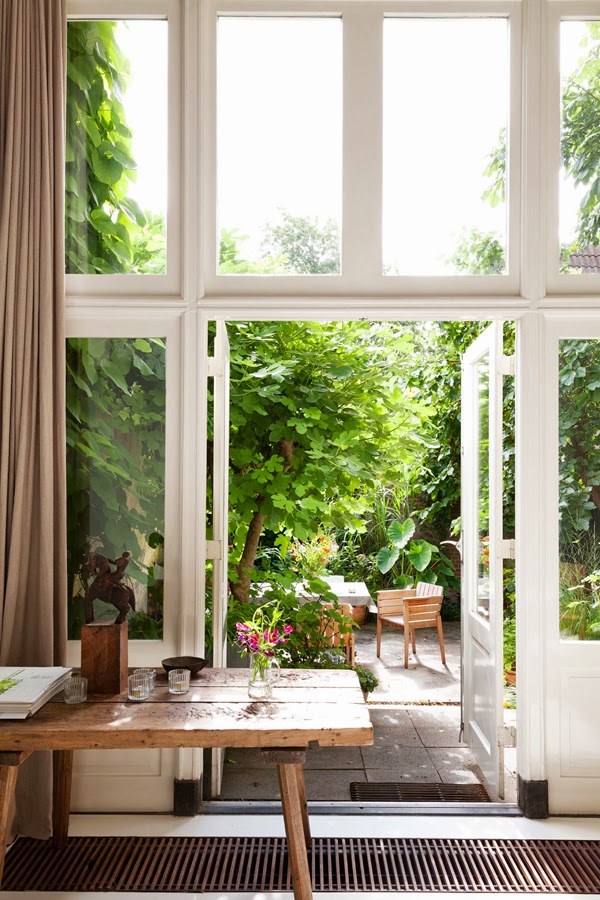
My Scandinavian Home
I always check this blog for beautiful home tours and this one really inspired me, so I hope you will like it too. Pop over to ogle over pictures of this Dutch home in a former children’s nursery.
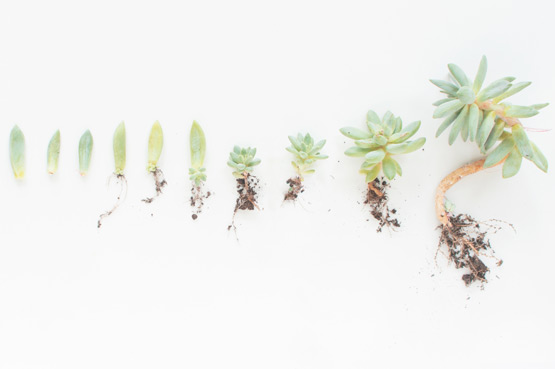
Joelix.com
Judith’s post about how to grow your own succulents came at precisely the right point for me as I have lots of baby succulents that I wasn’t quite sure what to do with next (and after reading this I realised I was giving them far too much water). Some very useful and practical tips, as well as lovely photographs in this post Grow your own succulents. I also love Judith’s idea of sending friends baby succulents in the post, I’m going to have to bear that in mind.
Say Yes
I’ve been looking for some crafty inspiration and I came across Liz’s tea towel project, which is really simple, very cute and fits in perfectly with the back to school theme this week. Take a look at how to make her DIY notebook tea cloths.

Happy weekend and happy thinking everyone!
Katy x