Blogtacular giveaway!

I’m very excited to be going to my first bloggers’ conference this weekend. Blogtacular promises to be such a great experience to learn from others and meet all of the ridiculously talented bloggers that I have followed for the past year or so.

Can. Not. wait.

I’ve got my business cards ready – I got stupidly excited making them! I decided to get one side printed with my logo by Moo and left the other side blank so I can either stamp my contact details or write personalised notes, if needs be. The big problem with business cards, especially when you’re at a big event and there are loads of them flying aorund, is that they get thrown away or never looked at again. So, I also ordered some glassine envelopes and vintage tickets to accompany each card to make them a bit more exciting…

Stamped business cards www.apartmentapothecary.com

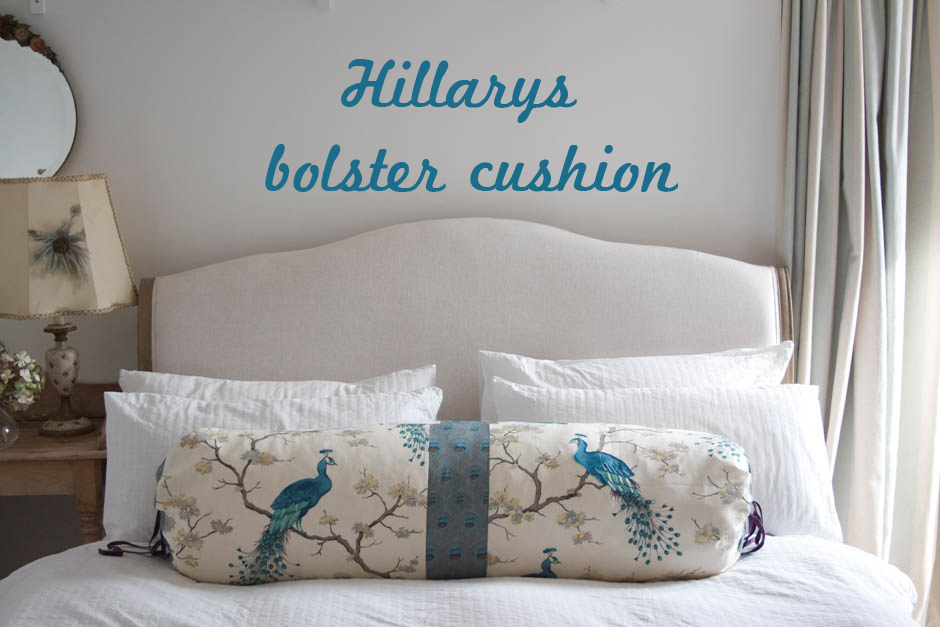
If you’re going to Blogtacular and take one of my cards, the ticket will automatically enter you into a giveaway draw to win this bolster cushion cover (for storing your winter duvet – my favourite thing to make at the moment!). Make sure you keep the ticket and check my blog on Monday 12th May as I will announce the winner here!

Liberty print and ticking stripe bolster cushion www.apartmentapothecary.com

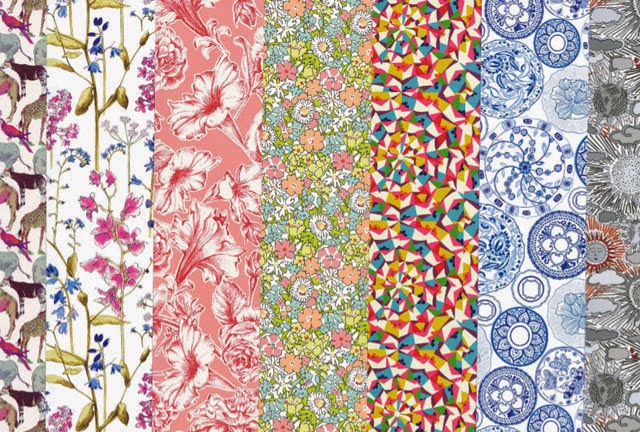
The bolster cushion cover is made from John Lewis ticking stripe and Liberty’s Mitsi print. It is large enough to stuff a kingsize or double duvet in to it; perfect now that the weather has got warmer and we can switch to summer duvets. Alternatively, it fits two two feather pillows. If it doesn’t suit your style, it would also make a great present.

Liberty print and ticking stripe bolster cushion www.apartmentapothecary.com

Liberty print and ticking stripe bolster cushion www.apartmentapothecary.com

Looking forward to meeting all the Blogtacular attendees this weekend and don’t forget to grab a card. Check back here on Monday 12th to see if you’ve got the winning ticket!

And the winning ticket is…

IMG_1066_1

If you have the lucky ticket with the corresponding number either email or tweet me (contact info in the sidebar). Look forward to hearing from you!

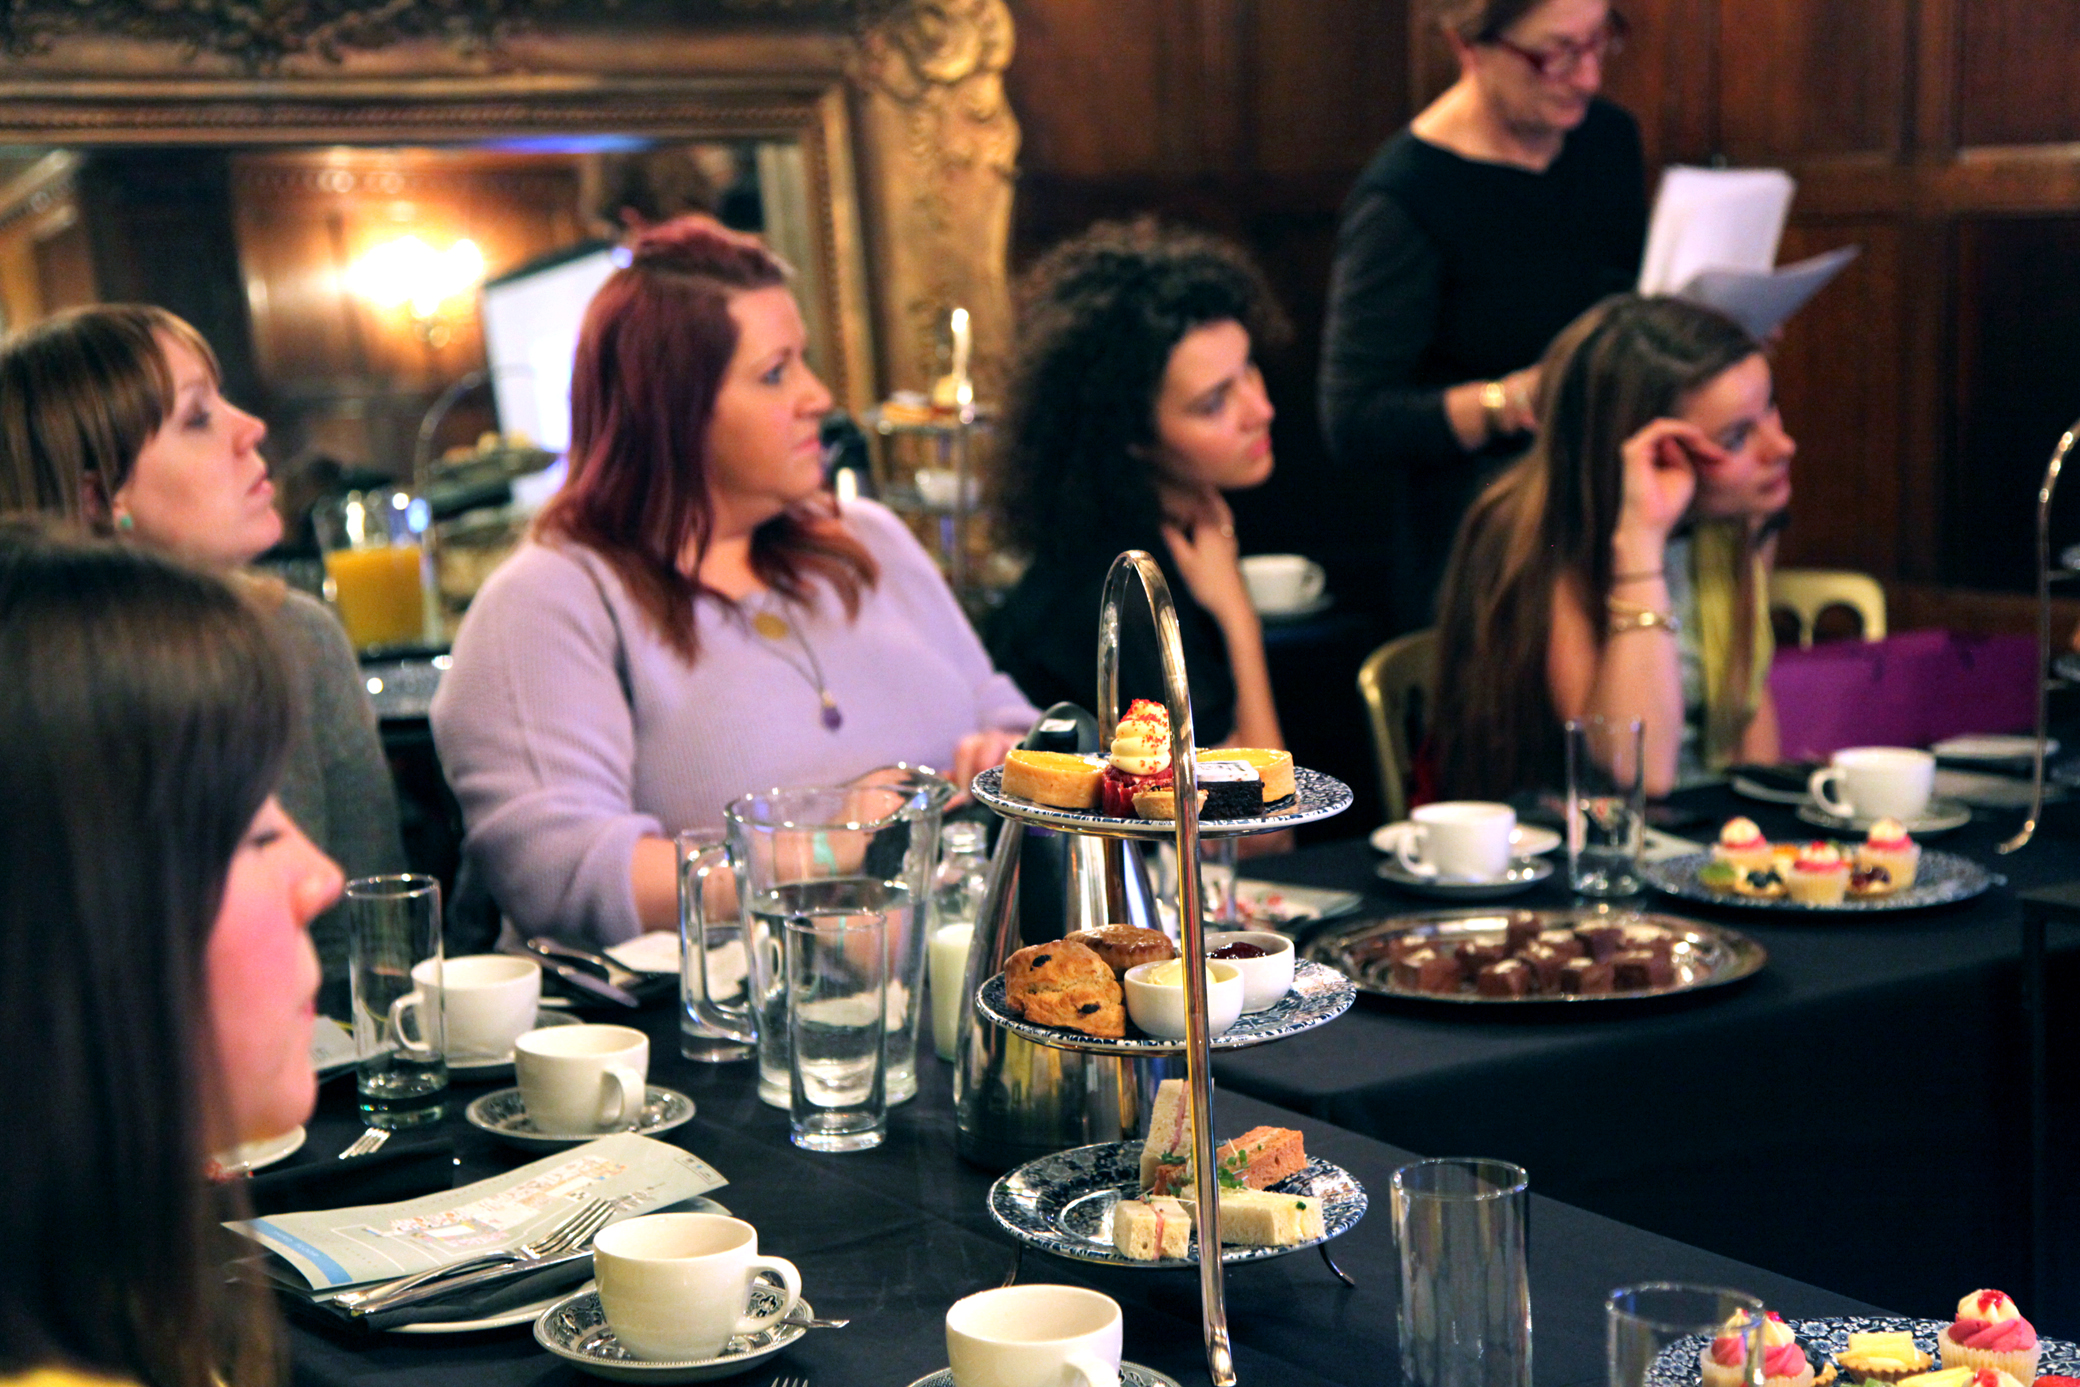
Thank you so much to everyone for saying hi and taking time to have a chat; it was really lovely to meet you all. I’ve now got a list of a million ‘to-do’s’ after being inspired by what everyone had to say! A big, big thank you to Kat Molesworth and Kat Goldin for all of their hard work and brilliant vision to bring Blogtacular together. Here’s to next year!

Katy x


Meeting the Liberty fabrics team

What do you say when two of your favourite bloggers invite you to tea at Liberty? YES – there is no other answer!

Last month I went along to celebrate the Hannah and Rosie’s first blogging birthday by meeting the team behind Liberty fabrics at a special bloggers’ event in Liberty’s beautiful Heritage Suite, just off the dreamy haberdashery. We were greeted by the lovely Sian, Deputy Editor of Liberty.co.uk, as well as tea and cakes. It was also really exciting to meet some other fellow bloggers in real life – Chloe from Stone Cold Comfort, Leanne from Knit Me A Cake and it was great to see Charlotte from Lotts and Lots again.

Meeting the Liberty fabrics team www.apartmentapothecary.com

Meeting the Liberty fabrics team www.apartmentapothecary.com

Meeting the Liberty fabrics team www.apartmentapothecary.com

The ridiculously talented fabric designers, Emma Mawston and Keighley Shepherdly, showed us their orginal art work that led to this season’s beautiful designs, as well as hearing from the Head Archivist, Anna Buruma.  It was a wonderful experience to hear first hand from the designers how they go about finding inspiration for each season’s designs, as well as seeing their artwork, which ranged from glass painting to incredible paper cutting. We all sat and listened in awe. You can find out more about Emma, Keighley and Anna on the Liberty blog at the moment.

Meeting the Liberty fabrics team www.apartmentapothecary.com

Meeting the Liberty fabrics team www.apartmentapothecary.com

Meeting the Liberty fabrics team www.apartmentapothecary.com

The designers explained how each fabric this season was inspired by a different department within the store. We were given a map that showed the different inspiration points and then went on a guided tour to see for ourselves where each print originated from.

Meeting the Liberty fabrics team www.apartmentapothecary.com

Meeting the Liberty fabrics team www.apartmentapothecary.com

Meeting the Liberty fabrics team www.apartmentapothecary.com

Meeting the Liberty fabrics team www.apartmentapothecary.com

We left with gorgeous goody bags organised by Hannah and Rosie and a special Liberty bag full of pretty prints (I made this bolster cushion with mine, as well as a special project that will be coming up in the September issue of 91 magazine). I think, if anything, I am even more obsessed with Liberty print than before, having seen and heard for myself all of the talent and interesting stories that go into each print.

Thank you Hannah, Rosie and Sian for organising such a wonderful evening.

Katy x

P.S. Thank you to Liberty for the photographs, too!


How to make a bolster cushion

Everyone said such nice things about the bolster cushion cover I made recently (I didn’t win the competition though – boo!) so I decided to make another one for my spare room – just in time to store my winter duvet as we’ve just switched to our summer one – and share more detailed instructions for how to make it.

You will need:

How to make a bolster cushion to store your winter duvet www.apartmentapothecary.com

110 x 100cm of medium weight cotton for main body of the cushion – I used a navy ticking stripe fabric from John Lewis.

Two 12 x 102cm panels of light weight cotton for the ends of the cushion – I used Liberty’s Wiltshire Tana Lawn

120cm length of velvet ribbon

Tutorial:

1. Press a 0.5cm hem on the short side of each end panel. Press a 2.5cm channel down the length of each end panel.

2. Sew the 2.5cm channel on each panel.

3. Place the end panel onto the main body of the cushion, right sides together, and pin in place. Sew the end to the main fabric and press the seam open. Repeat with the other end panel. Fold the cover in half, right sides together, and sew the cover together.

4. Feed the ribbon into each channel.

5. Fold your duvet in half, half again and half again and stuff into your cushion cover.

6. Draw your cushion cover closed.

Sewing tutorial to make a bolster cushion to store your winter duvet | Quick and simple sewing project | Liberty print fabric | Apartment Apothecary

If you, like me, have stuff crammed under your bed (for lack of storage) this idea is great as duvets take up so much space. I think I’m going to have to make anouther one for our bed!

Katy x


Easter table decoration

The long Easter weekend is on its way – hurrah! – so if you’re looking for a lovely decoration for your Easter table then you might want to give today’s craft project a go. However, do not do this project if you’re in rush like I was when I attempted it; you will end up with sticky fingers, paint on your clothes and a healthy dose of rage (the whole thing nearly ended up in the bin).

When we were younger we would always spend Easter at my grandparents’ home in Devon. I always preferred it to Christmas because Easter morning became such a ceremony – my sisters and I would have to stay upstairs whilst the Easter table was set. All of our eggs would be piled up around our table mat with lots of pretty decorations that my grandmother would make, as well as the ones we made for her every year at school, which she always kept and brought out again the following year. We’d rush in to the breakfast room and frantically count how many eggs we each had, always hoping we’d have the most and then gorge on chocolate for the rest of the day! Such happy memories.

If my grandmother could see what I’ve made today, I know it would have made her smile.

You will need:

Easter table decoration www.apartmentapothecary.com

Egg carton (if I’d had more time I would have used a 12 egg carton)

Eggs – cut the top of each one and empty and wash them

Pretty paper – I used Liberty wrapping paper that you buy in store

Scissors

PVA glue,water and paint brush

Paint and brush – I used Fired Earth Ultramarine Ashes

Little flowers from the garden

Tutorial:

Easter table decoration www.apartmentapothecary.com

1. Decoupage the egg carton using equal parts of PVA and water. Cut your paper into small pieces to help you mould it to the carton. I didn’t have enough time in the end to do the whole carton so I just did the inside.

Easter table decoration www.apartmentapothecary.com

2. Whilst your carton is drying, paint your eggs. I used Fired Earth Ultramarine Ashes.

Easter table decoration www.apartmentapothecary.com

3. Fill each egg with water and add little sprigs of flowers from the garden.

Easter table decoration www.apartmentapothecary.com

I ended up painting the underside of the carton as I didn’t have time to finish the decoupage.

Easter table decoration www.apartmentapothecary.com

I hope you like it – I’m quite glad now that I didn’t throw it in the bin!

Katy x


Hillarys blinds country crafts competition entry

The lovely Hannah and Rosie, over at The New Craft Society, told me about the Hillarys craft competition and I decided to take the challenge! Hillarys sent me a 100 x 100cm  piece of their fabric and I had to make an original craft design and I could use any other craft materials necessary. Now, it just so happens that the competition coincides with Mothers’ Day so I decided to make something special for my mum because mums always prefer homemade gifts, don’t they? So I designed an embroidered bolster cushion…

How to make a bolster cushion to store a duvet www.apartmentapothecary.com

I knew I wanted to try embroidery for the first time and the fabric has beautiful peacocks on it so the first thing I did was try out some basic embroidery stitches to emphasise the peacocks.

How to make a bolster cushion to store a duvet www.apartmentapothecary.com

How to make a bolster cushion to store a duvet www.apartmentapothecary.com

How to make a bolster cushion to store a duvet www.apartmentapothecary.com

I decided to make a bolster cushion as I know my mum needs new cushions for her bed. The added bonus of this particular cushion is that you can use it to store your winter or summer duvet – so no under bed or on top of cupboard storage needed. I cut the 100 x 100cm piece into two equal sized pieces of 50 x 50cm. This wasn’t quite enough to make a kingsize duvet bolster cushion so I added a 12cm fabric panel in the middle and at the ends.

How to make a bolster cushion to store a duvet www.apartmentapothecary.com

Once I had sewn the five panels together I made a channel at either end of the bolster for the ribbon to be fed through.

How to make a bolster cushion to store a duvet www.apartmentapothecary.com

Pop a safety pin on the end of the ribbon to help feed it through the channel. Each piece of ribbon will need to be about 60cm long. I chose this lovely purple velvet to pick out the purple flourishes in the birds’ tails.

How to make a bolster cushion to store a duvet www.apartmentapothecary.com

Feed the ribbon through. It’s good to have a lighter weight fabric at the ends as this draws closed more easily.

IMG_0598

Fold your kingsize duvet in half, half again and then half again and stuff into the bolster (good to have someone to help push it in from one end and pull it from the other!)

How to make a bolster cushion to store a duvet www.apartmentapothecary.com

Once the duvet is in you can tie up your ribbons.

How to make a bolster cushion to store a duvet www.apartmentapothecary.com

How to make a bolster cushion to store a duvet www.apartmentapothecary.com

I hope my mum likes it – both practical and beautiful!

I am definitely going to make another one of these for myself; I have two duvets on top of my wardrobe that take up so much space and this is such a comfy addition to the bed as it’s all lovely and squidgy – perfect for reading in bed.

Thank you very much to Hillarys for the fabric (and the challenge) and fingers crossed for the competition!!

Katy x