Sewing projects

I’ve had a bit of a craft block of late and not even Pinterest could offer up any inspiration. Even my little sister, Amy (I call her little but she’s actually in her thirties, too) called me up and said she thought I hadn’t ‘made’ enough on the blog recently. So, this week I spread out my magazine stash and craft books on the floor and sifted through them until something struck a chord.

One of my favourite sewing books is Made At Home by Lisa Stickley (now Lisa Levis). It is full of simple home projects, wonderfully clear instructions and beautifully styled pictures – what more can you ask for?

Made At Home sewing book | Apartment Apothecary

Beautifully styled pictures, which make each project so tempting. I watched Lisa do this pin tucking technique at our Crafting the Seasons afternoon at Liberty and she made it look so easy.

The sewing project that I have just completed, using the book, has a rather funny story. I decided to make the draught excluder (Sebastian the snake) because we’ve got a problem at home, and it’s certainly not a draught problem with our triple glazed windows. Just before Christmas, Otto, our Golden Retriever, got an eviction notice. Yes, an eviction notice! To sum up a long story, the owners of the freehold of our apartment block aren’t massively keen on pets (ok, we’re not allowed pets) and the person who cleans the communal hallways complained that there was dog hair on the carpet outside our flat. Now, being the clean freak that I am, I would dispute that claim but anyhow the complaint was the made, the eviction notice served and we were given four weeks to find Otto a new home. Ha! Floods of tears, a plan to chain myself and Otto to the balcony so they couldn’t remove him and a quick phone call later and everything was smoothed over and Otto is allowed to stay BUT we have to stop any dog hair drifting from our flat out into the communal hallway. Hello Sebastian the draught excluder snake…

Draught excluder from Made At Home sewing book | Apartment Apothecary

This is the draught excluder that I made, Sebastian the snake. I used a piece of old velvet for the body and Phoebe Liberty print for the mouth and button eyes. I wanted him to be quite old school looking, the kind of thing that you have for years that moves from one house to the next with you, which is why I chose the velvet. It is yellow to match the cushion and flowers in my hallway.

Made At Home sewing book | Apartment Apothecary

The instructions are clear and easy to understand with simple diagrams to follow. There are also explanations of basic techniques at the front of the book and templates at the back.

Draught excluder from Made At Home sewing book | Apartment Apothecary

This is after a muddy Otto attacked the new draught excluder instead of thanking it for saving him from eviction 😉

Made At Home sewing book | Apartment Apothecary

Made at Home by Lisa Stickley is available from Amazon.

I’m excited to get sewing over the next few weeks as I’ve got a number of commissions lined up for Love Sewing magazine. Did you see the fabric buckets I made for this month’s edition? You should definitely take a look as it’s a great magazine.

Happy sewing everyone!

Katy x


Weekend Inspiration

Do you remember the Crafting the Seasons event that Charlotte and I held at Liberty last month? Well, very excitingly, the bloggers who came to the craft party are beginning to blog about their Liberty makes that they started that afternoon and have finished or added to at home. We set them the challenge to use Liberty print to make some Christmas decorations that they could use to style a surface in their home for December’s Styling the Seasons posts.

I have to say I have been blown away by the incredible creativity that I’ve seen in the posts so far. They truly are wonderful, so I wanted to do a mini round up – there are a few more to come – as I’m sure they will inspire you too…

Lobster and Swan

You MUST check out Jeska’s post over at Lobster and Swan. It is a riot of Liberty print and she has done four projects using the fabric, including these party hats. I NEED A SET A THOSE!!!

Crafting the Seasons with Liberty print | Lobster and Swan

The Lovely Drawer

The talented Teri, over at The Lovely Drawer, couldn’t make the afternoon at Liberty but amazingly, she still managed to sew up this lovely stocking with some fabric we sent her after the event. So, so lovely.

Crafting the Seasons with Liberty print | The Lovely Drawer

Growing Spaces

Heather, over at Growing Spaces, has crafted these super cool copper tree decorations strung with pretty Liberty print – so creative!

Crafting the Seasons with Liberty print | Growing Spaces

The Villa on Mount Pleasant

Look how amazingly pretty Tamsyn’s Liberty print wreath is. You must pop over to her blog, The Villa on Mount Pleasant, to see the gorgeous baubles she made too.

Crafting the Seasons with Liberty print | The Villa on Mount Pleasant

Circle of Pine Trees

I am in love with this reindeer made by the lovely Laura of Circle of Pine Trees blog. What a wonderfully creative use of the pretty Liberty print, and doesn’t it suit him well? Laura also made some lovely baubles that you can see in her blog post.

Crafting the Seasons with Liberty print | Circle of Pine Trees

Made by Molu

This beauty was made by Soumya at Liberty (I have no idea how she was able to finish it with all the chatter and excitement!) and it is such a gorgeous use for this Liberty Paisley print. Beautiful photos on the Made by Molu blog too.

Crafting the Seasons with Liberty print | Made by Molu

The Planned Adventure

I love this clever idea from Ruth for a framed count down board – genius! Head over to The Planned Adventure to see more.

Crafting the Seasons with Liberty print | The Planned Adventure

Lotts and Lots

Charlotte made this beautiful tree, babubles and tassles with her Liberty print (she is so creative!). She has also written a tutorial so you can have a go at making these in time for Christmas.

Crafting the Seasons with Liberty print | Lotts and Lots

Apartment Apothecary

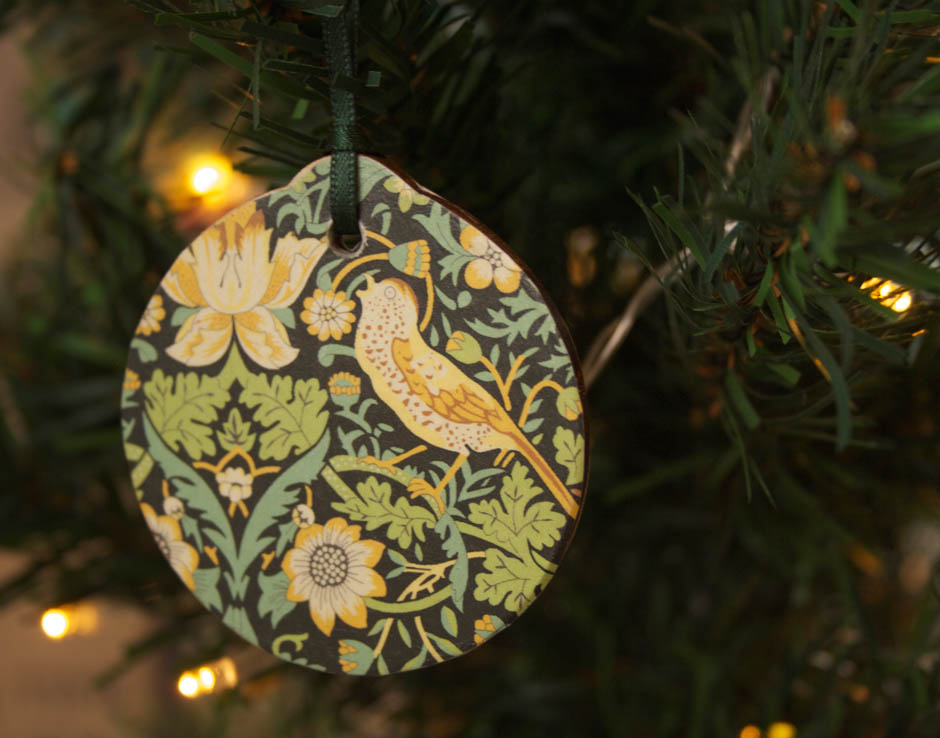
I made these super easy Liberty print covered wooden cutouts – check out the tutorial.

Crafting the Seasons with Liberty print | Apartment Apothecary

I also made an Advent tree, filled with Liberty print stuffed pears and a partridge. See the full post here.

Crafting the Seasons with Liberty print | Apartment Apothecary

Feeling inspired by all of this creative amazingness? My mind is blown.

Katy x


A Crafty Alternative

I always love the build up to Christmas but somehow feel that apart from a Christmas party or two, that we don’t do enough festive ‘stuff’. So, this year I was delighted when Tia, of A Crafty Alternative, offered to run one of her craft workshops for me and a group of my friends. Tia’s website is really clear and I immediately honed in on the wreath-making workshop as I know it’s relatively easy to make an impressive wreath, even if you’ve never made one before and what could be more festive?

Tia brought armfuls of really beautiful foliage and dried flowers – did you know that you can dry Hydrangeas in the oven?! Her workshops are based on the principle of using materials that are easily accessible and inexpensive so that you can easily recreate what you learn by yourself. Therefore, our wreaths were all made around a coat hanger…

A Crafty Alternative wreath making workshop

And here are our finished wreaths! What we all loved about this particular workshop was that it was fascinating to see how different our wreaths were in the end and how they reflected our personalities so well. Can you tell which one is mine bearing in mind that I am the total neat freak, organised one of the group?

A Crafty Alternative wreath making workshop

Tia brings the food, drink and music to your home, as well as all of the craft materials, and can even organise trestle tables and chairs. All I had to worry about was finding a date that my friends could agree on  (Amy, we missed you!), adding a few festive touches to my home office for the evening and keeping Otto under control as he thought the whole thing was far too exciting.

A Crafty Alternative wreath making workshop

We had the workshop in my office but Tia takes care of everything else so it is a no-stress evening for the host.

A Crafty Alternative wreath making workshop

Agnes and Najette starting their wreaths.

A Crafty Alternative wreath making workshop

Emma started an hour and a half after the rest of us but somehow finished before us – what’s that about?

Apologies that there is no ‘end of workshop holding up what we made’ shot. Jules was responsible for that and messed it up big time but he did serve us mulled wine all night, so he’s forgiven.

Do pop over to A Crafty Alternative to check out the other workshops that Tia runs. My friends and I had a really lovely time and it made such a nice change to going out to dinner, which is what we would normally do and costs a lot less. I love doing craft classes but being able to do it in your own home with your own friends was so much fun and Tia was wonderfully relaxed and it felt just like having another friend in the room, which was perfect.

I’m off to hang my wreath on the door now (yes, top right, the really tightly wound one – a bit like me!).

Katy x


Christmas in a jar

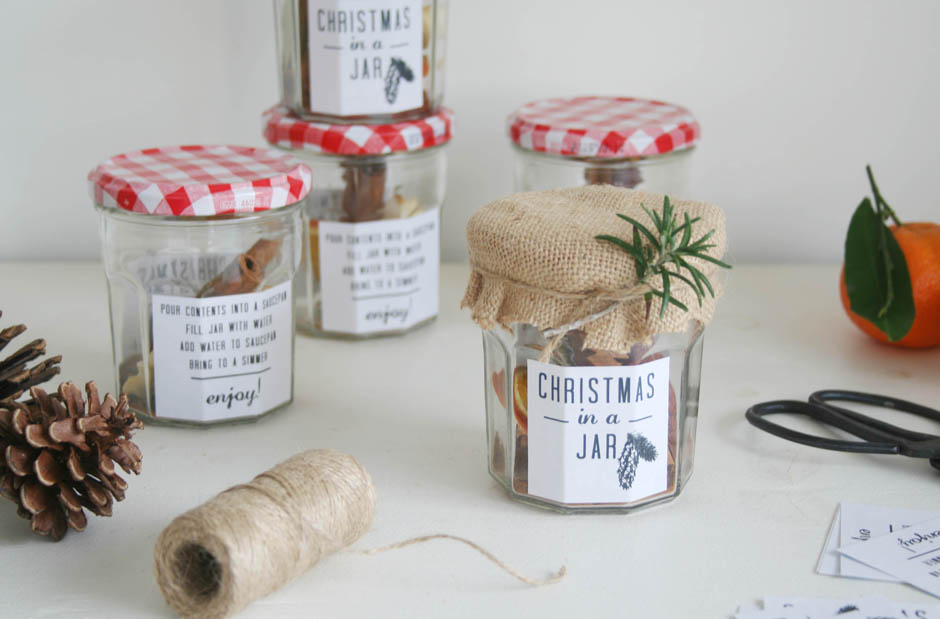
A few weeks ago Becky wrote to me asking for ideas for homemade Christmas presents and I came across an idea on Dandee that I fell in love with; so easy, simple and I would love to receive one. All you have to do is add a combination of fruit and spices to a jar. When you receive your jar you pour the contents into a saucepan, add water and simmer to fill your home with the unmistakeable scent of Christmas.

So, I decided to make a few Christmas in a Jar presents for some old colleagues, instead of boring chocolates.  If you need to make some last minute gifts for neighbours, colleagues or family friends, these are the perfect inexpensive option.

Christmas in a jar | Homemade Christmas present | Apartment Apothecary

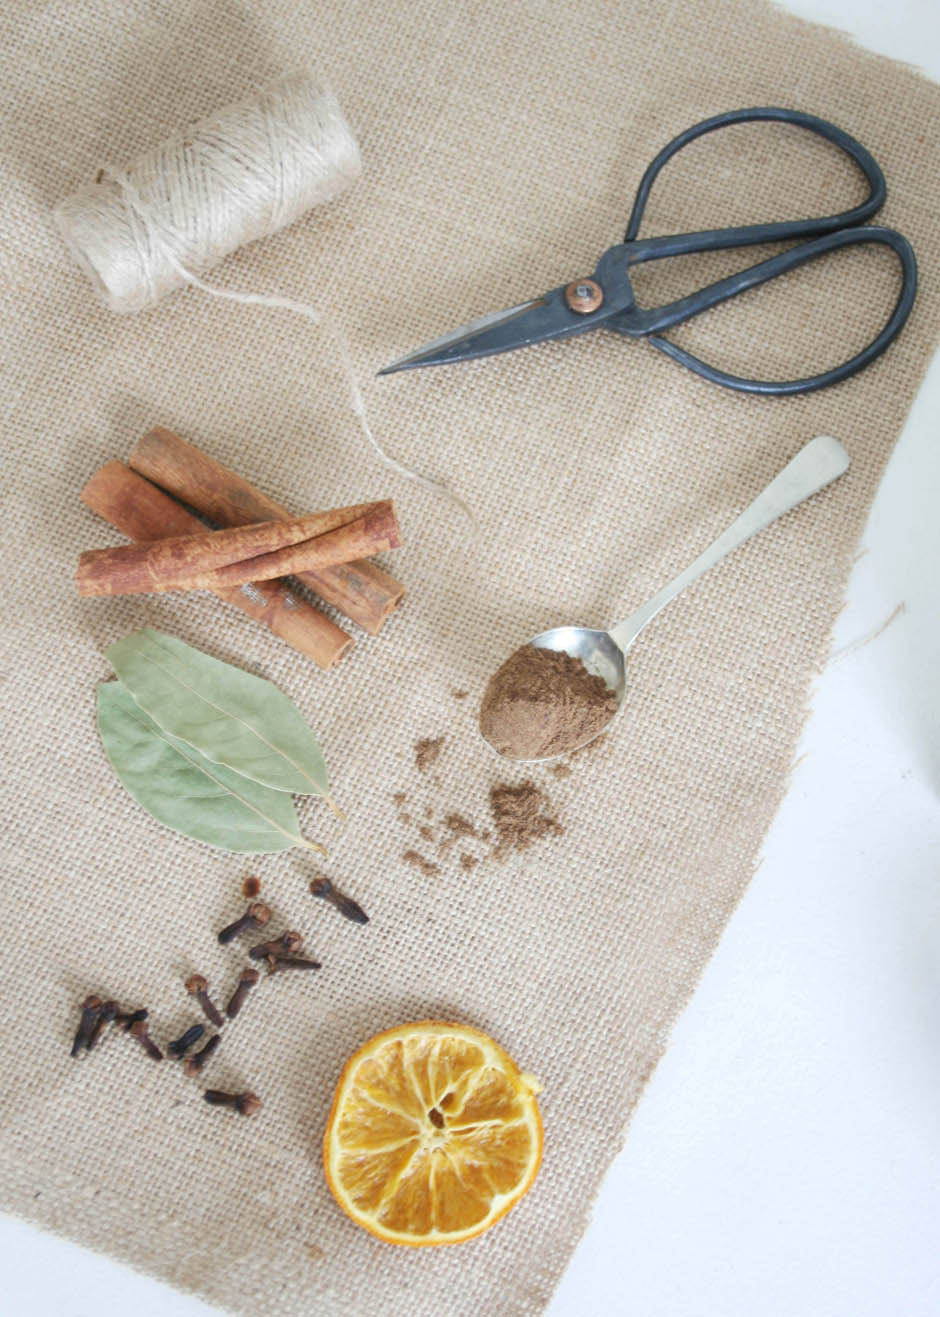
I changed the contents of the jar slightly to these ingredients:

– 10 cloves

– Two slices of dried orange (just slice them and bake them in the oven at 50 degrees for a couple of hours).

– Two dried apple rings

– Two bay leaves

– Two cinnamon sticks

– 1 tsp Ground cinnamon

– 1 tsp Ground nutmeg

– 1 tsp All spice

Christmas in a jar | Homemade Christmas present | Apartment Apothecary

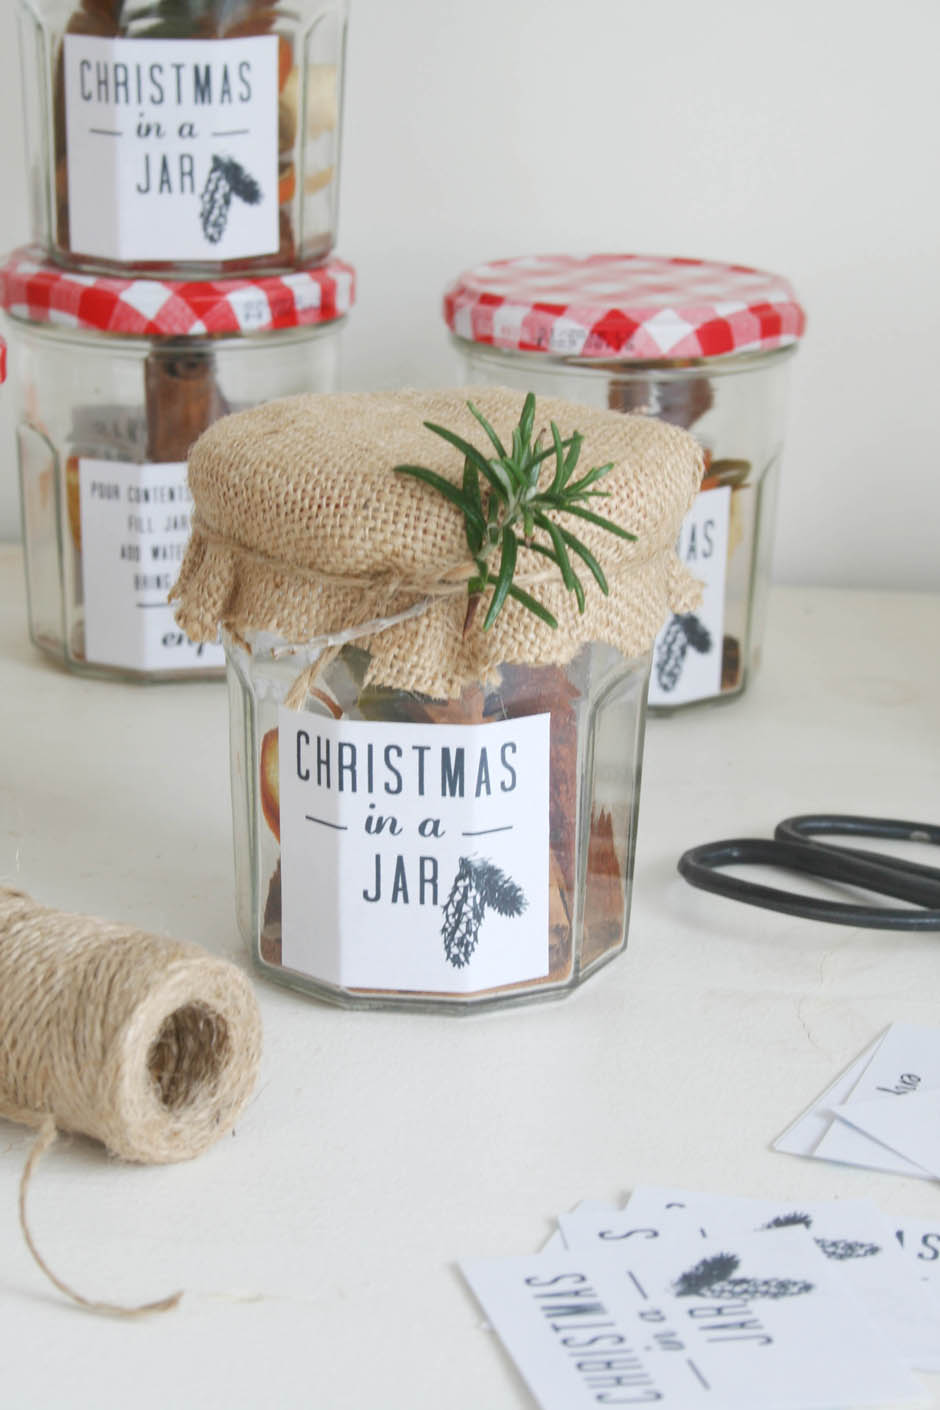
Pop the contents into a jar and I used hessian to cover the top, that I tied with twine.

Christmas in a jar | Homemade Christmas present | Apartment Apothecary

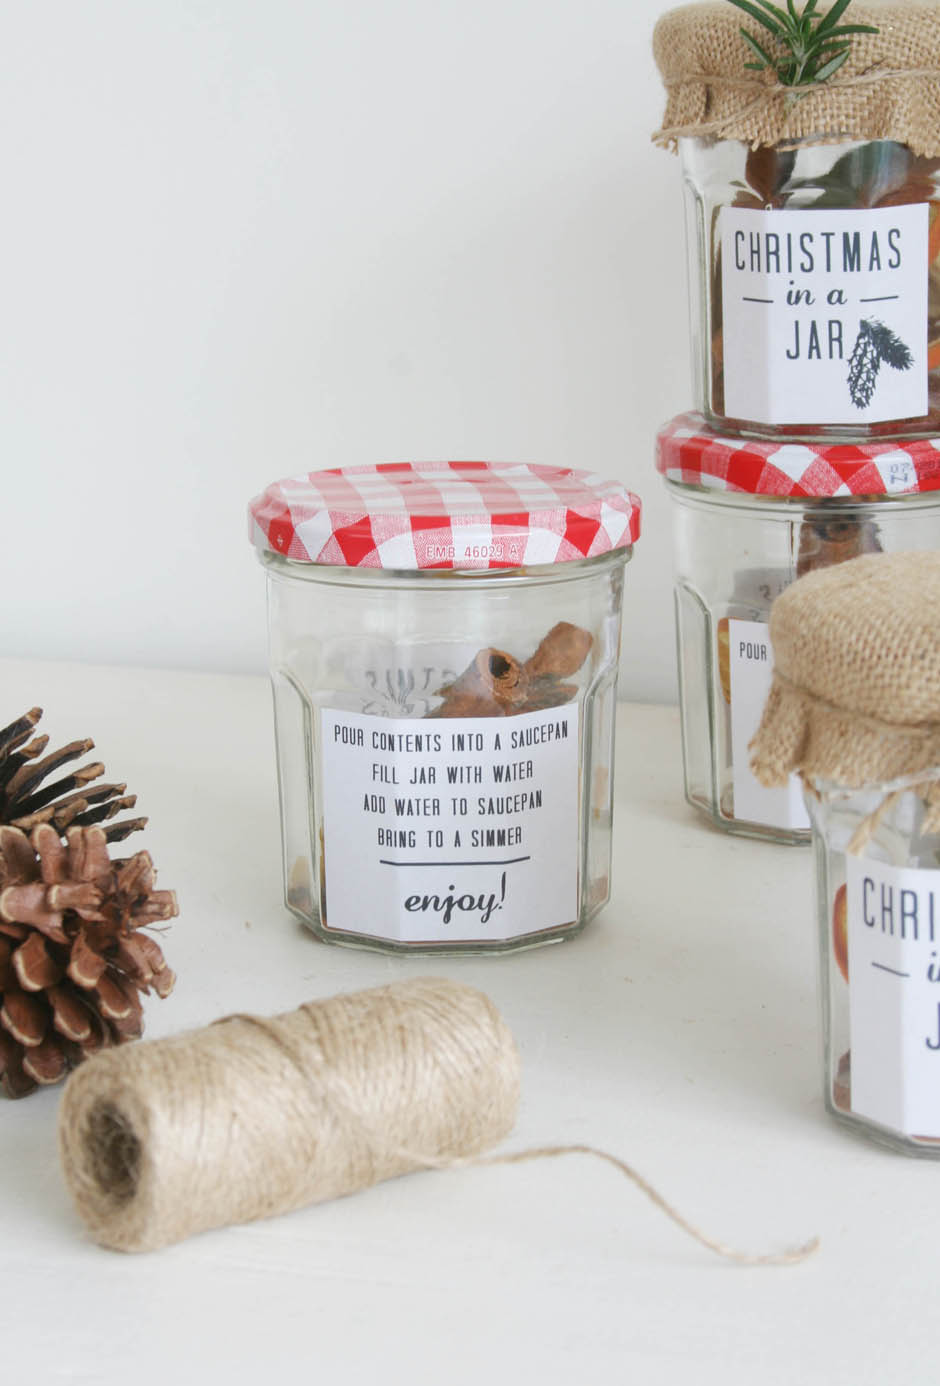
Pour the contents into a saucepan, fill jar with water, add water to saucepan and bring to a simmer.

When you simmer the ingredients in a saucepan it fills your home with the scent of Christmas – perfect if you are having guests or you just want to make your home extra cosy and festive this Christmas.

Christmas in a jar | Homemade Christmas present | Apartment Apothecary

Christmas in a jar | Homemade Christmas present | Apartment Apothecary

Have you made any gifts this year? Or did you make any from the Homemade Christmas presents post I wrote? Thank you so much to Dandee for the great tutorial and the lovely labels.

We’re getting closer, people! Exciting!

Katy x


Liberty print baubles

Any sort of post that involves a big old pile of Liberty print, is my favourite kind of post. I actually did this project last year and it featured elsewhere so I wanted to share it here today.

If you are the kind of person who likes a handmade feel to your Christmas tree, then these baubles are perfect for you and they are quick and easy to do, without too many complicated materials. I made this set for my sister, Juliette, as we have a tradition to give each other a new bauble each year.

Liberty print baubles | Decoupage wooden cut outs to make tree baubles | Apartment Apothecary

You will need:

Wooden cutouts

Wrapping paper, wall paper or fabric

Pencil and scissors

PVA glue, water and paint brush

Varnish

Ribbon

Liberty print baubles | Decoupage wooden cut outs to make tree baubles | Apartment Apothecary

Using fabric is probably the easiest option as it doesn’t wrinkle as much as paper.

Liberty print baubles | Decoupage wooden cut outs to make tree baubles | Apartment Apothecary

I used some of my Liberty print wrapping paper, which I can never bring myself to wrap presents in.

Tutorial:

Liberty print baubles | Decoupage wooden cut outs to make tree baubles | Apartment Apothecary

1. Draw round your wooden cutout – the back and front – onto the wrapping paper. Cut out the shapes, slightly within the lines so the paper doesn’t over-hang the wood cut-out.

Liberty print baubles | Decoupage wooden cut outs to make tree baubles | Apartment Apothecary

2. Mix one part of PVA glue with one part water. Paint this onto one side of the wooden cutout and stick the paper/fabric onto it. Allow to dry and then repeat the process on the other side of the shape.

Liberty print baubles | Decoupage wooden cut outs to make tree baubles | Apartment Apothecary

3. Use the glue and water mixture to paint over the paper/fabric. Whilst it’s wet poke out the hole of the wood cut-out with a pencil (if you are using fabric you will need to cut this out). Allow to dry and then repeat the process on the other side of the shape.

Liberty print baubles | Decoupage wooden cut outs to make tree baubles | Apartment Apothecary

4. Paint on at least three thin layers of varnish on both sides of the wooden cutout allowing to dry in between coats.

Liberty print baubles | Decoupage wooden cut outs to make tree baubles | Apartment Apothecary

Liberty print baubles | Decoupage wooden cut outs to make tree baubles | Apartment Apothecary

All that’s left is to hang them on your tree!

What are you making this Christmas? If you want any more inspiration with how to use Liberty print fabric, then pop over to the Crafting the Seasons Pinterest board to check out the projects that were made during our craft party there last month – more will be added throughout the month.

Katy x